Project 4 – Simulator
Due: Tuesday May 16 11:00pm
- Overview
- Getting Started
- Requirements
- Part A: Physics Simulation
- Part B: MazeGame with Custom Physics
- SimTest References
- Turn In
Overview
In this project, you will implement your own physics simulation engine and use it to animate a new version of MazeGame from the beginning of the course.
This basic engine emits spheres and has them bounce off other sphere and plane colliders.
Getting Started
To get started, clone the simulator-skeleton. The skeleton code has comments marked with // TODO denoting where to write your code. You are encouraged to read through this document and review the Particle System lectures carefully.
If you are having trouble cloning the repo (for example not all files show up), make sure to install git-lfs.
The Simulator project has scenes MazeGame and SimTest* which makes use of PhysicsSimulation.cs, PhysicsProperties.cs and MazeGameController.cs. When working on your physics engine, you’ll probably want to spend most of your time verifying your implementation in the SimTest* scenes first before integrating the engine into the MazeGame scene to make the sphere roll around.
You can compare your implementation with our provided reference behavior here
Requirements
Implement the features described below. Each part is described in more detail below.
Part A: Create a physics simulation system that:
- Has two distinct forces acting on a sphere:
- In the script
PhysicsProperties.cs, gravity (simulated as a constant force) is already implemented. You should implement viscous drag (\(F=-k_d*v\)) for this project.
- In the script
- Updates the position and velocity of spheres:
- In the script
PhysicsSimulation.cs, compute a sphere’s position and velocity by solving the system of forces using Euler’s method in the function ComputeSphereMovement.
- In the script
- Implements collision detection: You must detect collision and respond to other spheres and planes that can be added to your scene:
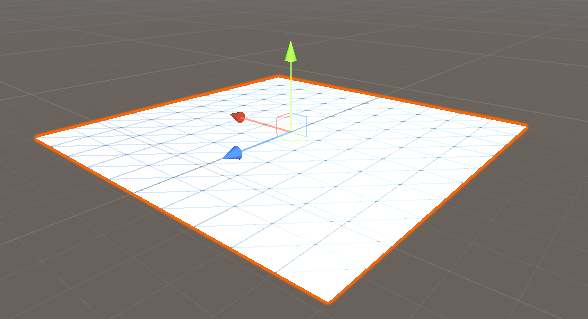
- Plane collision: A natural position for the plane is to have it act as a ground for your scene, but it could be placed anywhere. Planes have a width and height which correspond to the x and z scale of the Transform component.
- Sphere collision: Objects colliding with the sphere should reflect off the sphere depending on the sphere’s normal at the point of collision and the sphere’s incoming velocity direction.
Note:
- Your spheres should bounce off of the SphereCollider and PlaneCollider GameObjects which use the
CustomCollider.csscript to control the restitution constant. The restitution constant controls how much the normal component of the reflected velocity is attenuated. The constant is in the range of [0,1]. - The collision between your spheres and other SphereCollider and PlaneCollider objects are one-sided, which means the collision response only applies to your spheres and the colliders should not move.
- We also provide test scenes (Assets/Scene/SimTest*.unity) to help you to verify your implementation. Compare your results with the solution to see if the behavior is similar. You are free to create extra scenes to see whether your spheres bounce off other colliders at different angles correctly.
Part B: Recreate MazeGame using your physics engine:
With your physics engine working (spheres should collide and bounce off other colliders), navigate to the MazeGameController.cs script to implement the necessary steps to make the MazeGame scene work.
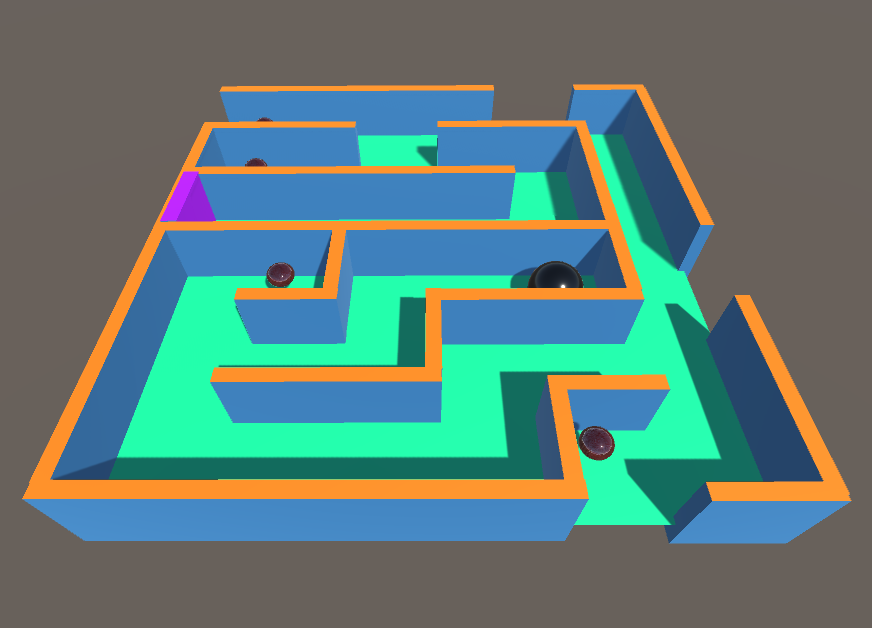
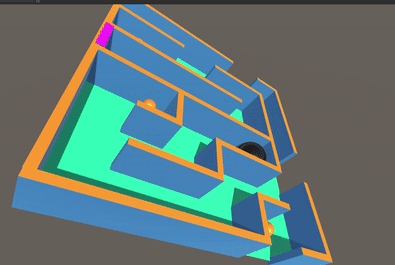
In the scene, the ball should roll around the maze and collide with the Collectibles (SphereCollider) and the walls (PlaneCollider), similar to the MazeGame tutorial at the beginning of the course.
Part A: Physics Simulation
Program Overview
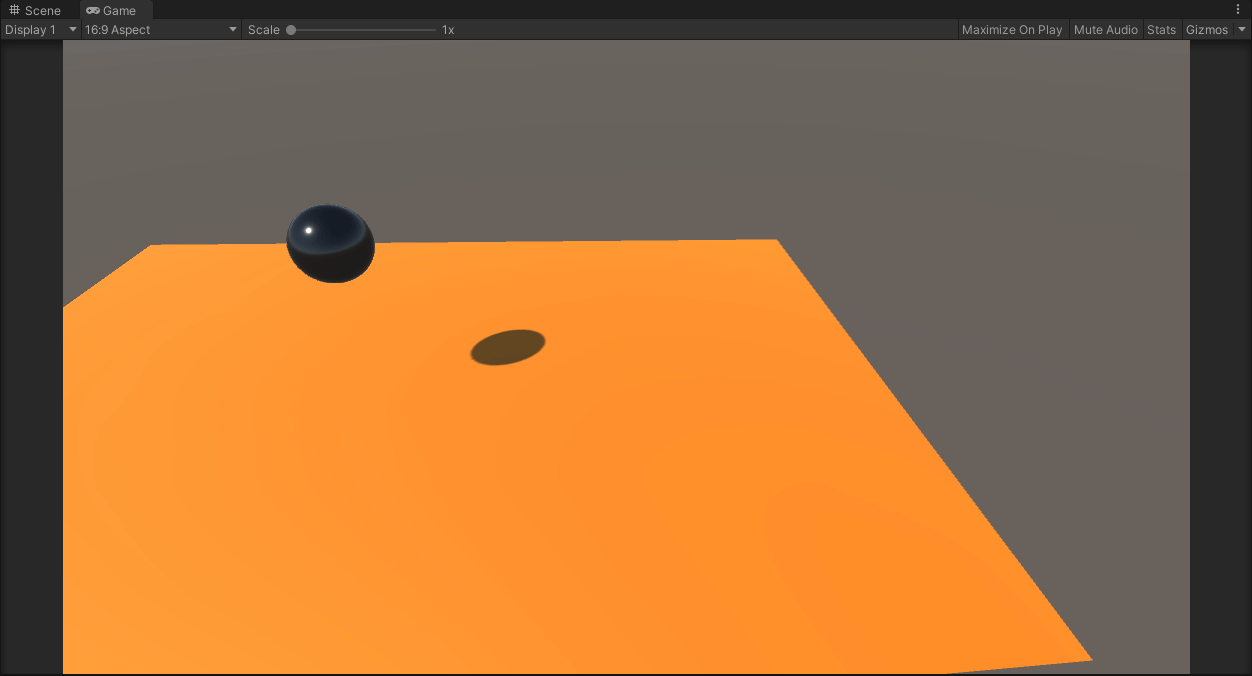
First, navigate to the SimTest1 scene. In the scene, there is an Emitter that uses the PhysicsSimulation.cs script to emit spheres. When playing this scene, spheres will be periodically emitted, but since you have not yet implemented any physics, they will not yet move. You can change the properties of the emitted spheres by changing the following parameters. Scale is the size of a sphere. Period controls how often a sphere is emitted. Max Spheres controls how many spheres exist in a scene simultaneously (for performance).
Note: changing these values during play does not update the simulation in real time. Any changes must be made before playing the scene.

There are also PlaneCollider and SphereCollider gameobjects that use the CustomCollider.cs script to mark the respective plane and sphere primitives as colliders for our physics engine implementation. Each PlaneCollider or SphereCollider also has the restitution constant of the range [0,1] used in calculating collision force attenuation.

If you want to add additional colliders, navigate to the Prefabs/Colliders folder and drag PlaneCollider/SphereCollider into the scene.
Skeleton Code
There are three major components in our physics simulation system:
- Sphere objects (or balls) which have physics properties such as mass, position, and velocity
- Forces
- An engine for simulating the effect of the forces acting on the spheres that solve for the position and velocity of each sphere at every time step
The skeleton code already provides a general outline of a simulation engine. Specifically, at every frame, the engine first spawns the spheres by calling the EmitSpheres function. The spheres are spawned at the world coordinates of the Emitter Gameobject. Then, for each sphere, we need to:
- Calculate total forces acted on a sphere and solve for the sphere’s position and velocity using Euler’s method in the ComputeSphereMovement function.
- Detect collision and calculate collision response for the sphere in the OnCollision function.
Implement viscous drag force
Complete the TODO in PhysicsProperties.cs to implement a viscous drag force class. You must implement the constructor as well as the GetForce and SetDragCoefficient methods. The GetForce method should return a force vector which is the drag force exerted on a given Sphere. The SetDragCoefficient should update the coefficient of the drag force such that a subsequent call to GetForce will respect the new drag coefficient.
The ComputeSphereMovement function
The ComputeSphereMovement function is called every frame for each sphere (see FixedUpdate), and updates a Sphere’s velocity and position. Complete the TODO in ComputeSphereMovement in PhysicsSimulation.cs. Refer to lecture notes. In general, you will need to:
- Clear forces
- Calculate total forces acted on a sphere
- Solve the system of forces using Euler’s method (derivatives)
- Update sphere’s position and velocity
Hint: Use Unity’s Time.deltaTime which is the interval in seconds from the last frame to the current.
Once you finish this part, you should be able to see the emitted spheres move in the SimTest* scenes.
The OnCollision function
The OnCollision function in PhysicsSimulation.cs checks if a collision occurred between a ball and a collider, and also handles the collision interaction (bouncing). It returns a boolean indicating whether a collion occurred. Although we need to update a sphere’s position and velocity in world space, checking for collisions is much easier in a collider’s canonical (local) space. The skeleton already handles conversion from world to local space for both position and velocity of a sphere in the OnCollision function. Depending on whether the collider is a sphere or plane, we need separate checks.
Complete the three following 3 steps:
Detect SphereCollider collision
Implement the TODO: Detect collision with a sphere collider in OnCollision. Refer to lecture notes. You will need to check if a ball closely collides with a SphereCollider and if it is coming towards the collider.
In the OnCollision function:
- The variable
collisionOccureddenotes whether our ball is within distance of collision with another SphereCollider. - The variable
isEnteringdenotes whether our sphere is flying towards another SphereCollider. - The variable
normaldenotes the unit normal vector of the SphereCollider at the point of collision with the ball.
You will need to compute the two conditions above to determine whether a collision between our ball and another SphereCollider is possible. Remember that the position of our ball (localPos) is in the local frame of the SphereCollider, which means it can be used as a vector pointing from the SphereCollider towards the ball. The SphereCollider normal that you calculate here will be used for collision response calculation in 2.3.c
Detect PlaneCollider collision
Implement the TODO: Detect sphere collision with a plane collider in OnCollision. Refer to lecture notes.
Note: you don’t yet need to implement the TODO: Follow these steps to ensure the sphere always on top of the plane, since you will do that in part B: MazeGame. However it is possible some of your SimTest* scenes don’t match the solutions until you finish this, in particular when balls are rolling on a plane or roll off an edge.
Since PlaneColliders are finite planes, you will also need to use the PlaneCollider’s width and height to determine collisions. By default, a 1x1 unit plane in Unity has an actual size of 10x10 units, thus the skeleton code already calculates the appropriate planeHeight and planeWidth by multiplying the x (height) and z (width) scale by 10. The default plane also has its normal pointing in the +y-axis, which is (0,1,0). This means that in the PlaneCollider’s local frame, its normal points in the (0,1,0) direction.
In the OnCollision function:
- The variable
collisionOccureddenotes whether our ball is within distance of collision with the PlaneCollider. - The variable
isEnteringdenotes whether our sphere is flying towards the PlaneCollider. - The variable
normaldenotes the unit normal vector of the PlaneCollider at the point of collision with the ball. This will be the plane’s normal vector, except when the collision occurs at an edge or at a corner of the plane. In those cases, the vector should point from the edge/corner of the plane towards the ball.
You will need to compute the 2 conditions above to determine whether a collision between our ball and another PlaneCollider has occured. The PlaneCollider normal that you calculate here will also be used for collision response calculation in 2.3.c.
Note: a ball coming towards a PlaneCollider from underneath should not collide with the collider.
Collision Response
Implement the TODO: Update the sphere's velocity, remember to bring the velocity to world space in OnCollision.
At this point in the code, collisionOccurred and isEntering should be properly set for both the SphereCollider and the PlaneCollider case. Refer to lecture notes on how to calculate the new velocity vector and use the normal vector you calculated for both cases and calculate the new local velocity. Since we are operating in the collider’s local space, you will need to convert this local velocity to world velocity and assign it to the ball. [Hint: look at the function colliderTranform.TransformDirection() and colliderTransform.TransformPoint()].
Part B: MazeGame with Custom Physics
Overview
For this part, you will revisit your first-ever project in this class, MazeGame. However, there is a twist: you will not use Unity’s built-in Physics system (RigidBody, Colliders) but instead, you will try to recreate the game using the physics simulation engine that you just implemented.
Here is the link to the original MazeGame to re-familiarize yourself with all the components such as Collectible and EndWall. These 2 components use Unity’s collider system.
MazeGame Requirements
We have already created a simple MazeGame for you with all the necessary components such as the maze area, the control system, and the Emitter which spawns the player sphere. However, the game does not yet handle or detect collisions.
Handle collision detection and response
Use what you implemented in part A to complete the 2 TODOs in the MazeGameController.cs script to simulate the physics and handle the collisions so that the sphere rolls on the ground, picks up Collectible objects, and collides with the EndWall.
Ensure the sphere always rolls on the ground
The reason why the sphere sinks to the ground is because we don’t consider the normal force from the plane. Consider a stationary sphere sitting on a plane. In the next timestep, the ball falls below the plane, but our mechanism of collision reflects the direction of velocity, which is zero. Hence, the sphere is not kept on the ground.
To fix this, we simply always position the sphere on top of the collider when there is a collision. Complete the TODO: Follow these steps to ensure the sphere always on top of the plane in OnCollision function in PhysicsSimulation.cs. The sphere should be able to roll around the maze after that.
SimTest References
In 16:9 aspect ratio, captured after both part A and B are completed.
1 2 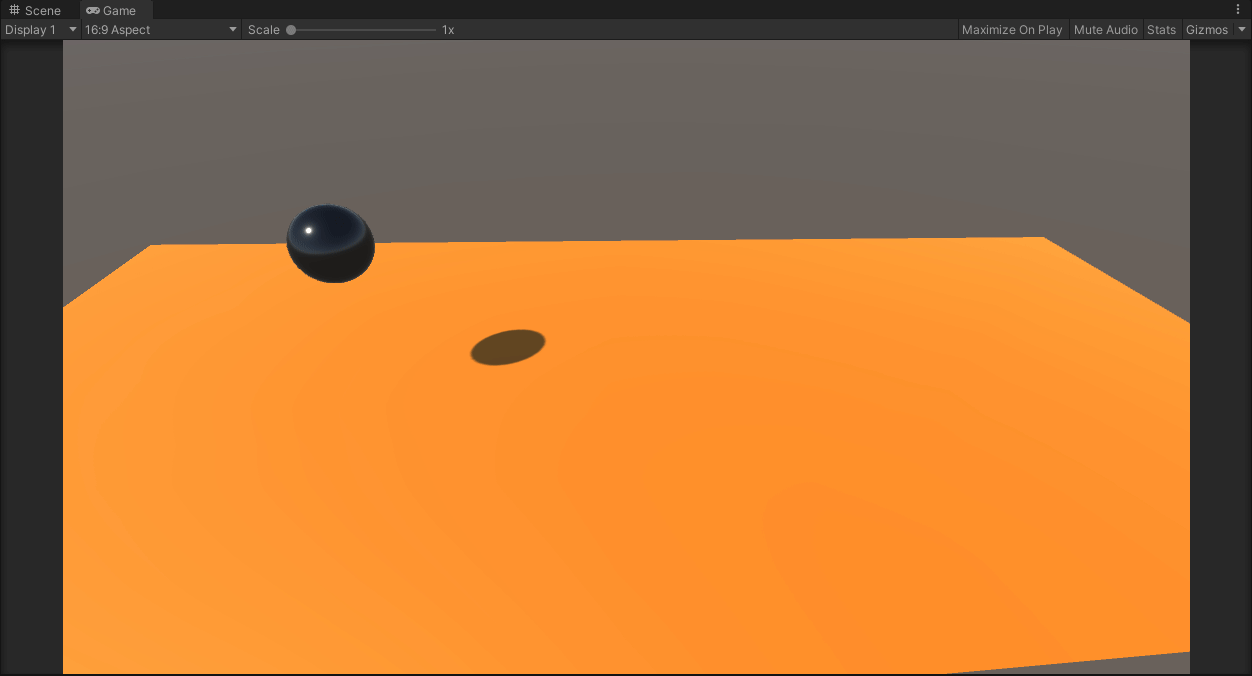 3
3 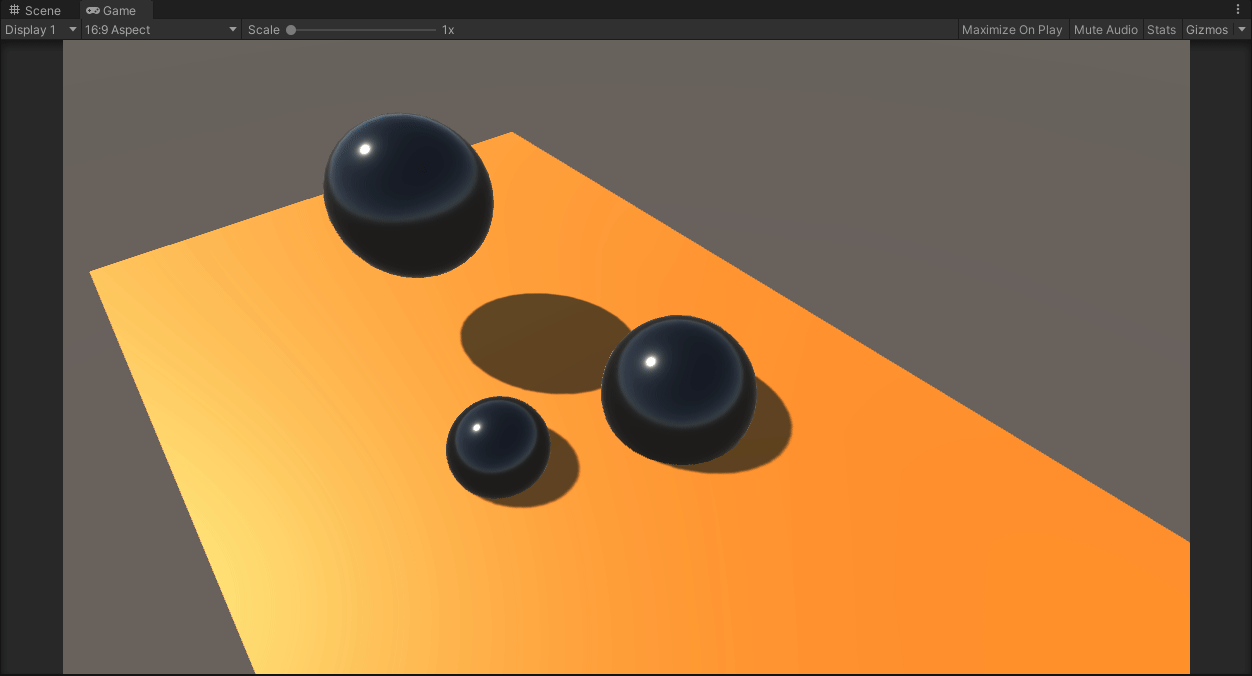 4
4 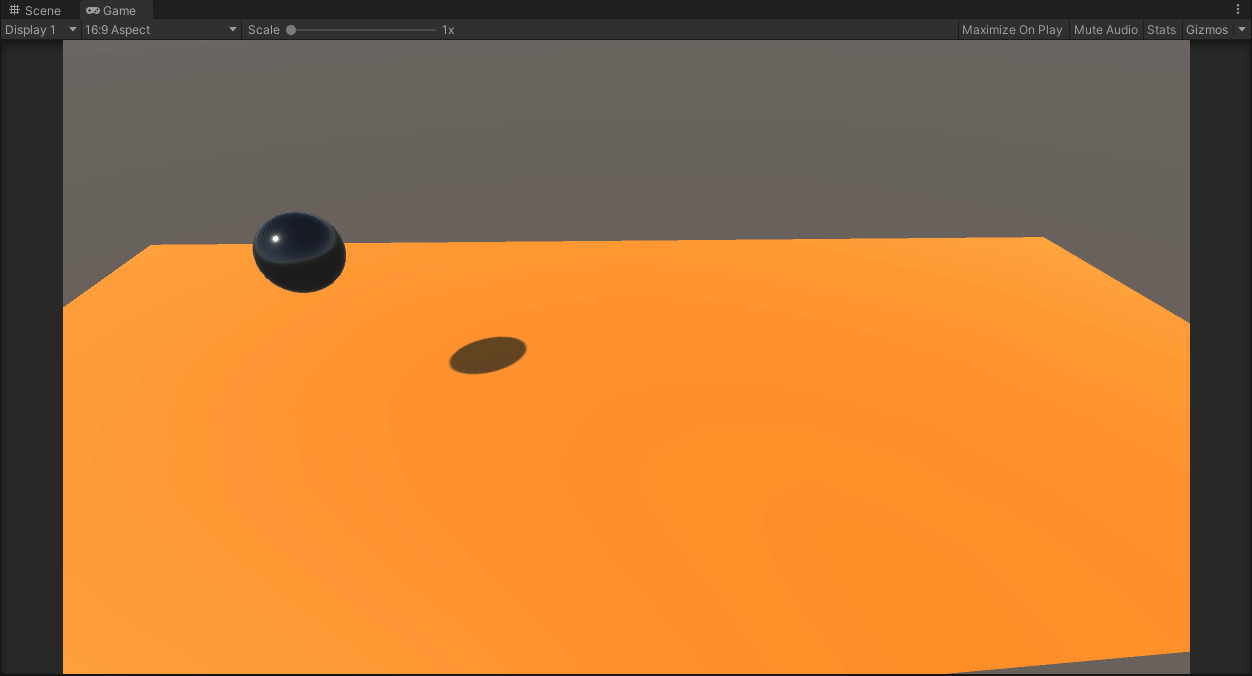 5
5 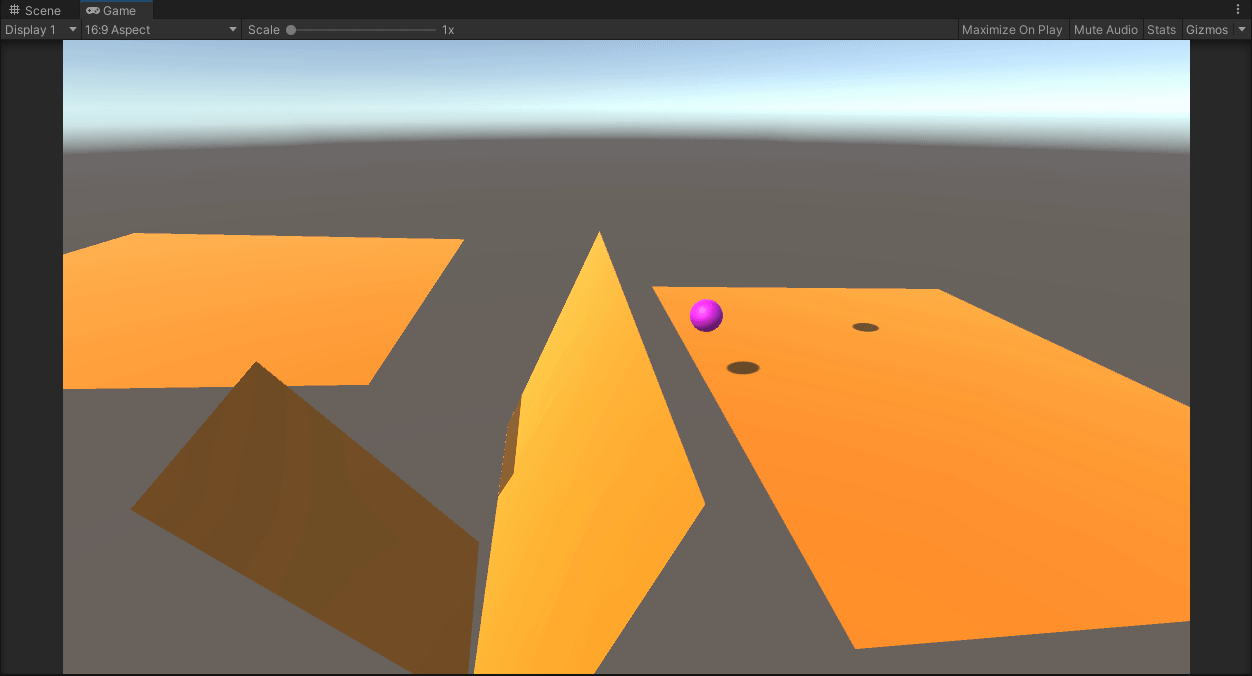 6
6 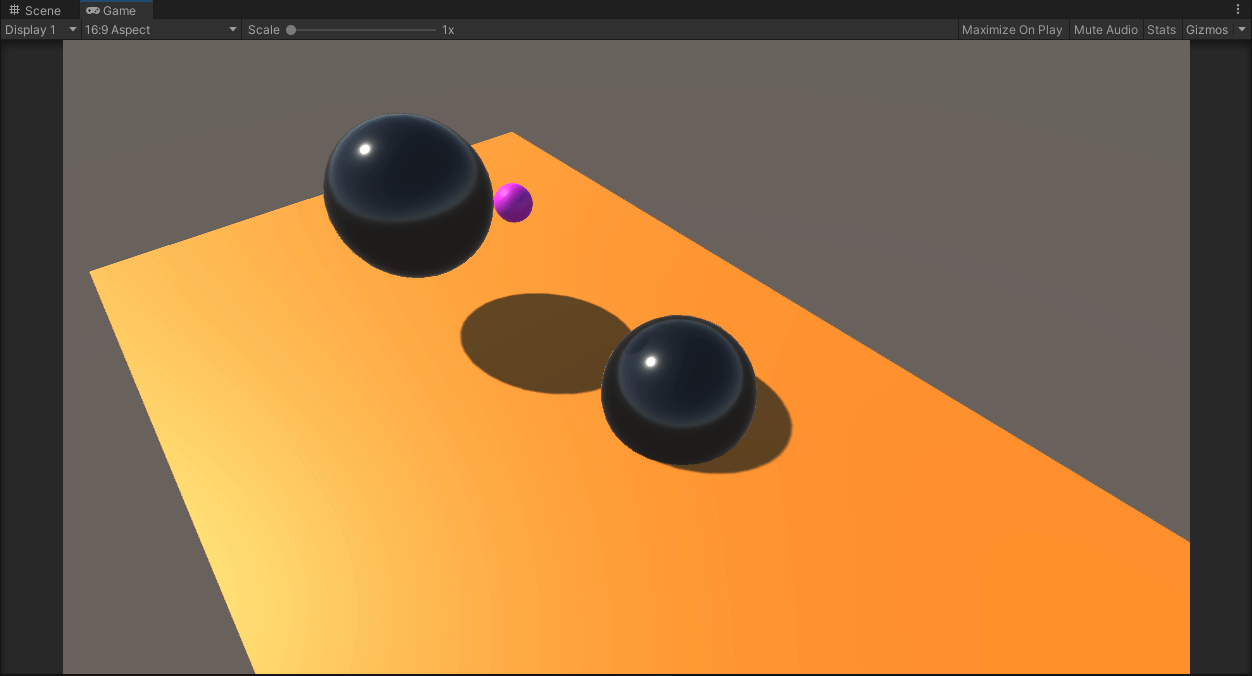
Turn In
Make a folder and rename it to your netid. In the folder, put the following items:
- 6 screen recordings renamed
SimTest1.mp4toSimTest6.mp4respectively. Each recording should be a screen capture of respective SimTest scene playing for at least 10 seconds and at most 15 seconds.SimTest4should be played until the first emitted ball goes off screen (approximately 20 seconds). - A screen recording renamed
MazeGame.mp4where you play the MazeGame scene, get 3 collectibles and then win (approximately 30-60s depending on your skills). PhysicsSimulation.csPhysicsProperties.csMazeGameController.cs
For the recordings: Make sure your game window in Unity is in 16x9 aspect ratio (top left drop-down after hitting play). Make sure you haven’t modified the test scenes. Please make sure the video resolution and frame rate of your screen capture is high enough to view the scene without problems.
Zip the folder and submit the file on Canvas. The zip file should contain exactly one level of folder nesting. (Once we open up your zip file, we should see a single folder named your netid, and we should see the listed items in the folder).