CSE/STAT 416, Summer 2020: Software
Software
Installing software for this class is optional. Every homework assignment will have an associated Jupyter Notebook in Google Colaboratory (think Google Docs for Jupyter Notebooks). We recommend that you use Colab to write and run your code since it is simple to set up (just click the link from the homework spec). The downside to using Colab is it might be a bit slower than developing on your own computer, so if you would rather write/run the code locally, you can follow these instructions below!
If you choose to use a local development environment, please double check your code using Colab to make sure there are no inconsistencies in results due to mismatched environments.
Preface
Getting a development environment set up is easily one of the most frustrating things about being a programmer, so it's okay if this process doesn't go smoothly! If you run into troubles along the way, please make sure to post on Piazza, come to virtual office hours, or just Google around to see if you can solve the problem on your own!
Note: These instructions have been updated from the course CSE 163. In some of the screenshots below, you will see 163 which you should replace with 416.
Table of Contents
- Step 1 - Install Anaconda
- Step 2 - Create Environment and Install Python Packages
- Step 3 - Verify Everything Works
- Frequently Asked Questions (FAQ)
Step 1 - Install Anaconda 3
If you already have Anaconda 3 installed with a version of Python before 3.7:
You should open up terminal/command prompt and run the commands:
conda update conda
conda install python=3.7You may then skip this step after you have successfully installed Python 3.7.
Go to Anaconda's website and install Python 3.7 for whichever operating system you own.
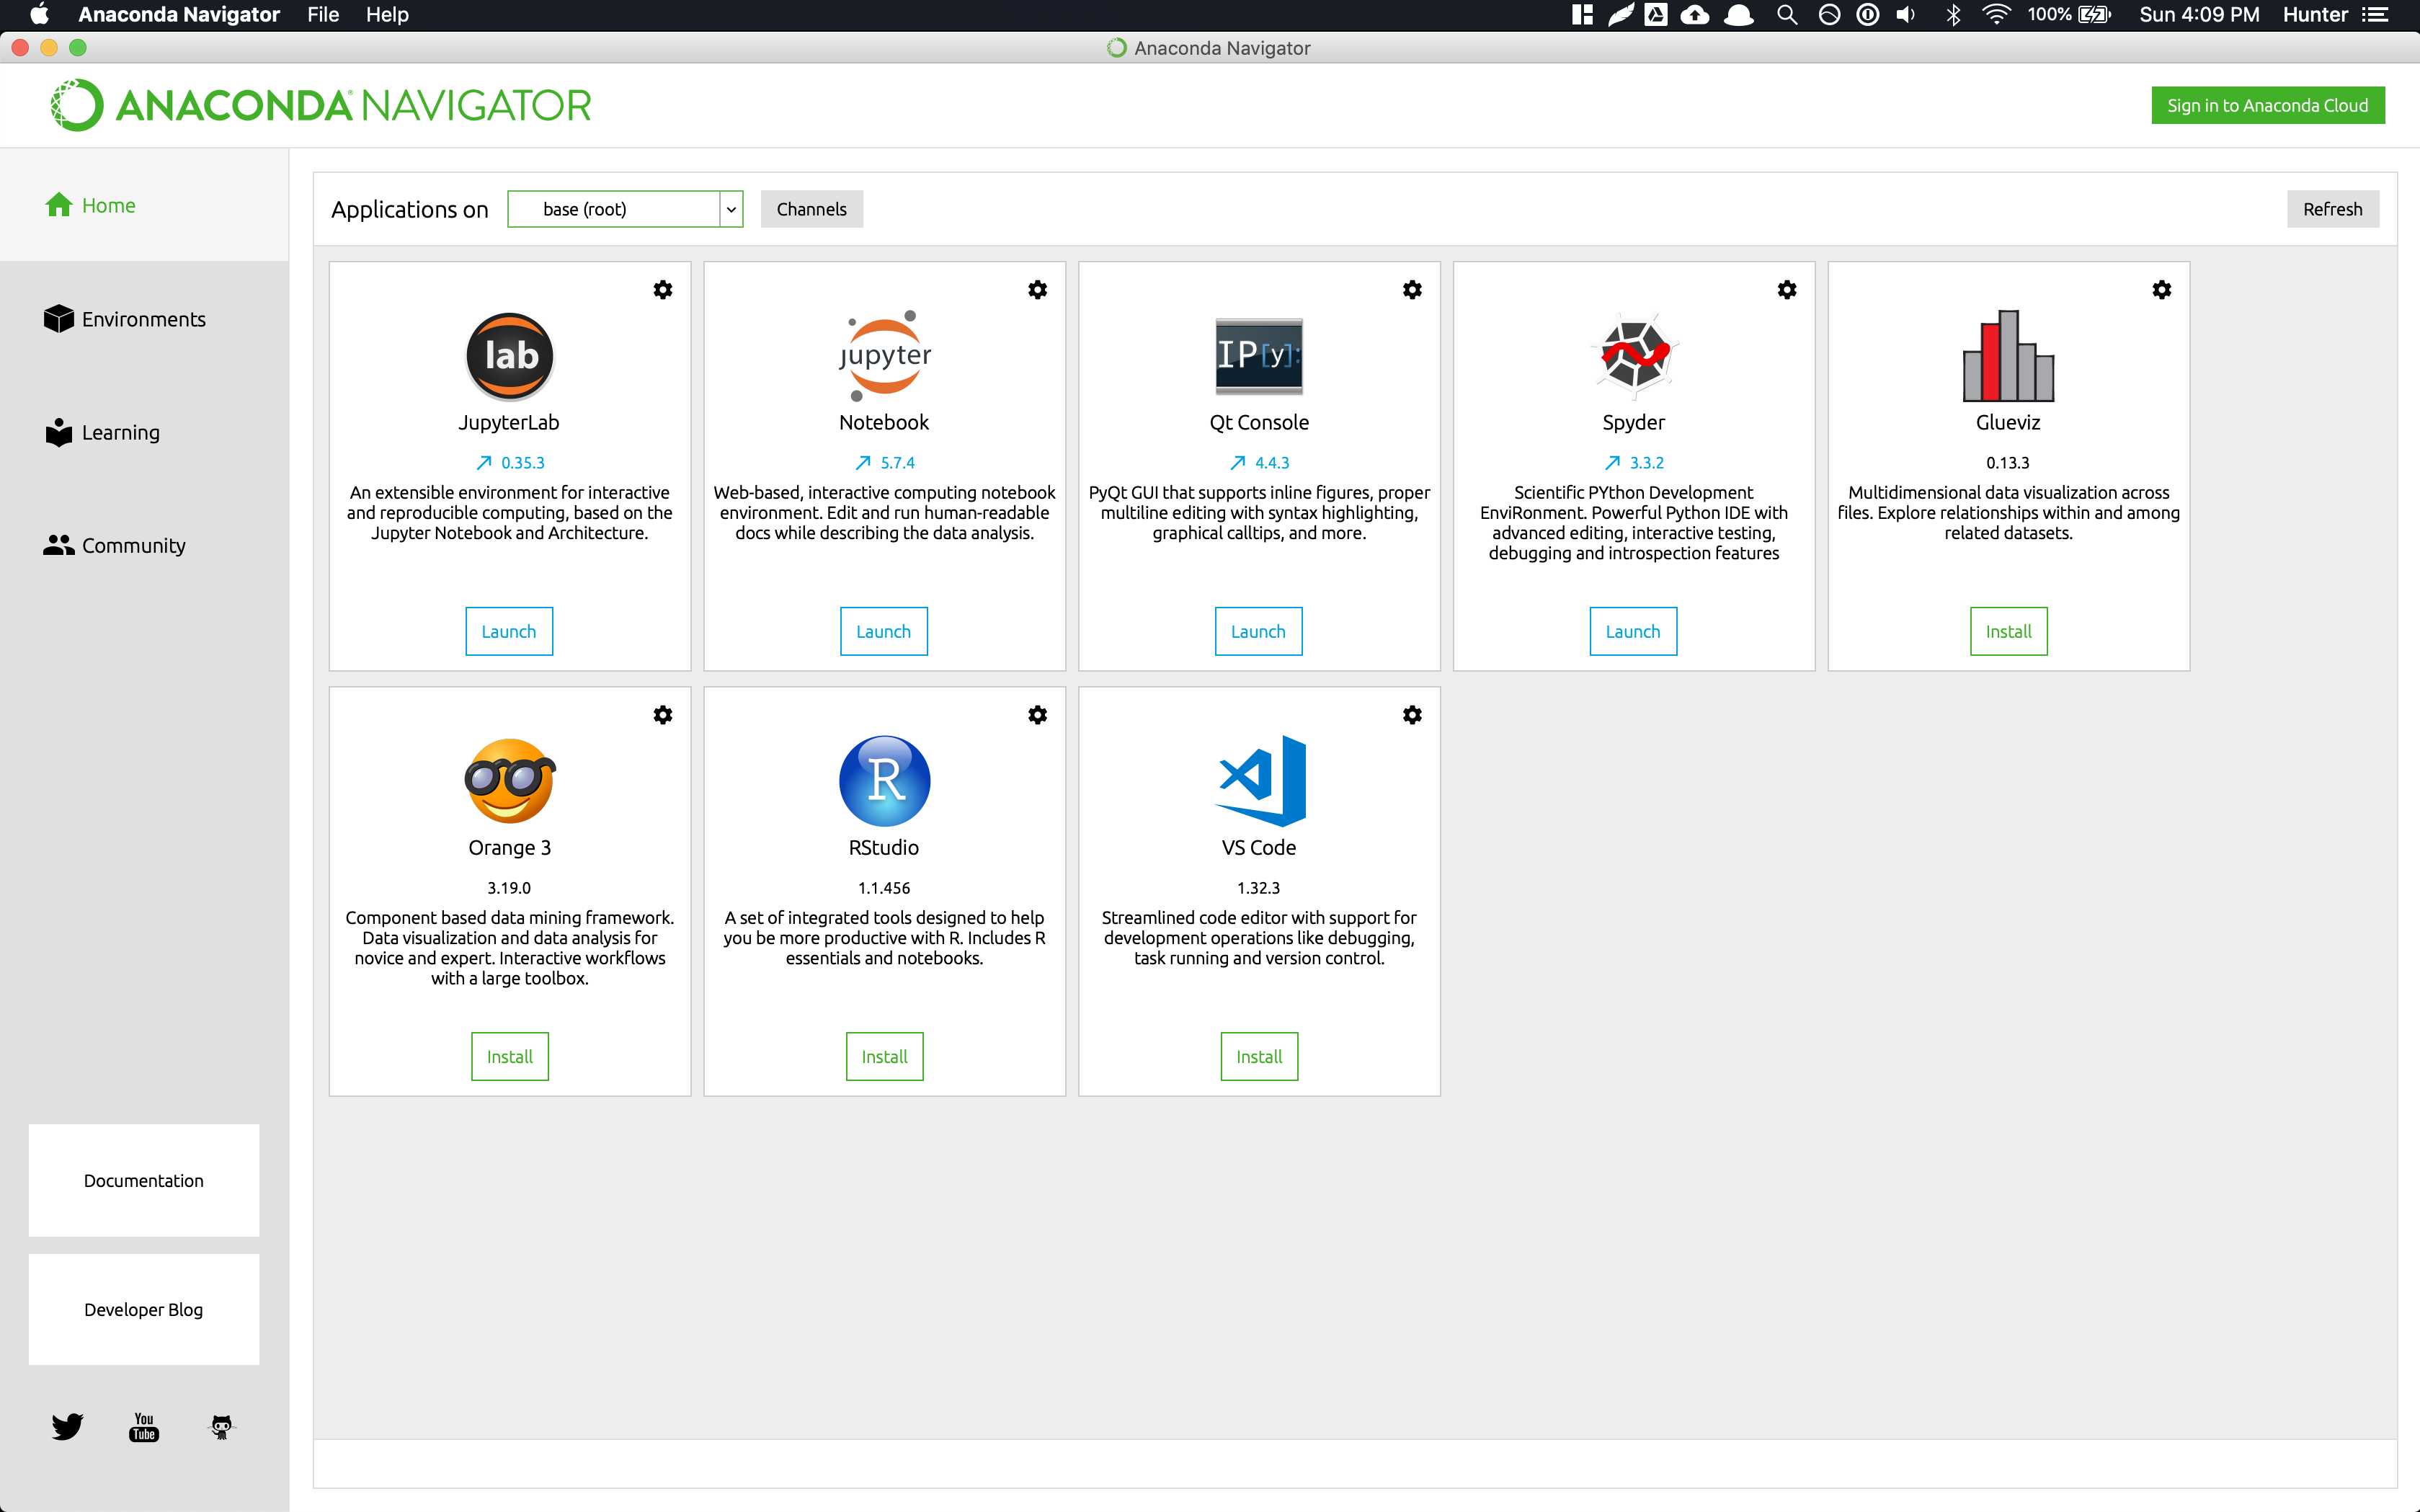
Once installed, you should open the Anaconda Navigator application and you will see a screen like:
Step 2 - Create Environment and Install Python Packages
Download the environment.yaml somewhere on your computer. This file specifies all of the requisite Python packages and their versions. The location of this file does not matter as long as you remember where you saved it.
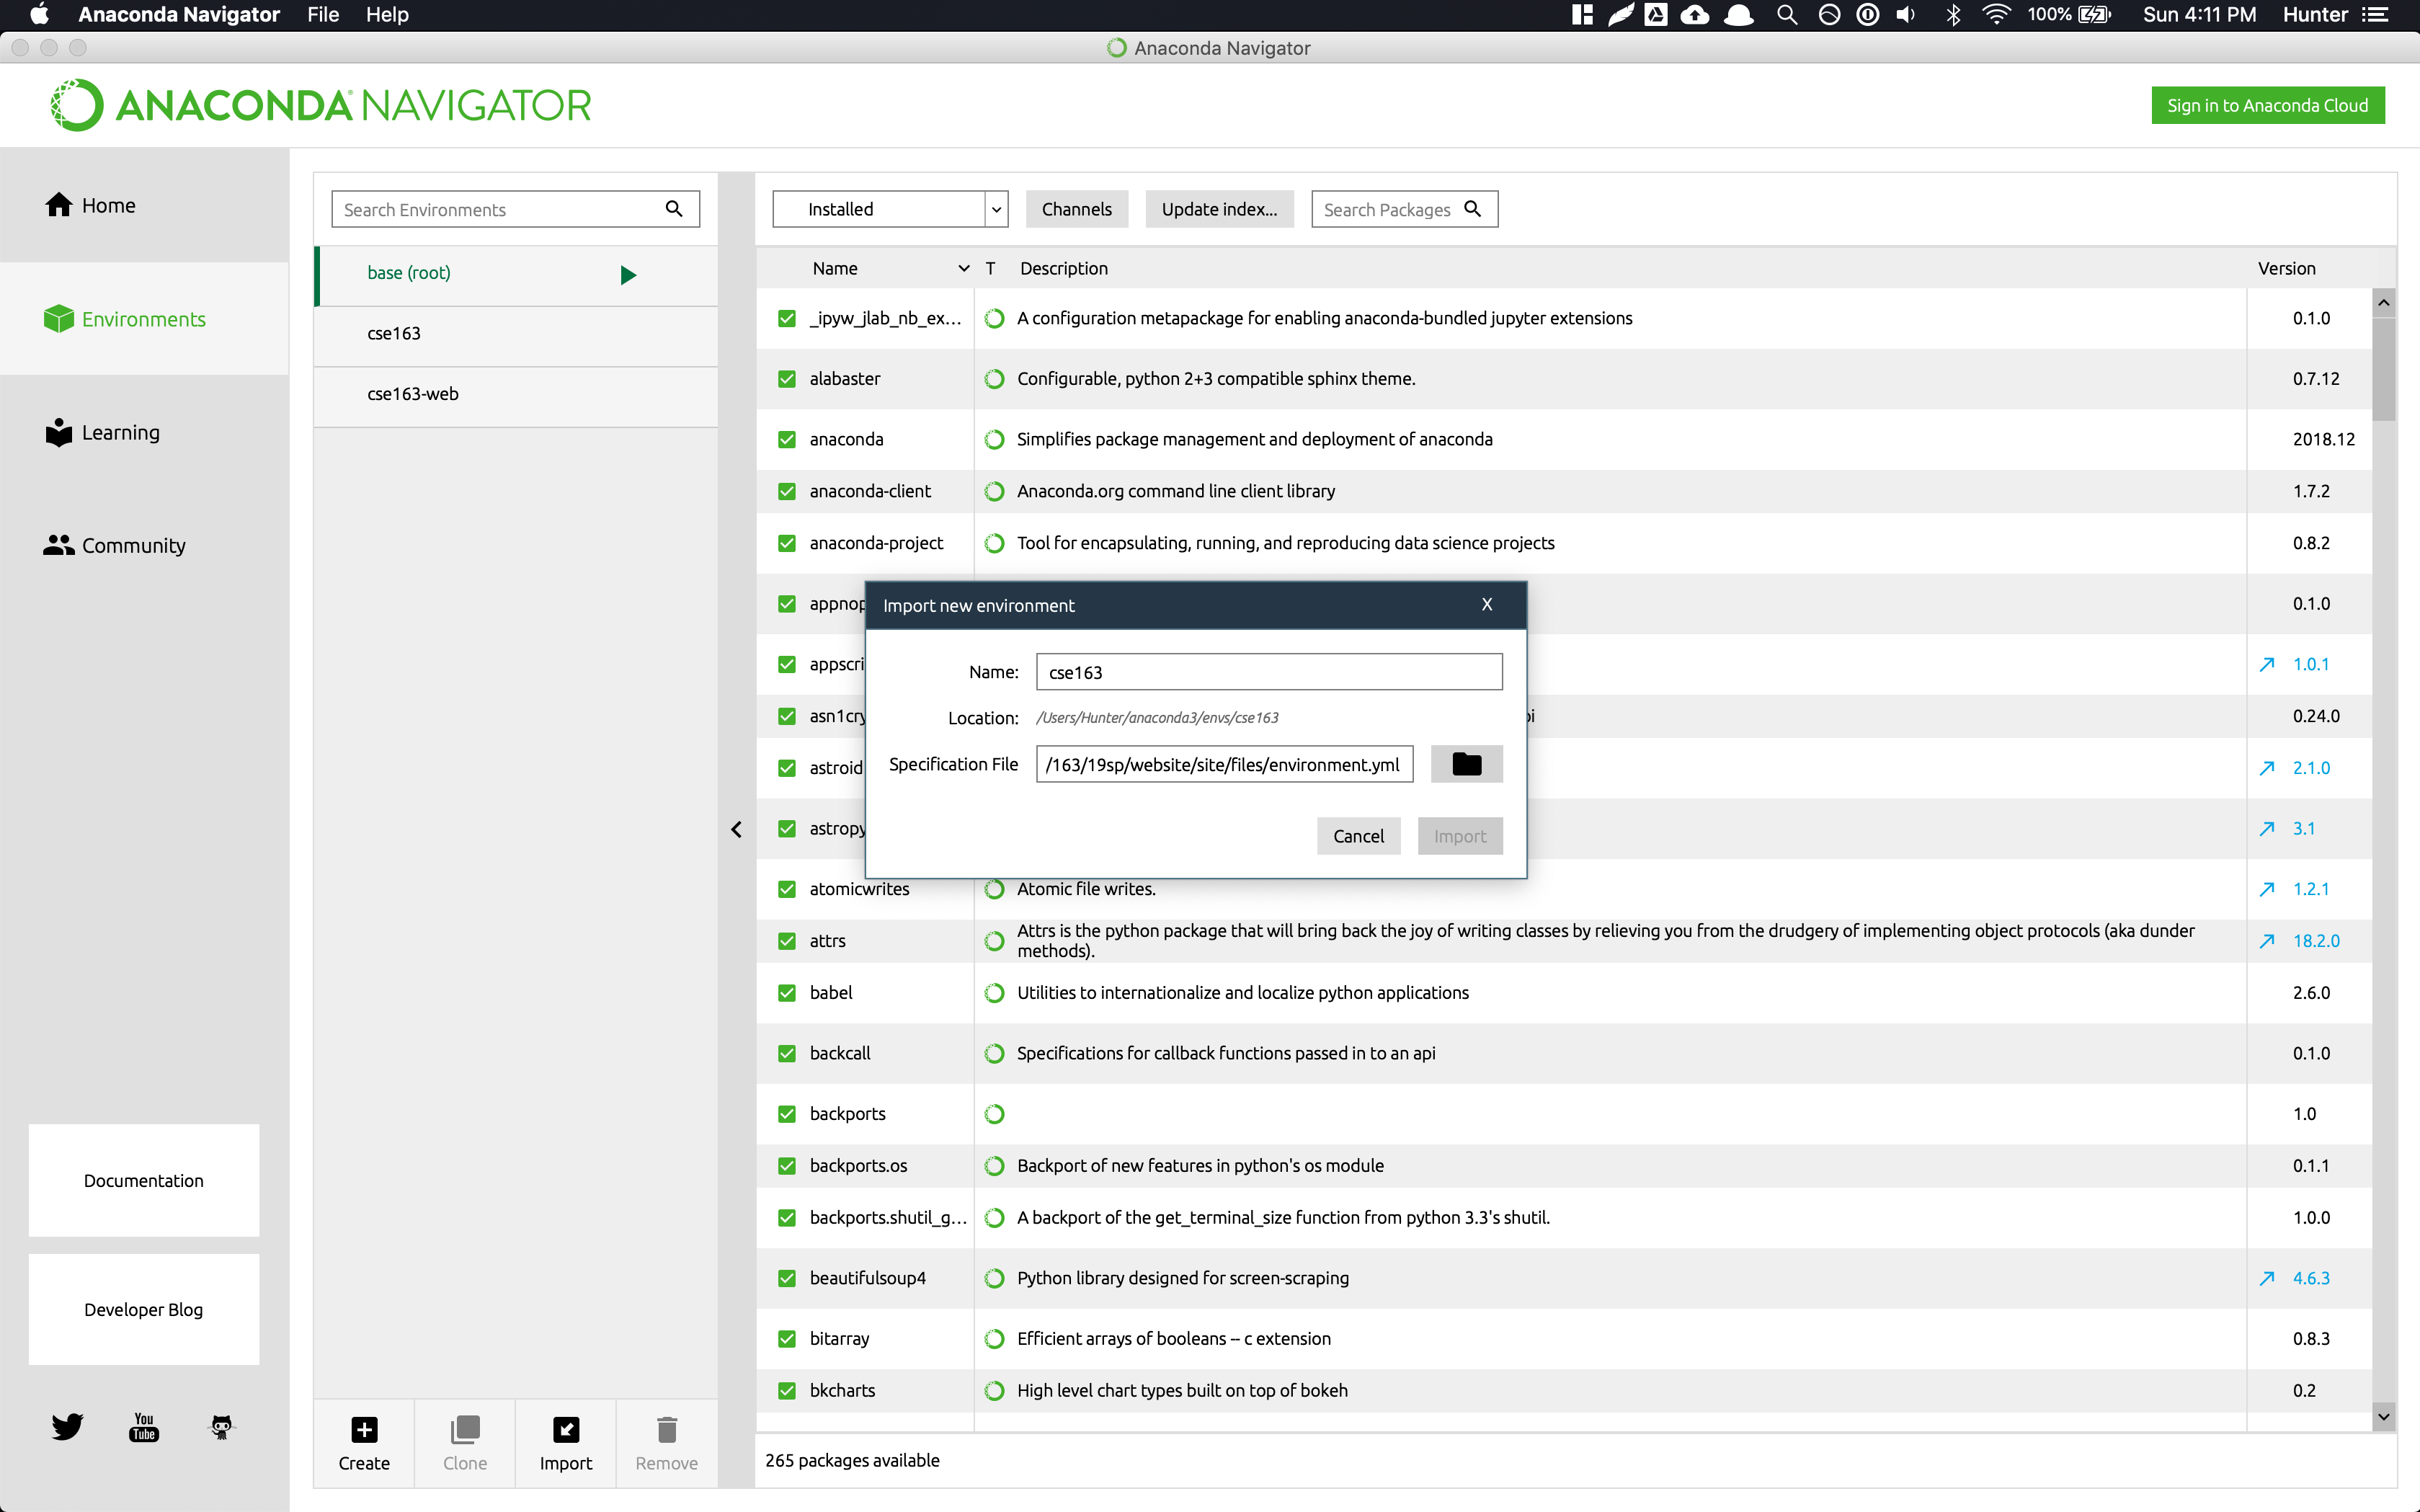
Navigate to the Environments section on the left, and click the Import button at the bottom. Click on the folder icon, navigate to and select the environment.yaml file you just downloaded. In the prompt after selecting the environment specification, you should name the environment cse416. Once you have done this and created the environment, it will install all of the necessary packages.
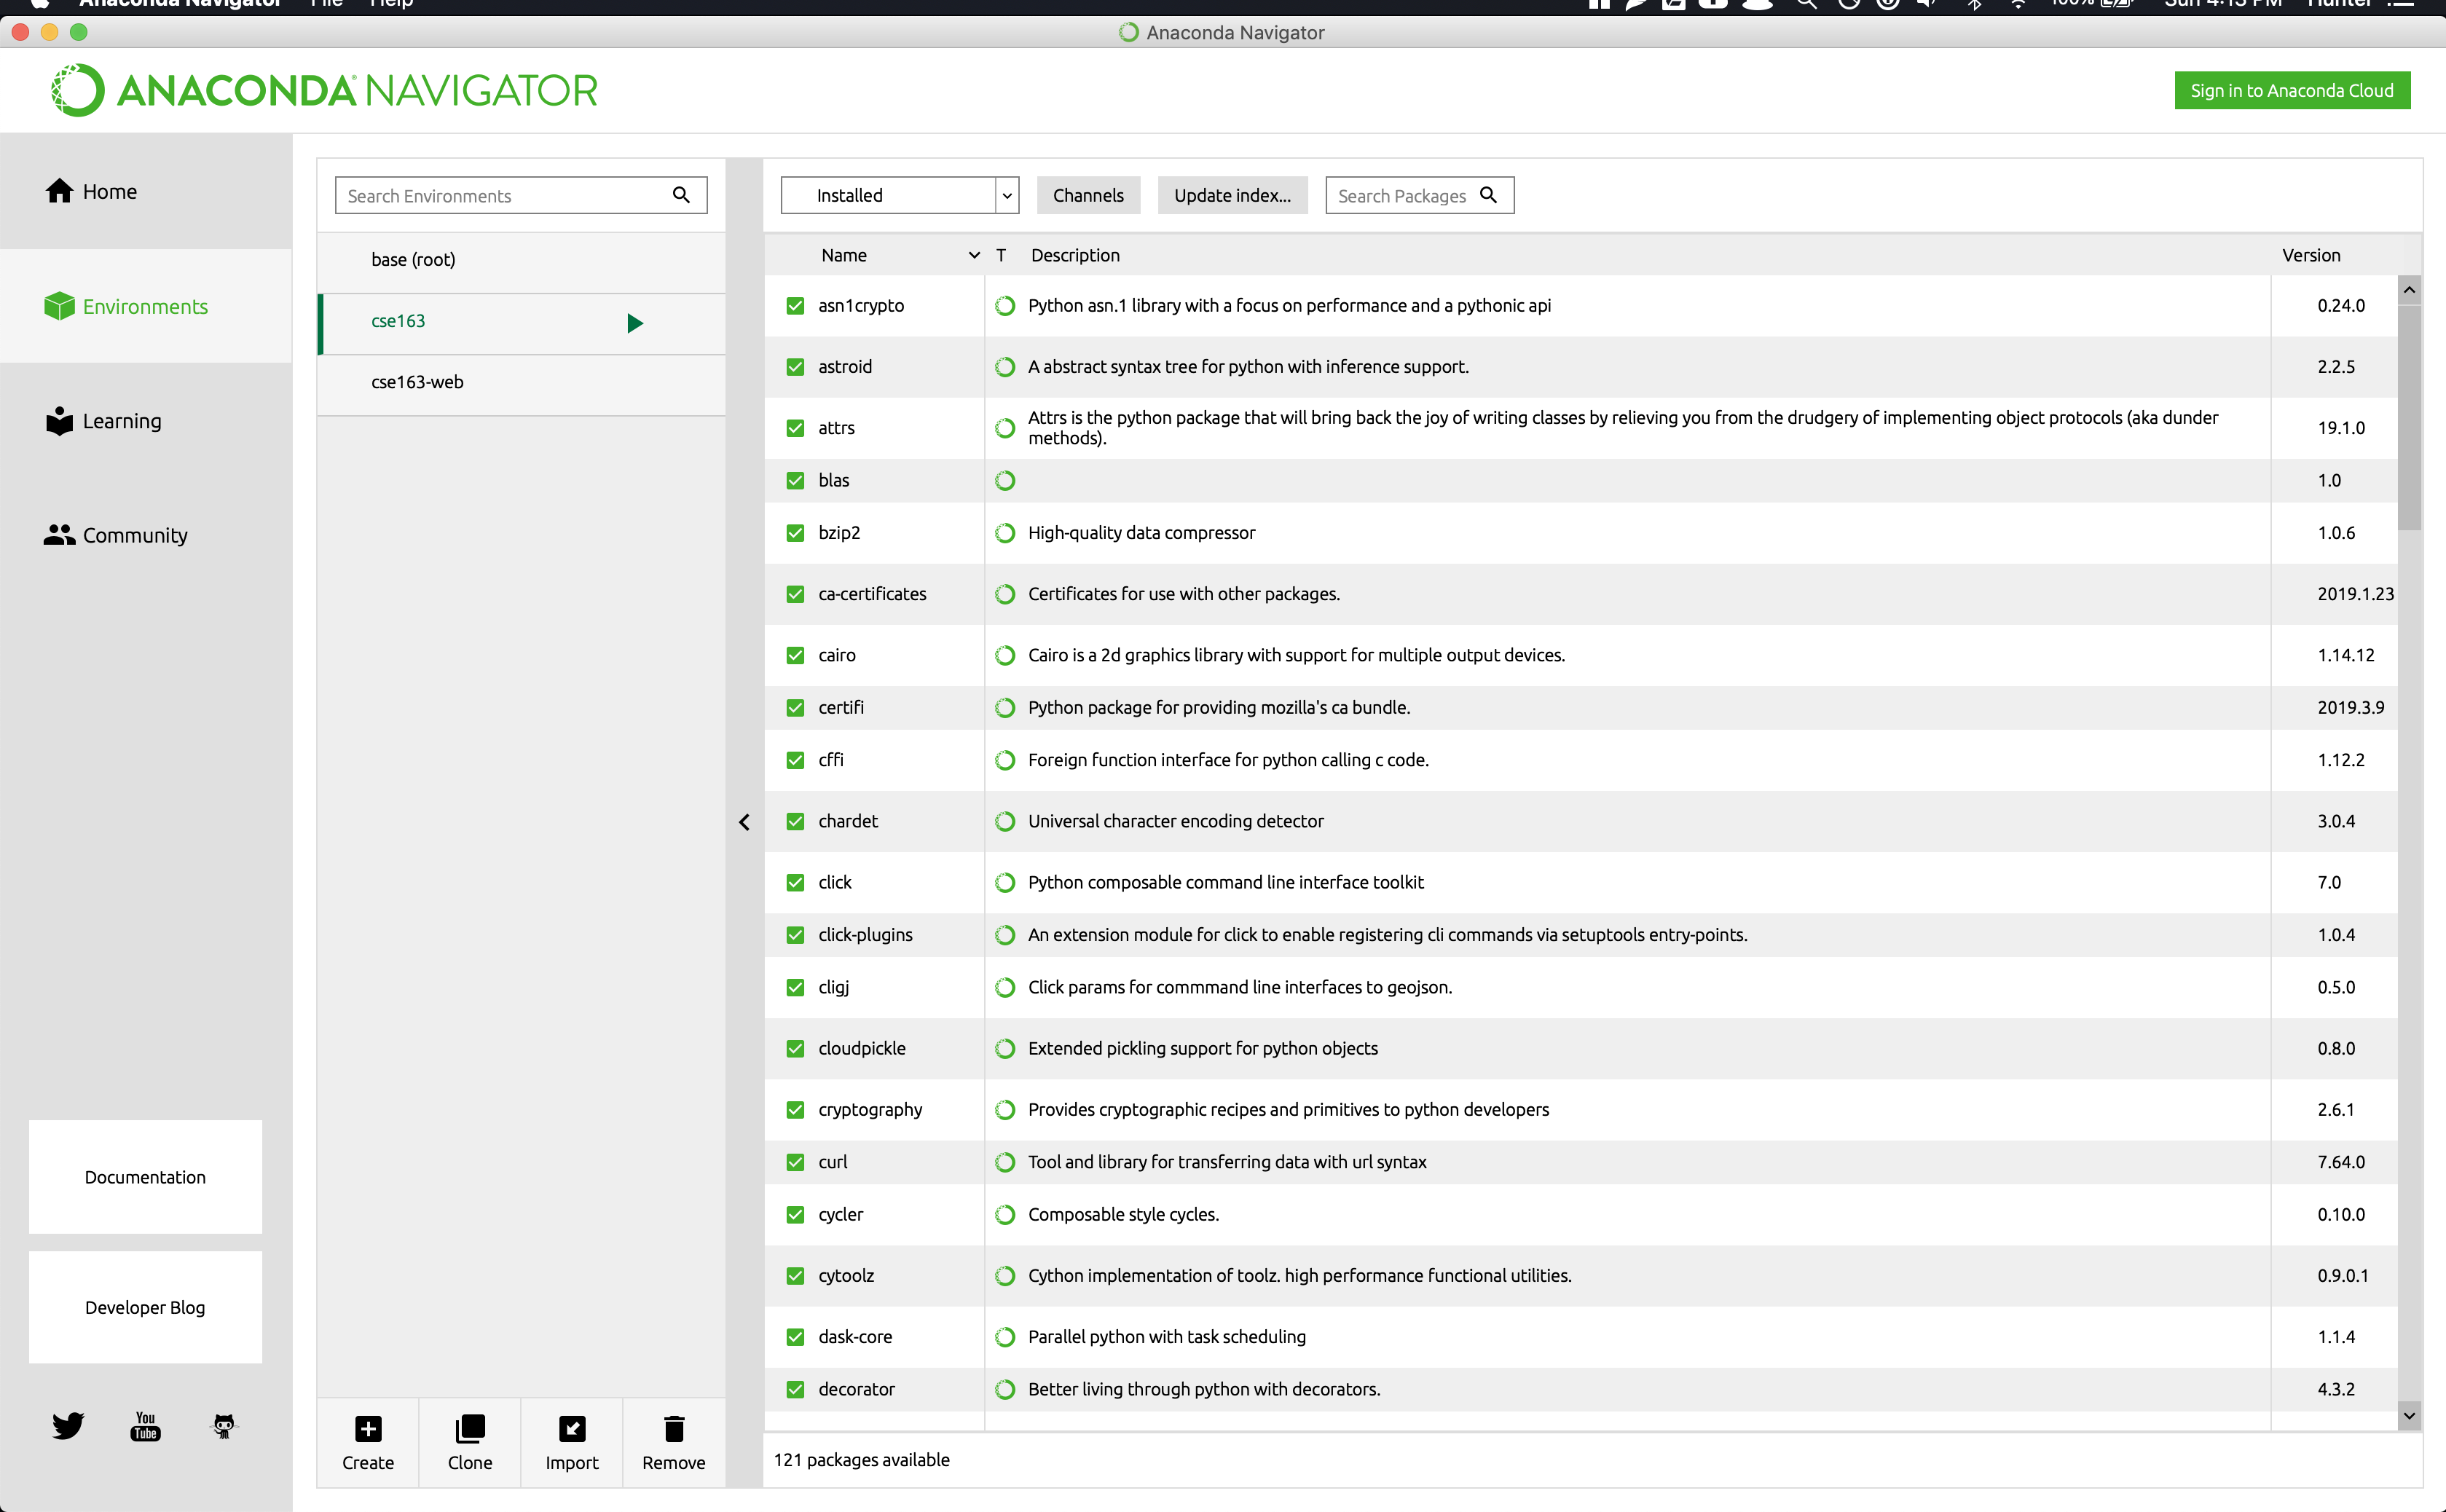
After all the packages have been installed, you should see an environment called cse416 and if you select it, will have many packages installed. Clicking on the environment should show you something that looks like a list of Python packages:
Step 3 - Verify Everything Works
Go to Assignment 0 and verify you can run everything!
Frequently Asked Questions
Note: This section will be updated throughout the quarter (especially at the beginning), so you should check back frequently if you run into problems!