CSE 331: Software Setup
Students are expected to complete the following steps before the first quiz section of the quarter. Those who have any trouble, should ask for help on the message board. If it cannot be resolved that way, they can come to section after getting as far as they can on their own.
1. Determine your operating system
Figure out if you're using a MacOS, Windows, or Linux. Then, make sure that you follow the instructions that work for your computer as you proceed through this document. For this course, we recommend that you do any and all coding locally.
A note for Windows users: For any downloads you perform in this course (both downloading tools in the following instructions and downloading/cloning any section or homework code), you should make sure that you are storing things in local directories. Specifically, do not place code or other downloads in a OneDrive folder. This can cause various issues with tools not working as expected.
2. Install Bash
Bash is the command-line shell that you use on your laptop. It is sometimes also referred to as the terminal.
-
MacOS or Linux: Your command-line shell is built-in. It will be an application on your laptop titled "Terminal".
-
Windows: You can install your own version of bash. On the Git for Windows page select Download and then follow any prompts that you are given.
3. Install Git
Git is a version control system. We won't need to use git for anything more than downloading the starter code. However, it is an extremely useful tool that would be worth your time to learn.
-
MacOS If you do not already have git, you can install it with the Apple developer command line tools package by running
xcode-select --installin a terminal. Note: this does not install the full XCode IDE, just the command line developer tools. The tools are also installed automatically if you have installed the Homebrew package manager (also not required for CSE 331, but popular with many MacOS developers). -
Linux: Install git from your package manager.
-
Windows: Git comes with Bash. If you followed the above instructions for Bash, you should already have it!
4. Install Node and NPM
Node executes JavaScript code on the command-line. NPM is a package manager that comes with Node.
Please note that absolutely everyone in this course should install Node. Even if you already have it installed, do it again! The Node installer will handle all duplicate and outdated Node versions on your OS, so there's no harm in re-installing!
-
MacOS or Linux: First, navigate to the Node.js homepage and select the LTS version of Node.js. This will also install the correct version of NPM automatically. You may get a warning about the installer not coming from a “verified developer.” To resolve this, open System Preferences and navigate to Security & Privacy > General. There, you'll be able to click “Open” to run the Node/NPM installer.
-
Windows: First, navigate to the Node.js homepage and select the LTS version of Node.js for Windows. This will also install the correct version of NPM automatically. Make sure that the “Add to PATH” option is enabled with the “Will be installed on local hard drive” sub-option during the installation process. Keep the “Tools for Native Modules” option disabled. These selections should be the default installation options, so just verify they are made.
NPM comes with Node.js, so you should have it now as well!
5. Install Visual Studio Code (VSCode)
Students are free to use any editor. However, the staff will only provide help with VSCode. In other words, if you prefer to use a different editor, the staff will be unable to help you with any setup related bugs you encounter throughout the quarter.
VSCode is an editor with excellent support for TypeScript (and practically all other programming languages under the sun). If you ask the staff, we think it's pretty great! This is an editor that is popularly used in industry as well, so it is definitely a good tool to be familiar with! :)
-
MacOS: First, navigate to the VSCode homepage and select the big blue Mac button. Then, follow any prompts that you are given.
-
Linux: First, navigate to the VSCode homepage and select the big blue .deb or .rpm buttons, depending on which of the 2 designated categories that your OS falls under. Then, follow any prompts that you are given.
-
Windows: First, navigate to the VSCode homepage and select the bug blue Windows button. Then, follow any prompts that you are given.
VSCode Extensions
Make sure that you do not have Copilot or any other AI assistants enabled when working on your homework assignments. Each assignment must be completed without assistance.
6. Check that your software setup is working properly
- Use bash and git to clone the git repo for the first section:
git clone https://gitlab.cs.washington.edu/cse331-24au-materials/sec01.git
- Change into the resulting directory:
cd sec01 - Install the dependencies:
npm install --no-audit - Start the dev server:
npm run start - Navigate to http://localhost:8080
- Open the developer tools. In Chrome, either:
- Select the triple dots menu, then More Tools, then Developer Tools.
- Or, right click on the webpage and then select Inspect from the popup window.
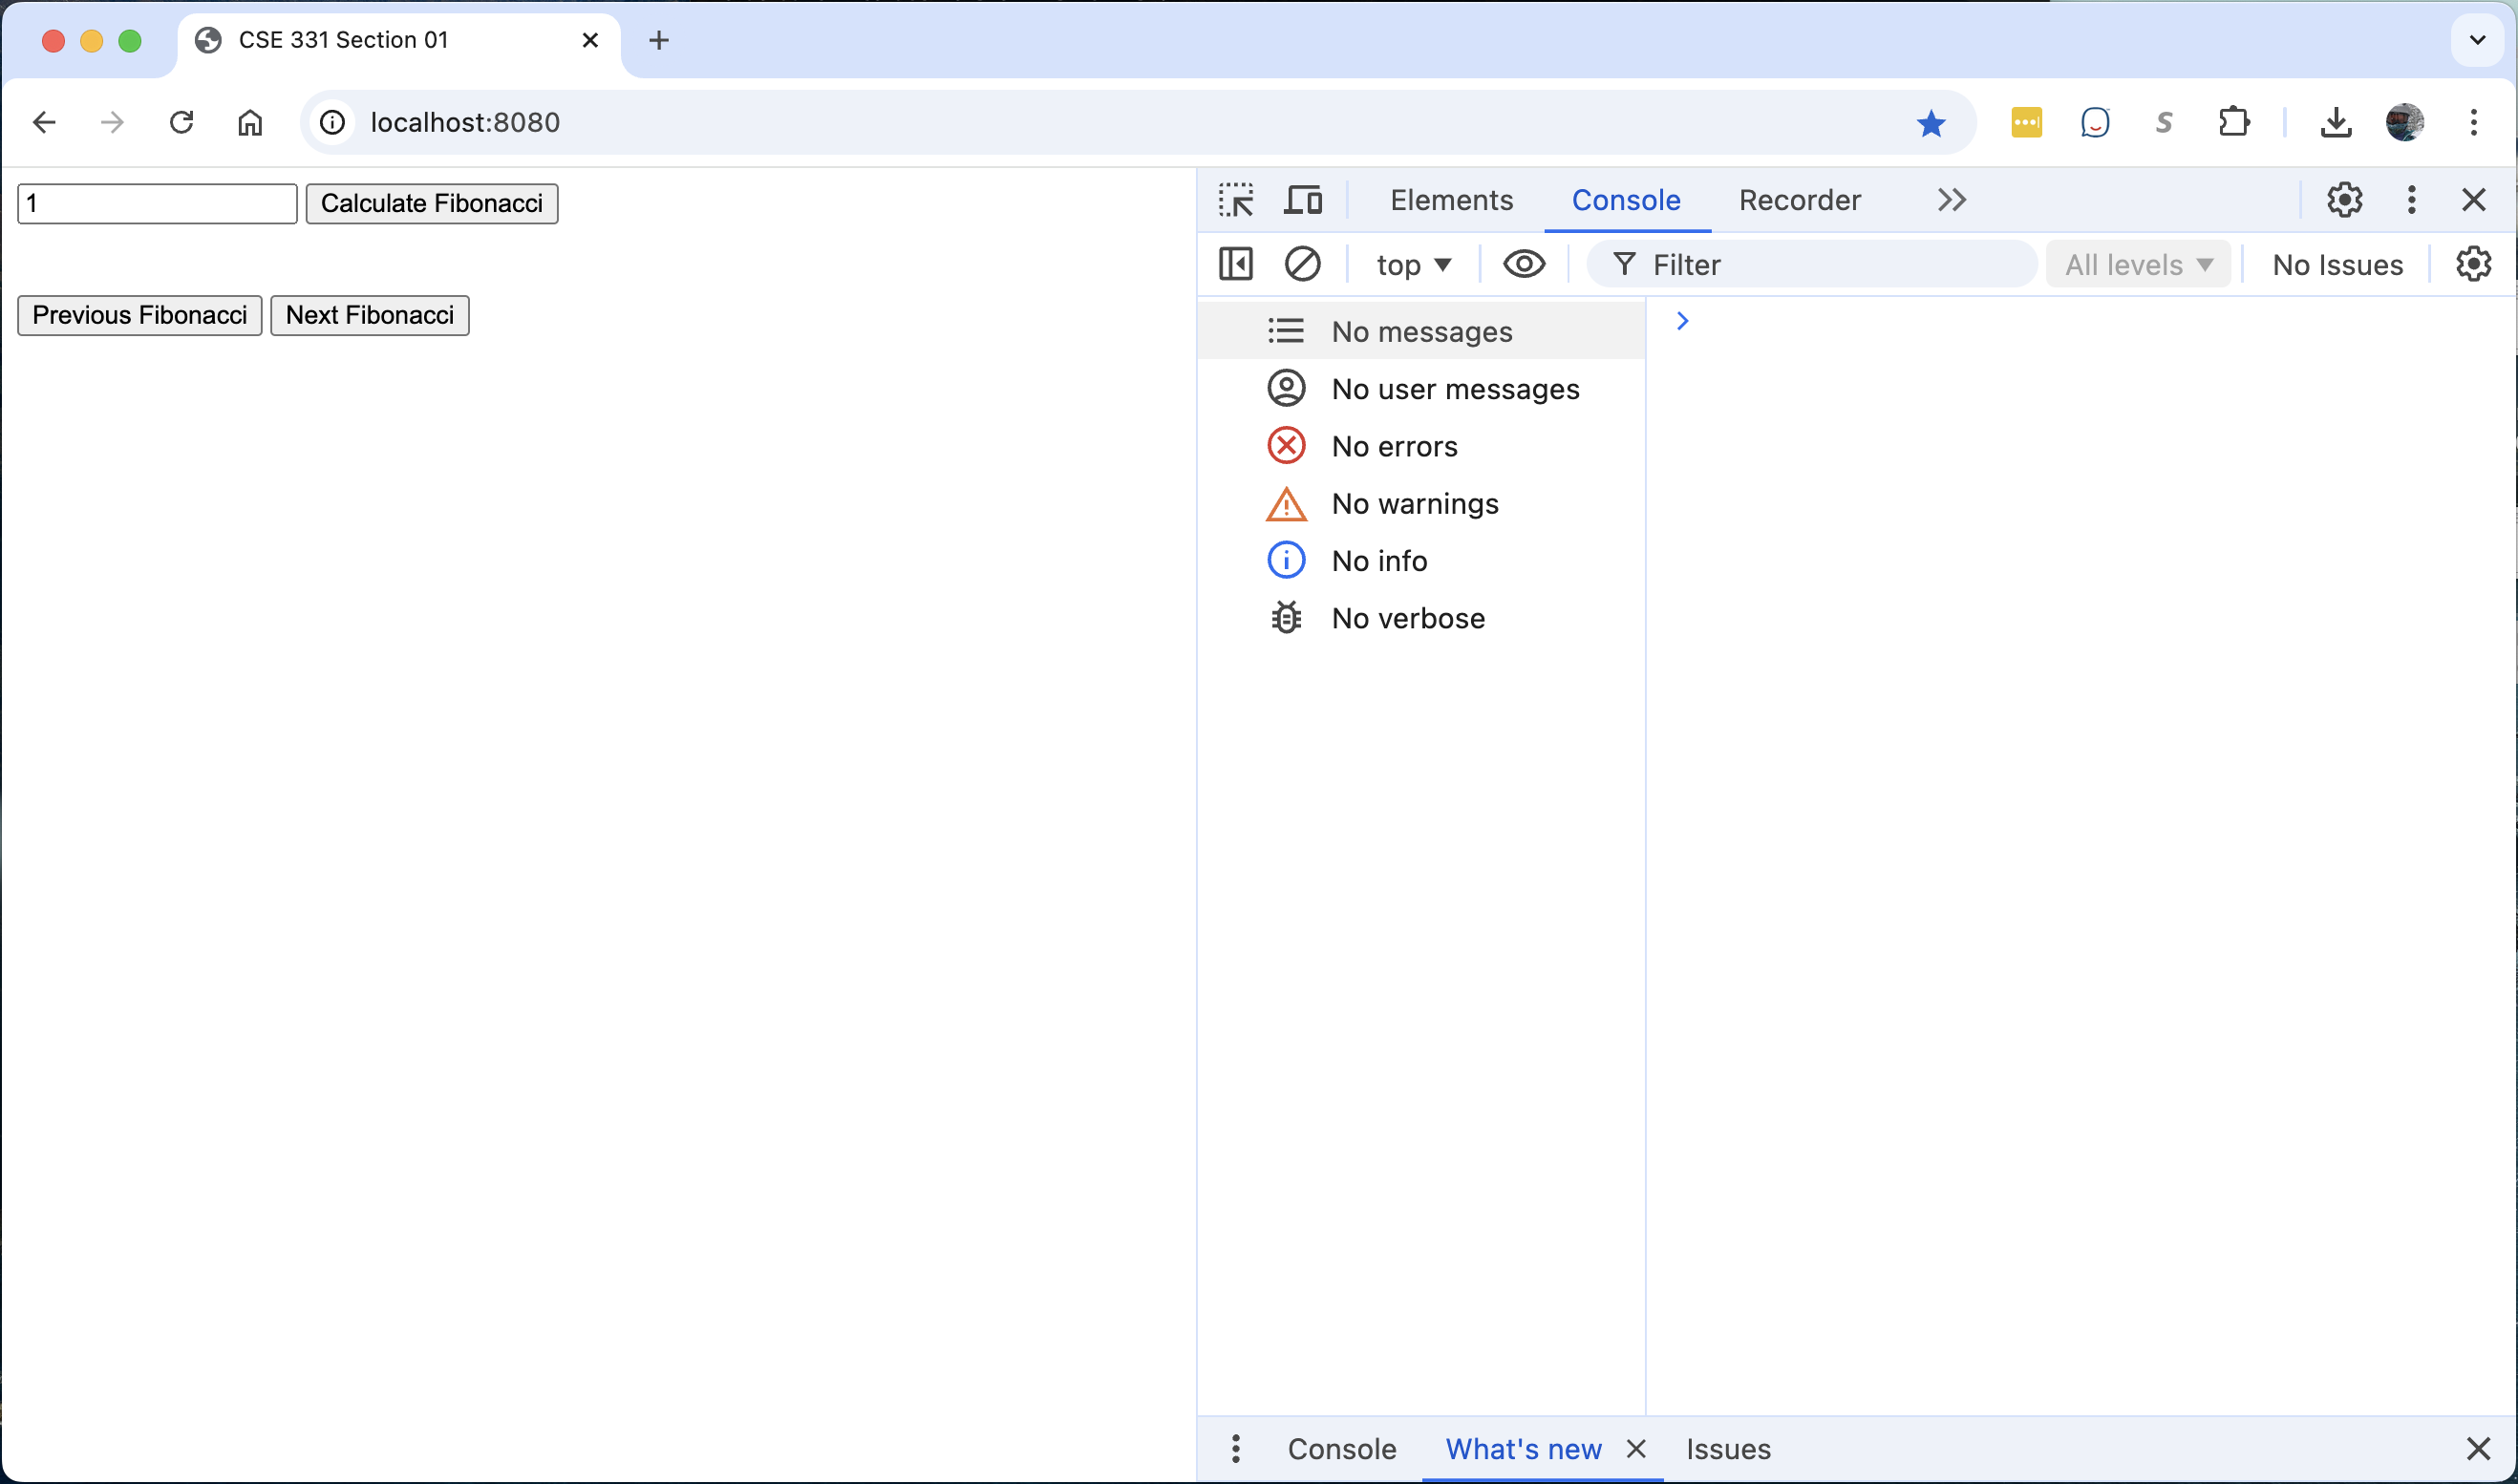
- Take a screenshot of the entire browser window, including the URL
bar, the blank main page, and the developer tools displaying the message
from the starter code. It should look something like this:
- Upload your screenshot to Gradescope to receive a credit for completing the software setup!