Pre-HW3 Section Setup Guide
Contents:- Why to start your setup with this resource
- Your step-by-step guide to be ready for section
- An ending note :)
Why to start your setup with this resource
This step-by-step set of instructions is meant to speed up and familiarize you with the tools that we provide you under the Resources section of the course website. There are many amazing resources for you that are here to explore, and we recommend that you come here first with any of your gitlab or software problems, because chances are we will already have a resource prepared for you! However, for now, you only need to prepare for the pre-HW3 section. This document will help you begin the setup process, and your section TAs will help you complete this process in section.
Your step-by-step guide to be ready for section
Please complete the following steps in order to complete your setup.
Step 1. Your New Best Friend
The course resources page will be your best friend for any CSE 331 tech-related problems. We recommend bookmarking this page so you can reference it throughout the quarter (and even after this quarter ends), and it can be accessed using the Resources link on the menu bar at the top of the course web pages.
Step 2. The Whole Setup Process (only parts needed right now)
The software setup guide will take you step by step through the whole set-up process. Below we describe only the essential steps needed to get ready for sections during week 2 of the quarter. During those sections, your TAs will be taking you through the remaining steps beyond the ones listed below; what's described below is the part you need to do before sections.
Step 3. Options for Where to Work
You need to decide where you want to work. The software setup guide lists several possible options. We recommend option 5, install the software on your own computer, and the steps below guide you through the initial setup needed to do this.
Step 4. Installing and Setting-Up
Read this section of the software setup guide completely but do not do anything yet: Before Attending the CSE 331 "Software Setup" Section..... Then, here's what you need to do before section:
-
Figure out whether you are using a MacOS, Windows, or Linux. Make sure that you follow the instructions for your operating system. This is important because depending on your system, you may have to uninstall some outdated software to complete this process.
-
Complete Step 1 from Before Attending the CSE 331 "Software Setup" Section.... to install the Java 11 JDK. Be sure that you verify your installation via the terminal by completing the steps described there before continuing.
-
Sign up for your free student license for the Ultimate version of IntelliJ IDEA using this link. Click on the "Apply Now" button (see below). Make sure that you sign up with your @cs.washington.edu email. You should get an email message momentarily from IntelliJ IDEA once you've done this. Follow any instructions that they give you. You may have to sign up for an account with them, if you do, use your @cs.washington.edu email (if you have one). Please note that if you already have a free student license for the Ultimate version of IntelliJ IDEA from a previous UW CS class, you do not need to complete this step unless your license has expired. Also, all students registered for CSE 331 should have received guest CSE computer accounts for the quarter. If you do not have an account for some reason, check your email to see if you missed it, and if you still can't find it, contact the course staff via email.

-
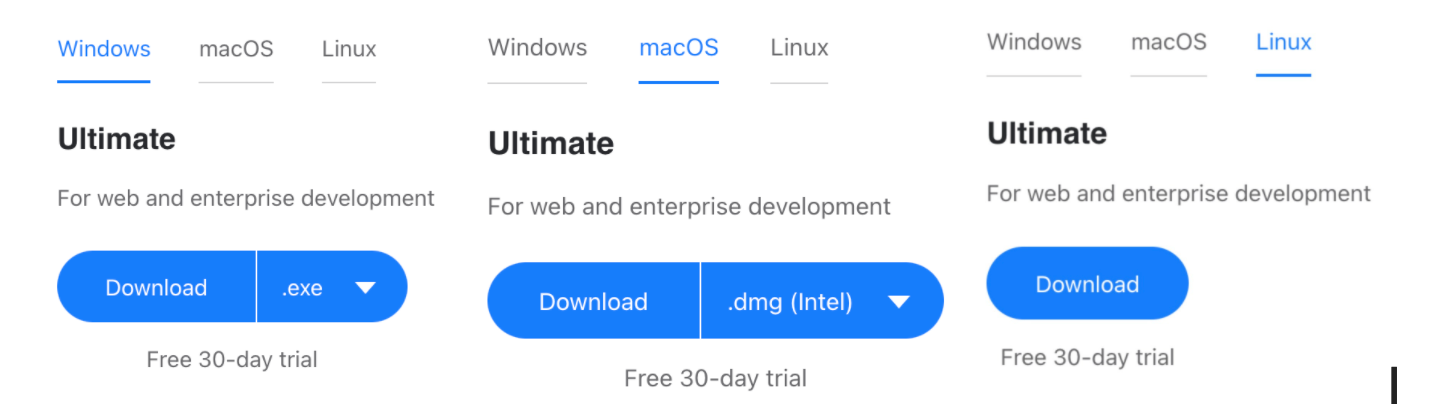
Get the IntelliJ IDEA "Ultimate" edition using this link on the IntelliJ web site. See below for the downloading options you should choose based on your operating system type (just click "Download" and you'll be good to go). This may take a little while depending on your computer/laptop and connection.
-
Once IntelliJ has finished installing, you should see the icon below somewhere on your home screen/doc/applications window or menu. Open IntelliJ by double-clicking on the icon. It may take a minute or two to start up the first time. When IntelliJ starts up, you will need to input the same email/id that you used to register for your free student license that you obtained previously in Step 4.3, above, to enable all the features of the IntelliJ ultimate edition.

-
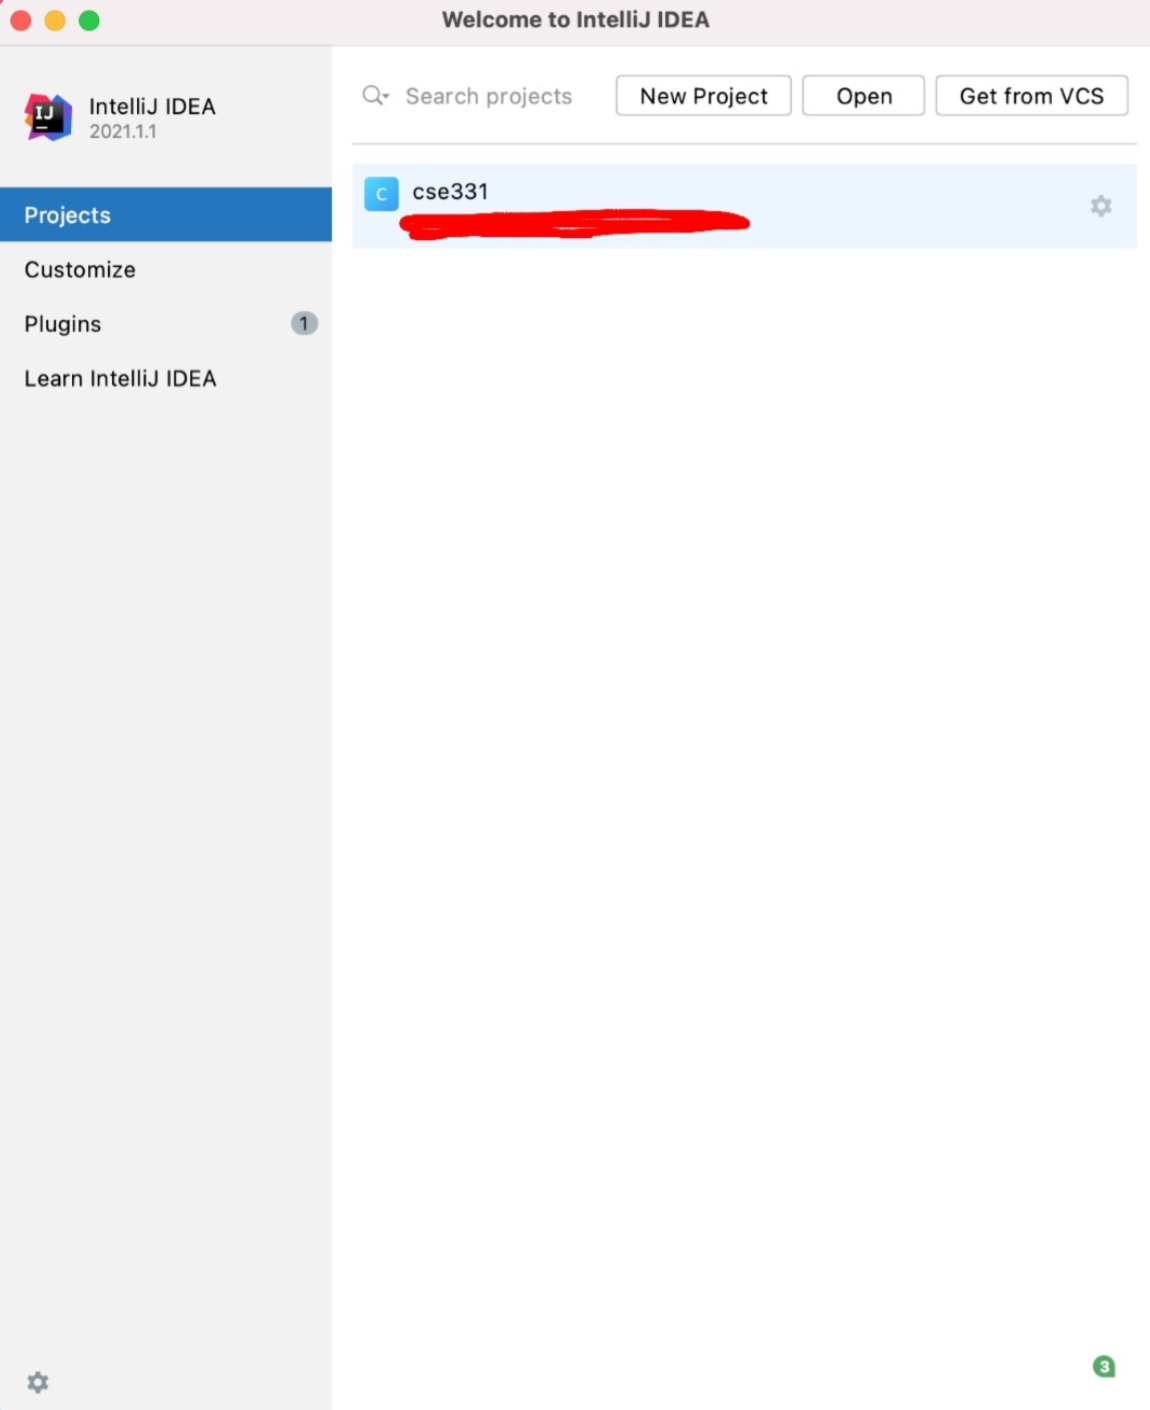
When you are done, you should see an IntelliJ start screen that looks something like this. You will not have any projects in this window (the blue box with the label cse331 in this picture) until after you attend your section if you have not used IntelliJ previously. Also, that this screenshot was taken on a MacOS, so your screen might look slightly different.
-
Complete Step 3 from Before Attending the CSE 331 "Software Setup" Section.... to install git. Make sure that you follow the instructions after installing git to configure your IntelliJ for git!
Step 5. Congrats
You are done, congtatulations! We can't wait to see you in section! :)
An ending note :)
If you are having problems at any point during this process, do not stress! This can be pretty confusing, but we are here to help. Feel free to post on Ed or come to office hours (see the Course Calendar for available times), you do not have to try to figure this out alone!