Screen Recordings
When you are finished with your movie, upload it to YouTube directly, either using your UW account or a personal Google account.
Windows
To make screen recording with Windows, download and install OBS Studio.
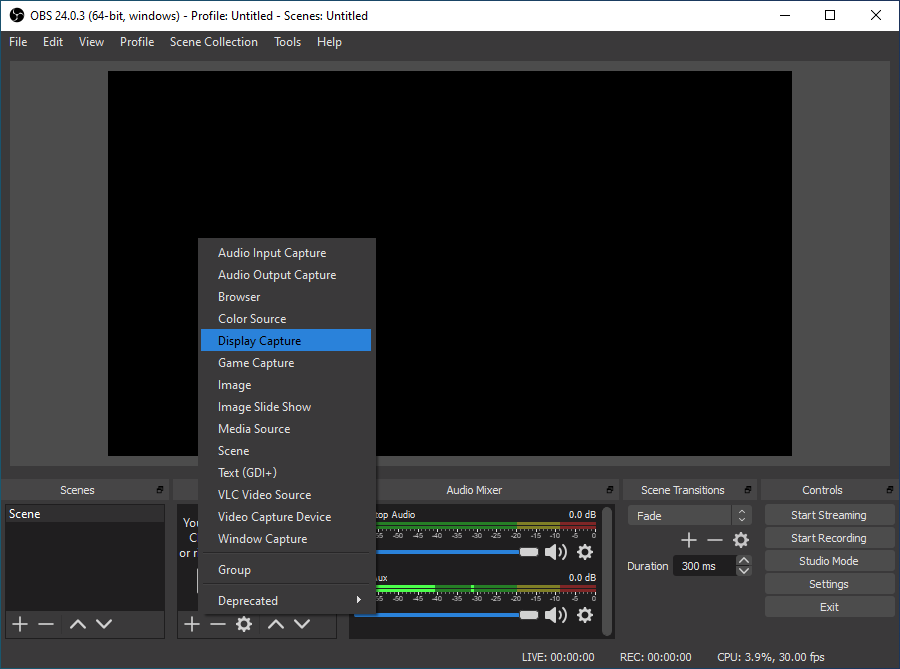
Once it's installed and open, click the + button under the "Sources" tab:

Select the "Display Capture" source:
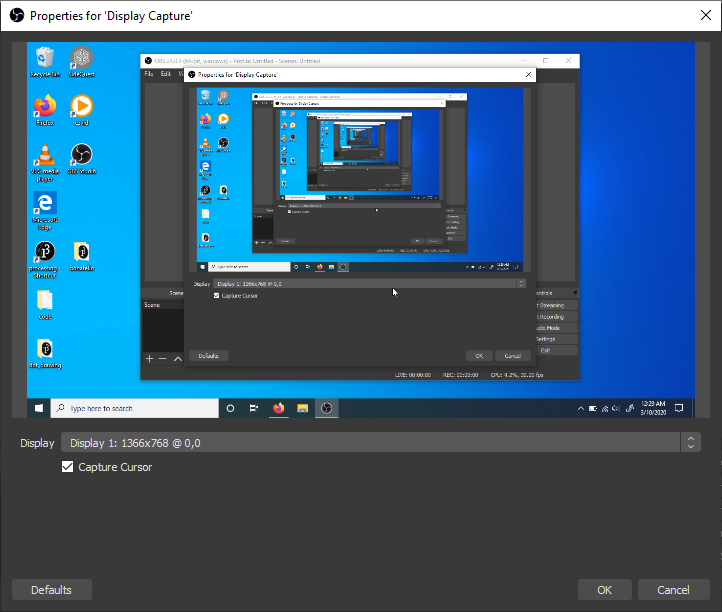
In the popup that appears, accept the default options and click OK:
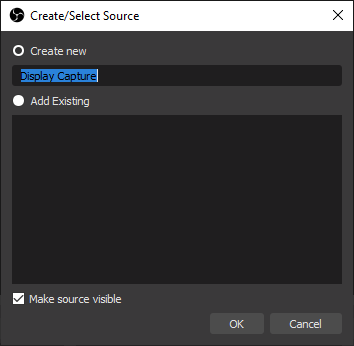
In the confirmation menu, again click OK:
To start a recording, click the "Start Recording" button:

And when you're done, click the same button again.
Finally, to view your finished recordings, click File > Show Recordings and it will open them in File Explorer:

Macintosh
QuickTime Player
- QuickTime Player is already installed, so launch it from the Applications folder.
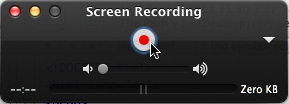
- Select "New Screen Recording" from the "File" menu:

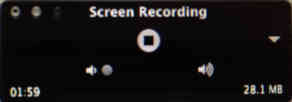
- Make sure that you are using the correct audio input (usually built-in), and that when you speak, the
line levels change (the grey bars under the big red "record" button grow and shrink):

- Click the big red "record" button in the middle of the window, record your presentation, then click the
"stop" button:
- You can trim the resulting movie (which, by default, is saved in your "Movies" folder) inside of
QuickTime Player:

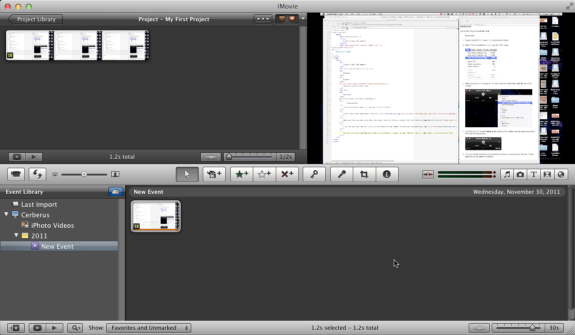
- If you are comfortable using it, you can also iMovie (also installed) to do more powerful
editing of your movie:
- If you are comfortable using it, you can also iMovie (also installed) to do more powerful
editing of your movie:
If you can't figure out how to use OBS, QuickTime, or iMovie, you can always use your phone or other video recording device (i.e. GoPro) to record. However, if you use your phone, the movie must be something that we can clearly view. For example:
- When you're showing code, we must be able to see your code clearly.
- When you're demoing the drawing canvas, we must be able to see what's going on clearly.