Assignment #3
For this assignment, we will focus on the movements of the mouth, specifically the closed mouth. You will show your ability to move the mouth into a sneer, smile, frown, pout, and lip tightener. You will be using the Valencia rig for this assignment. Keep in mind that even the slightest details can change how the face is read, so make sure the movements you make show the correct expression you want it to be read as. Use the mirrors in the lab and yourself as reference.
First make a new folder in your student folder and label it “assignment_3”, and copy the downloaded template into that folder.
Once you’ve opened the assignment in Maya, you’ll notice that a neutral expression has been keyed and labeled for all the poses.
000 – Sneer
040 – Smile
080 – Frown
120 – Pout
140 – Pout: Side View
160 – Lip Tightener
Remember: ONLY MOVE THE MOUTH. You do not need to move the eyes and eyebrows; this assignment is focused on just the mouth movement.
Another reminder: Make sure you are keying your poses!
And a last, very important reminder: SAVE OFTEN! The “Save It” button is a great thing to use to save the different iterations of your entire process. Sometimes Maya freezes and crashes and sometimes something weird happens and you’re unable to get it back to normal. SAVE SAVE SAVE.
Use the “front_face_cam” to see in the view in which you’ll be turning your assignment in. It is highly recommended that you also use perspective and side view as you work on this assignment.
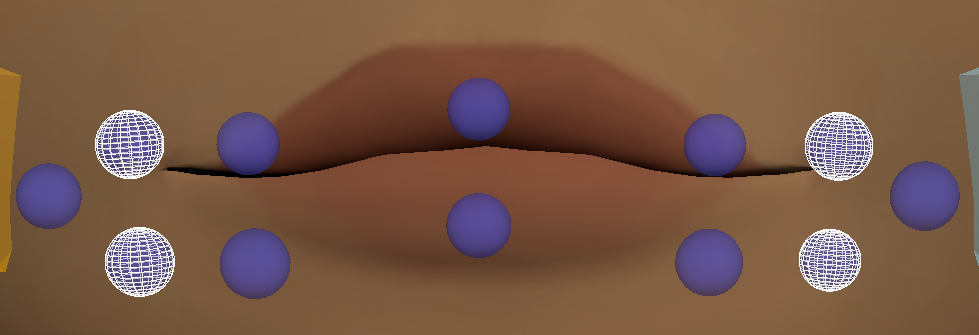
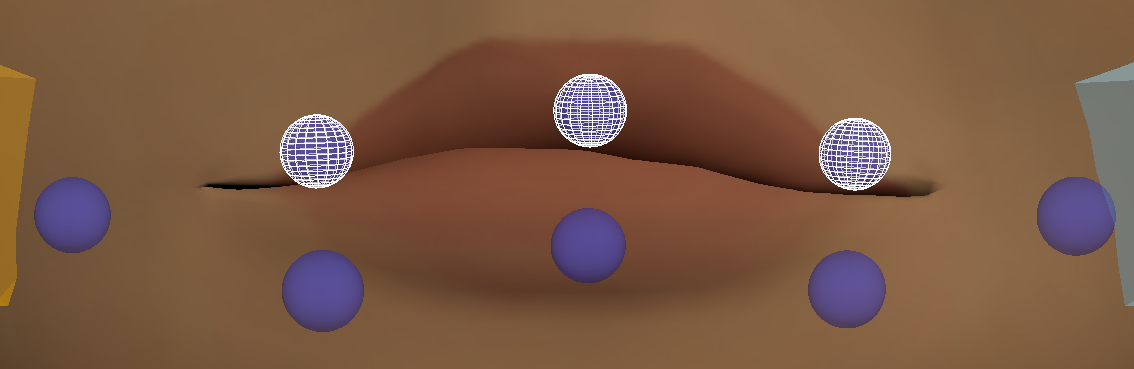
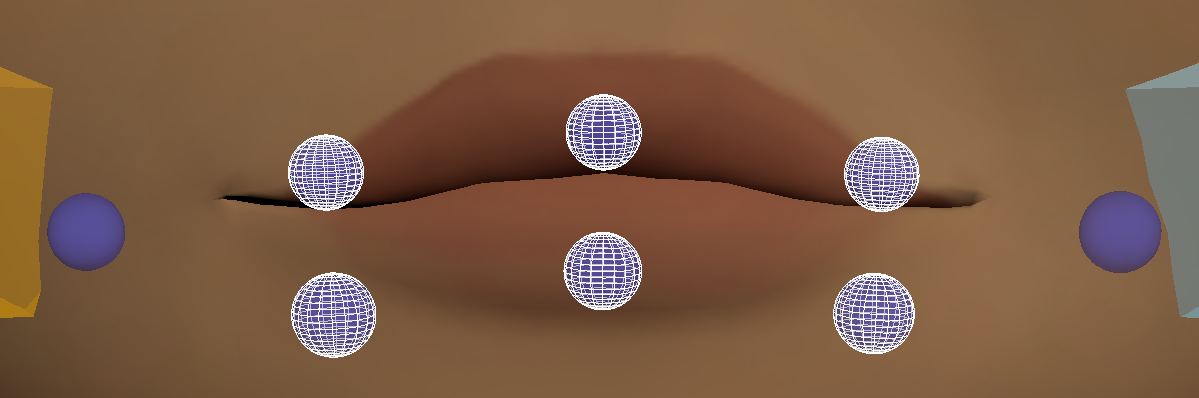
The mouth itself has 8 anims (3 for the upper lid, 3 for the bottom lid, and 2 on the corners of the mouth). There are also 4 cheek anims (2 anims for each cheek). The poses in this assignment that uses the cheek anims will be smile and sneer.
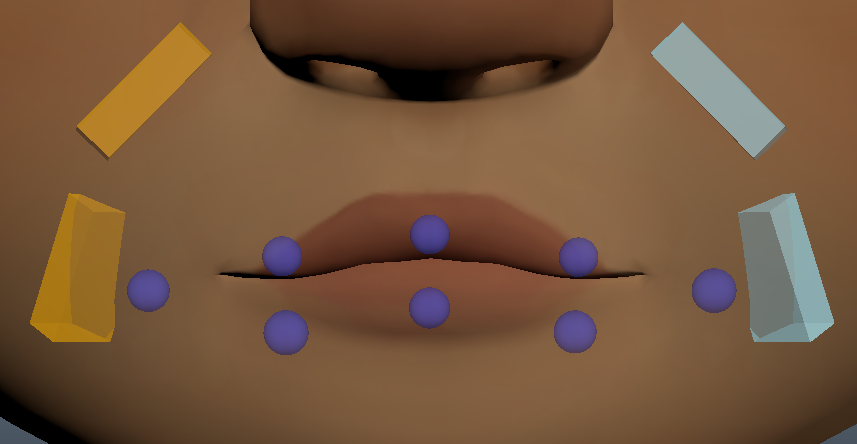
Use the move tool to move the anims on the mouth. There is no rotate function for the mouth anims. The cheek anims have the ability to be moved and rotated.
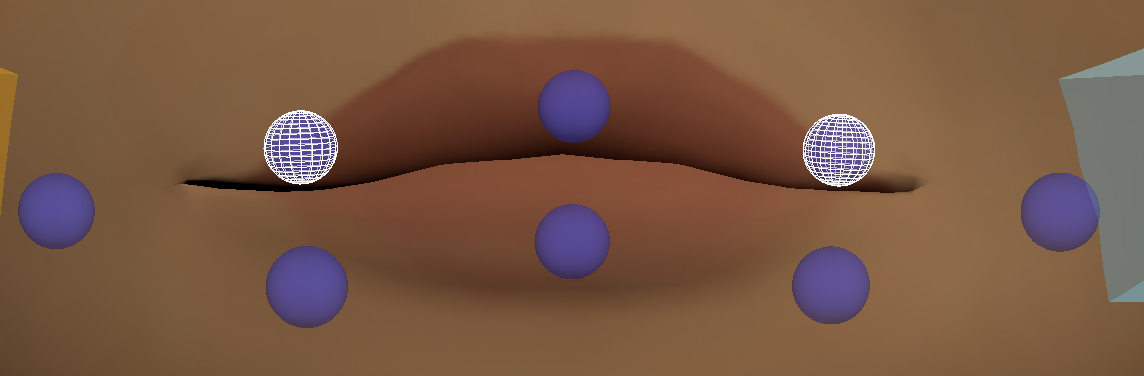
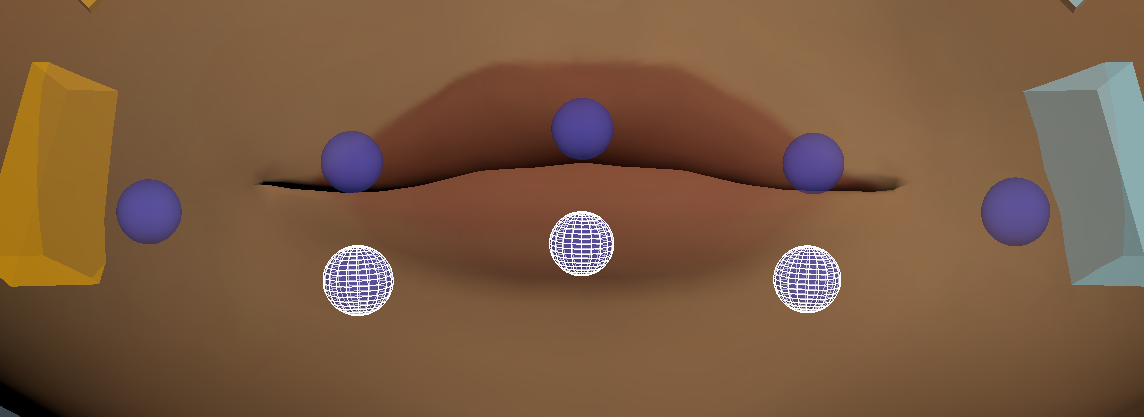
If you find that the amount of anims on the mouth isn’t letting you achieve a more detailed expression, you can turn on the secondary anims which will increase the amount of anims around the mouth. To turn on the secondary anims, go to the outliner on the left side of the screen.
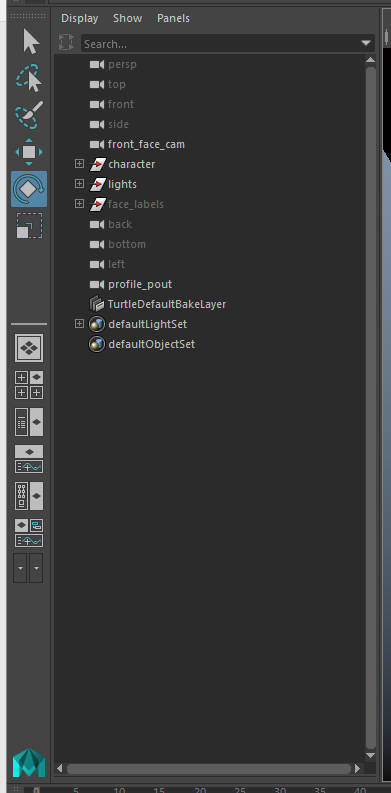
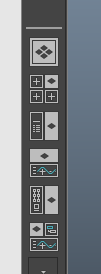
If the outliner is not there, click the outliner button on the left side of the screen to open it.

Inside the outliner, click the plus sign next to the “character” group.
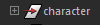
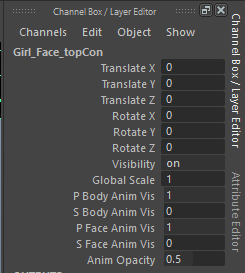
Click on “Girl_Face_topCon” so that it is highlighted in blue.

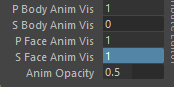
Go to the channel box on the right side of the screen. Next to “S Face Anim Vis” change the 0 to a 1 and push enter.
2 anims have been added near each corner of the mouth. So now the mouth has 12 anims instead of 8.
If you want to turn off the extra anims, change it back to 0.
For some of these expressions, we will be using the “curl” and “push” attribute inside the channel box. Curl will act as a kind of rotate tool; it will curl back or curl forward the area where the anims are.
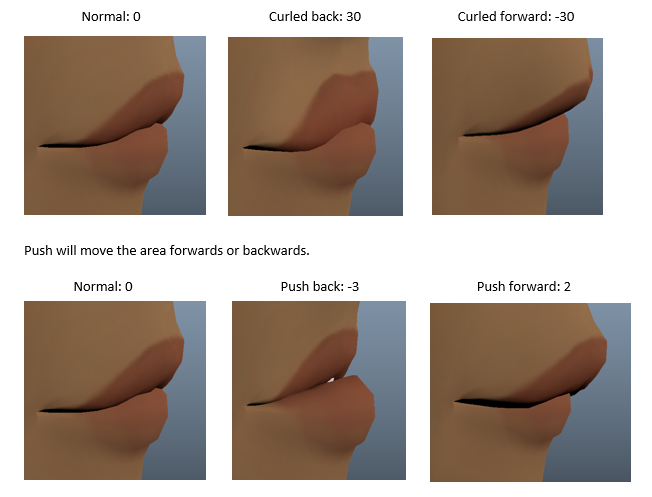
On curl, use higher numbers (20 and higher) for better results. On push, use lower numbers (lower than 5) for better results.
Inside the channel box, you can easily scrub through different values (instead of inputting different values by hand) by hovering your mouse over the rectangle the number is in, making sure it shows the 2 arrow symbol. Hold down left click + move mouse left to go backwards in values, move mouse right to go upwards in values.
For the sneer,use a combination of both the curl and push attributes on the 3 UPPER lip anims. Play around with the different ranges. I suggest using values between 25 to 35 for the curl attribute. For the push attribute use values between -1 to 0.
For the smile, use a combination of both the curl and push attributes on the 2 outside anims of the UPPER lip.
For this pose you might want to turn on the secondary anims. It’s important to get a sense of tension in the upper lip, so we will make the top lip look narrowed and stretched with the curl and push attributes. Play around with the different ranges. I suggest using values between 20 to -35 for the curl attribute. For the push attribute use values between -4 to -1. For the smile we will be using the cheek anims. You will use these anims for the smile and sneer.

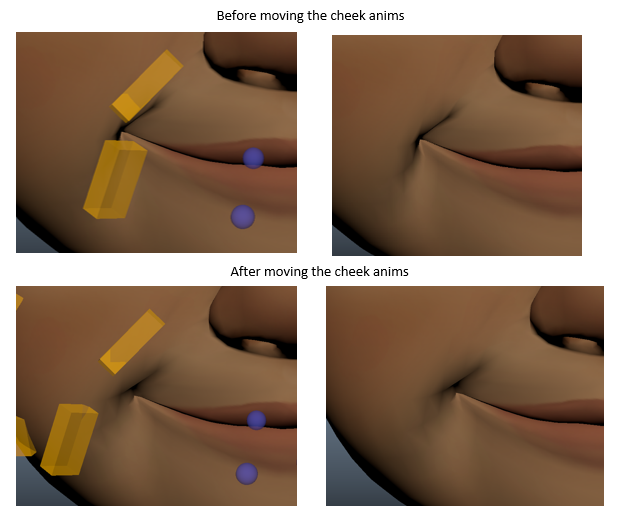
When you smile, your cheeks are highly affected by it. You may use both the move and the rotate tool for the cheeks. The cheeks go up and outwards when you smile, so move the cheek anims up and outwards from their default positions. Adjust the cheek anims accordingly so that it looks smoother.
For the frown, you do not need to use the curl and push attributes. Use the move tool to shape the mouth into a frown.
For the pout, use a combination of both the curl and push attributes on the 3 anims of the BOTTOM lip.
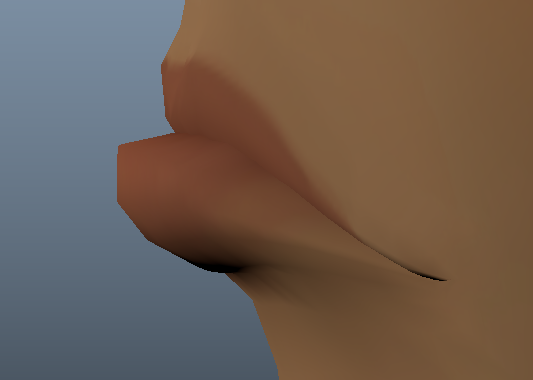
PLEASE USE RIGHT/LEFT CAMERA VIEWS. You will need to look at her profile to get the pout right.
The curl attribute will get you to achieve the pushed in dent of the chin and the push attribute will achieve the lip jutting outwards.
Although not mandatory, you may want to use slightly different values for the bottom center lip anim for better results. In general, I suggest using values between 20 to 50 for the curl attribute. For the push attribute use values between 3 to 5.
For the lip tightener, use a combination of both the curl and push attributes on both the TOP and BOTTOM lip anims.
For this pose, the lips need to have some indication that they’re pressed together, thus the reason to use curl and push on both the lips.

You may find that the values used for the upper lip may be different from the values used for the bottom lip, but it’s okay if that’s not the case, just make sure to play around with the values to get the look you want. I suggest using values between -40 to -55 for the curl attribute. For the push attribute use values between -3 to -1.
For some of these expressions, we will be using the nose anims. Before you start using them, turn on the secondary face anims.
There are 3 nose anims total. One anim on each side and one in the center.
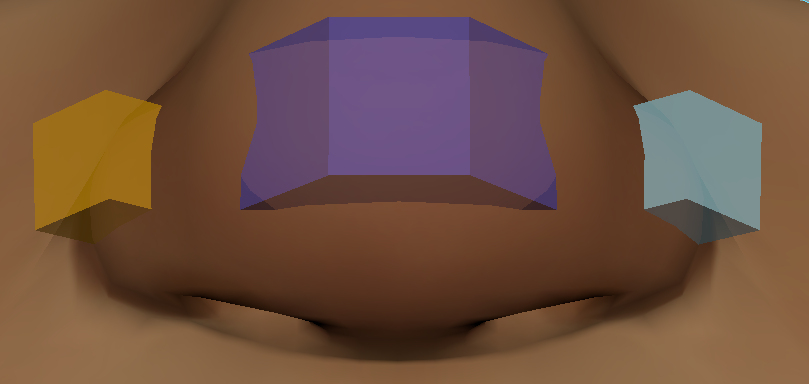
You are able to move and rotate these anims. You can make the nose wider and longer. For this assignment, you will either be making the nose slightly wider or will be making the nose into an arrow shape.
To widen the nose just move the outside nose anims outward.
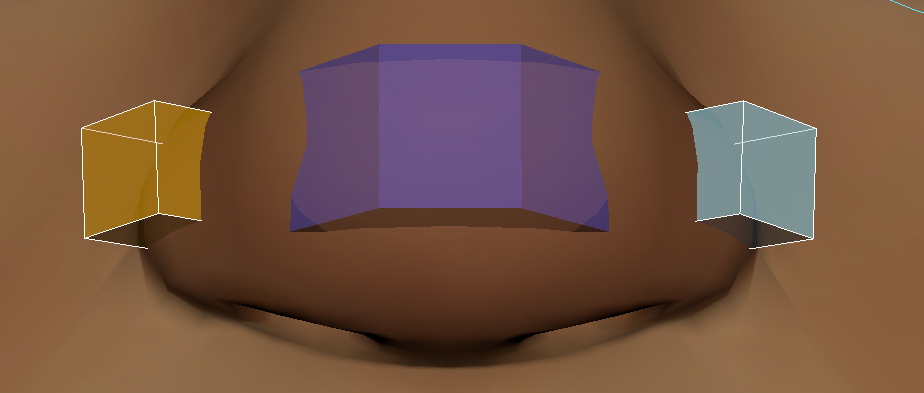
To make the nose into an arrow shape move the outside anims up. You could rotated the center anim to make it look a bit downturned, but do so minimally.
Before you start screenshotting, make sure to click 7 so that the correct lighting is on.
MAKE SURE YOUR ANIMS AREN’T VISIBLE!
Screenshot each pose. For the pout, there will be 2 screenshots. The first one is in “front_face_cam” view. For the second one use the camera called “profile_pout” view. There will be a total of 6 screenshots. Name your screenshots:
sneer
smile
frown
pout
pout_side_view
lip_tightener