Assignment #5
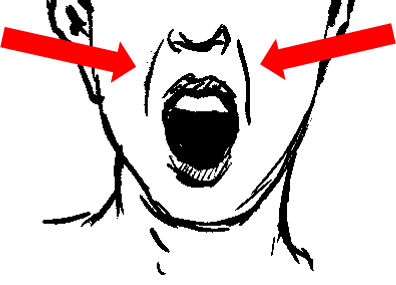
For this assignment, we will move onto the cardinal expressions, specifically surprise and fear. Now that you have separately worked on the eyes, eyebrows, and the mouth, you will coordinate them all to make expressions using all parts of the face. You will pose the face in surprise, and 2 different levels of intensity for fear: less intense fear and more intense fear. You will be using the Valencia rig for this assignment. Keep in mind that even the slightest details can change how the face is read, so make sure the movements you make show the correct expression you want it to be read as. Use the mirrors in the lab and yourself as reference.
Check out this website for fear references.
First make a new folder in your student folder and label it “assignment_5”
You can get the maya file for the assignment 5 template on the course website.
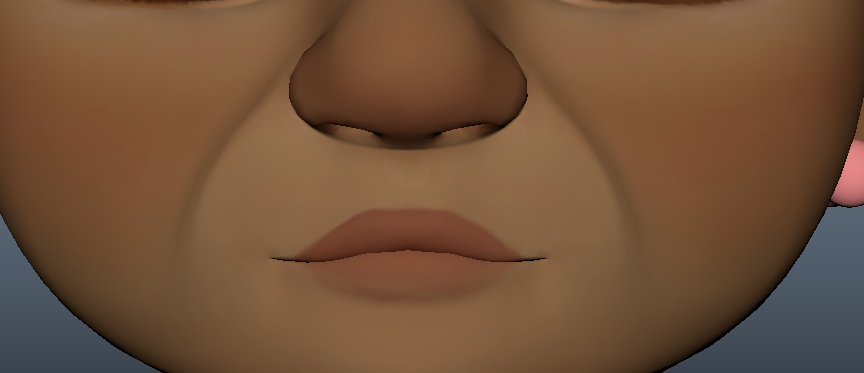
Once you’ve opened the assignment in Maya, you’ll notice that a neutral expression has been keyed and labeled for all the poses.
000 – Surprise
040 – Fear - Less Intense
080 – Fear - More Intense
Make sure as you go through the assignment that you are keying your poses every time you change something and to save often!
Use the “front_face_cam” to see in the view in which you’ll be turning your assignment in. It is highly recommended that you also use perspective and side view as you work on this assignment.
On some of these poses, you might want to turn on the secondary anims.
For all the poses, you will eventually want to create nasal labial folds for when you drop the jaw.
To create those folds, we’ll be using the cheek anims.
Select both the top and the bottom cheek anims on both sides so that you have all 4 highlighted. You can select multiple anims by holding down shift as you select the anims.
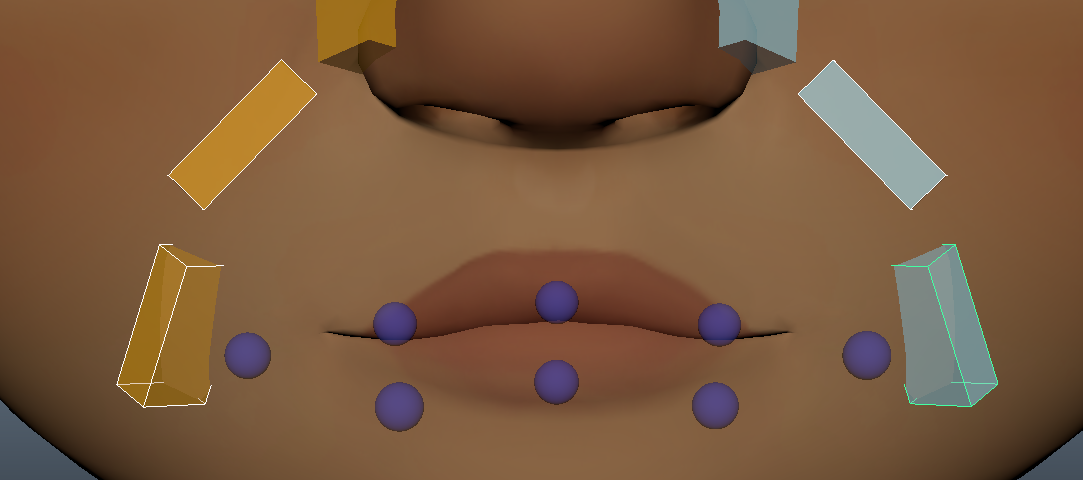
Press e to activate the rotate tool and rotate the anims horizontally a couple times by using the yellow line to rotate them.

You can adjust the cheek anims individually as needed to make them more narrow/wide/shorter/longer.
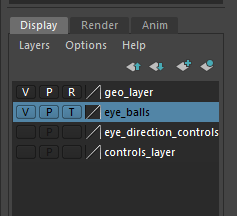
When you get to fear and want to move the eye direction, go to the bottom of the channel box. Click “eye_direction_controls” so that it is highlighted. Then press the empty box to the far left so that “V” appears.
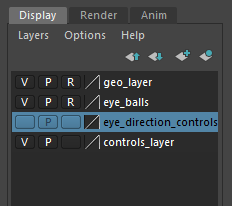
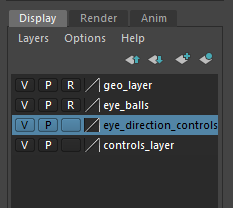
The 3 eye blocks are now visible.
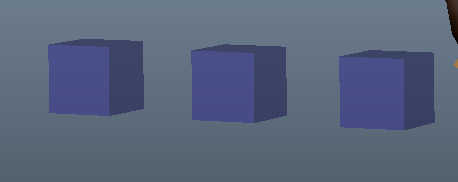
Use the MIDDLE block to control both eyes at the same time. Press the “V” again in the channel box if you want to hide them.
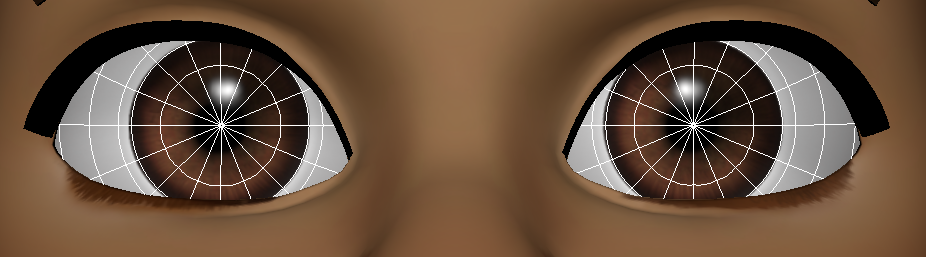
For the intense fear pose, you will be moving the actual eyeball forward a little bit. To move the eyeball, first go to the bottom of the channel box again. Click “eye_balls” so that it is highlighted. Then click “R” so that the box is empty.
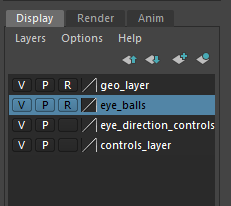
Now you are able to click the eyeball so that you can use the move tool to push it forward a little bit.
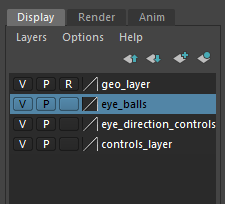
When you are done moving the eyeball, key it on your timeline (just press “s”). Then click the empty box twice where “R” was on the channel box. The first click will show a “T”, the second click will show “R” again. With R selected, you are unable to click the eyeballs.
Before you start screenshotting, make sure to click 7 so that the correct lighting is on.
MAKE SURE YOUR ANIMS AREN’T VISIBLE!
AND MAKE SURE YOU'RE IN FRONT_FACE_CAM VIEW!
Screenshot each pose. Name your screenshots:
surprise.png
fear_less_intense.png
fear_more_intense.png