Assignment #2
For this assignment you will continue to work on moving the upper parts of the face. You will showcase your ability to move the eyes and eyebrows into the frown, the glare, and the brow of distress. You will be using the Valencia rig for this assignment. Keep in mind that even the slightest details can change how the face is read, so make sure the movements you make show the correct expression you want it to be read as. Use the mirrors in the lab and yourself as reference.
Hopefully you are more familiar with how to navigate your way around maya. In this demo I will go over the specific parts of the face that we’ll be using.
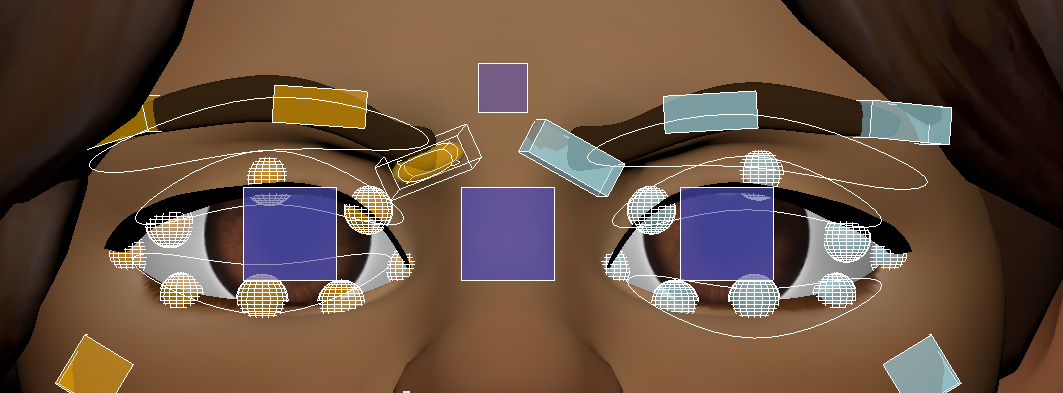
Let’s start with the eyebrows. On each eyebrow there is 4 controls.
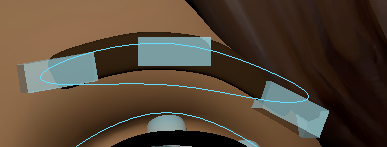
The 3 rectangles control the inner corner, center, and outer corner of the eyebrow.
The outlined oval (looks like a boomerang) anim controls all 3 rectangles at once.
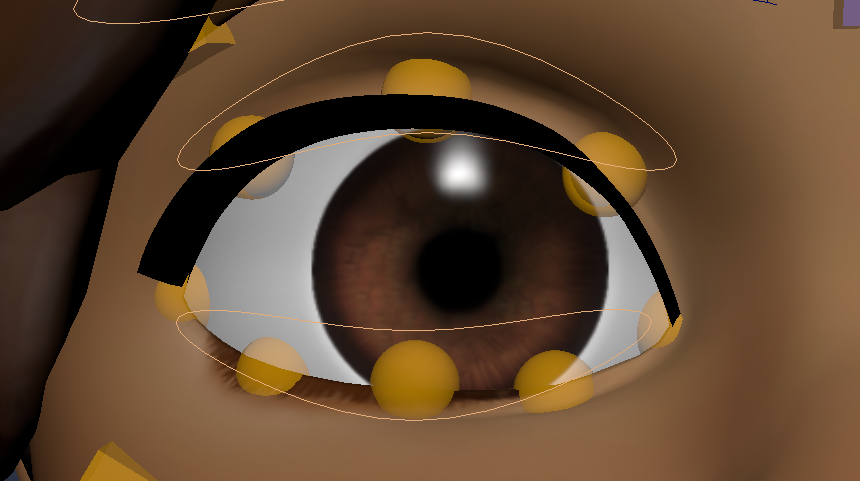
Each eye has 10 anims total. There’s one anim on the upper lid and the bottom lid. These anims control all the top or bottom lid anims at once.
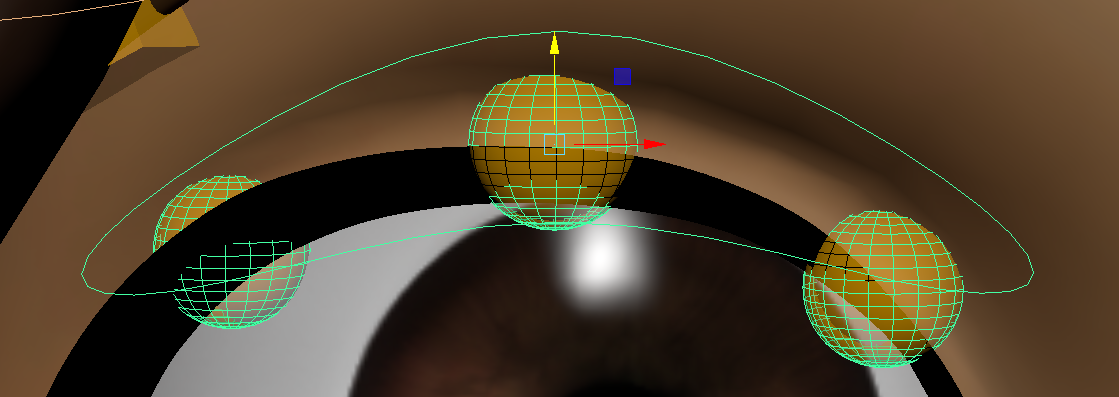
If you click on the anim that controls the top lid, the 3 circles of the top lid become highlighted, showing you which ones it is controlling.
The same thing happens when you click the anim that controls the bottom lid.
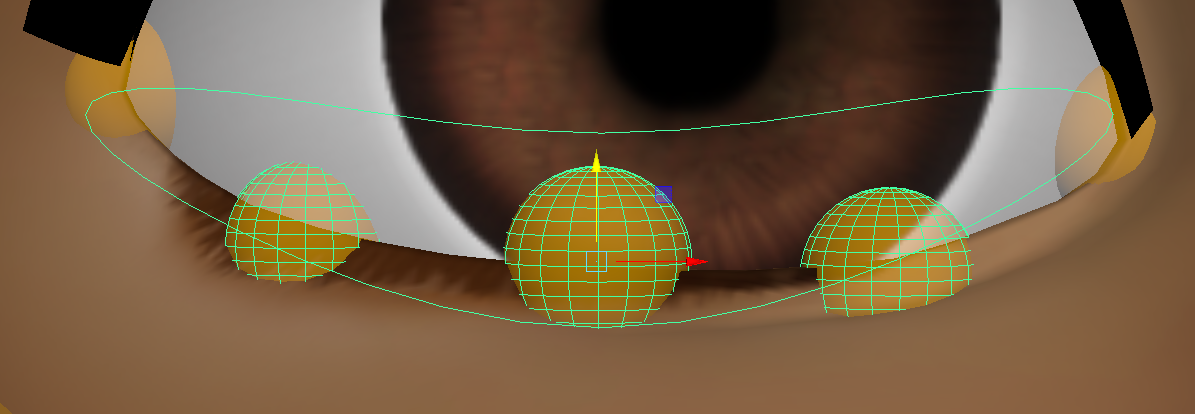
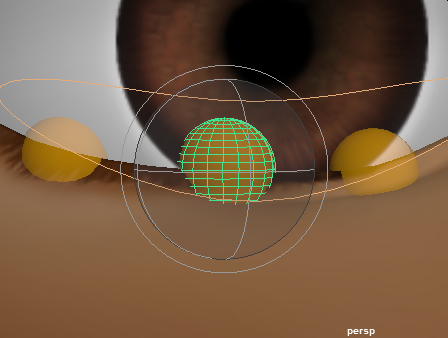
When moving and rotating anims, there are some instances where you can’t rotate an anim. For instance, if you click the separate parts of the eyelid (the spheres), you are unable to use the rotate tool. The tool will become gray, signifying the inability to function that way.
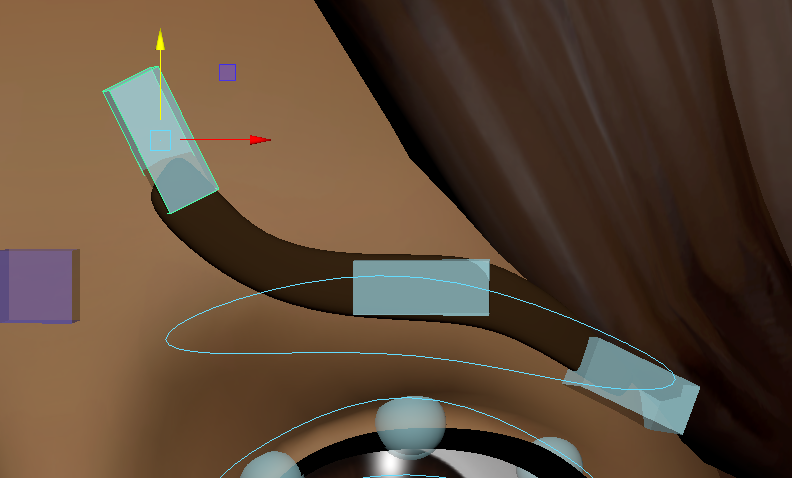
To achieve an “oblique” eyebrow (slanted/sloped eyebrow), you will use a combination of the move tool and the rotate tool. Click the inner eyebrow and use the rotate tool to rotate the end of it upwards.

Use the move tool to move the inner eyebrow anim up.
You can rotate and move the other 2 eyebrow anims accordingly to get a more sloped look overall.
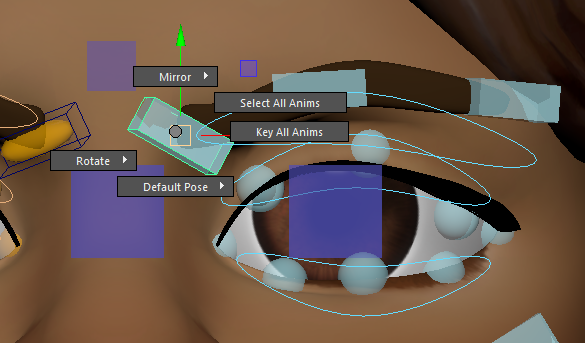
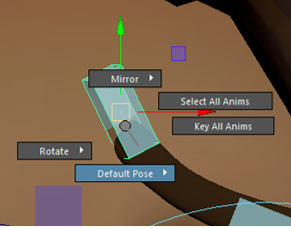
While you move around all the different anims, instead of keying them individually each time you move an anim, there’s a quick and easy way to select all the anims and key them all at once. Select any anim → Ctrl + Shift + a → left-click and drag to “select all anims”.
Now all the anims are highlighted white.
From here you can go to the timeline and key them.
OR
Ctrl + Shift + a → left-click and drag to “key all anims”
If at any point you are not satisfied with the outcome and want to start over on a certain expression, there’s a way to reset the entire expression back to neutral.
Ctrl + Shift + a → left-click and drag to “default pose” and then drag and release on “character”.

The entire face should now be neutral.
Make sure to set a key every 40 frames using the specific sequence of expressions. They are already labeled:
000 – The Frown
040 – The Glare
080 – The Brow of Distress
When you are done, playblast the file. Name the file: cse464a_assignment_2_lastname_firstname.ma
Use the snipping tool to screenshot the 3 expressions. Name the files:
the_frown
the_glare
brow_of_distress
Within your student folder, create a new folder and name it “assignment_2”