Assignment #6: Grey Model Stage 2
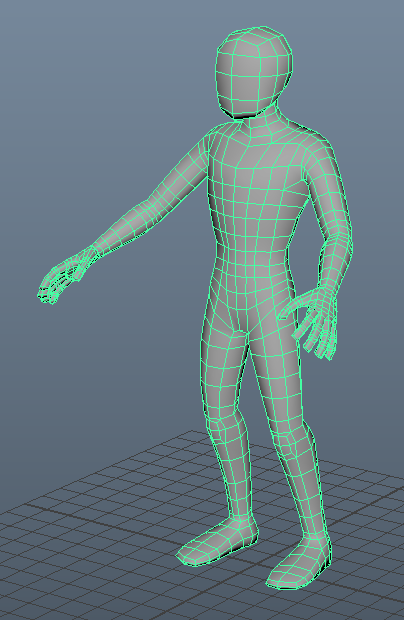
Start from the finished skin weighted grey model scene from the last assignment.
Part 1: Modeling the costume
Save your file as "assignment6_grey_model_2" file type .ma
Prepare the scene for modeling
- Delete the keyframes because we need the model and skeleton to stay in the bind pose
- Edit → Delete All by Type → Channels
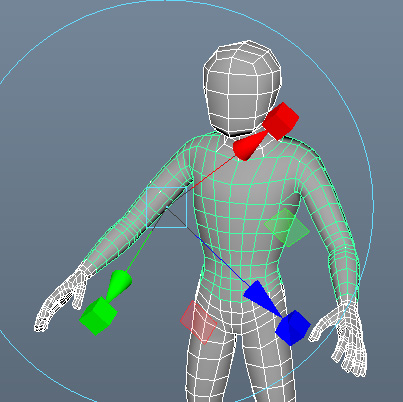
- Go to the bind pose
- Select the model first, [Rigging menu set] Skin → Go To Bind Pose
- Take a moment to make sure you have a good bind pose as described in Assignment 4. If necessary, review with TAs/instructors and make adjustments to the pose before moving on to the next step.
- Remove the skin weighting because Maya will break the skinCluster if you model on top of it
- Select the model first, Skin → Unbind Skin
- If you noticed any problems with the model topology or skeleton during the previous assignment now is a good time to apply those changes before moving on to modeling the costume.
Costume Modeling
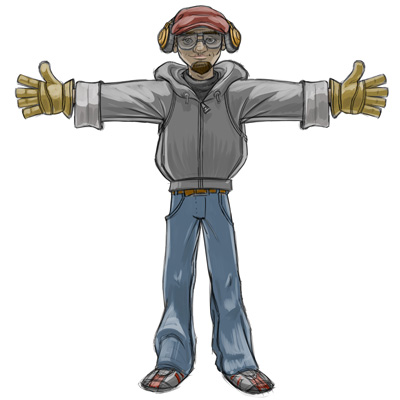
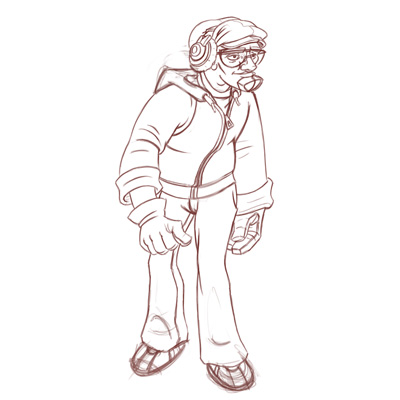
The next few steps describe general suggestions for how to model parts of a character's costume. Since every character will be slightly different you can use whatever techniques make the most sense for your character. Try to keep the topology clean using evenly spaced quads as much as possible. Here is the concept art for the character used in this example. If it helps, you can revisit your concept art and draw more details for the costume.
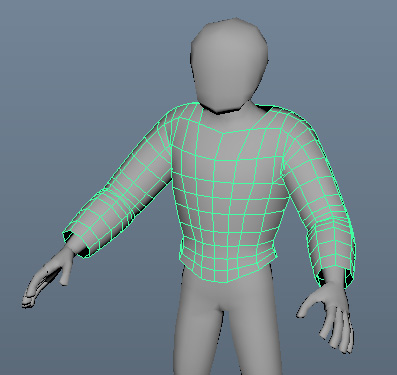
Modeling a jacket
- Select the faces of the grey model that are in the jacket area
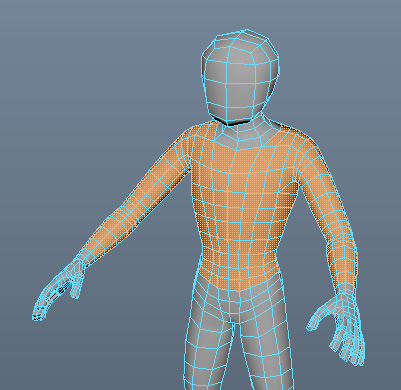
- Duplicate these faces
- Access the polygon modeling marking menu by holding down shift and right clicking on the model
- Press Duplicate Faces
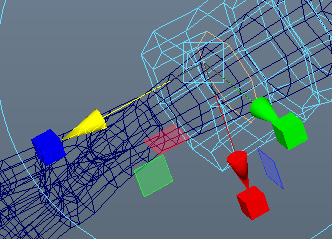
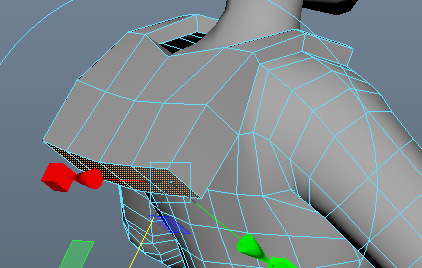
 - Extrude the faces outward on the Z axis using the blue arrow
 - Watch out for places where the model interpenetrates itself like the armpits. Model the vertices out so they don't overlap.
- Tip: From this point on it's easier to work on only one side of the model and then mirror it when finished.
- Model the cuffs by extruding faces
- Select the last two rows of faces on the sleeve
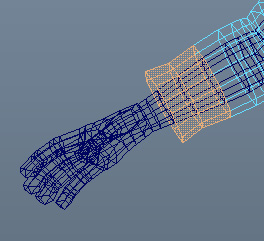 - Extrude the faces - hold down shift and right click the model, choose Extrude Faces
- Move the faces outward on the Z axis using the blue arrow
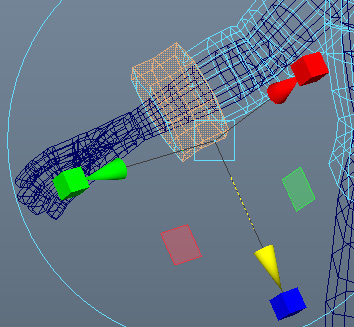
- Model the interior of the cuff by extruding faces
- Select the final edge loop on the cuff (double-click an edge to automatically select the loop)
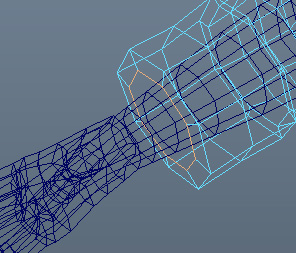 - Extrude the edges - hold down shift and right click the model, choose Extrude Edge
- Move the extruded edge back on the Z axis using the blue arrow
- Model the hood by extruding faces
- Select the faces around the collar where the hood will be
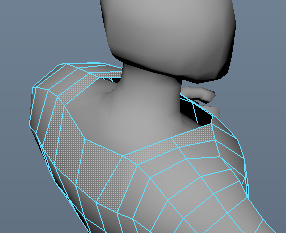 - Extrude the faces - hold down shift and right click the model, choose Extrude Faces
- Move the extruded faces out on the Z axis using the blue arrow
 - Model the back of the hood by extruding more faces
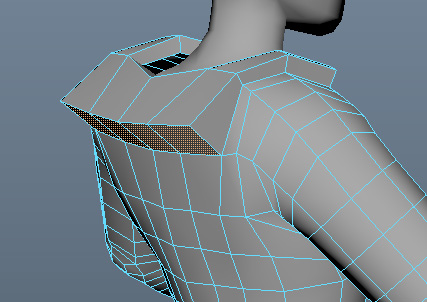  - Move the new vertices around until the shape looks like the concept art.
- Extrude more faces and repeat these steps until you are happy with the result.
- Model the bottom edge of the jacket by extruding faces
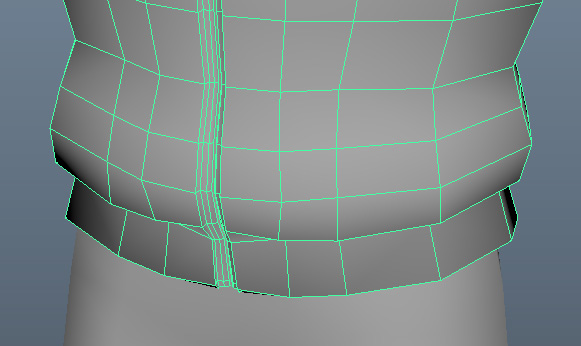
- Model a zipper by extruding edges
- Add details
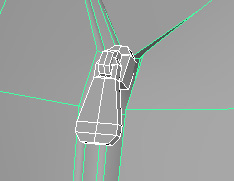
- hood drawstring
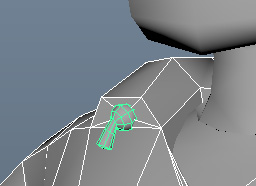 - I made this by creating a polygon sphere primitive and extruding faces from the bottom.
- zipper
 - I made this by creating a polygon cube primitive and extruding faces and inserting edge loops. The handle of the zipper was made from a second polygon cube.
- Mirror your changes to the other side when finished
- Delete the faces on the side that was not modeled
- Select the center vertices and use grid snapping to align them to the middle (Use the move tool and hold down x)
- Shift-right-click the mesh and choose Mirror Polygon → Mirror +X
Use these techniques to model the rest of your character's costume
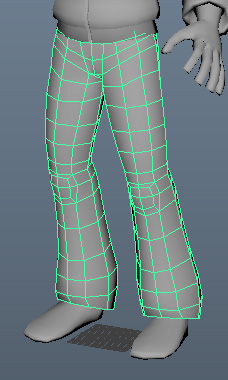
Pants
 - - 
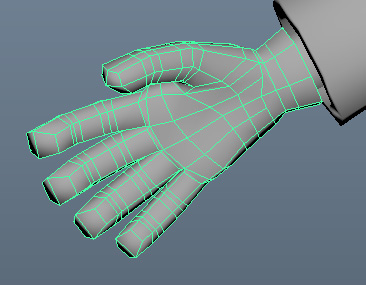
Gloves
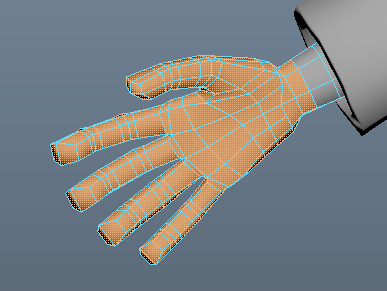 - - 
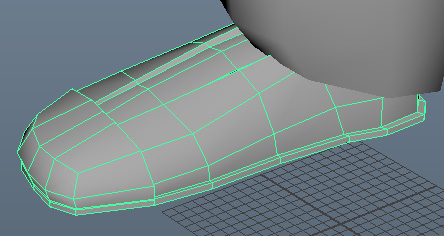
Shoes
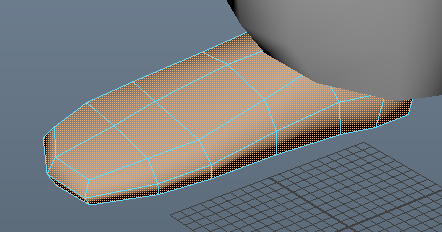 - - 
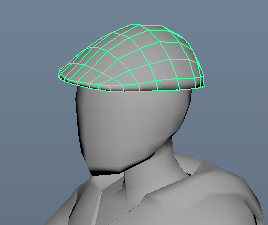
Hat
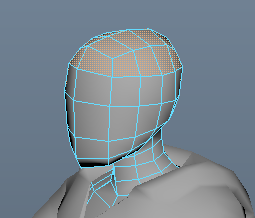 - - 
Headphones
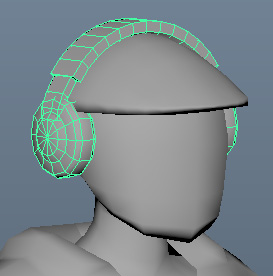
Delete the faces of the underlying grey model that are covered up by thecostume.
 - - 
Combine your model into one polygon mesh and name it "grey_model"
- Select all meshes, shift-right-click and press Combine
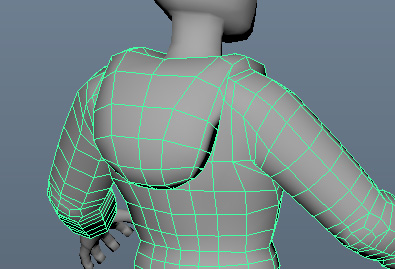
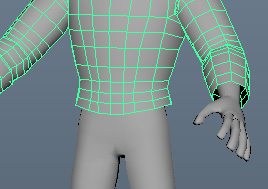
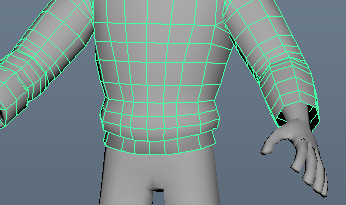
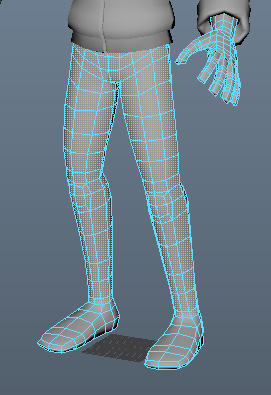
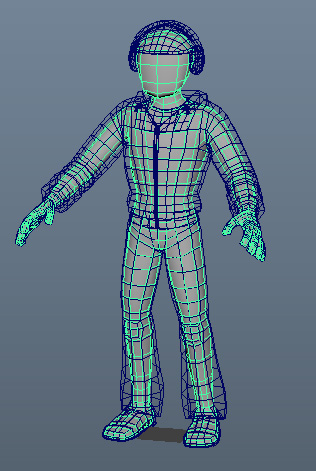
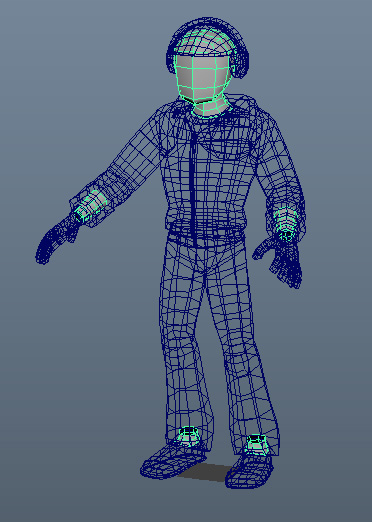
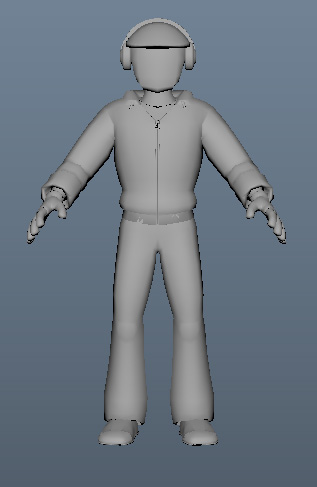
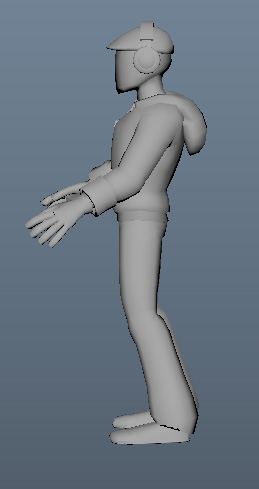
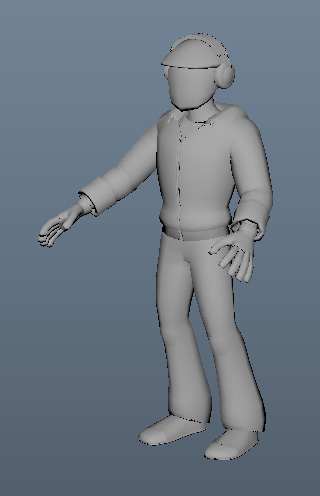
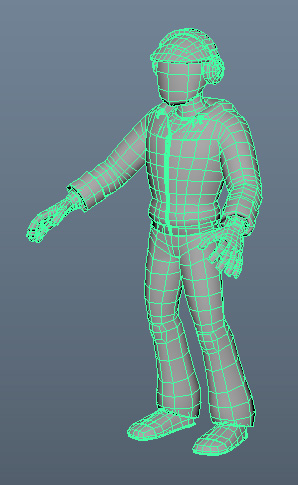
Here are screenshots of my finished grey model with costume:
 - - 
 - - 
Part 2: Copy Skin Weights
- First, bind the skin to the skeleton
- Delete history - select the model and Edit → Delete By Type → History
- Select all joints in the skeleton using this button on the Character Design shelf

- Shift-select the model
- Press [Rigging menu set] Skin → Bind Skin
- Import the skinned grey model from the end of Assignment 5
- File → Import and browse for the file
- Copy skin weights
- Select the Assignment 5 grey model, then shift-select your new grey model
- Go to Skin → Copy Skin Weights [options]
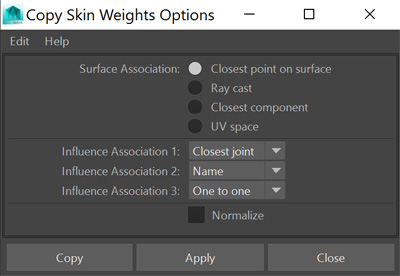 - Press "Copy"
- You can now delete the old imported grey model from this scene.
- Polish the skin weights.
- Copy Skin Weights does a decent job at applying interpolated weights to the new parts of the model. But it's not perfect so you will need to repeat the skin weighting steps from Assignment 5 and clean up the areas that didn't transfer very well.
Save your file
- assignment6_grey_model_2.ma
Turning in your files
Like last time you will be turning your files into Collect-It on catalyst. For this assignment, turn in the following:
- assignment6_grey_model_2.ma
- Front, side and perspective screenshots of your character.
Your assignment is due Thursday, 8/4 at 5:00 PM.
|