|
CSE 464 - Character Pre-Production for 3D Animation |
||||
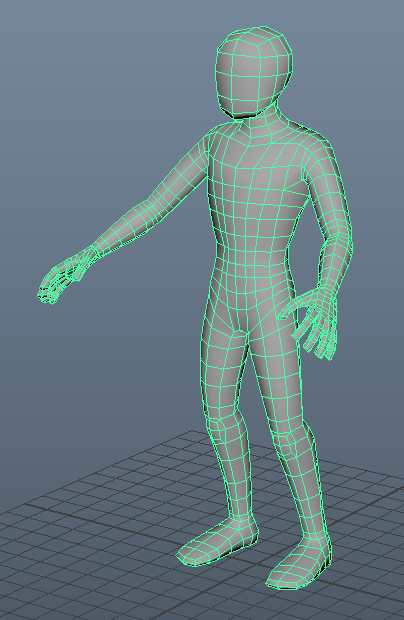
Assignment #5: Grey Model Pose TestStart from the finished grey model scene from the last assignment.
|
||||
 Before |
 After |
Repeat this step for the rest of the body until the model looks good when the skeleton is animated.
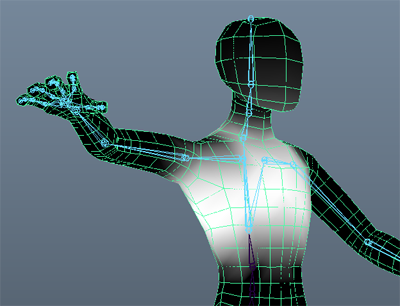
- Set a keyframe on the head joint on frame 1 ("s" hotkey will set a keyframe)
- Move the time slider forward to frame 10 and set a keyframe with the head joint rotated back. - notice that the head deforms incorrectly with the joint rotated.
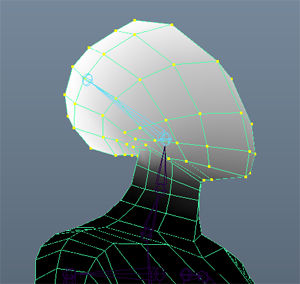
- Select all vertices on the head
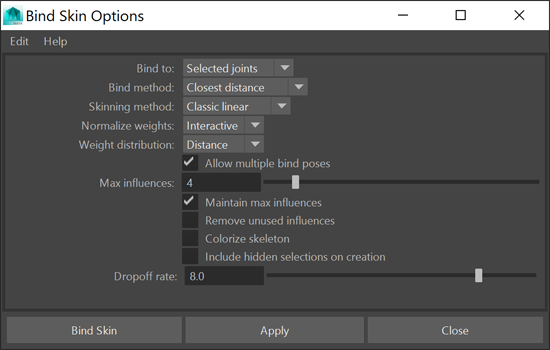
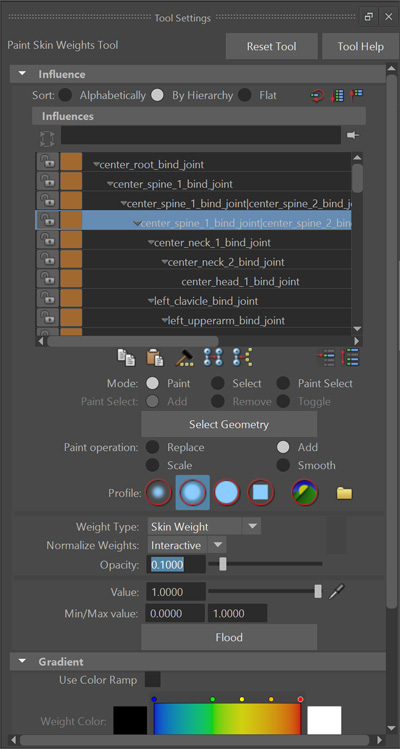
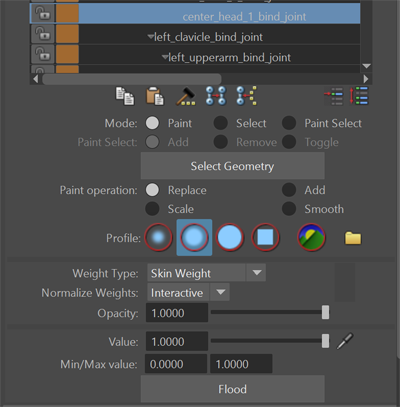
- In the Paint Skin Weights tool set the options to:
- Paint Operation=Replace, Opacity=1,
- With the head joint highlighted in the tool window, press Flood
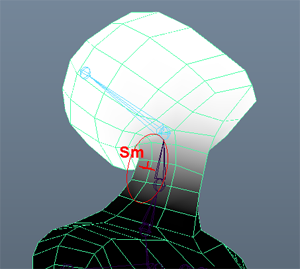
- Use the Smooth brush to clean up the transition
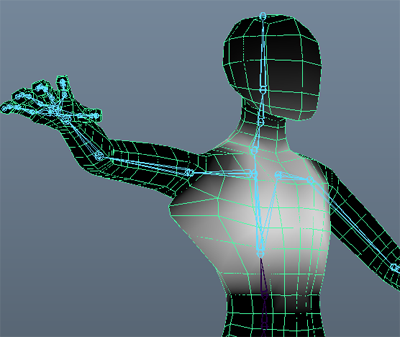
--
Before--
After
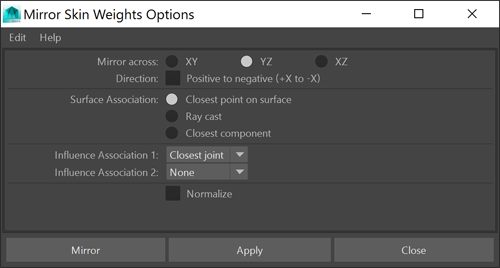
- Skin → Mirror Skin Weights (Options)
- [Mirror across =YZ, If you worked on the right side of the character uncheck "Postive to negative"]
Part 2: Grey Model Pose Testing
- First, delete all keyframes that were made for testing skin weights in the above steps.
- Move the time slider back to the first frame
- Edit → Delete All by Type → Channels
- Keyframe the skeleton in the bind pose on frame 1
- Select the model and press: [rigging menu set] Skin → Go To Bind Pose
- Select all joints in the skeleton using this button on the Character Design shelf

- Set a keyframe using the "s" hotkey
- Keframe the skeleton in the crouch pose on frame 10
- Move the time slider forward to frame 10
- Rotate joints (and translate the root joint) into the crouch pose. This should look the same as the crouch pose from the block model pose test with arms forward.
- Select the skeleton and set a keyframe.
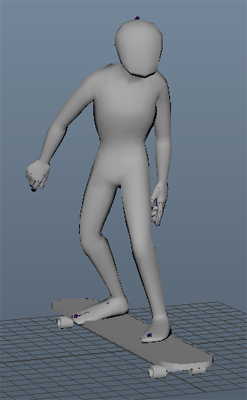
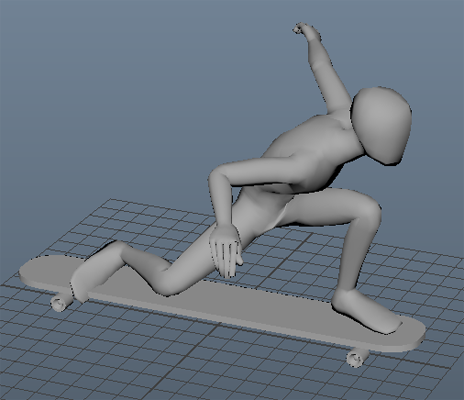
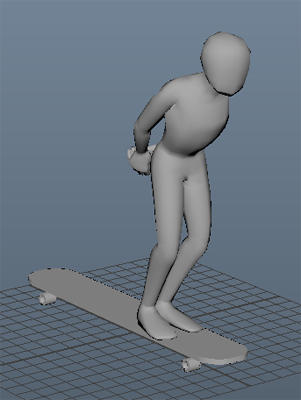
- Make 3 or more "character" poses that demonstrate his or her personality. Set keyframes for these every 10 frames, starting on frame 20.
Here are some examples of character poses I made for my character, Sly. You can model a prop if you want to, but that is not required. Only make a prop if it is really important to your character's identity.
Use these poses to polish your skin weighting. Scroll the time slider between the poses and see how well you can keep volume preserved by adjusting the skin weighting. You might find out that you need to change the way the model or skeleton are built! Take note and we will make those changes in the next assignment.
Save your file
- assignment5_skin_weights.ma
Turning in your files
Like last time you will be turning your files into Collect-It on catalyst. For this assignment, turn in the following:
- assignment5_skin_weights.ma
- One screenshot for each of your character poses, from a good perspective angle
Your assignment is due Wednesday, 7/28 at 5:00 PM.