The Walk Cycle
 |
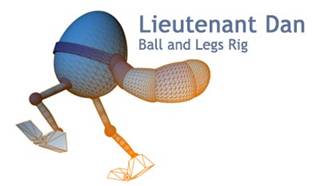
The bread and butter of animators worldwide! The walk cycle is a basic motion that reinforces many of the key concepts that you learned in the bouncing ball tutorial. In a lot of ways, a full walk cycle with arms, legs, head, hips can be overwhelming at first... luckily for you, you only have to animate the bottom part (hips, legs). Say hello to Lt. Dan:
 |
First and foremost, you MUST must must mustt get reference, VIDEO reference (tape yourself if you want). Watch it over and over again until you're sick of it. Pay attention to the legs, hips/ feet/ knees seperately. Get up and try the walk yourself but don't overanalyze your own movements... your reference is king here.
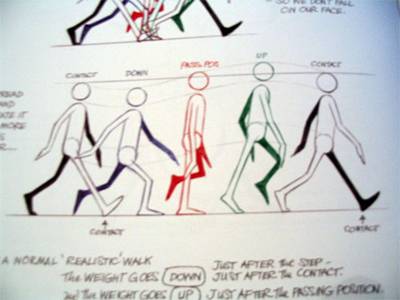
Second, start thumbnailing (quick small drawings) key poses in your walk cycle too see if they read well... if they don't read well on paper, it's going to look just as bad in Maya. Finally, make a planning sheet basically blocking out poses to that it reads like a walk.. examples (excluding the one above):
 |
These are great planning sheets. You're planning sheets should also be this awesome (yes, we are grading you on these).
The walk I'm going to do is just based off the planning sheet in the very beginning of this tutorial. It's boring, you guys can definitely do something more creative... there are so many types of walks: happy, sad, angry, pompous, lazy, feminine... etc..etc.
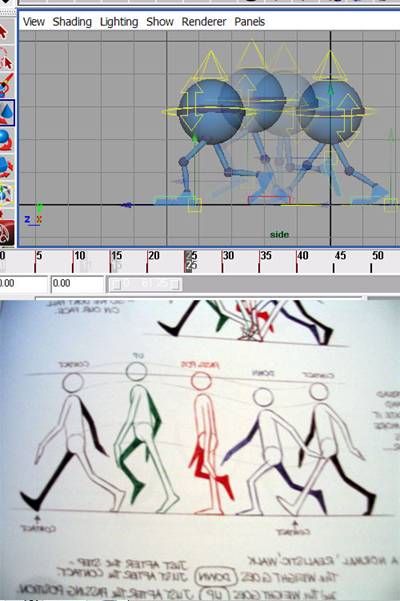
- Open up the maya file, you should see Lt.Dan in a neutral pose.
- Switch to your side view and start posing him based on the
poses in your planning sheet like this:
Make sure you key all the controls in your key poses. Keep your keys nice and
clean/organized at this blocking/planning stage. This way it's easy to move
around keys to change the timing. The work flow is exactly the same as the
ball tutorial. Playblast your stepped keys until you're happy with the timing,
only then can you spline things out.
- After blocking you should have something that looks like
this:
Front: http://www.youtube.com/watch?v=CNYkxwsLYAA
Side: http://www.youtube.com/watch?v=FAXb0er1Ehk
- After the timing feels right, you can start splining.
Select all the controls on your character except top con and go into the
graph editor, select all the keys and hit the spline button:
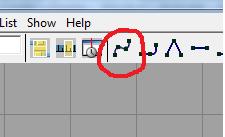
- Then select the feet controls on your character, select
all the keys and hit the clamp tangents button… it’s right next to the
spline button in the picture above. This is keep your character’s feet
from sliding. Start tweaking your curves in the graph editor to your
liking, insert additional breakdown poses as necessary (a breakdown pose
is just another pose between two other extreme poses). Once you are happy
with the way things turned out.. playblast it :). This is my boring walk,
it’s definitely not perfect… I’m sure you can do much better.
Side: http://www.youtube.com/watch?v=ACbrpsP6QFs
Front: http://www.youtube.com/watch?v=gquQ8NXjsRg
Once you are done with one complete walk cycle… you can continue cycling it forever. To do this, simply key all the controls on the first pose and the last pose EXCEPT the top con. This should be exactly the same except the last pose is just tranlated forward (you might need to do a little math to make sure the controls are in the right place on the last pose). Then go to your graph editor, zoom out until you can see all your keys in the graph editor and select them all. Finally go to Curves -> post infinity ->cycle with offset. That should do it!