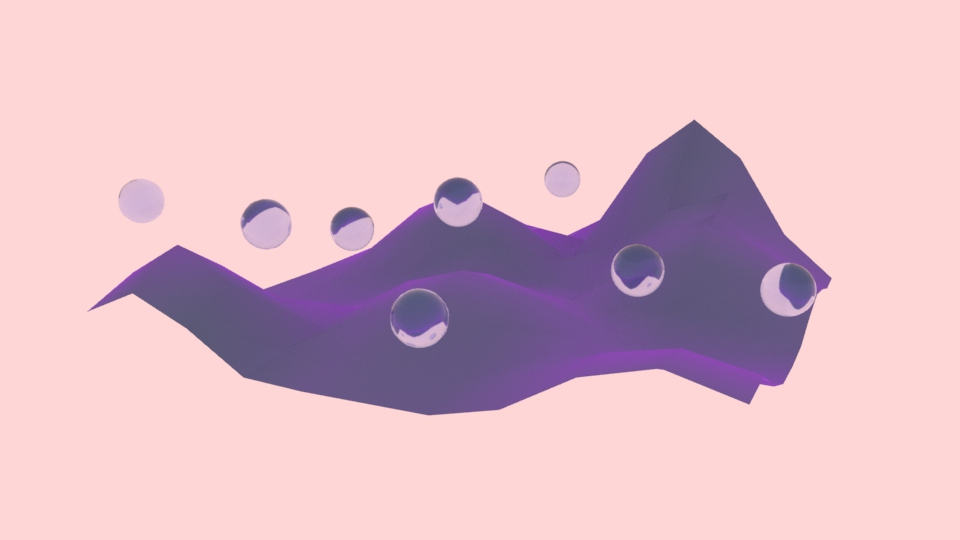
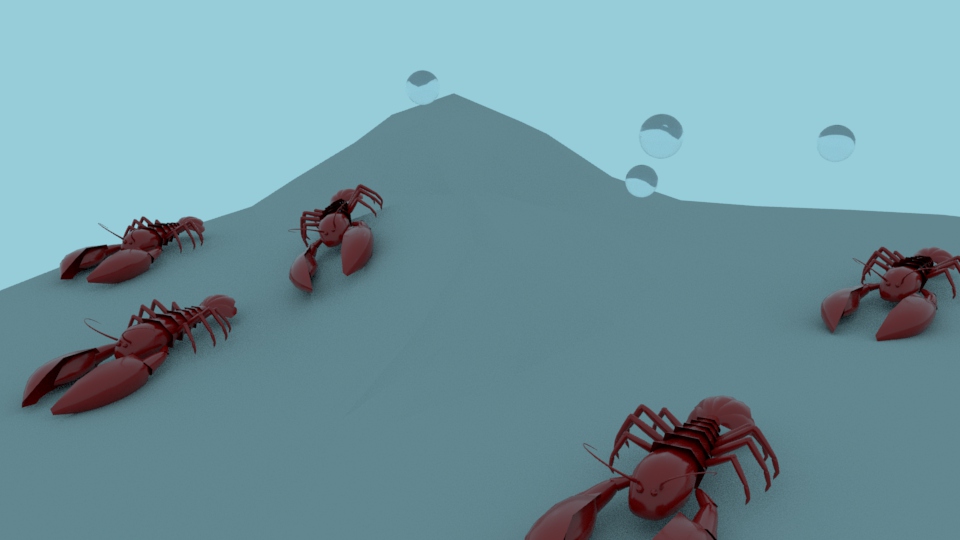
Project 6d: MASH
Maya's MASH motion graphics system is a powerful tool for replicating multiple objects and making them move in various ways. Originally a separate plug-in for Maya, MASH is now included with versions of Maya, although it may need to be enabled using the Plug-in Manager. We will use MASH to create some simple effects. A MASH Network is created using many MASH nodes working together to create a mesh. Examples include MASH_Distribute nodes, MASH_Flight Nodes, and MASH Audio nodes.
Part 1: Duplicating Objects and Scattering Them
-
If MASH does not appear as a tab on the shelf or a drop-down menu on the FX menu set, you will need to enable it. Go to Windows > Settings/Preferences > Plug-in Manager and click the Loaded checkbox next to MASH.mll.
Make sure Arnold is enabled as well (mtoa.mll) -
We will need an object duplicate. Create a primitive shape and edit it into something more interesting. Keep it relatively low-poly, though. When you are satisfied with the object, place the object into a group give it an appropriate name.
We will use MASH to duplicate this object many times over.
Click on the group in the outliner, go to the FX menu set, hover over MASH, and click Create MASH Network > Options Box.
The window contains information needed to begin set-up of your MASH network. Keep Geometry Type as Mesh, but do give the Network Name somthing relevant. Hit Apply and Close.
-
MASH will hide the group you created, and new nodes will appear in the outliner. You may see a ReproMesh node and MASH node with an orange icon. This MASH node is called the MASH Waiter node. If the orange MASH Waiter node does not appear, go to the FX menu set, and click MASH > MASH Editor. A window that only shows MASH nodes will appear. The top-level node in the MASH editor is the MASH Waiter node. The ReproMesh node is the mesh created using the duplicated objects, and can be assigned shaders or modified like a normal mesh. It is a result of the MASH Repro node that is created automatically when duplicating an object as a mesh.
Click on the MASH Waiter Node and view the Attribute Editor. An Add Node menu will contain a bunch of nodes that can be used to enhance the MASH effect. For now, click on the MASH Distribute tab towards the top of the Attribute Editor, or click on the MASH Distribute node underneath the MASH Waiter node in the MASH editor.
The MASH Distribute Node determines how the duplicated objects are scattered. It contains attributes for determining the number of objects, spacing between objects, distribution type, and more. -
At this point, we will customize the MASH Distribute node to change how the duplicated objects appear.
The default type is a Linear Distribution, but other types include, grid, radial, and mesh, among others. We will use a Mesh distribution in this tutorial. Select Mesh from the dropdown menu.
Next, create a plane, and subdivide it so it has around 10 to 20 edges. Use sculpting tools or soft select to shape the plane into some terrain. When you finish, Freeze Transformations and Delete History.
Return to the MASH_Distribute node. Open the Mesh dropdown menu. There is an option for "Input Mesh". In your outliner, Middle-Mouse click the plane you created and drag it into the box next to "Input Mesh".
The initial object will now be distributed all over the plane. If parts of the mesh is clipping into the plane, expand the group your original object is a child of, select the object, and translate up on the Y axis. This is why we place the object into a group before duplicating the group using MASH.
Play around with some of the settings of the MASH Distribute node on a mesh, such as changing the method by which the ReproMesh is placed on the plane. You can increase the number of objects using the "Number of Points" slider at the top. At this point, you can still edit the original mesh. Adding more objects to the group will replicate them with the MASH network by clicking on the ReproMesh node, navigating to the _Repro tab in the attribute editor, right-clicking the group under the objects window, and clicking Refresh.
When you're satisfied, place some shaders on the ReproMesh and the plane, add some lights, and render out your scene. You will submit an image and the Maya file. Save the image as [lastname]_[firstname]_project_6d_mash_distribution.png and the Maya file as [lastname]_[firstname]_project_6d_mash_distribution.ma
-
In a new Maya file, make some base objects to duplicate. Unlike Part 1, make several (around 2-4) objects - they can be variations of one object, like trees, or they could be different shapes, like buildings and houses. Assign some shaders to your models and put each object into its own group.
-
In the outliner, select all of the group nodes, and create a MASH network. Go to the FX menu set, hover over MASH, and click Create MASH Network > Options Box. Name the MASH node and click Apply and Close.
Something seems off -- all of the objects are still the same! MASH does not know which objects to display in the ReproMesh. We will fix this using a MASH ID node.
-
Select the MASH Waiter node (The orange MASH node) and navigate to the Attribute Editor. Under the Add Node menu, click the ID node and click Add Node. This is the first step to creating more complex MASH networks, by layering MASH nodes together.
The Attribute Editor should automatically switch to the tab for the MASH ID node. If it does not, click on the MASH ID node using the MASH Editor. After adding the MASH ID node, the MASH ReproMesh should update.
-
Change the ID Count value to match the number of different objects created at the start. The default ID Type is Linear, where the objects will cycle once all the distributed objects have appeared. For this part, change the ID Type to Random. The Random Seed option is now available. Edit this to change how Maya determines which objects appear.
-
If you have not already, play around with the MASH Distribute Node. Perhaps try a Grid distribution to see a lot of objects at once.

Part 2: Random Distribution With MASH ID Node
In the last part, all of the distributed objects were the same. Adding some variety goes a long way towards making a bunch of objects appear more natural. In this part of the assignment, we will explore using another MASH node, the MASH ID node.
When you're satisfied, add some lights and render out your scene. You will submit an image and the Maya file. Save the image as [lastname]_[firstname]_project_6d_mash_id.png and the Maya file as [lastname]_[firstname]_project_6d_mash_id.ma
