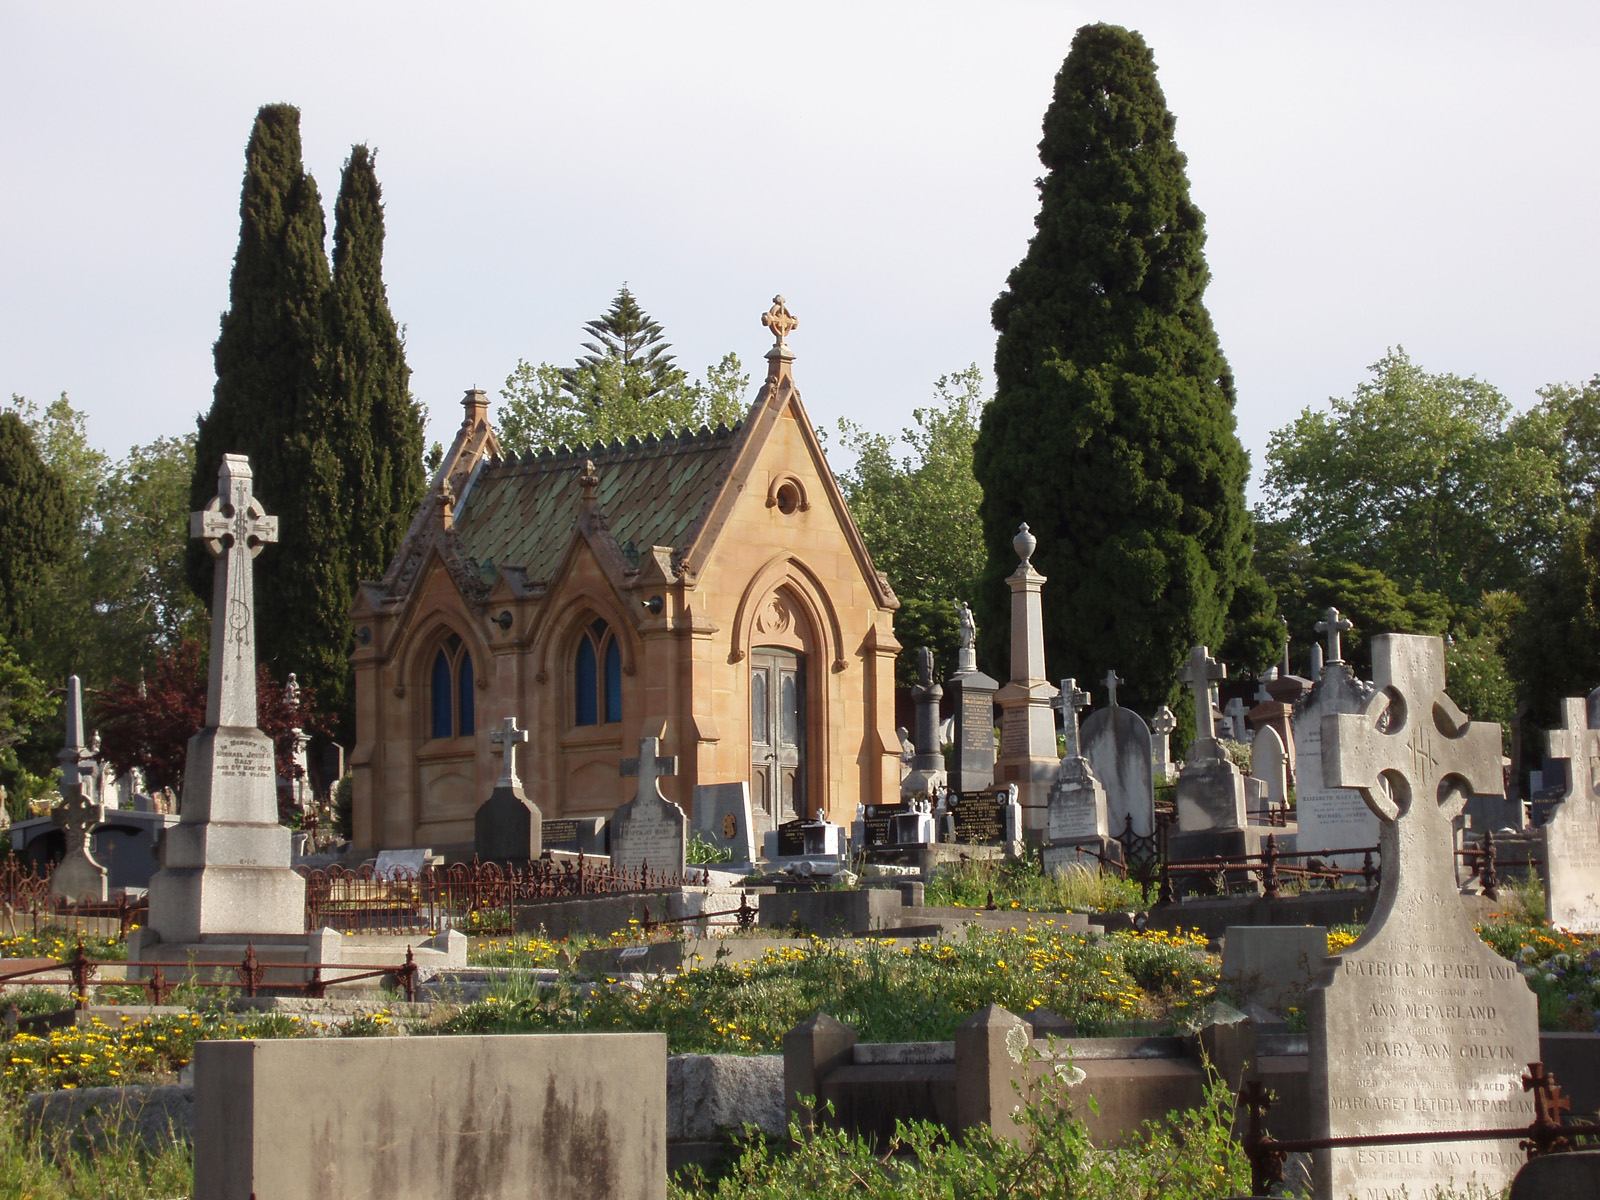
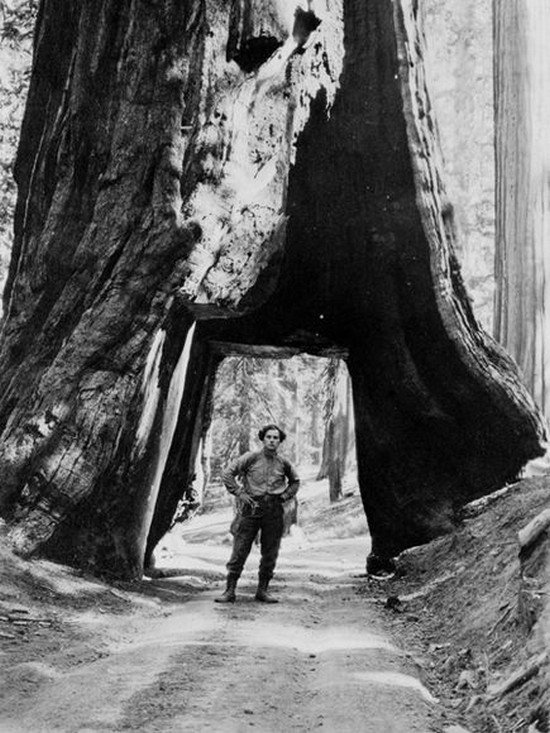
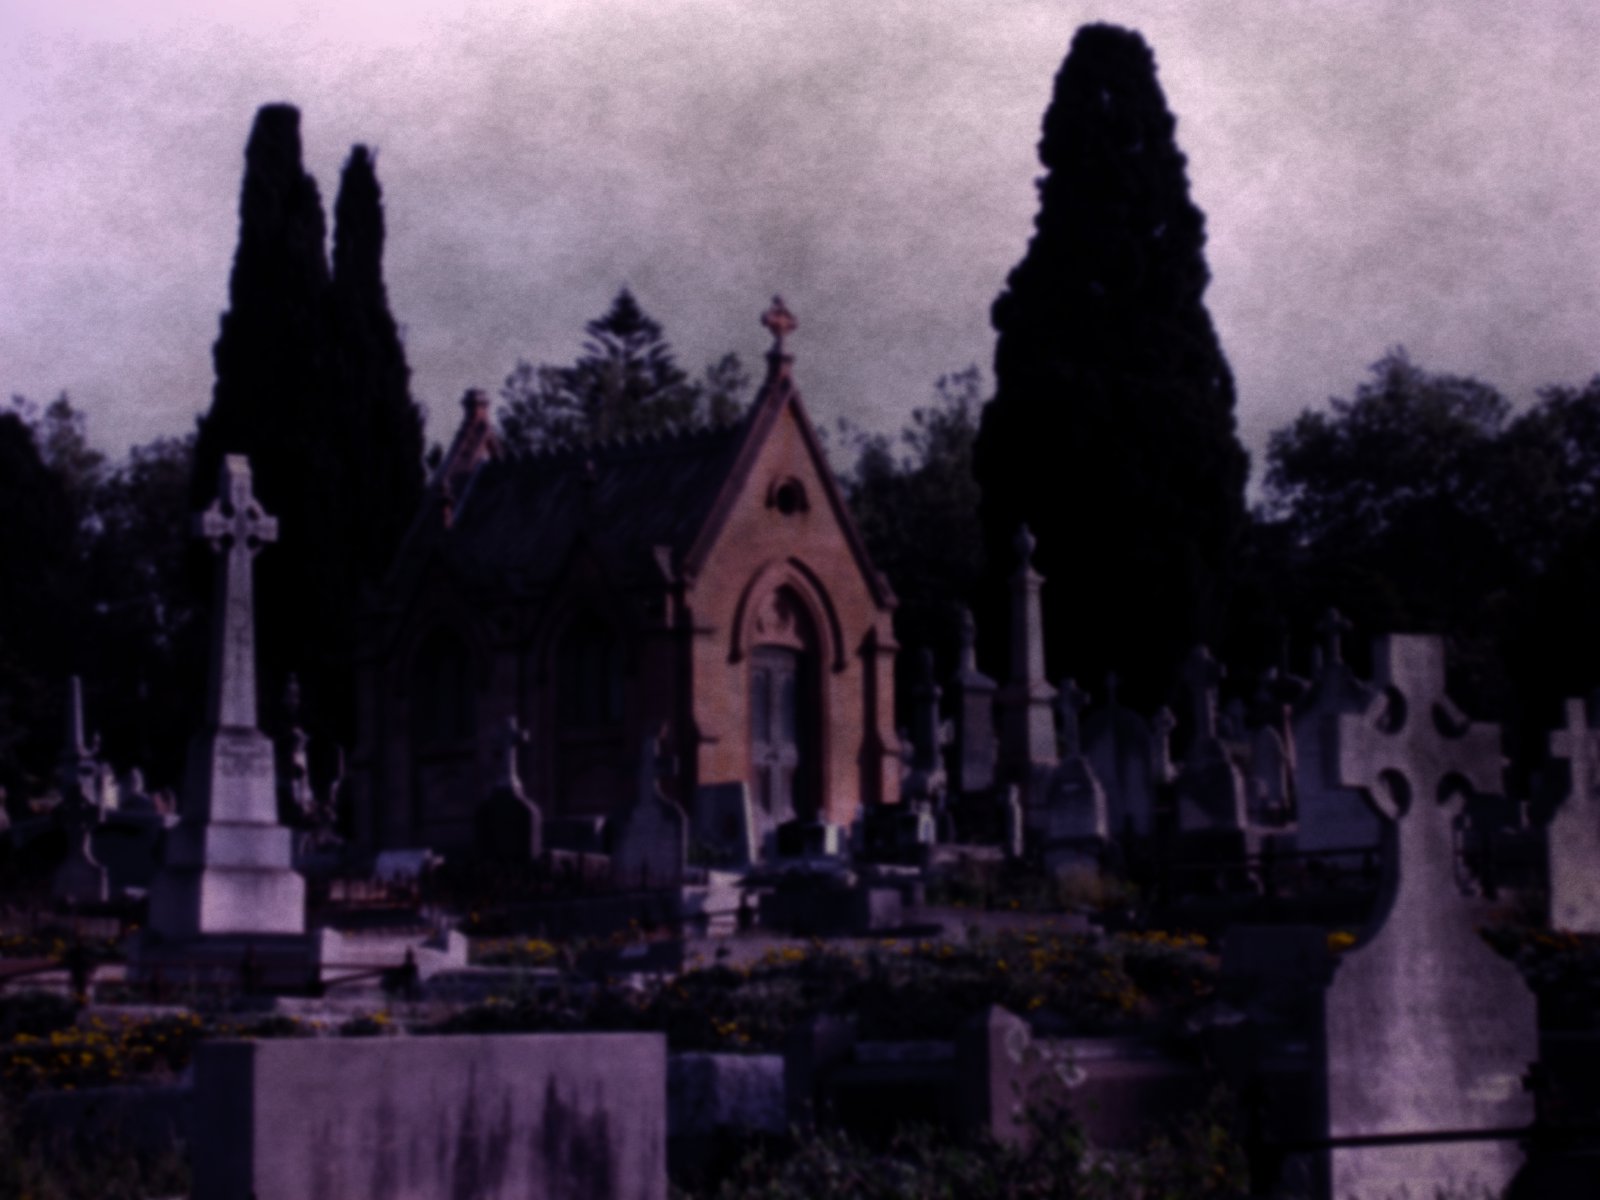
To make the scene in my head, I had a pretty clear idea of the cemetery I wanted: sort of run-down, with big and varied tombstones. Maybe creepy (which obviously didn't happen in the photo at right), but I could add the creepy later.
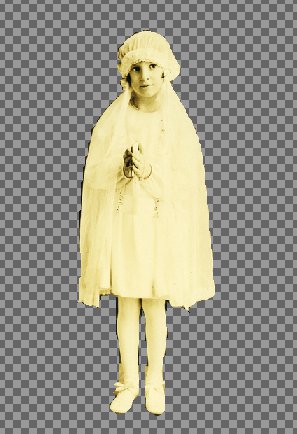
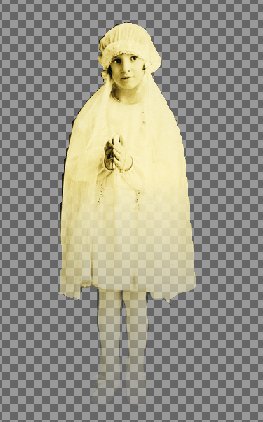
I then searched for vintage photos and found some unique characters that I could work with, such that the full bodies were not obscured.
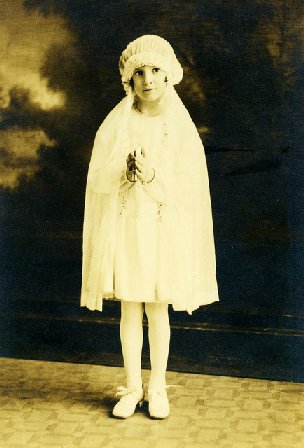
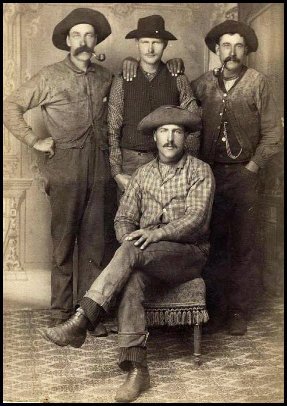
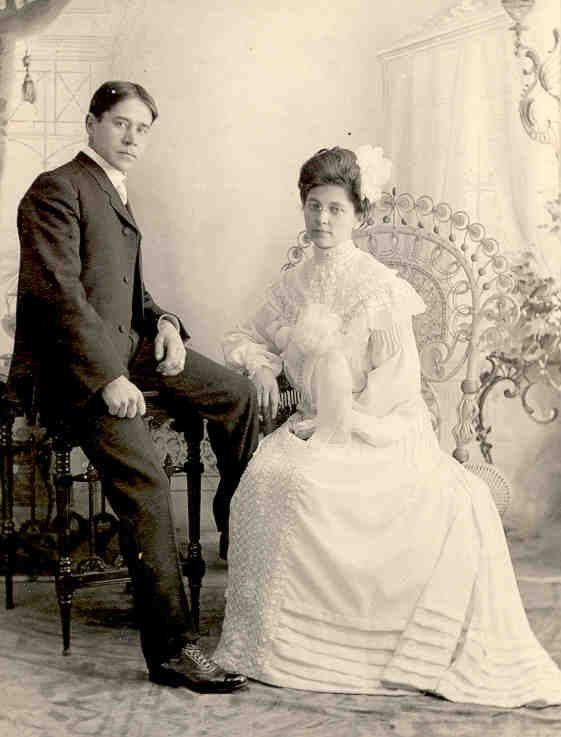
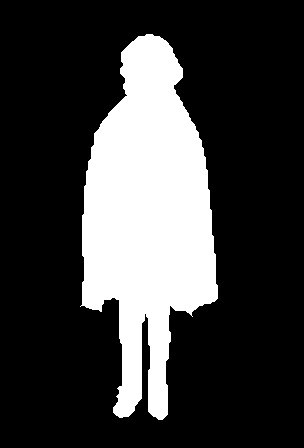
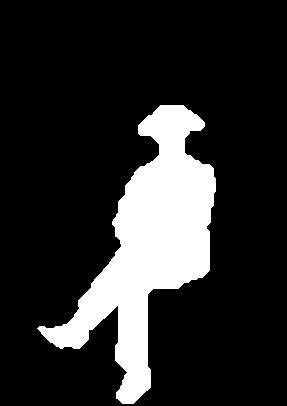
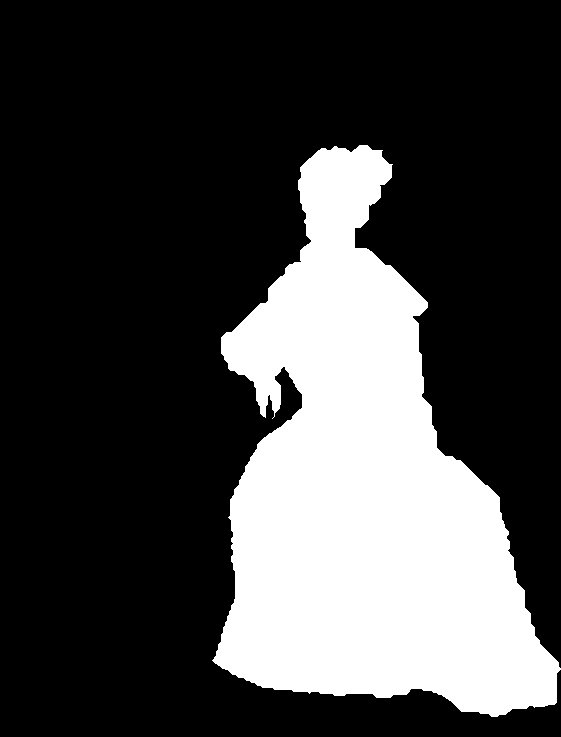
I traced around the central figure in each photograph to get my mask. I wasn't too worried about perfectly matching the edges, because I would blur them later.

To arrive at my final image I did the following steps in GIMP:
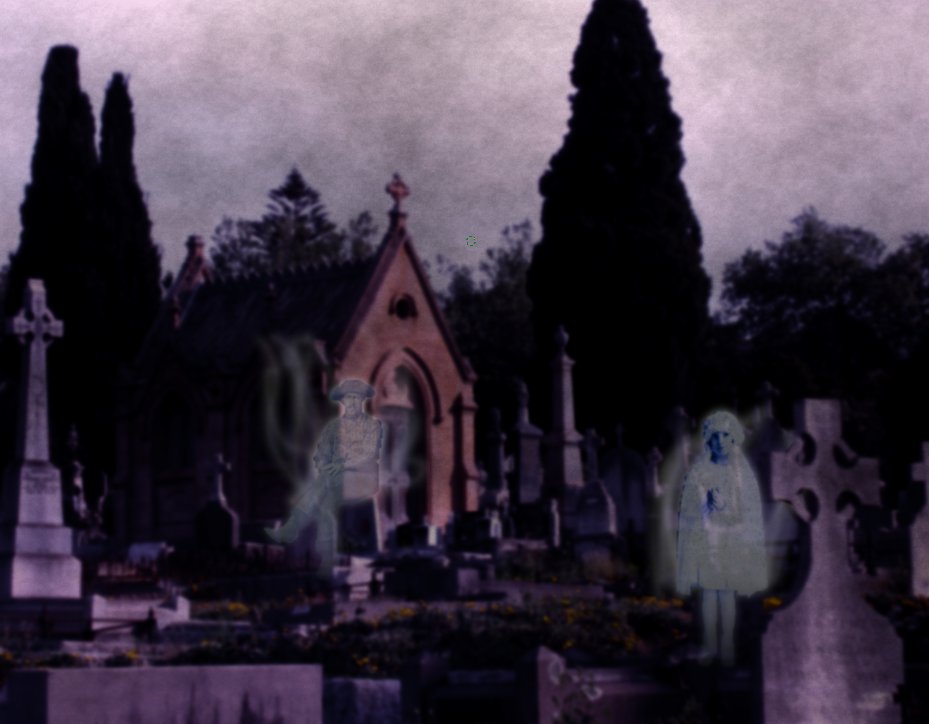
Step 1: I played around with the cemetery scene (overlaying a plasma texture, tweaking the colors, blurring, overlaying a muddy coloor) to make it look more sinister than before.
Step 2: I grabbed one of my figures and overlaid the iScissor mask to isolate the body.
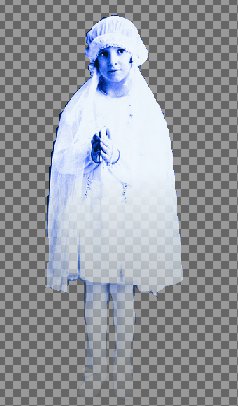
Step 3: I added another mask (black-to-white, bottom-to-top gradient) to fade out the bottom of the body.
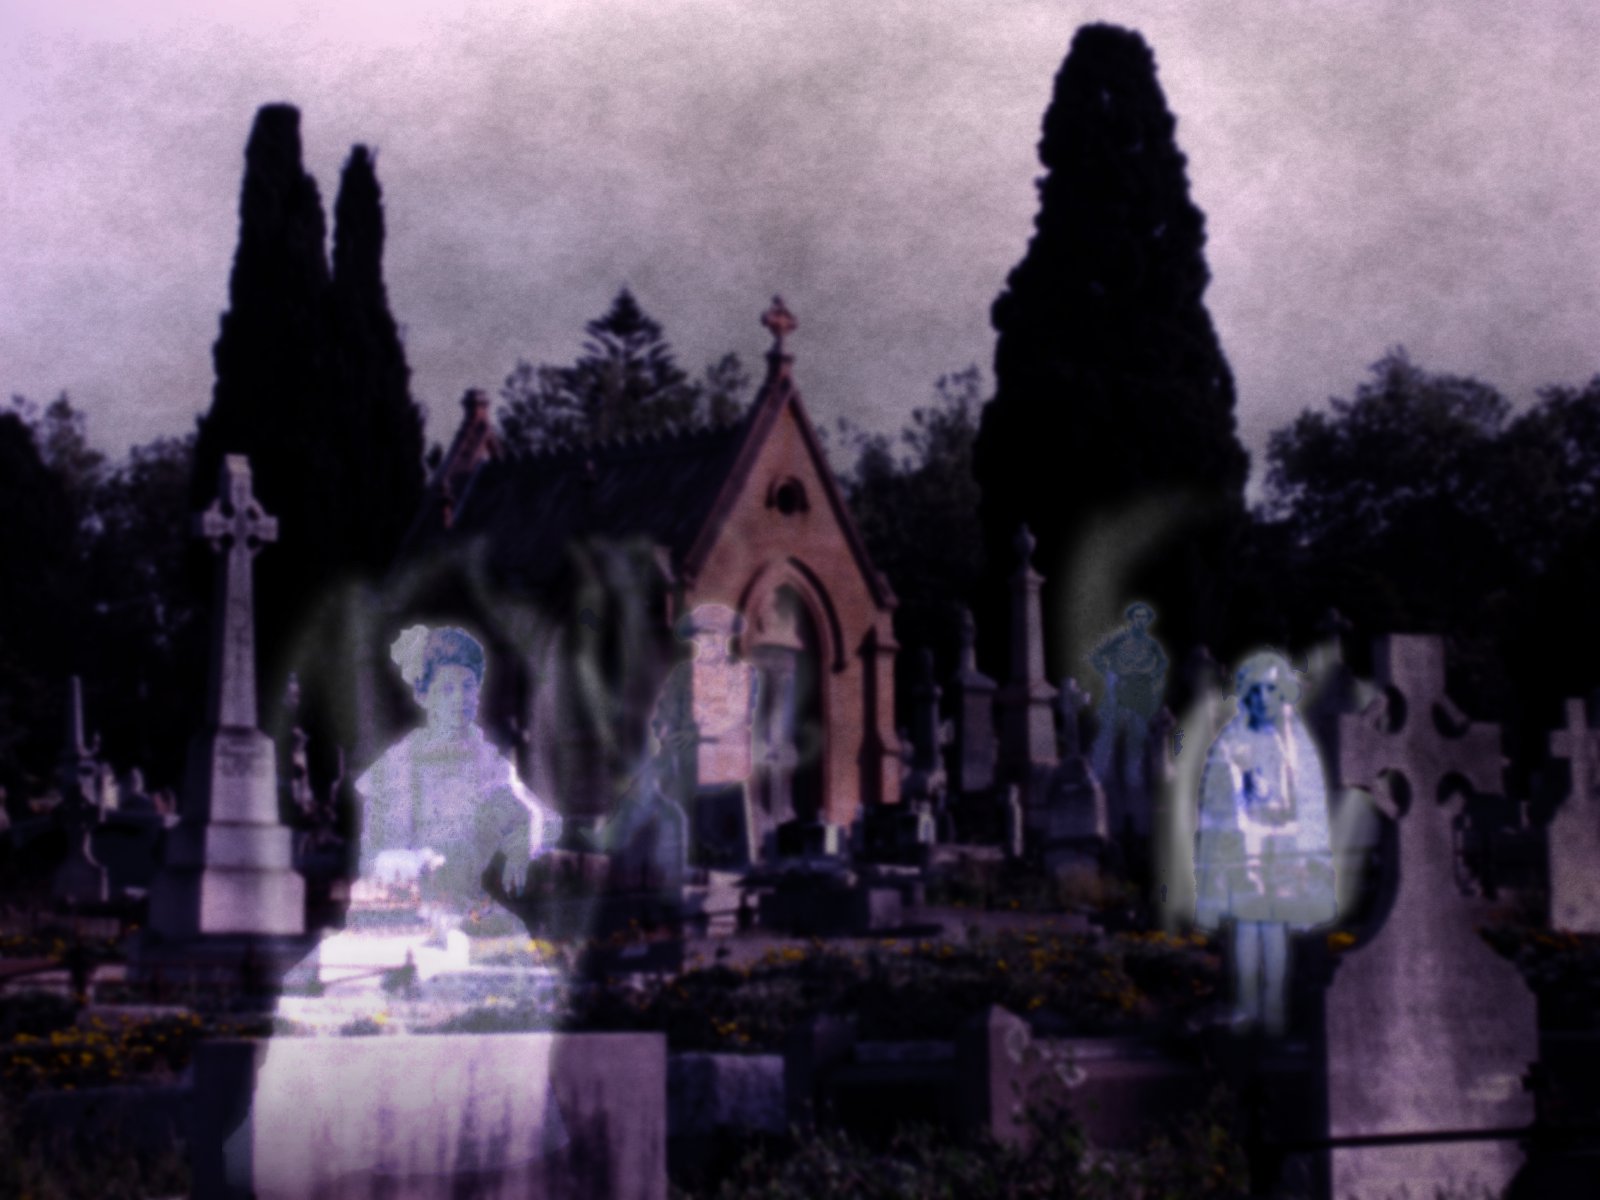
Step 3: I played around with the colors. I found that making the image grayscale, then coloring it cyan-ish on one layer and purple-ish on the other layer and then playing around with the layer modes (dodge, color merge, etc.) and opacities worked the best.
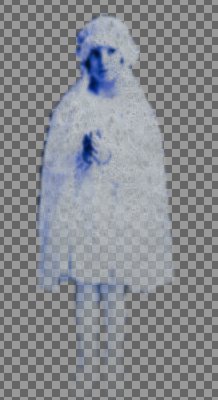
Step 4: I blurred the ghost. I also added another grayscale layer on top of the image and filled it with a cracked marble texture, which I then made grayscale. I set this layer's mode to multiply so that the texture got transfered to the underlying layer and lowered the opacity a bit.
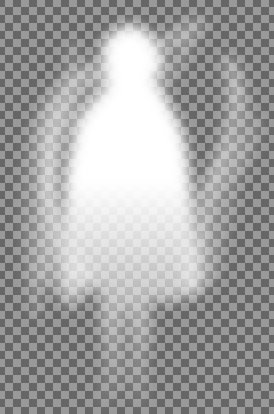
Step 5: To give the ghost a creepy halo, I made a duplicate of the layer, locked the alpha, filled it with white, unlocked the alpha, blurred it judiciously, and used the airbrush tool to add aura lines.
Step 6: I pasted my ghost onto the cemetary image. I played around with layer modes here: I found that a bottom layer of "dodge" and an upper layer of "addition" with varying (low) opacities gave a substantially transparent, ethereal effect.