In this task, we will use
opencv to find the four features of a single card (color, shape, number, and fill).
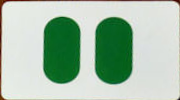
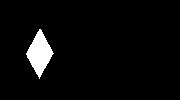
If the card is:
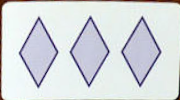
We want to output the following four features:
| Result | Choices |
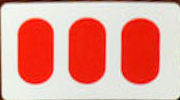
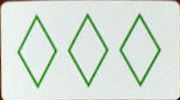
| color | purple | purple, red, green |
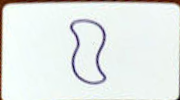
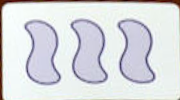
| shape | diamond | squiggle, oval, diamond |
| number | 3 | 1, 2, 3 |
| fill | striped | open, striped, solid |
1.0: Basic opencv
The most fundamental things you can do with
opencv are read and write images. The code looks like this:
1.1: Fill Image "Gaps"
We would like to find each individual shape in the card, but we have some setup to do first.
Before we actually attempt to get the shapes, we need to make sure that the lines/fills are all as "solid" as possible. If there's noise in
the image, when we get the contours, they might not represent full shapes. This is called a
"morphological tranformation".
In particular, we want to do "opening" in this case which we can do with the following two lines of code:
- Create the kernel which is used to erode/dilate across the image:
kernel = np.ones((2,2),np.uint8)
- Apply the kernel and do opening:
img = cv2.morphologyEx(img, cv2.MORPH_OPEN, kernel)
The result won't look significantly different, but it will make a difference in the next several steps.
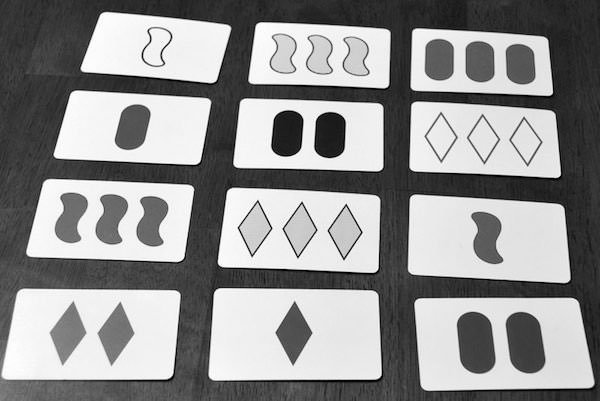
1.2: Threshold the Image
Grayscale images are far easier to work with than color ones. So, the very first thing we will do is convert to grayscale. The image begins in "BGR" color mode.
To get it into "grayscale" mode, we need to use the
cv2.cvtColor function with the flag
cv2.COLOR_BGR2GRAY.
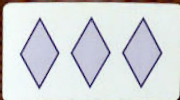
The result should look something like this:
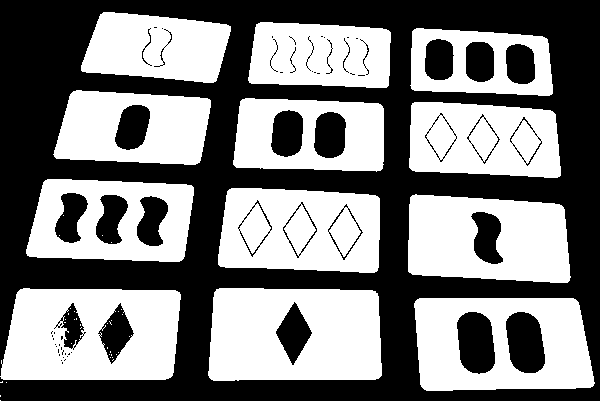
Now that it's grayscale, we can divide the pixels of the image into two catagories: "on" and "off". This will help us figure out where the actual cards are.
This is called "thresholding", and you can figure out how to do it by
reading the documentation.
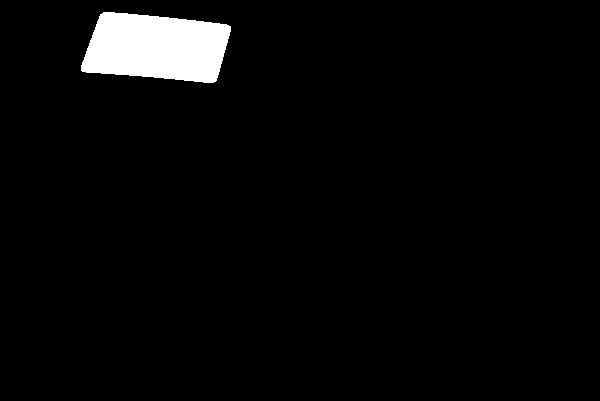
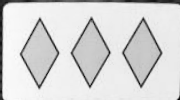
If you've done it correctly, your thresholded image should look something like the following:
1.1: Find Contours
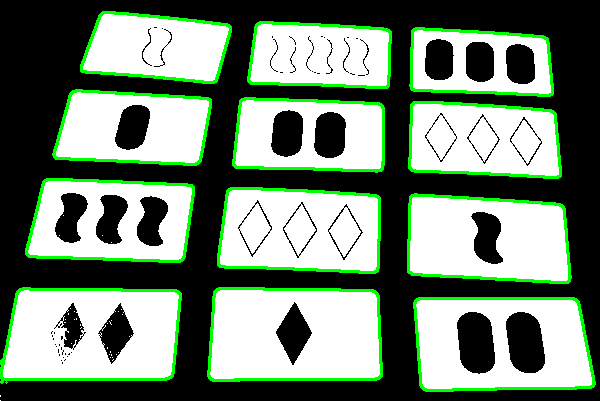
A
contour is "an outline of a shape". In each card there are
many contours, only some of which we care about. We begin by using
opencv finding
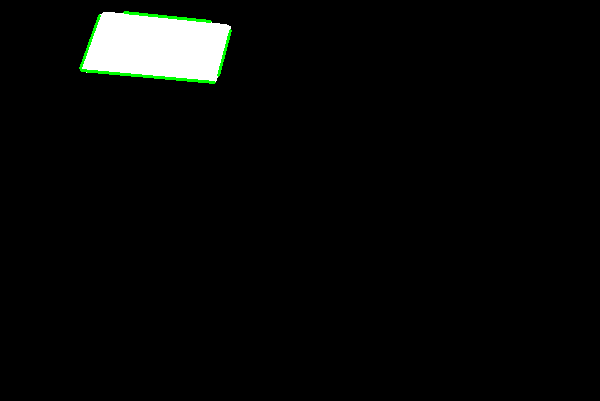
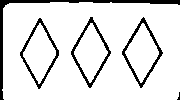
all of them; then, we filter them down to the ones we care about. On our example card, the contours highlighed in green look like this:
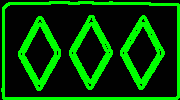
To do this, you will want to
read the documentation. We are
interested in the entire
TREE of contours here. Note that
cv2.findContours returns a tuple of three items:
img: A copy of the image--this return value can be ignoredcontours: A list of the actual contourshierarchy: A dictionary of the contours that contains information about the topology of the image
As you probably guessed,
hierarchy is the most complicated of the three. For our example image, it might look something like the following:
[[[-1 -1  1 -1]
  [ 3 -1  2  0]
  [-1 -1 -1  1]
  [ 5  1  4  0]
  [-1 -1 -1  3]
  [-1  3  6  0]
  [-1 -1 -1  5]]]
The four values in each list represent:
[Next, Previous, First_Child, Parent] for the corresponding contour (indexed the same way as the elements of
contours).
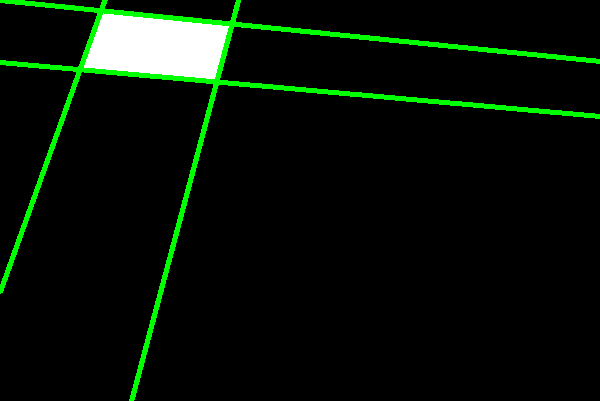
For our application, we are interested only in the contours at the "second level". In other words, we don't care about the contour around the entire card (which will be the
0th contour), and we don't care about any contours inside any children of the root. This means that we only want contours (indexed by i)
for which the value of hierarchy[0][i][3] is 0 (the root). We urge you to think about why that makes sense by tracing these values in the hierarchy above. Once we
filter out these contours, we're left with something like:

1.2: Filter Contours By Size
In some circumstances (like the example above), fitering on
hierarchy will be enough; however, that's not always true. Sometimes, the image might have artifcacts in it.
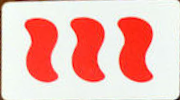
This is particularly true of the squiggle shape. The solution to this problem is to only consider contours that have
area of a reasonable size. You can use the
cv2.contourArea(cnt) function to calculate the area of a contour
cnt. We recommend ensuring that the "valid" contours are at least 50 pixels and less than
1/3 of the pixels in the whole image.
1.3: Find the Number of Shapes
The number of non-filtered contours is the number of shapes in the image! Make sure that if your answer is not 1, 2, or 3, you figure out what has gone wrong.
1.4: Mask Out A Single Shape
Now that we have the individual shapes, we "guess" the remaining features for each shape. We theoretically could do it on only one shape, but doing it on all of them gives us an
opportunity to correct any mistakes.
Just like in CSE 351 where you used bitmasks to get only part of a binary number, we can use image masks to get only part of an image. A mask is just a two-dimensional
array of 1's and 0's where 1 means we want that pixel and 0 means we don't.
Thinking about the information we need, it makes sense to sample (1) the border of the shape, and (2) the filling of the shape. To separate these out, we
will create and combine several masks.
1.4.0: Whole Shape Mask
To help us isolate the inside and outside, we will begin by creating a mask for the entire shape. Be careful to remove the outermost two pixels of "the shape" to avoid getting the
white background in our mask. For this first one, we will give you the code:
- Create an empty mask of the right side:
whole_shape = np.zeros(imgray.shape, np.uint8)
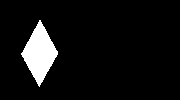
- Add the filled (-1) contour to the mask:
cv2.drawContours(whole_shape, [cnt], 0, 255, -1)
- Remove the outermost two pixels from the mask:
cv2.drawContours(whole_shape, [cnt], 0, 0, 2)
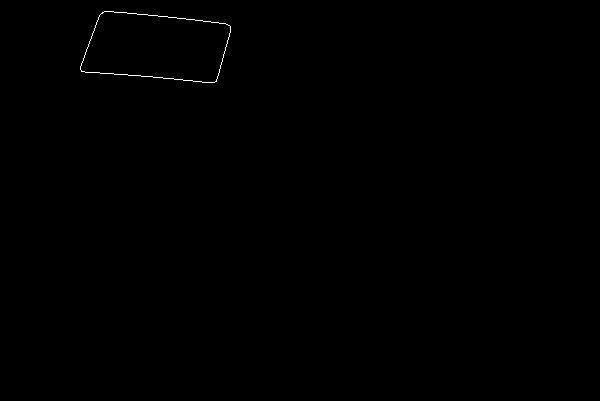
The resulting mask should look like the following:
1.4.1: Outside Shape Mask
Next, we will try to isolate the shape "border". This is important because no matter what the inner shading of the card is, this part will always be the exact color
we care about.
To get the outside shape mask, we first draw the contour slightly larger (+6 instead of +2) like this:
To get
only the outside of the shape, we make a new mask which is on only if the
whole mask has it
AND the
larger whole mask has it as well.
You will find
cv2.bitwise_and() useful.
Once you've anded the two masks together, you should result in a mask like the following:
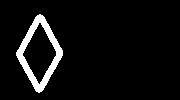
1.4.1: Inside Shape Mask
To make the inside mask, you should first create a mask by
adding in the whole contour and then
removing an even bigger (+10) size portion of the outside.

Although it doesn't make a difference here, you should also use bitwise operations to make sure that none of the outside mask is part of the inside mask as well.
This results in the following:
1.4.1: Background Shape Mask
Unfortunately, due to lighting, the background of the image isn't always "white". To fix this later, we need to know what color the background actually is.
To get the background, we first
add in the +10 contour,
remove the +8 contour, and ensure none of the whole shape mask is in the result. This gives us:
1.5: Switch Colorspaces
The default colorspace that we've been using is RGB (technically BGR, but that's just a re-ordering of the same components). RGB is a useful colorspace for many things, but it
unfortunately separates tints/tones/shades of the same color. This is a problem for us because the lighting in the picture is inconsistent, and we need to determine the "pure"
color. It turns out the
HSV color model gives us exactly what we want. It separates
the "pure color" from the "saturation" (how dark the color is) from the "value" (how light it is). The saturation and lightness will be useful when we're trying to figure out the
type of fill.
For the rest of this part, we should work with an HSV version of the original image.
1.6: Guess Color
opencv has a "mean" function that returns the average color of an image over a mask:
cv2.mean(img, mask). The hue of the outside mask is exactly the
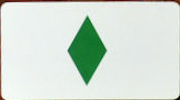
color of the card! The cutoffs we've found to work are
100 to 160 for purple,
50 to 100 for green, and the rest of the space for red.
1.7: Guess Fill
We can guess how filled the shape is by comparing the saturation of the inside to the saturation of the background and the saturation of the outside. That is, the saturation of the
inside is somewhere between the background and the outside. If it's closest to the background, then the shape is open. If it's closest to the outside, then the shape is filled.
If it's close to neither, then it's striped. We should also make sure that we only consider shapes with low value to be solid.
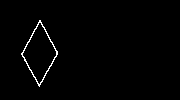
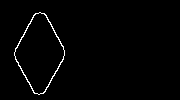
1.8: Guess Shape
Since there are only three options for shape, we can take advantage of
opencv's
cv2.matchShapes(img, SHAPE, 1, 0.0) function. If we have a "pure" version
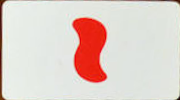
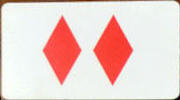
of each shape (like the following!),


then we can try to match the shape with each of the three possibilities and see which is the closest match.