Setup Calgary
In 374, this quarter, we will rely on one specific department computer running Linux. This will facilitate debugging and grading. Other Linux and Mac OS X systems are very similar, and Windows machines also use the same underlying processors and memory organization. But for homeworks in this course, the department’s Linux is our reference system and assignments need to work on, and will be graded on those systems. If you normally run a different 64-bit Linux distribution on your computer you should be able to use that as you work on your assignments, but you need to check your answers on the CSE configuration to be sure there are no subtle differences that cause problems when we evaluate your work.
The Linux system we will be using is calgary.cs.washington.edu.
Remote Access from Local Machines
If you have a command-line (Terminal on Linux and MacOS, Command Prompt on Windows) interface on your system, you can use ssh to log in:
ssh your_uwnetid@calgary.cs.washington.edu
You’ll need to enter your password to log on. If this is the first time you’ve accessed calgary you’ll receive a warning that it is a previously unknown system name. Answer yes or ok or whatever is needed to accept the connection.
Note
The remote machine will not echo your password as you type it, so you won’t see any visible indication that it is being typed. This is a security feature so that nobody can look at your screen to discover your password. The system is still reading the characters you type and will process them when you hit enter after you’ve typed the entire password.
File Transfer
You can use the scp command to transfer files between the remote machine and your local machine. Usually this is easiest to do by issuing the commands on your local machine to copy files to or from calgary, rather than trying to run scp on the remote machine itself. This is because calgary has a well-known internet address, while your machine may have a different dynamically allocated address each time you use it, so it is easier to set up the connection starting from your local machine.
For example, to transfer a file foo.txt from your home directory on calgary to the home directory on your mac, open a terminal window on your mac and type in the following command:
scp user@calgary.cs.washington.edu:~/foo.txt ./
Tip
Don’t forget the ./ at the end, which says to copy the file into the current directory - or you can replace that with whatever destination filename you wish.
Setup Shell
You must be sure that your default shell is bash. Otherwise, you will run into strange, baffling problems with shell scripts. Enter the command echo $SHELL. The response should be /bin/bash. If the shell name is different (csh, tcsh, or something else), use the appropriate commands on your system to change your login shell to bash. On many Linux and Unix systems, this can be done with the command chsh or ypchsh.
(Optional) VSCode Setup
We recommend that you use Visual Studio Code for the assignments. Here is a tutorial on how to set it up.
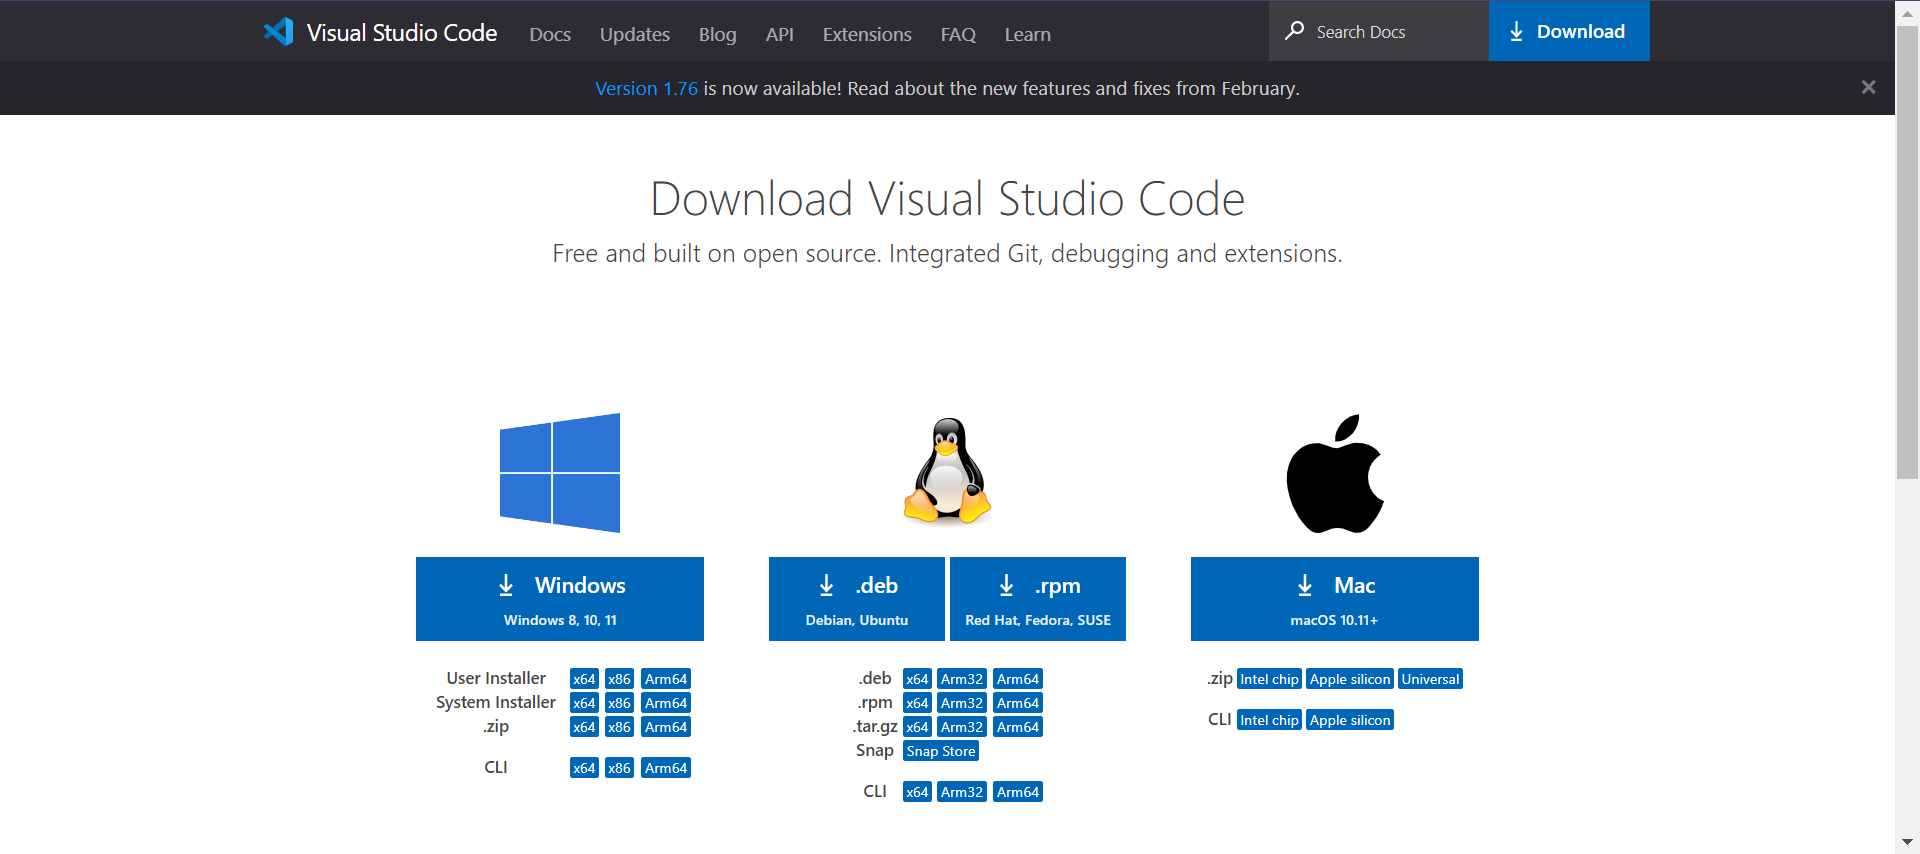
- Download VSCode from https://code.visualstudio.com/Download
- Click on the Extensions tab on the side (looks like three blocks with a fourth being added)
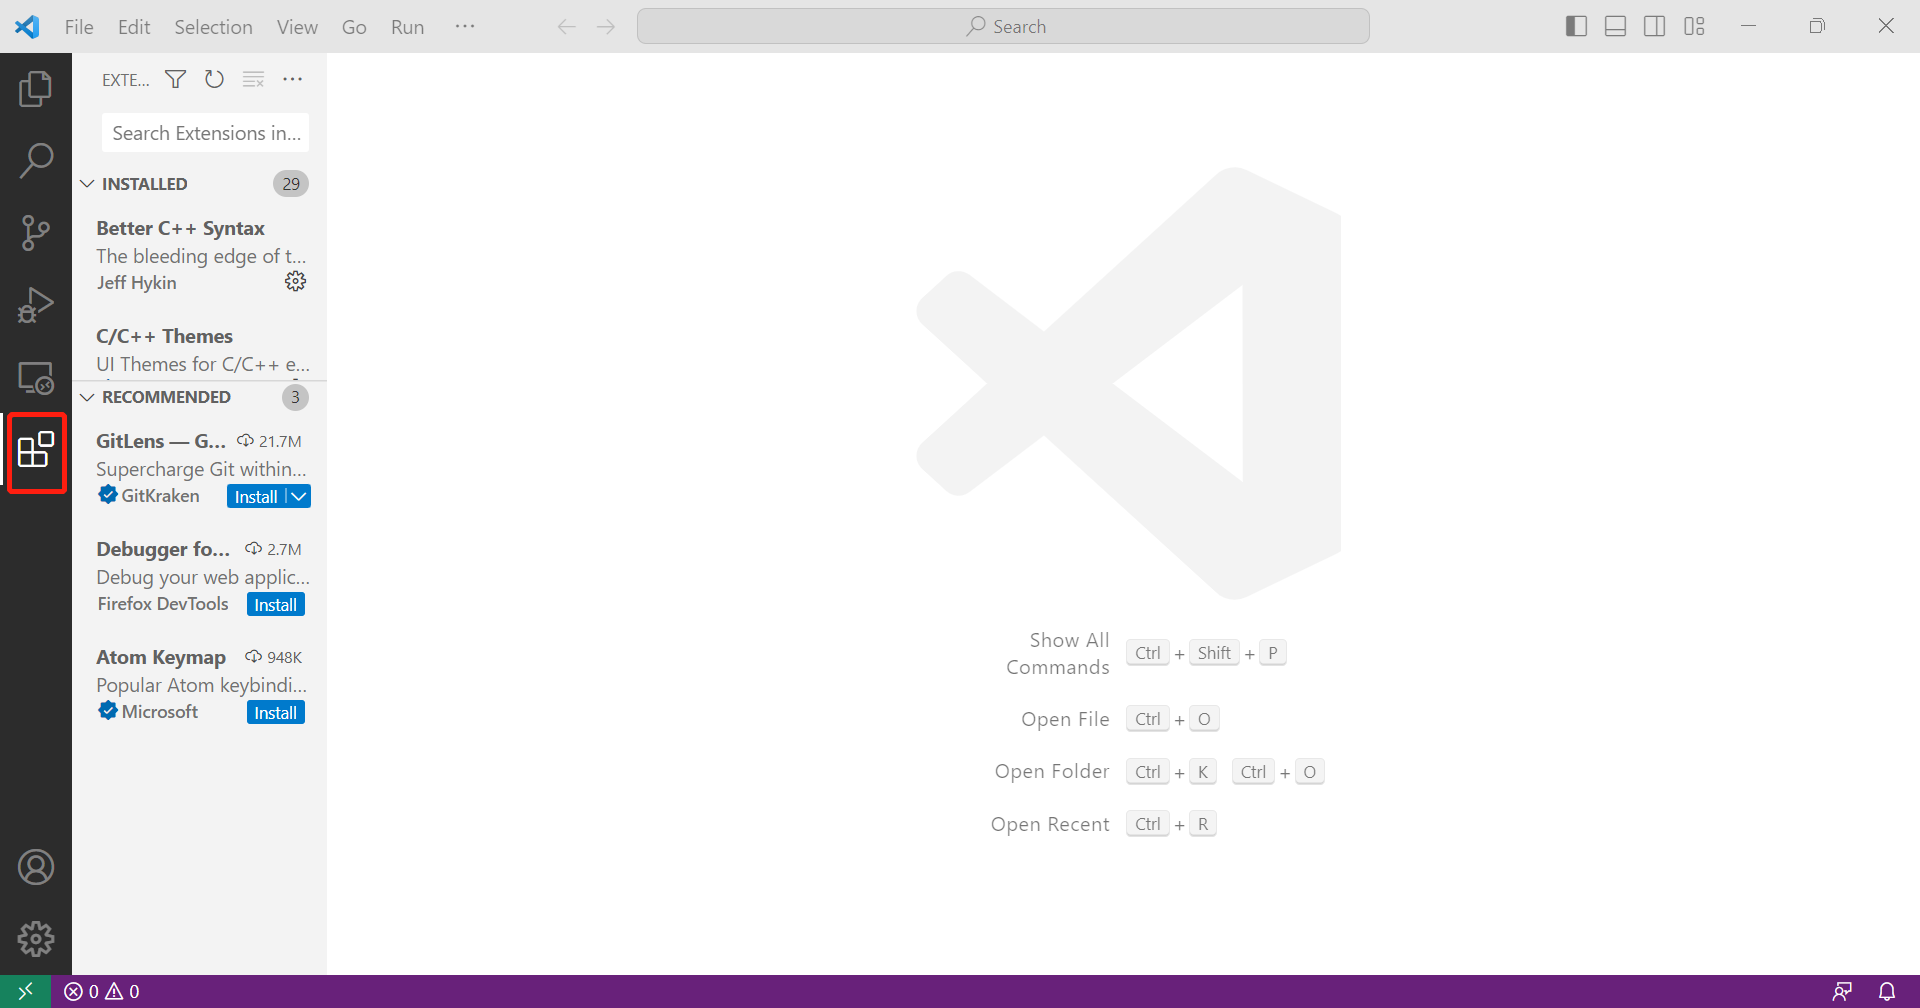
There are some extensions already in the screenshot because I have been using VScode for many different things. You don’t have to install those.
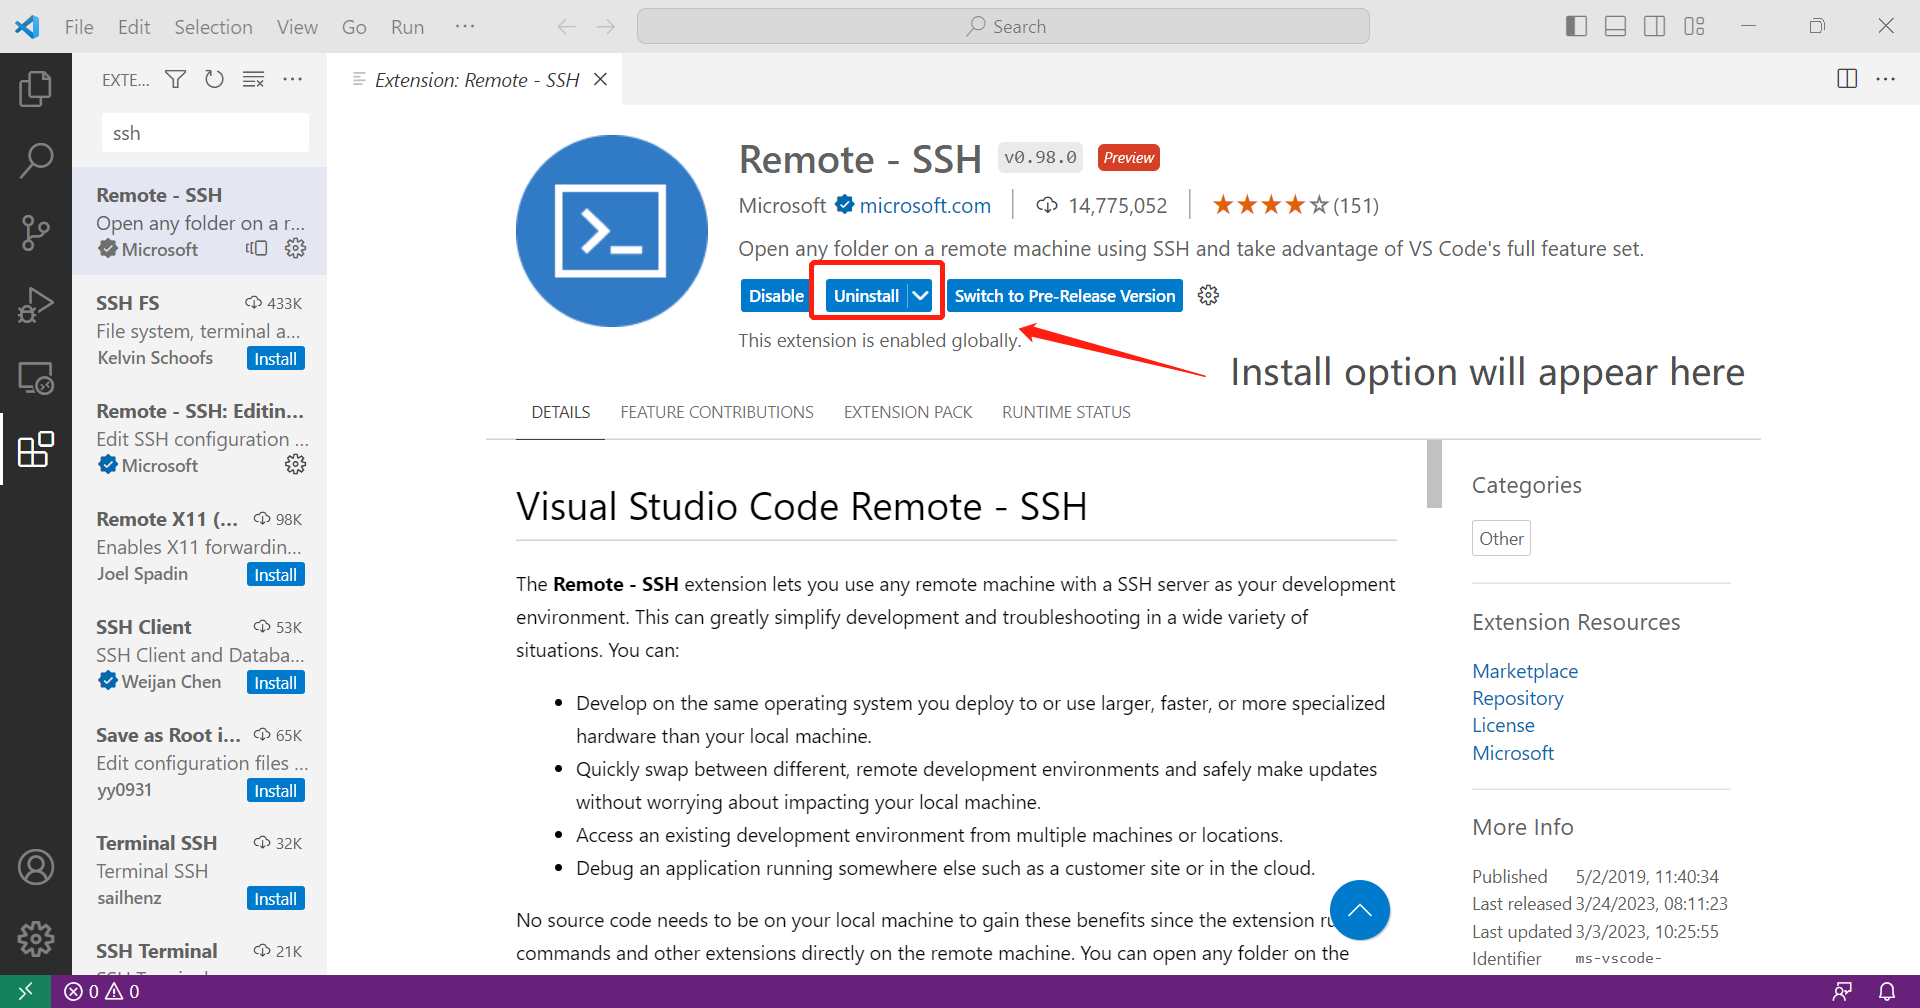
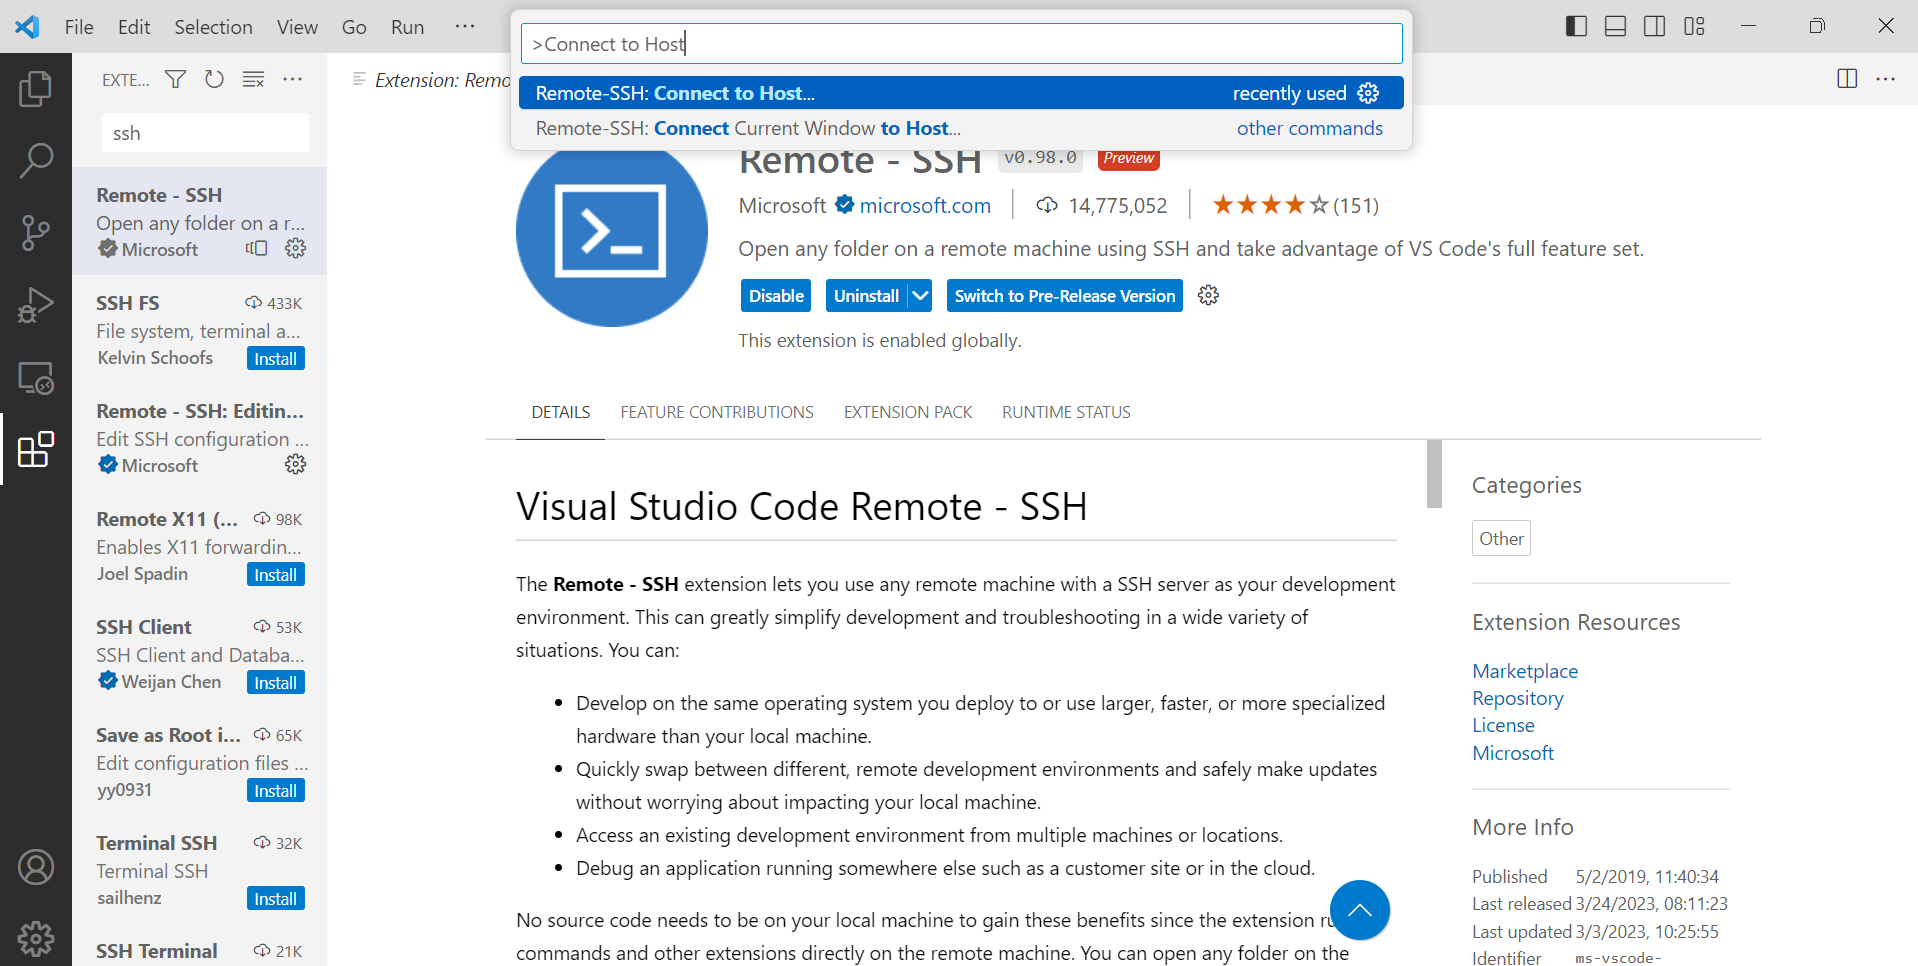
- Search for “Remote - SSH” and install
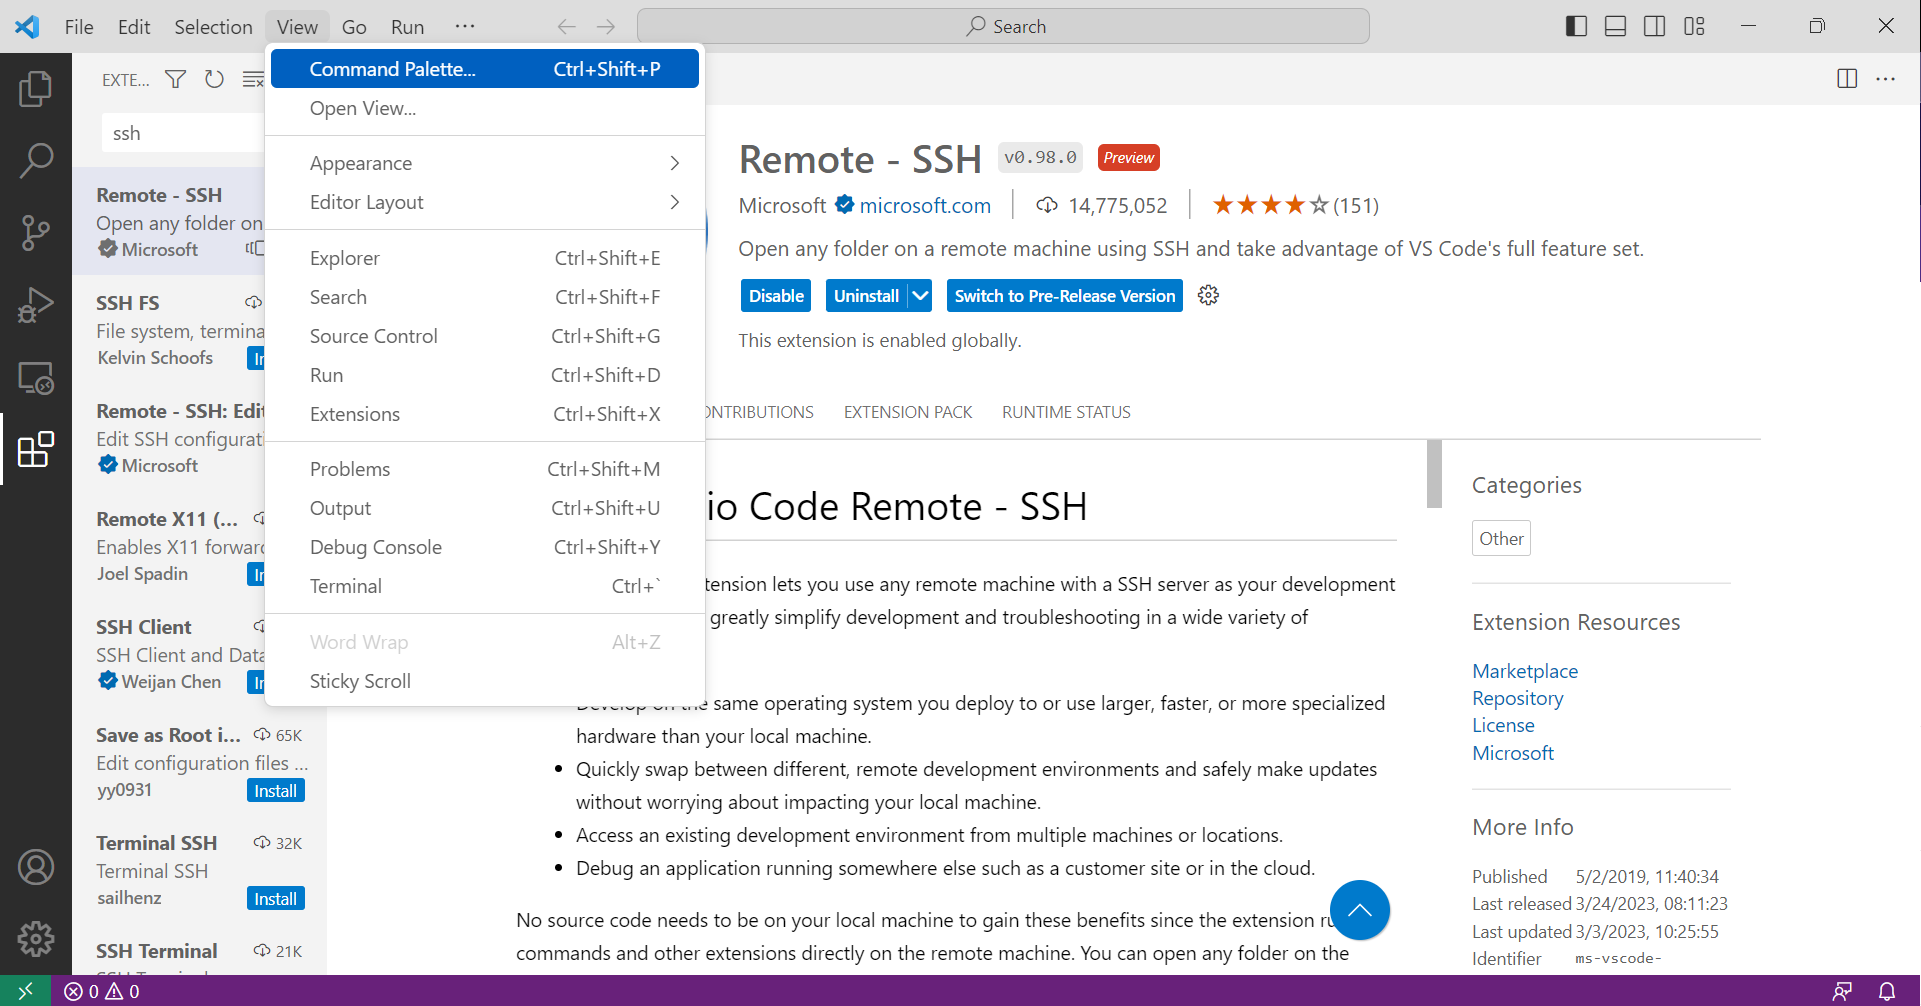
- Open the command palette with one of the following:
F1Cmd-Shift-PorCtrl-Shift-P- Go to the
Viewtab at the top ->Command Palette
- Type in “Connect to Host” and select the “remote SSH: Connect to Host…” option. It may not be the first one on the list.
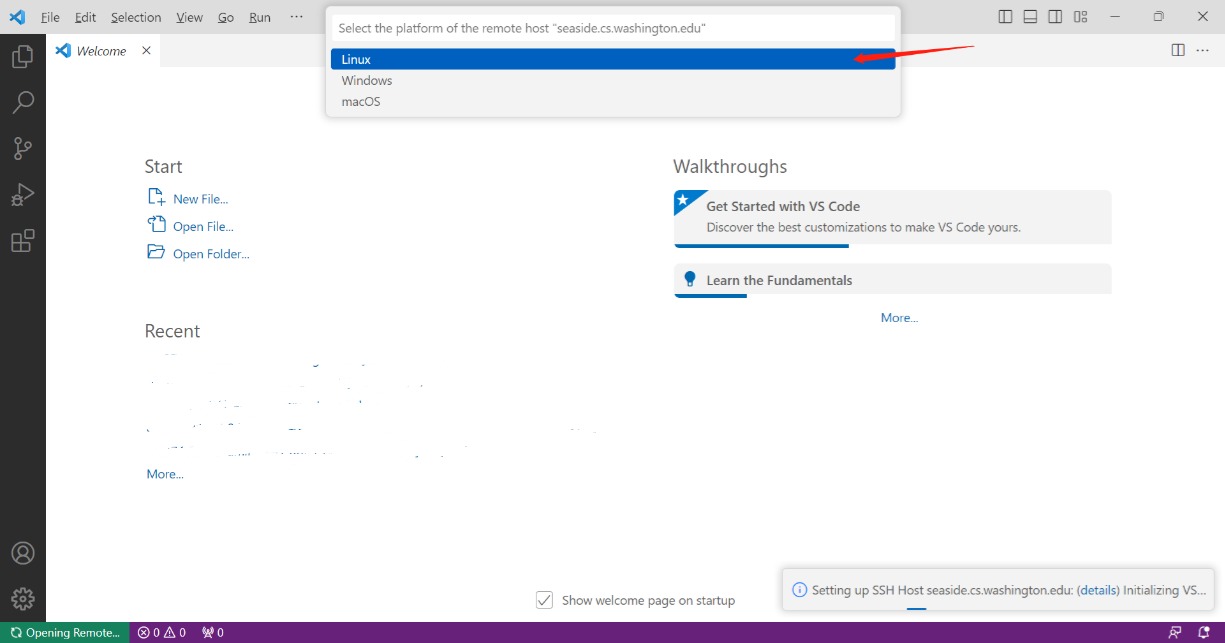
- Type the path to ssh into calgary with your UW NetId,
[NetId]@calgary.cs.washington.eduwithout the square brackets or quotations marks, then press enter
For example, my UW NetId is amckinn, I will type in: amckinn@calgary.cs.washington.edu

If a popup appears asking “Choose a platform”, click on “Linux”.
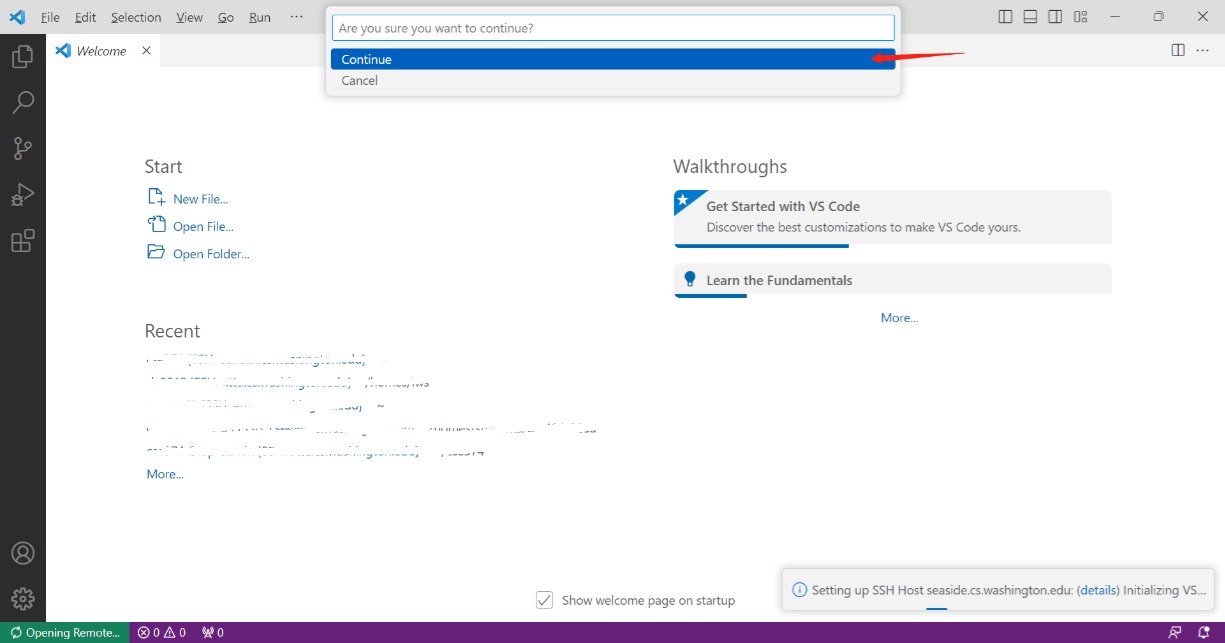
If a popup appears asking “Are you sure you want to continue”, click on “continue”.
-
Enter your password (same as your UW NetId password), then press Enter.
-
After a moment, VS Code will connect to the SSH server and set itself up. VS Code will keep you up-to-date using a progress notification, and you can see a detailed log in the Remote - SSH output channel. After you are connected, you’ll be in an empty window. You can always refer to the Status bar to see which host you are connected to.
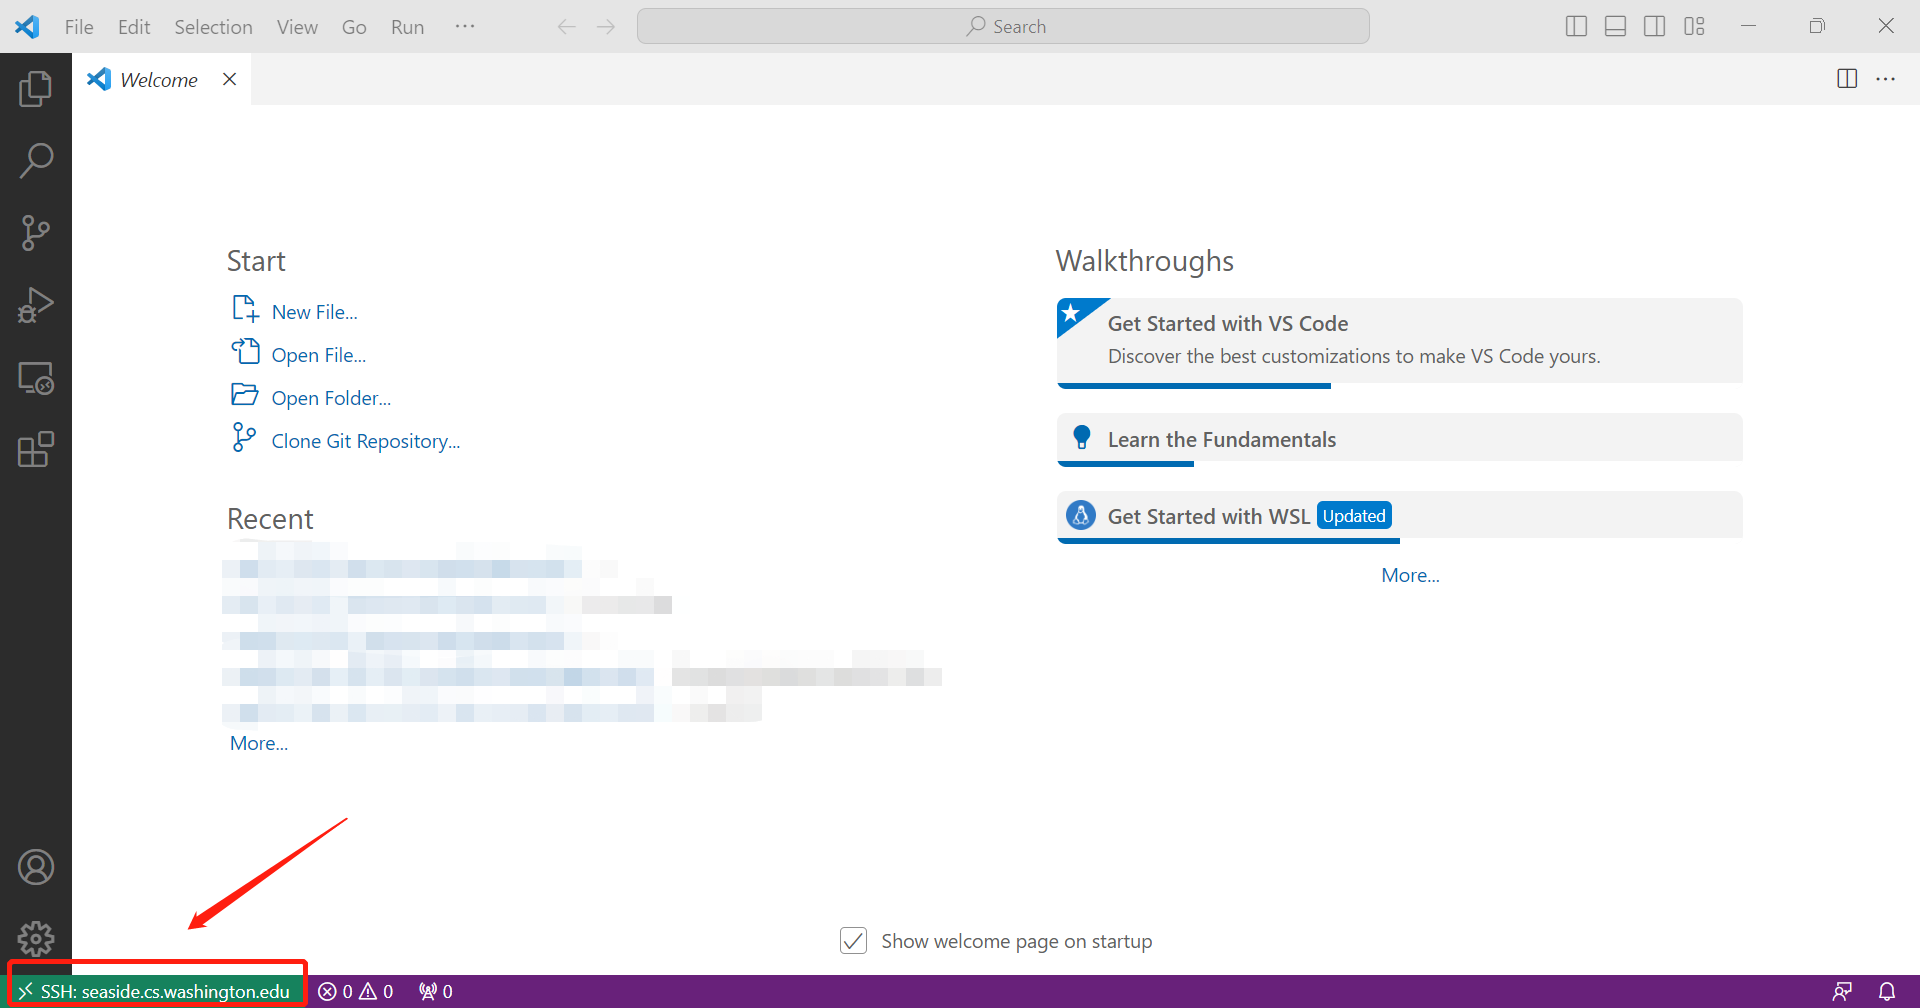
- You can click on Open Folder and select a folder you would like to work in. For now, you can just click “OK”.
You may be prompted to re-enter the password. Again, it is your UW NetId password.
Click “Yes, I trust the authors” when a pop-up window shows up asking “Do you trust the authors of the files in this folder.”
-
You did it! You can now play around with VScode editor.
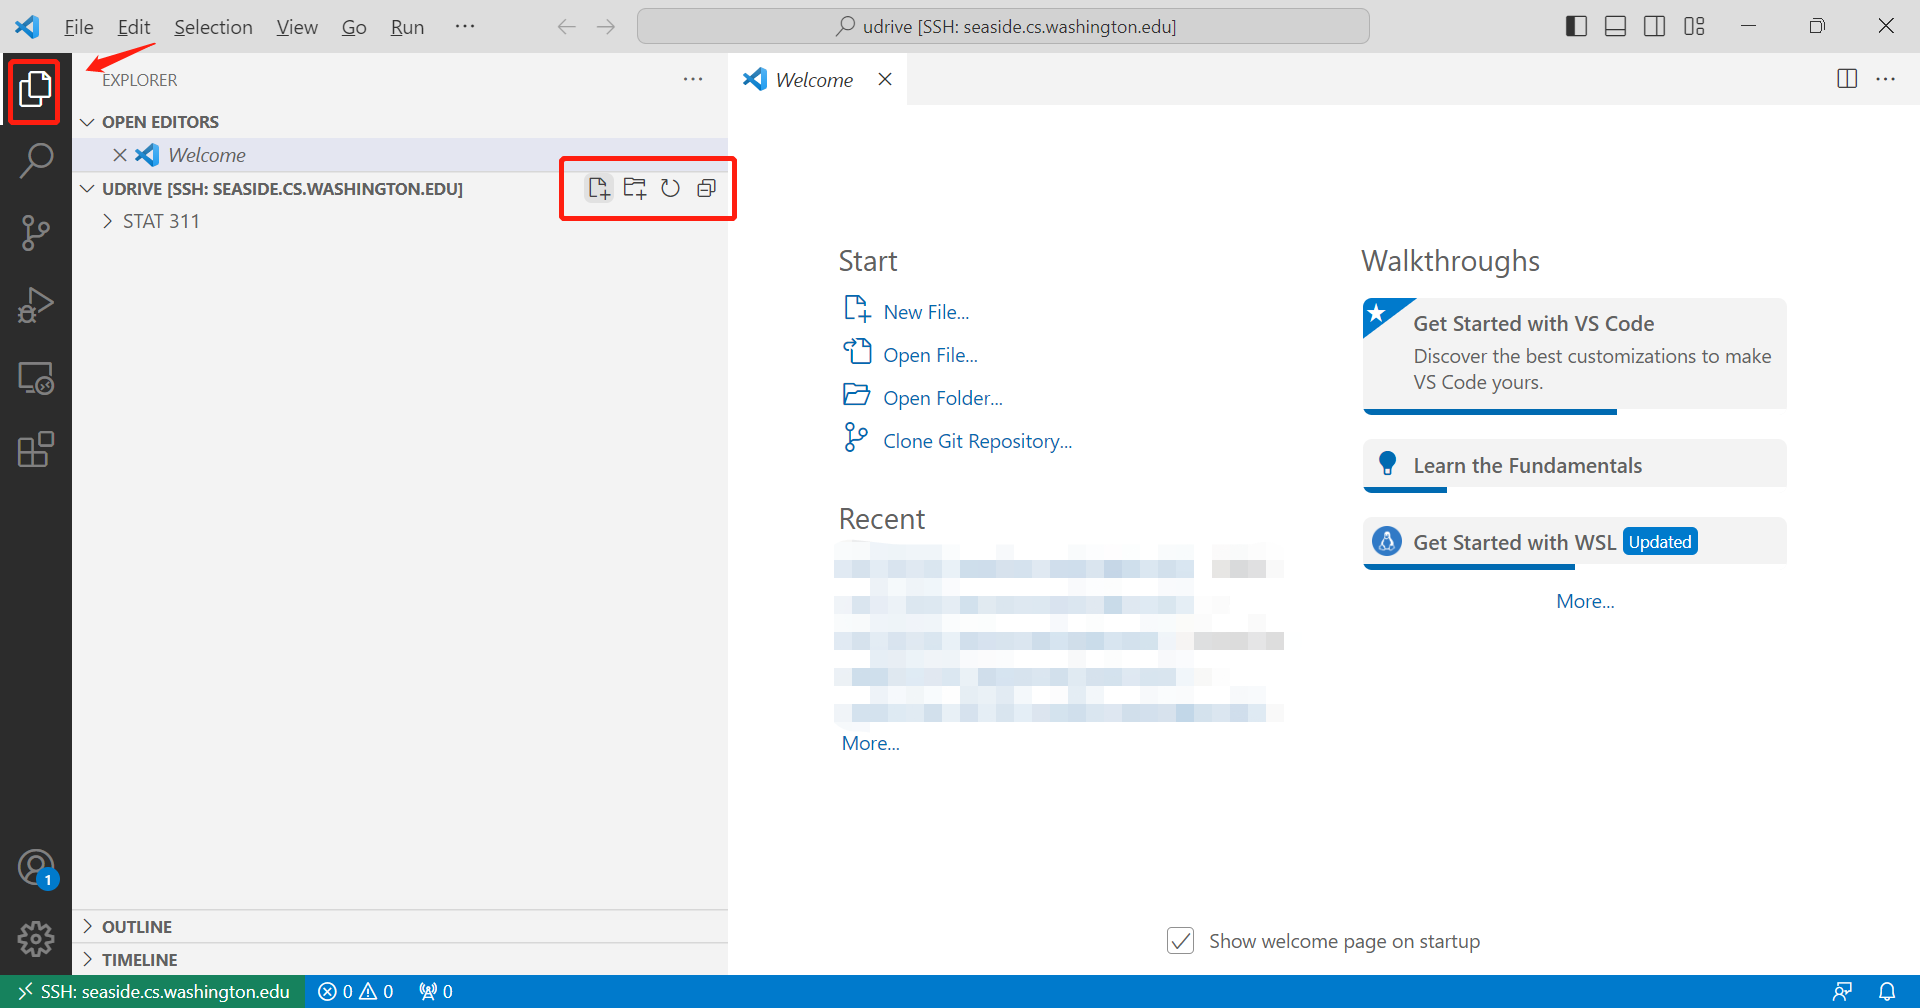
Open the explorer with one of the following:
Cmd-Shift-eorCtrl-Shift-e- Go to the left sidebar and click on the first icon, which looks like two overlapping files.
Open the terminal with one of the following:
Cmd-Shift-\`` orCtrl-Shift-``- Go to the
...tab at the top ->Terminal

Feel free to reach out on the Ed discussion board if you have any issues. Some of the TAs have experience setting this up and can help you troubleshoot.
