Work in Synario is based around the concept of a "project" just as in C/C++, but unlike C/C++ where the project is composed of all the files that contain C/C++ source code, a Synario project includes schematic and HDL design files and "Test Fixture" files. Another aspect of Synario project is a "device", which tells Synario what technology will eventually be used to physically implement the design. The default device is the "Virtual Device" which basically tells Synario not to worry about the physical implementation details. In this tutorial we have described all our design using the virtual device. In the mapping tutorial we deal with devices in greater detail.
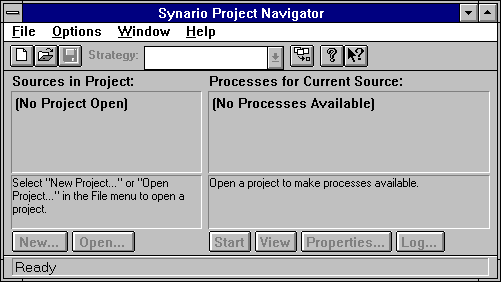
Since a Synario project contains all the files needed to implement the design, it helps to keep track of all the parts of our design. To handle all the files in our project i.e in order to run text and schematic editors and to simulate our design, Synario provides us with the Project Navigator window which we can see immediately after starting up Synario and which looks like the following:

This is the "Project Navigator" window, which is the center of the Synario tool suite. The project contains all of the parts of our design, and the Project Navigator keeps track of the status of the project and understands what tools need to be run for simulation and synthesis. The Project Navigator also allows us to edit the parts of the design using text and schematic editors.
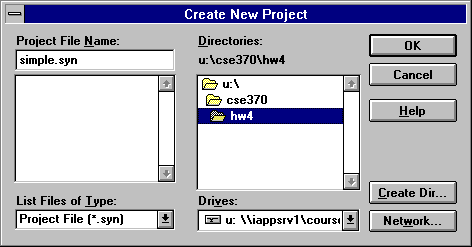
Select the "New Project.." entry in the "File" menu from the Project Navigator window. Synario will ask whether you want an IC Design or a System Simulation - choose IC Design, because you will be designing a single circuit, not a circuit board. We will create a project called simple.syn in hw4 subdirectory within the cse370 directory.

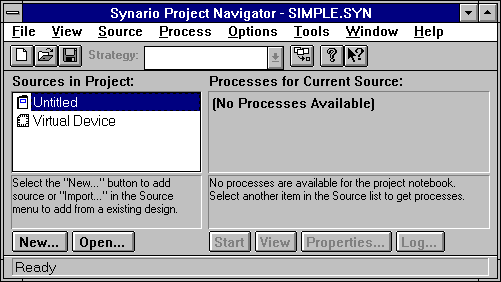
After we have clicked on "ok", the Project Navigator will show the following:

This means that Synario has created an untitled project with a virtual device to be used for its implementation. We can also select a device to be used to realize the design. The Sources window shows all the design files associated with a project. After creating a new project we need to include source files for our design. We can either create new source files by clicking on "New" in the Sources subwindow or we can add an existing source file into our project by using the "import" comand in the "sources" menu. We can similarly remove a source file in our project by using the "remove" command in the "sources" menu.