There are two ways to add sources files to your project: create new ones using the schematic or text editor, or import files that already exist. Once you have been designing, it's usually easiest to copy a file and use it as a template, deleting the old design and replacing it with the new one. When you import a file from another project, the Navigator will copy it over if the other project is in another directory. It is good practice to always make each project in a different directory. If you don't, then when you import a file, you will end up sharing the same file in two projects. Changes to the file in one project will appear in the other project. So, put each project in a different directory.
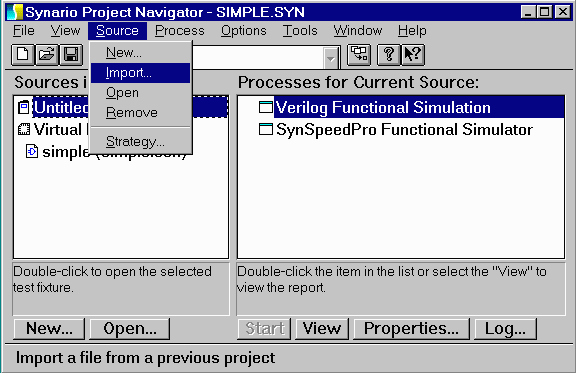
Select the Source menu in the Project Navigator window and click on "import" as shown below:
This will open up the Import File window:
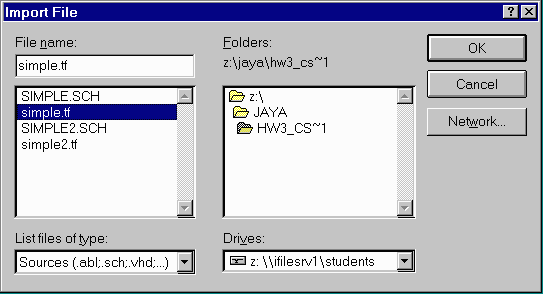
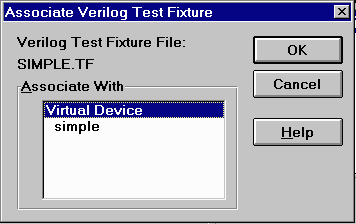
Select the file that you want to import. As an example, we'll import some random file called "simple.tf". Since the file is a test fixture in this case, Synario will ask us what we want to associate the test fixture with: the Virtual Device (aka the entire project) or just one of the modules contained in the project (here we have a module named "simple" for example. For now just select the Virtual Device; in a project with multiple modules it makes a difference how you associate the test fixture, but here it makes no difference since our project only contains one module. But you can associate a different test fixture with each module, and yet another with the entire design represented by the Virtual Device.
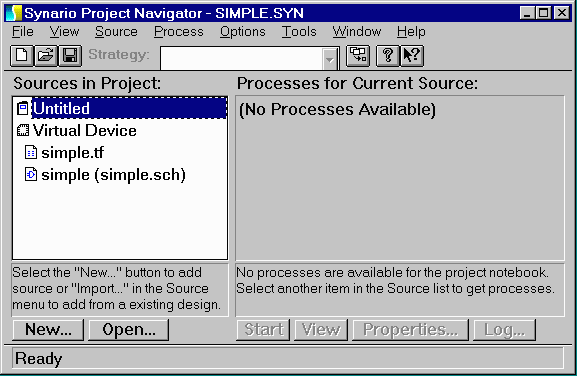
After you click on "ok" the desired file is included in the project as shown below: