Screenshot Tests
Some assignments include tests to make sure the visual output of your code matches our solution. These tests work by taking screenshots of each screen in your app, and comparing them to an included solution image. We highly recommend you continuously run these tests while working on the assignment, and before you turn it in!
The tests can run on an emulator or a physical device. They should work regardless of screen size/density. However, when testing on a physical device you may run into issues if your system font is different than the Android default font Roboto (some phone manufacturers provide their own font). For this reason, we recommend you test with the emulator.
Running the screenshot tests
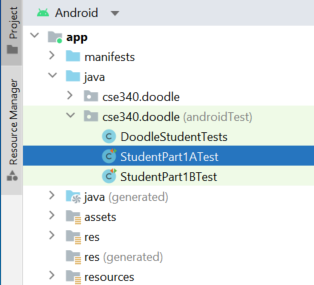
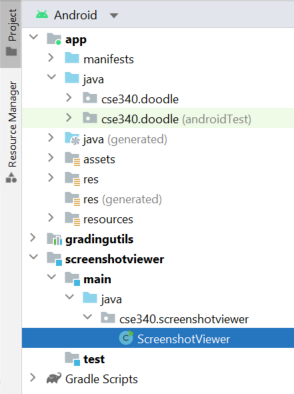
In the Project browser, below the main Java package (eg. cse340.doodle),
you should see an additional package labeled “androidTest”. Expand this package to find the
Student Test classes, one for each View/Activity to be tested.
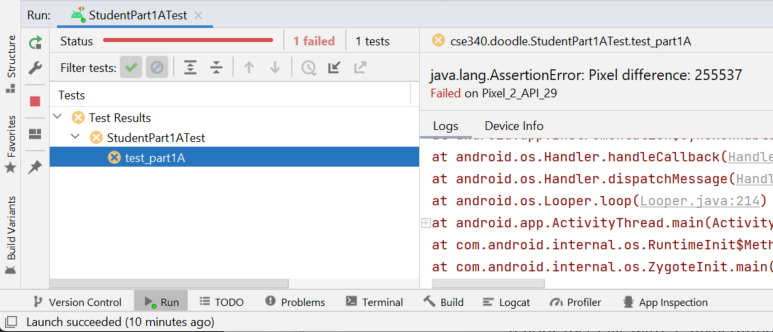
To run a test, open its class file and click the green double-triangle button next to the class definition.
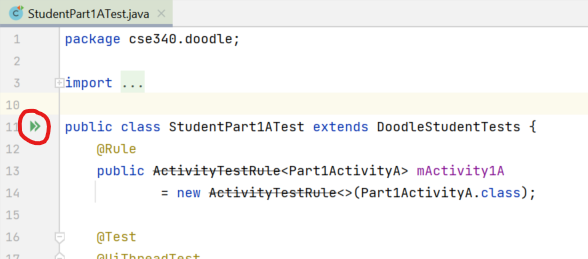
Note: You may not see the green triangle button if you have power save mode on for your machine. If this is the case, turn it off, then invalidate caches and restart android studio (from the main menu, select File | Invalidate Caches.)
After some time, you will see a result in the panel at the bottom: either a green check if the test passed (meaning your output was nearly identical to the solution image), or an orange X indicating failure, with a message to the right. The “Pixel difference” error indicates that there were visual differences between your app output and our solution, with a count of the number of differing pixels. Other errors might indicate problems with the test itself.
Inspecting screenshot differences
If your test fails with a “Pixel difference” error, the next step is to see which parts of the
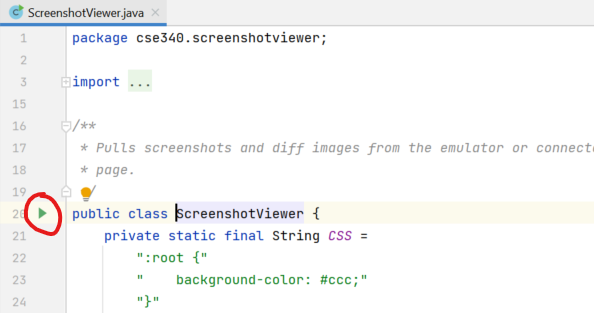
output were different. You can use the screenshotviewer tool for this, which can be found in the
Project browser on the left.
With your testing device/emulator still connected,
open the ScreenshotViewer class and click the green triangle next to its class definition. If it
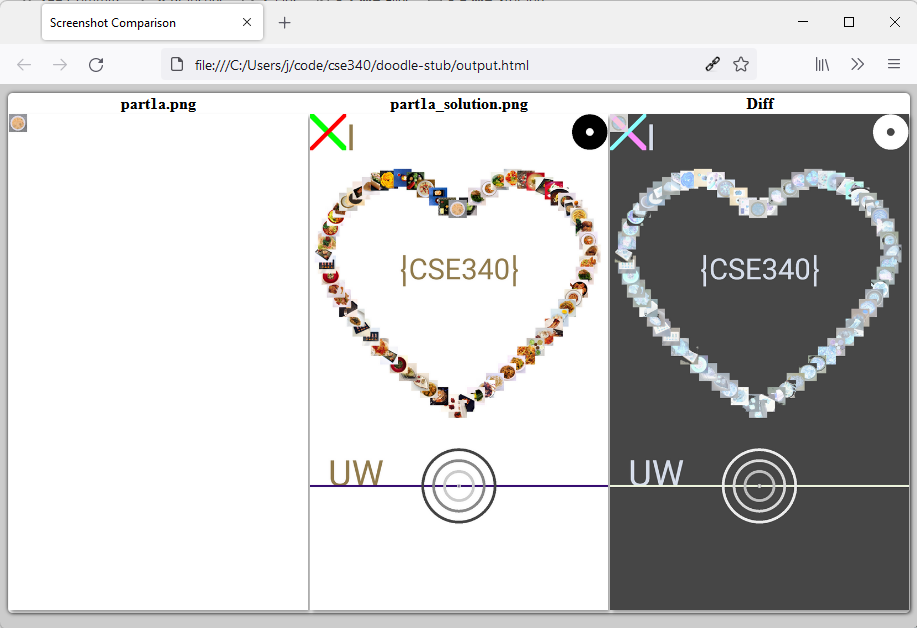
runs correctly, a web browser will open showing three images for each test that you ran. On the left
is the output your app produced, in the center is the solution output, and on the right is a
combined image highlighting the differences between the two.
Note: The ScreenshotViewer will not work unless you have run at least one of the tests. It will only display output comparisons for the tests that have been run. If you have made changes, ensure that you rerun the respective tests before running the ScreenshotViewer again.