AS1: Doodle
Last revised: 08:30 PM Tuesday, January 14, 2020- Wednesday, January 8, 2020
- Main assignment Midnight, Thursday, January 16, 2020
- Peer evaluation 1:30pm, Tuesday January 21, 2020
- Reflection Wednesday January 22, 2020
Android Goals:
- Get familiar with Android Studio
- Understand XML and View
- Load image and drawable resources
- Learn Activity Lifecycle
HCI Goals:
- Use abstractions to draw on screen
- Create animations
- Use coordinate transformation
- Try to create something appealing
Accept the Assignment / Turn-in the Assignment / Review your Submissions
Assignment Description
For this assignment, you will be creating an activity class which will allow you to create “Doodles” consisting of images, lines, and text.
This assignment will take about 6 - 8 hours to complete. You should expect this amount of workload on most assignments this quarter, so make sure to build good habits when completing it.
If you find yourself taking additional time on this submission, we strongly suggest that you get in touch with the course staff on Piazza or in person.
Learning Goals
- Use abstracted methods to draw onto the screen.
- Create animations in Android Studio.
- Begin considering how to style your Android apps.
Part 1
Tasks:
- Download and install Android development environment
- Open our skeleton code in Android Studio
- Implement three methods:
addImage,addText,addLine - Call the methods you implemented and compare your app screen with our screenshot
- Animate
UWso it slides from left to right when the app opens.
This task involves implementing three methods in Part1.java. Each method is named here but detailed doc comments can be found in Part1’s superclass, Doodler, which also defines some nice helper methods. It also defines the onCreate behavior of the Activity which calls the method Doodler#doodle(FrameLayout) (which means the method doodle which takes a FrameLayout as a paramater, within the class Doodler).
In Part1, you’ll find missing implementations for three methods: addImage, addText, and addLine.
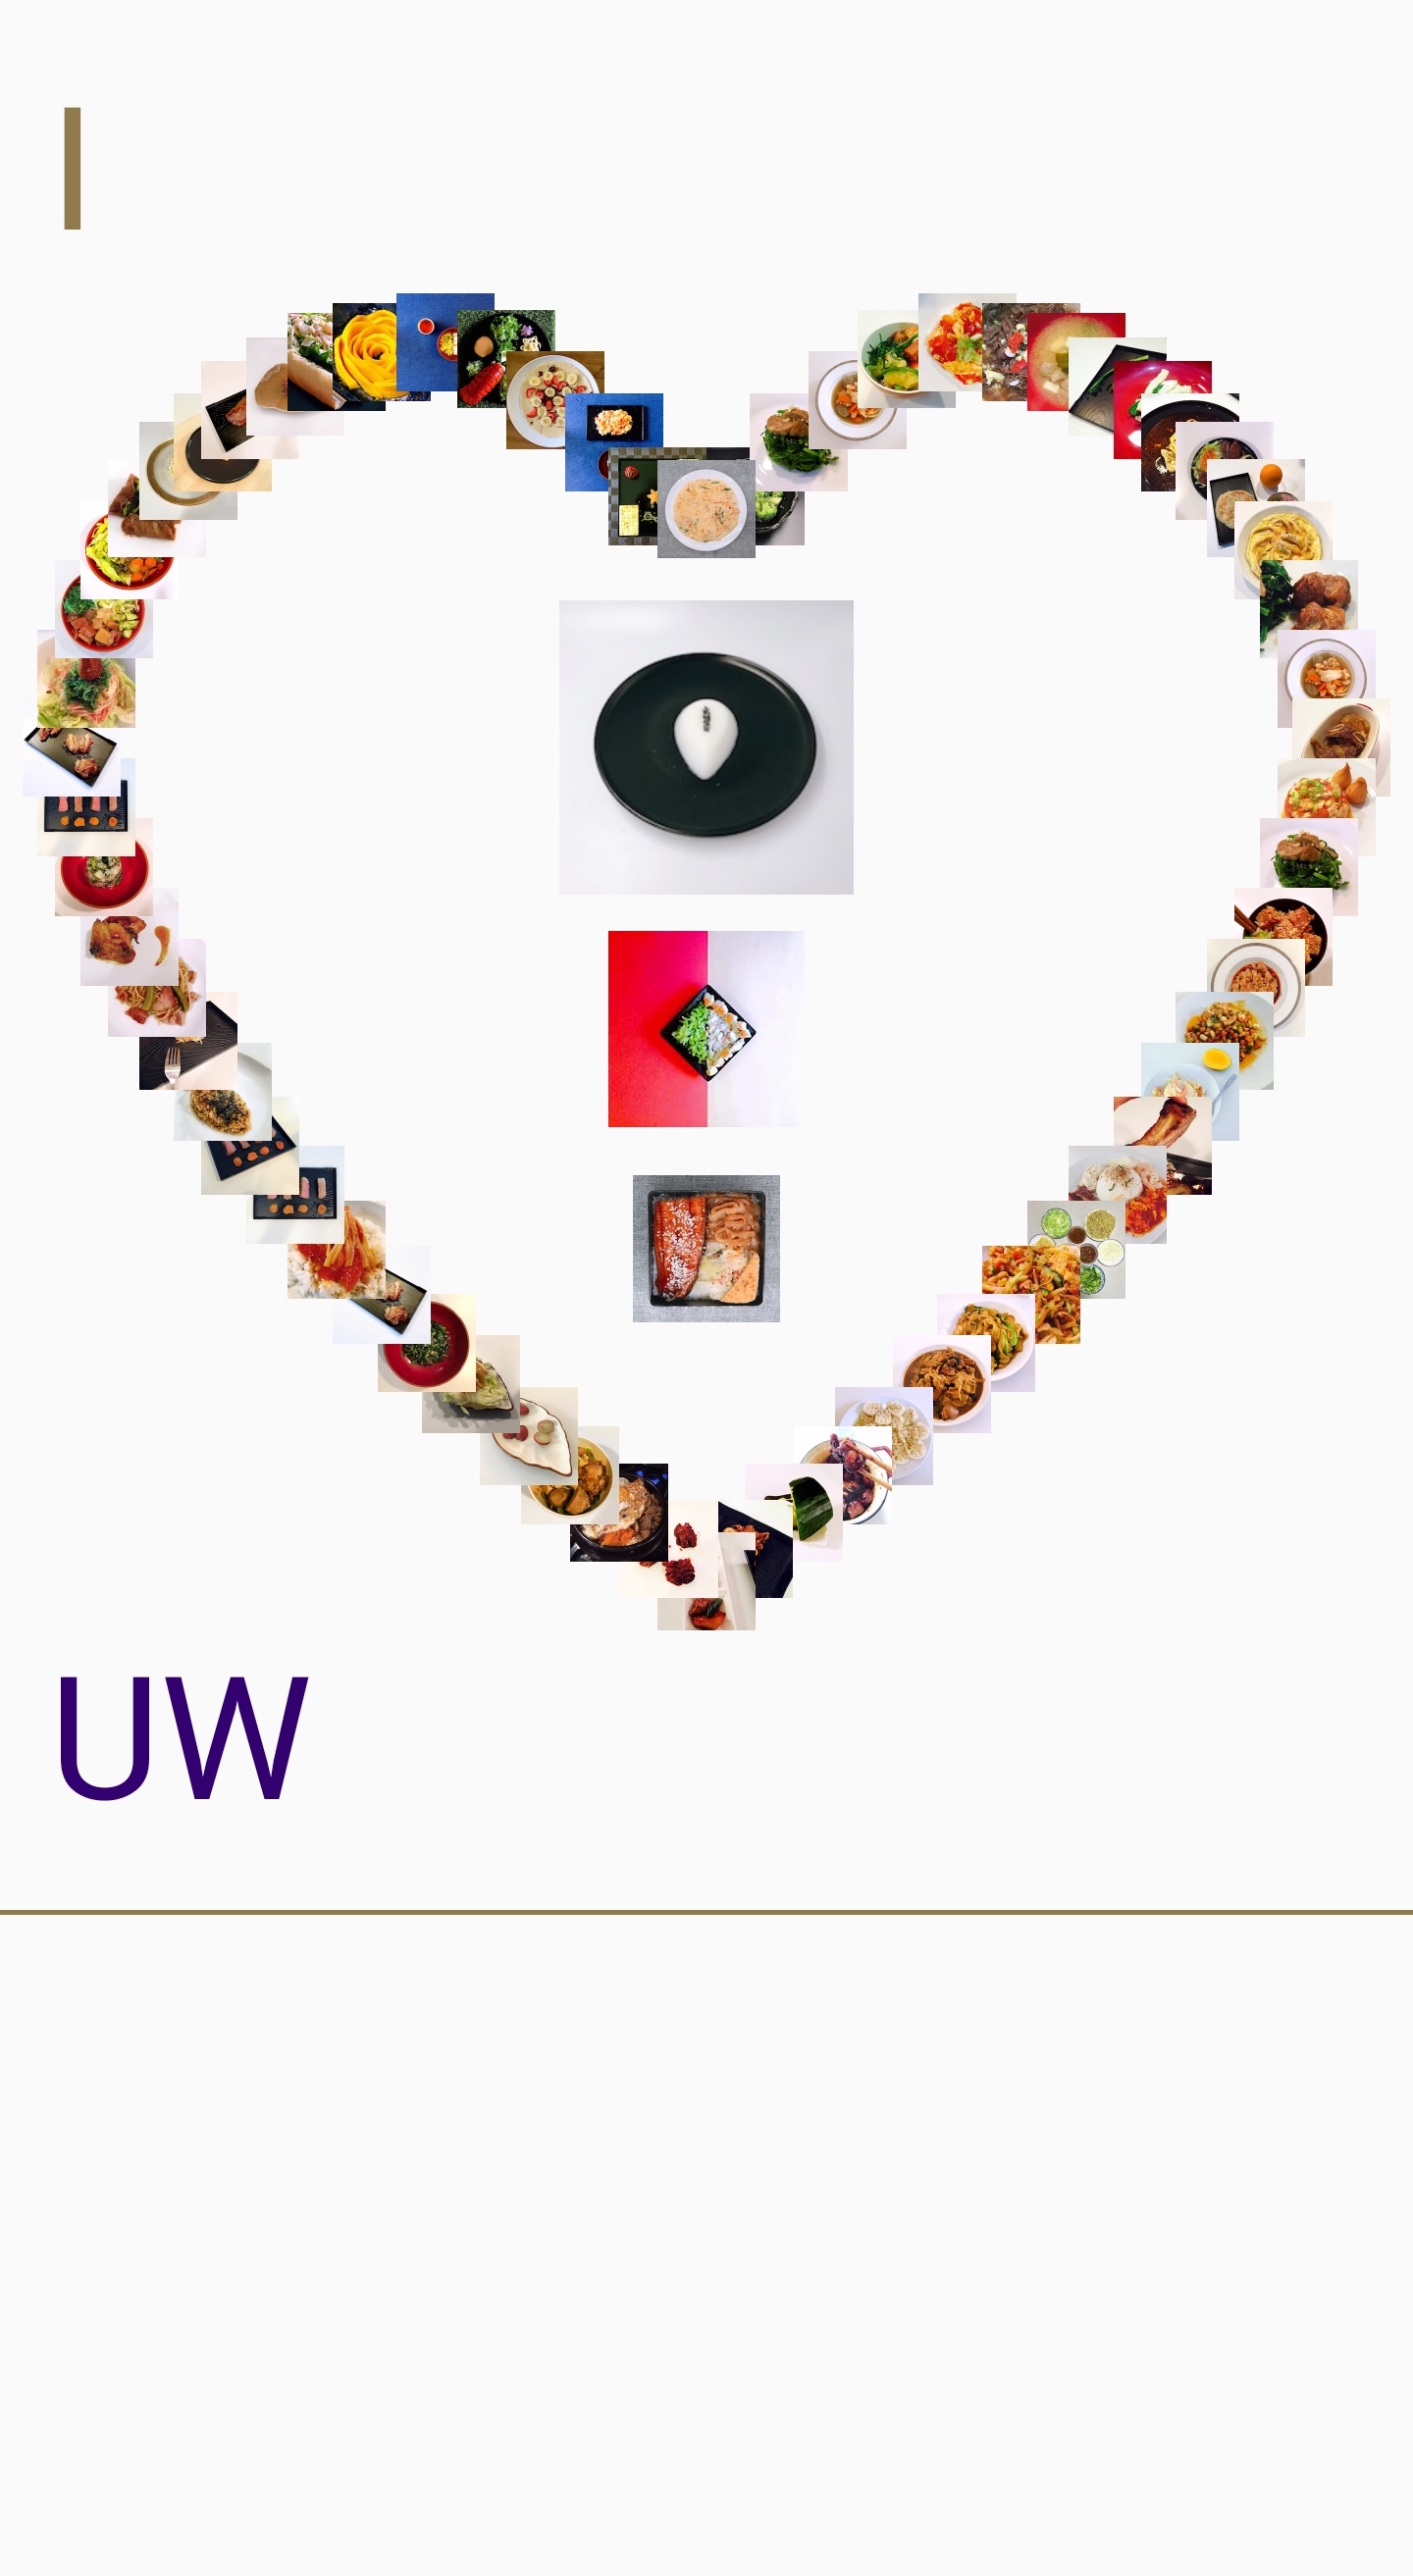
Subclasses of Part1 will have access to these methods once they are implemented. Take a look at an example of this in Part1Activity. It extends Part1 and uses the three methods to draw the following image on the screen:

You’ll notice in doodle in Part1 that we use scaleX and scaleY around our coordinates (and size for images). These allow us to ensure the doodle still looks good on smaller screen sizes. If you use any pixel coordinates in your solutions, remember to wrap them in these scaling methods. These will scale coordinates from the Pixel 2 XL to the dimensions of your device’s screen. We’d recommend that you use a Pixel 2 XL emulator to compare the finished doodle against our screenshot to be sure you’re implementing everything right.
Specification for addImage
ImageView addImage(FrameLayout mainCanvas, String imageName, float x, float y, int size);
Most of this method is implemented for you. Please read through it to understand how it works, then try to set the size and location of ImageView added in this method. Critically, the images are going to be squished into a square, so only one size paramater is given.
In order to implement this correctly you need to adjust the size of this view use size for the width and height, using the method we discussed in class
(getLayoutParams() and setLayoutParams()).
If you implement it correctly, you’ll see the image below if you run:
Remember that this is covered in section (😉).
Related APIs: ImageView
Specification for addText
TextView addText(FrameLayout mainCanvas, String text, float x, float y, int fontSize, int color);
This does not need to have it’s bounding box adjusted.
Related APIs:
TextView
You may find the comments and the implementation of addImage useful. Make sure you are not editing the xml, addText is an abstracted function for adding text to a canvas, not specific to the contents in part1. The font-family is the default one, no need to do anything special here.
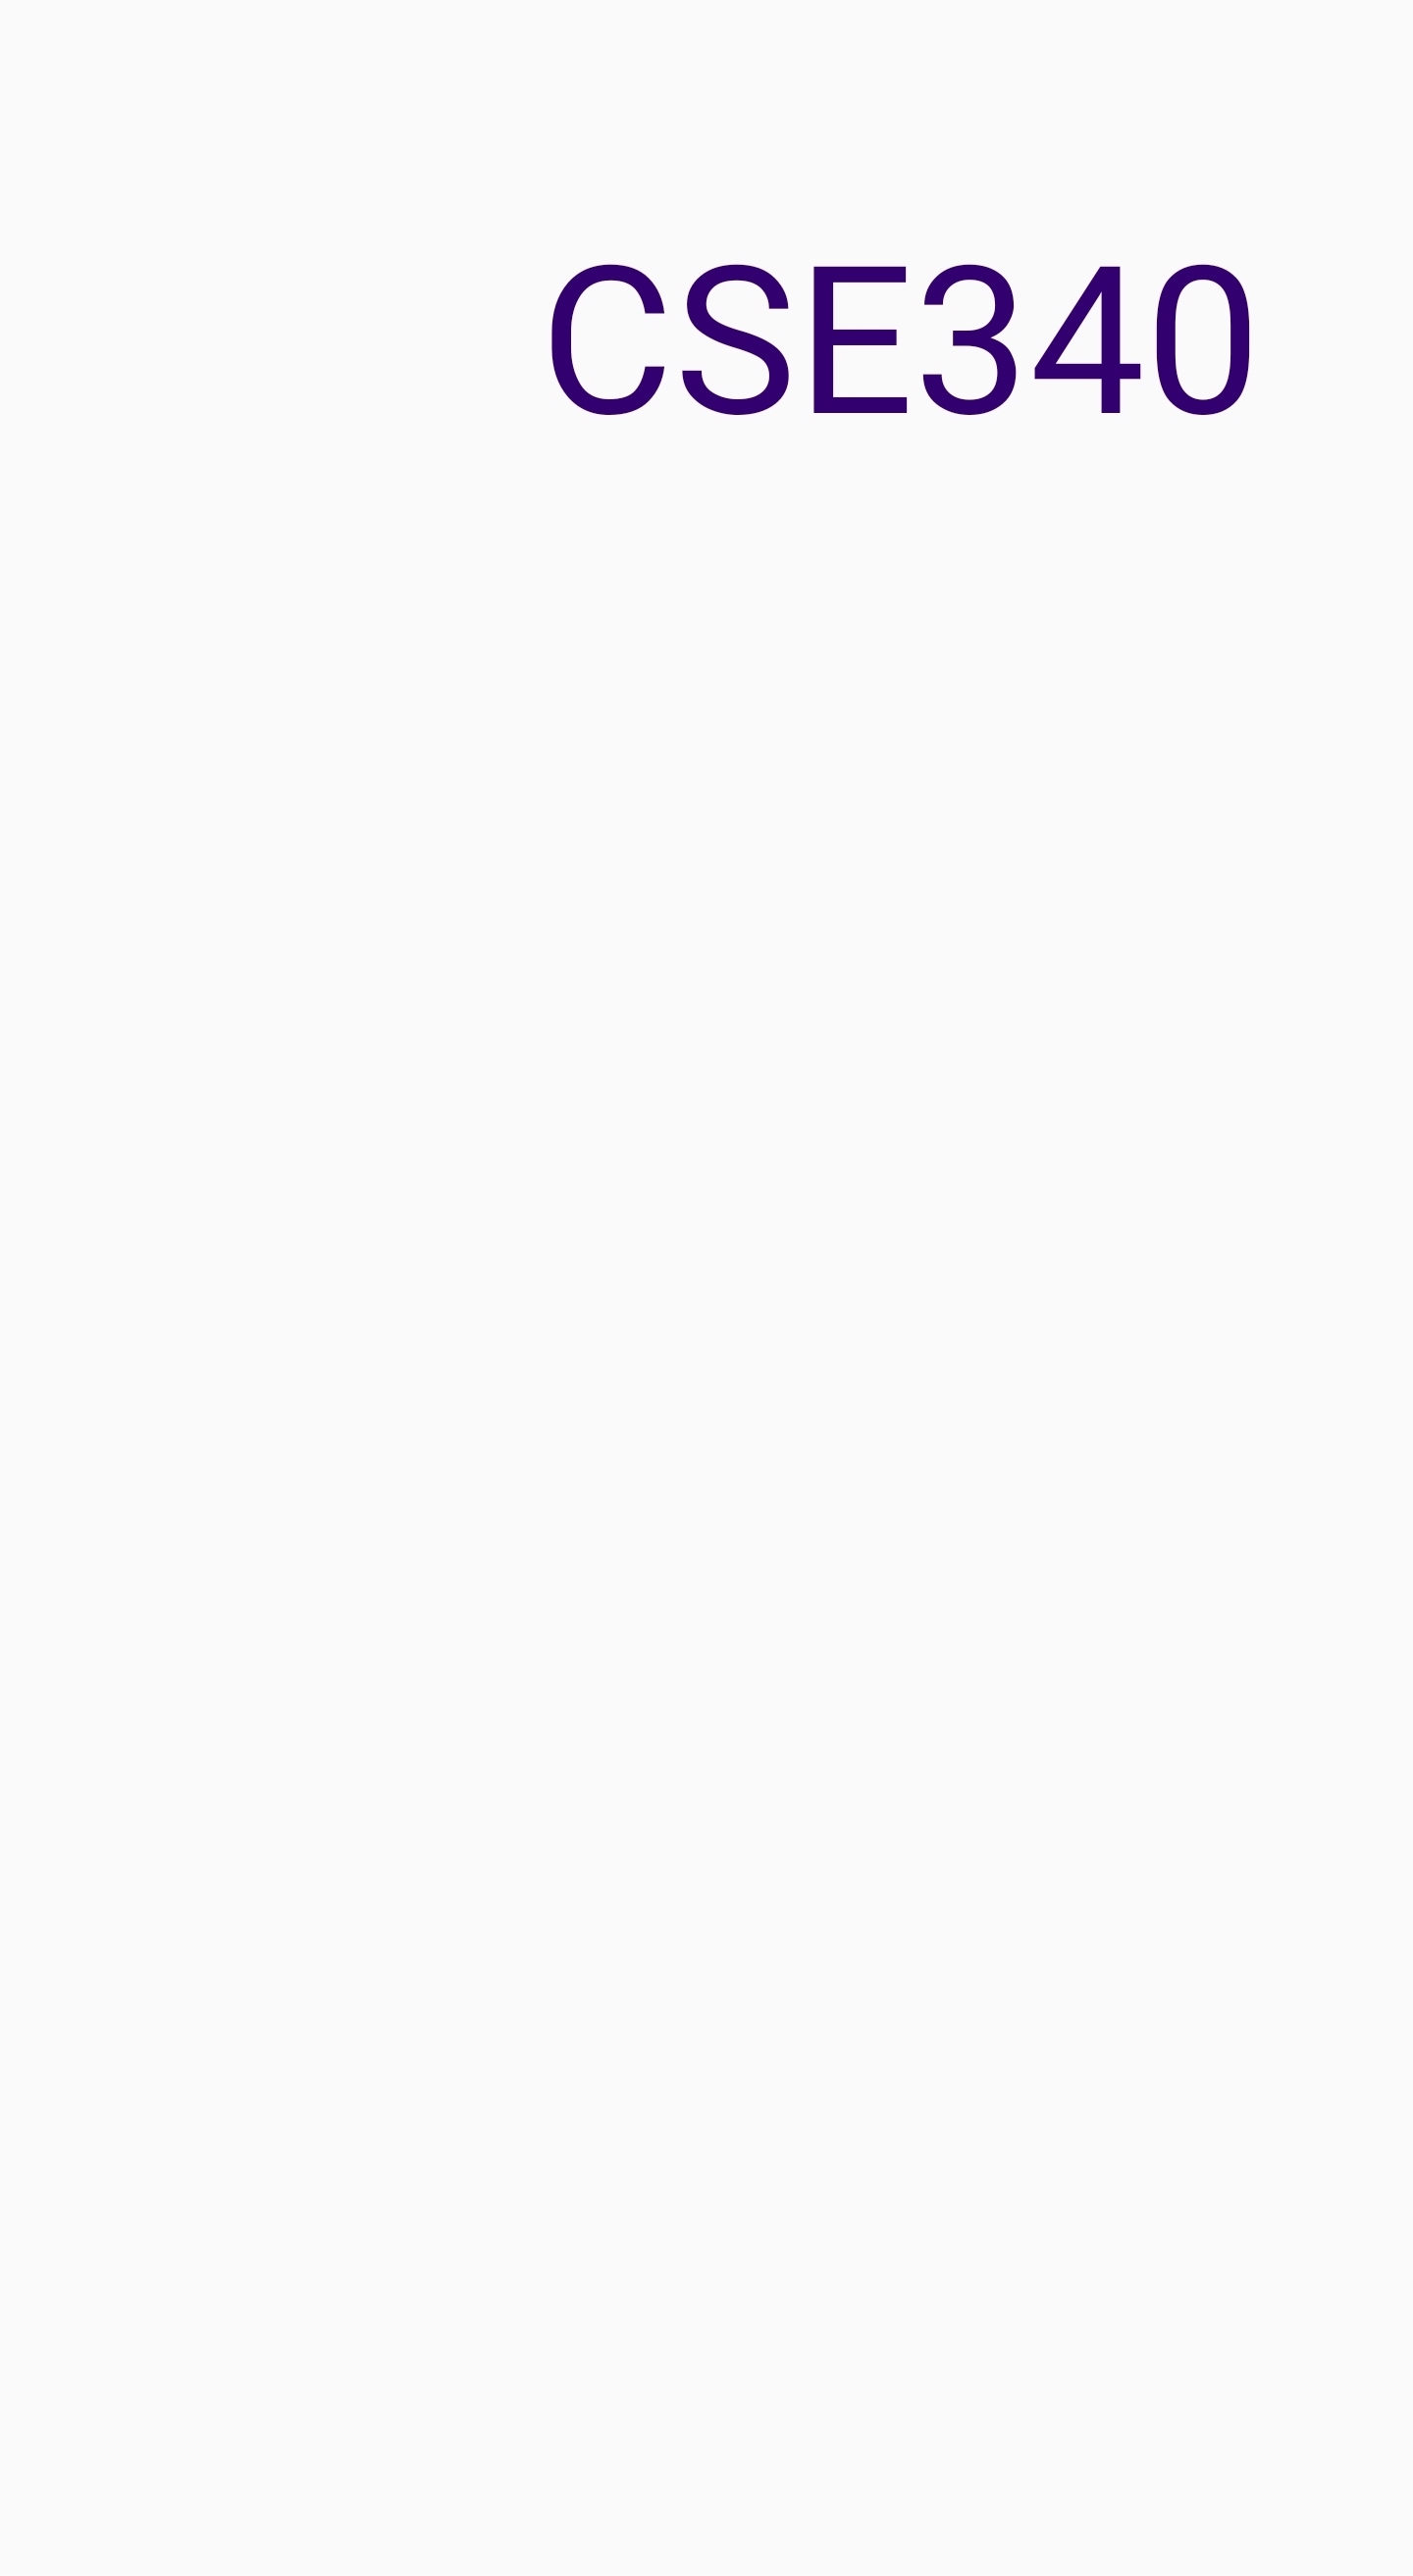
If you implement it correctly, you’ll see the image below if you run:
addText(mainCanvas, "CSE340", scaleX(550), scaleY(200), 60, Color.rgb(51,0,111))

Specification for addLine
LineView addLine(FrameLayout mainCanvas, float startX, float startY, float endX, float endY, int width, int color);
There are several ways to draw a line. android–code has a good example.
For this method, you will be implementing a LineView class whose job is to draw a line onto the canvas. To this end, we have provided some blank stub code for you to fill in. Parameters for this method should be passed into your LineView constructor, and you will be implementing both the constructor and onDraw methods to successfully draw the line onto your device screen. Each LineView should draw a single line onto the canvas.
By default the size of the LineView will start out as the size of it’s parent, i.e. the Canvas. In order to implement this correctly you need to adjust the size of this view to be ONLY from the from startx, starty, to endx and endy, and ensure that it is correctly located
at startx starty. To do this you will use the method we discussed in class (getLayoutParams() and setLayoutParams()).
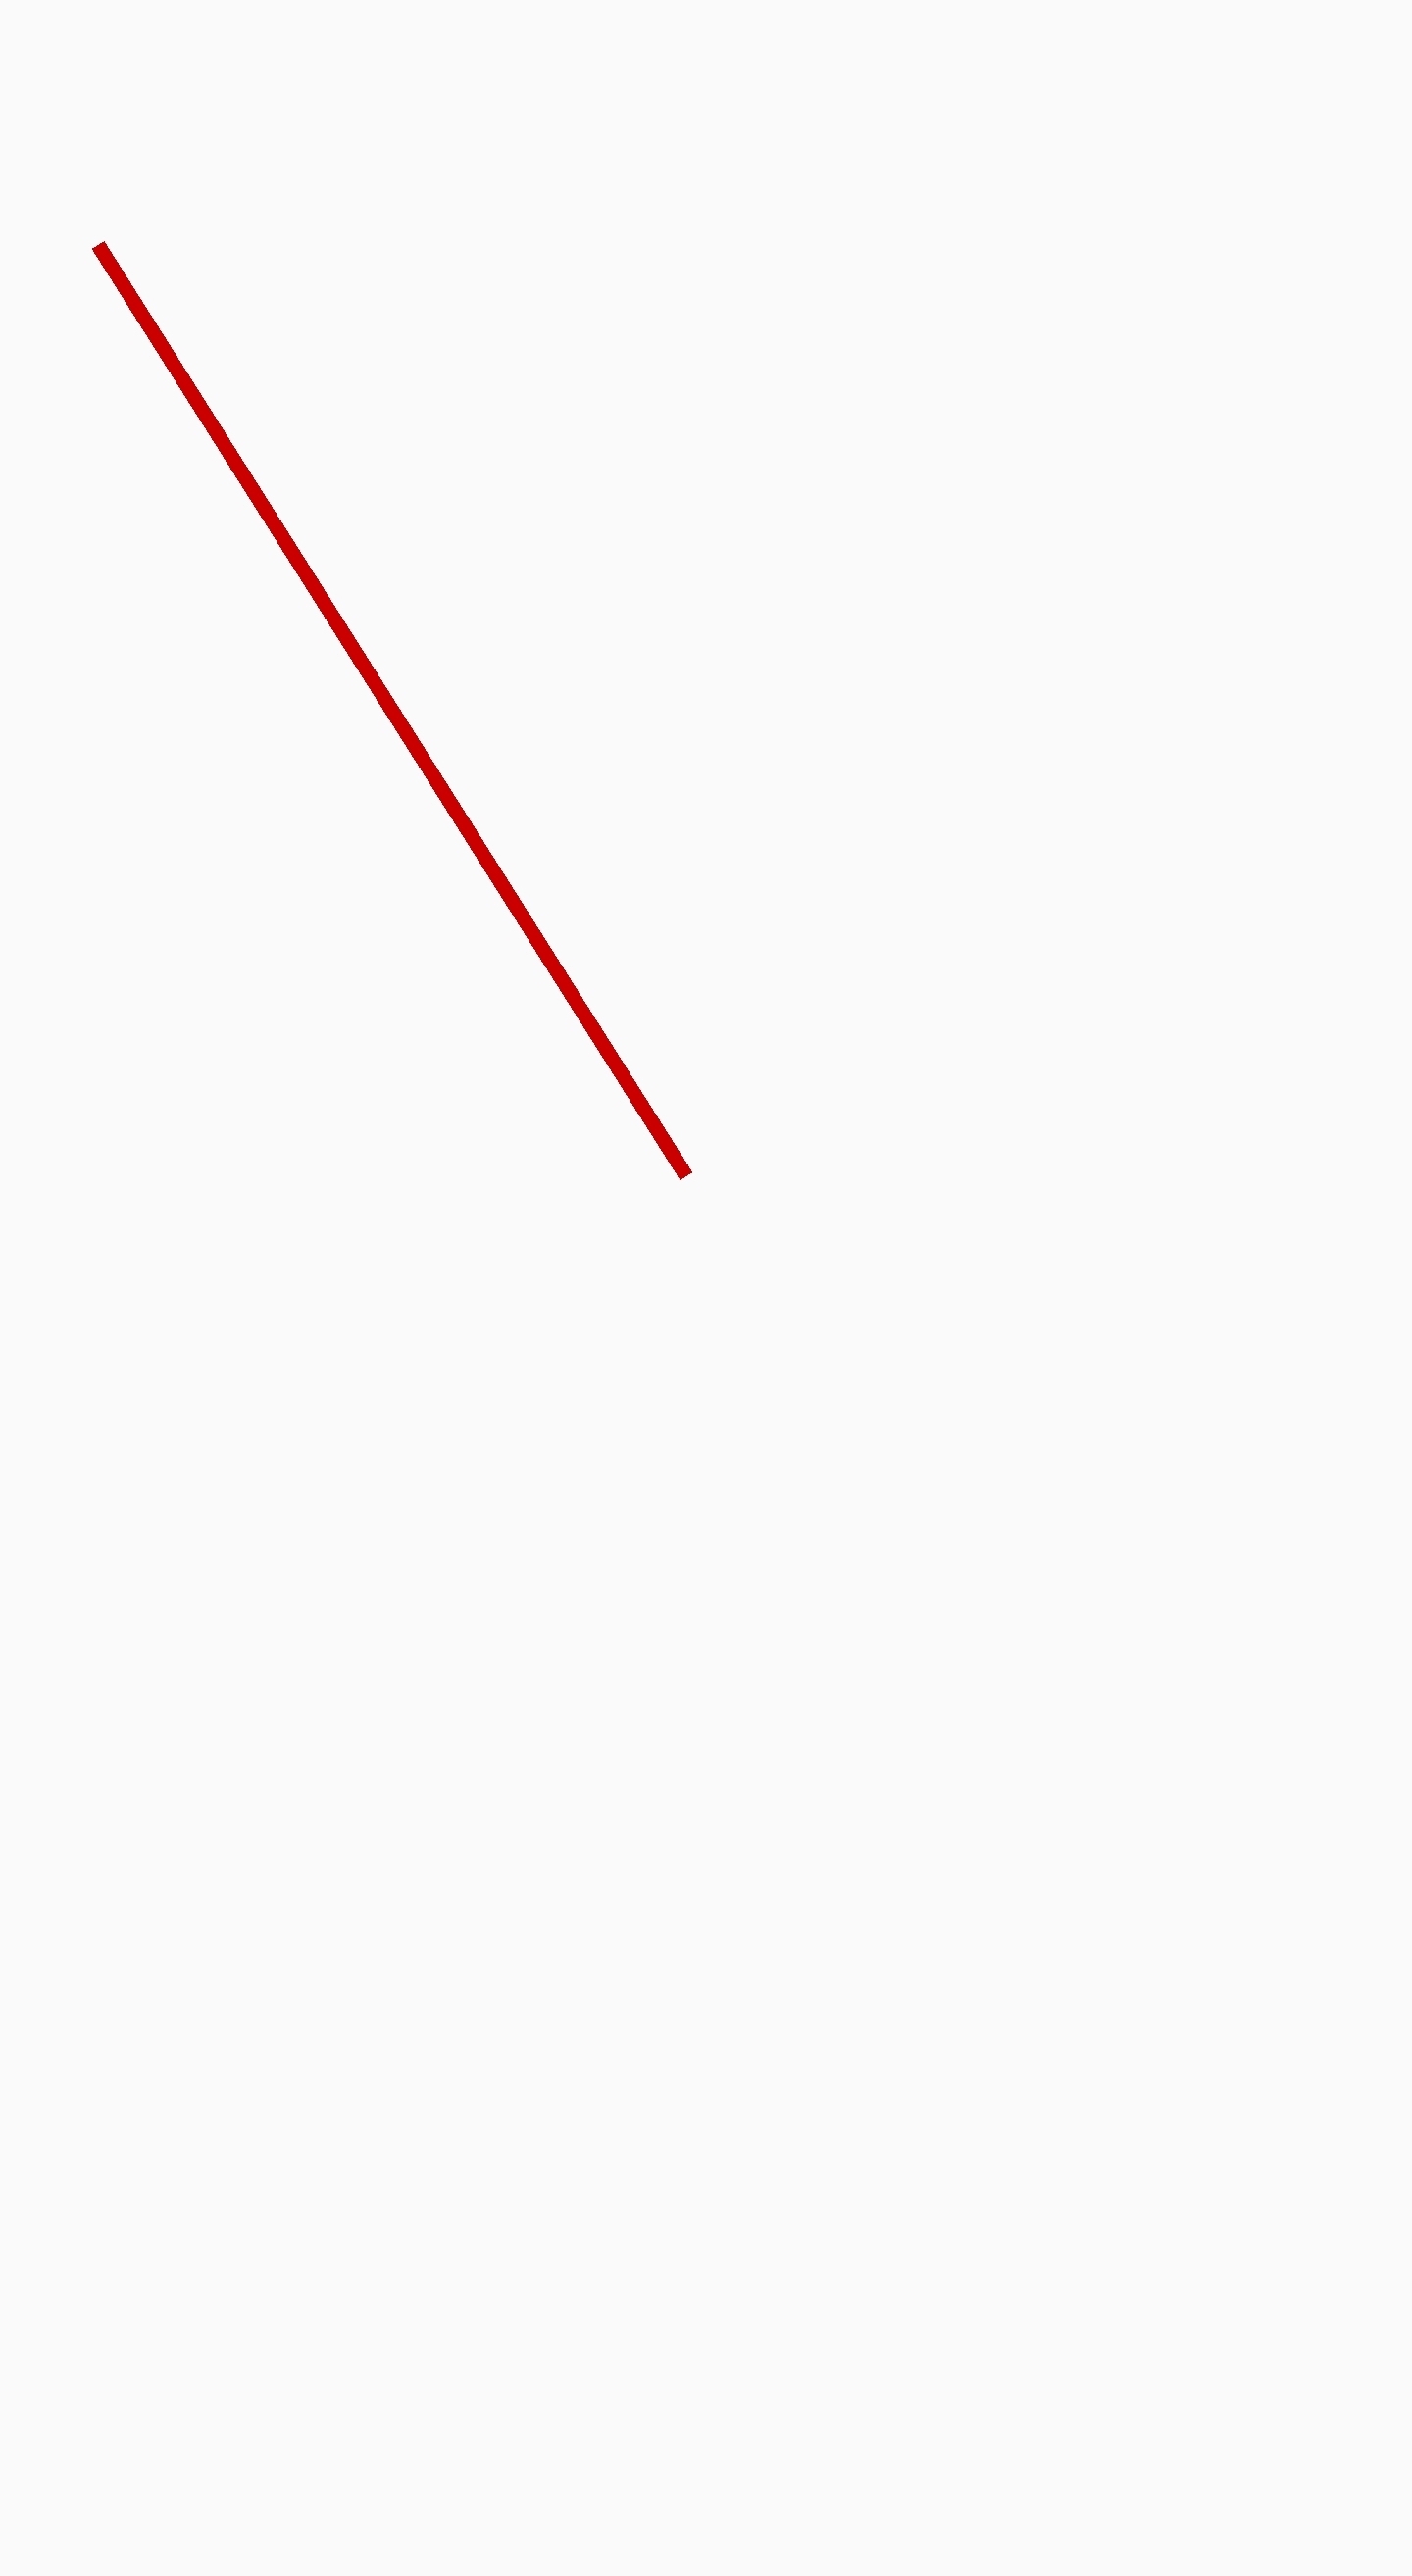
If you implement it correctly, you’ll see the image below if you run:
addLine(mainCanvas, scaleX(100), scaleY(250), scaleX(700), scaleY(1200), 15, Color.rgb(200,0,0))

Animating Text
Once you’ve animated the three methods defined above, your doodle should match. For the last part, you will need to figure out how to animate text. In Part1Activity#doodler(FrameLayout), use animations to move the TextView uw from (50f, 1650f) to (1050f, 1650f). Remember to apply scaleX and scaleY to these animations. The animation should last 1000ms (milliseconds not seconds).
Related APIs: ObjectAnimator
Once you’ve finished your animation, your doodle should match this screenshot:

Part 2
Tasks:
- Create a beautiful doodle of your own
This is where your creativity comes into play. We’ve created a blank slate for you in Part2Activity. In here you should use all three methods implemented in Part 1 to draw your own doodle. You are welcome to implement new methods in Part2Activity to make a more creative and beautiful doodle.
Tips:
- To control which activity launches with the app by moving the existing
<intent-filter>tag between different activities. This is in the Android Manifest! - Aim for complexity similar to Part 1 (images, text, and shapes) though you don’t need to use as many images. Try to be creative, you work will be evaluated by your peers.
- You may use the attractive home-cooked food images (photo credit) we include in
res/drawableor use your own images. - If your animation is laggy, please reduce the number of images you put on canvas or reduce the file size of images (e.g., convert png to jpg, reduce resolution of image file).
- Make sure that your doodle depends on nothing outside of the files described in Turn-in.
For Peer Grading
This portion of the assignment will be peer graded. You will receive 4pt for peer grading others’ doodles. You will have a chance to nominate the most creative doodles. The winners will be shown off in class. Peer grading will take place starting the day after the lock date. You will recieve an email with links to students apk files to load via Android Studio or onto a phone and a link to a form to fill out for each student you have been assigned to peer grade.
Related APIs: Android Animation / View Animation / Property Animation / Vogella Tutorials - Android Animation
Part 3
After Peer Evaluation, you are expected to turn in a short reflection on this assignment. Moving forward for this quarter, you will be expected to fill out a reflection for many assignments. These reflections are your opportunity to offer us feedback on the structure of each assignment, as well as reflect on the topics covered.
These reflections should always be submitted on Gradescope.
For this assignment, your reflection should cover the following:
-
Why might it be better to animate a view, rather than invalidate/redraw its contents?
-
At the moment our application does not respond to the user at all. Think of at least two ways that you would go about adding interactivity to this application.
-
What did you learn from reading the peer evaluation about the user experience of your doodle?
-
Document any collaboration you did in the reflection.
Turn-in
Part 1 and Part 2
You will turn in the following files on GitGrade here.
Make sure you only edited the following files:
─ Part1.java
- LineView.java
─ Part1Activity.java
─ Part2Activity.java
- part2.csv (optional)
If you use your own images in Part 2, please make sure they are comitted to the repository within res/drawable.
If you’re positioning a large number of images for Part 2, it may be best to use a CSV similar to data.csv which is used for the heart in Part 1. Include this as part2.csv if necessary. Remember, the CSV coordinates are on a Pixel 2 XL and scaled to the current screen in Doodler#addAllImagesFromData(FrameLayout).
Follow these instructions to submit to GitGrade
- Make sure the code you want to submit is pushed to GitLab (origin/master)
- If you just commit locally and don’t push, GitGrade won’t see those changes
- (Optional) Go to your repo on GitLab to double check that the latest commit hash matches your latest local commit hash
- Go to the turn in link
- Check the box and click “Turn in”
Peer Evaluation
This will be discussed in lab, and you will then view peer solutions to part 2 and fill out a survey about them
Reflection
The reflection will be turned in on Gradescope. It should be no more than two paragraphs in length.
Grading (40pts)
- Part 1
-
addImage: 4 pt -
addText: 4 pt -
addLine: 8 pts -
UWAnimation: 4 pt
-
- Part 2
- Peer Evaluation of Custom Doodle
- Using each of the three methods: 4 pt
- Using an animation: 4 pt
- Complete assigned peer evaluation: 4 pt
- Peer Evaluation of Custom Doodle
- Part 3: 4pt
- Turn-in and compiles: 4 pt