as3: Accessibility
Last revised: 10:00 PM Tuesday, April 21st, 2020- April 22, 2020
- Due April 30, 2020, 10:00pm
- Lock May 2, 2020, 10:00pm
Android Goals:
- Basics of Android assistive tools
HCI Goals:
- Explore App accessibility
- Understanding the impact of different accessibility issues
- Simple repairs to accessibility issues
- Write up a report on accessiblity issues
This assignment has two parts that are inter-related. Part 1 of this assignment involves finding all the accessibility problems in the code base for our toy camera app, a and documenting them, while in Part 2 of the assignment you will fix these problems. It will be important to iterate on this find/fix cycles as fixing one problem may uncover new ones. You will use a number of tools to find these issues, including but not limited to the Google Accessibility Scanner and TalkBack. It will be important for you to experience the app through the use of a screen reader to find all of the problems a user might encounter.
GitGrade links
Classroom Summary
Links: Accept the Assignment / Turn-in the Assignment
Part 1
Tasks:
- Learn different categories of app accessibility issues
- Identify accessibility issues in our example app
- Write a detailed report as a communication tool to developers who need to make the app accessible
Accessibility is an important part of any app. Whether you are developing a new app or adding features to an existing one, it is important to consider the accessibility of your app’s components.
For some background you will want to do the following:
- Start by watching this quick video to learn how visually-impaired users interact with Android applications. The video also offers some tips on ensuring your app is compatible with assistive tools.
- Next read the list of errors that are found by Google’s accessibility Scanner which is show in Table 2 on the 8th page of the PDF (which is numbered page 9) of Epidemiology as a Framework for Large-Scale Mobile Application Accessibility Assessment.
- Finally, because it is important to write succinct and yet descriptive alt text (content descriptions), you should read about proper alt text writing.
For example, consider this view of the Layout Inspector of the layout app that we recently completed.
(You will not be using your layout code for this assignment, we are using it for illustrative
purposes here.) The selected image in the upper left of the screen does not have
contentDescription property. Google’s Accessibility Scanner will classify this as
“Item Label” error (defined in the paper above), which will also mean a screen reader cannot
read the alternative text of the image to people with visual impairments.

The goal of Part 1 of the assignment is to identify at least 10 accessibility issues in the app you will be given, at least one can’t be found with the Accessibility Scanner. All of the issues listed in the ASSETS/Epidemiology paper may NOT be represented in the app, but you should be aware that they could be found in other apps. For your reference, we identified at least 12 errors in the app.
Setup
In order to proceed you will need to setup your device and your Android Studio IDE.
Adding Markdown Viewing in Android Studio
You will be writing your report in “Markdown.” Markdown is a a text markup language that
allows for simple formatting using plain text files. We have provided you with a Part1.md starter
file that is in the root directory of your the repository you received when you accessed the
assignment.
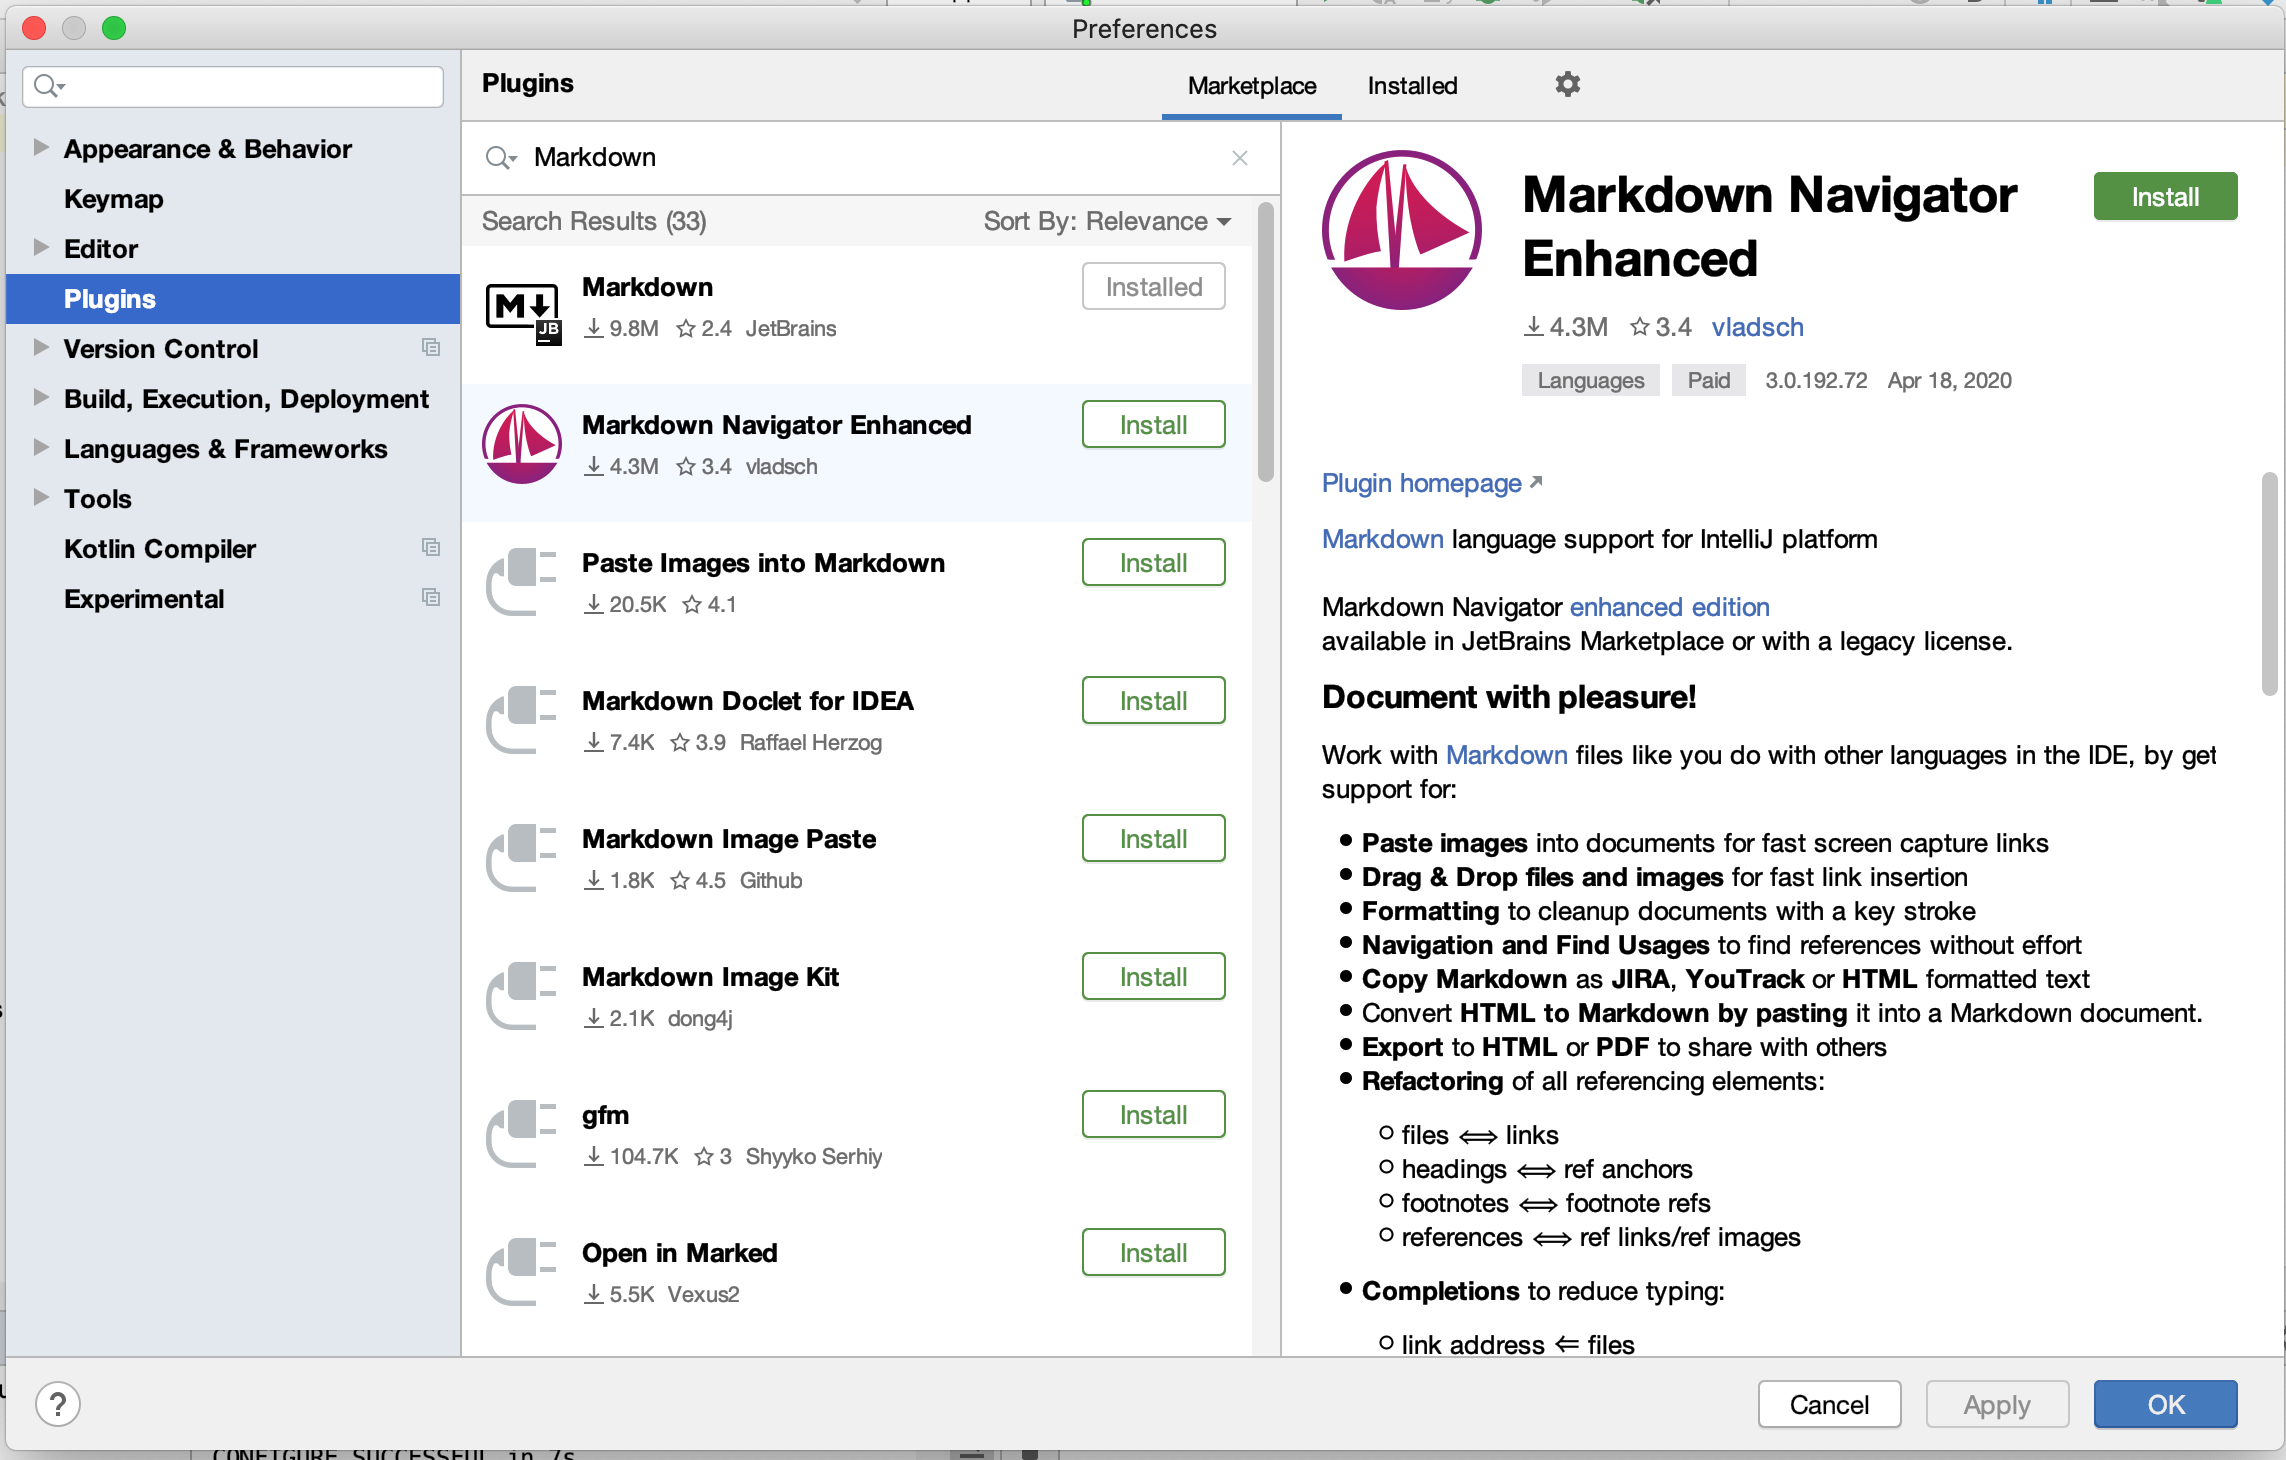
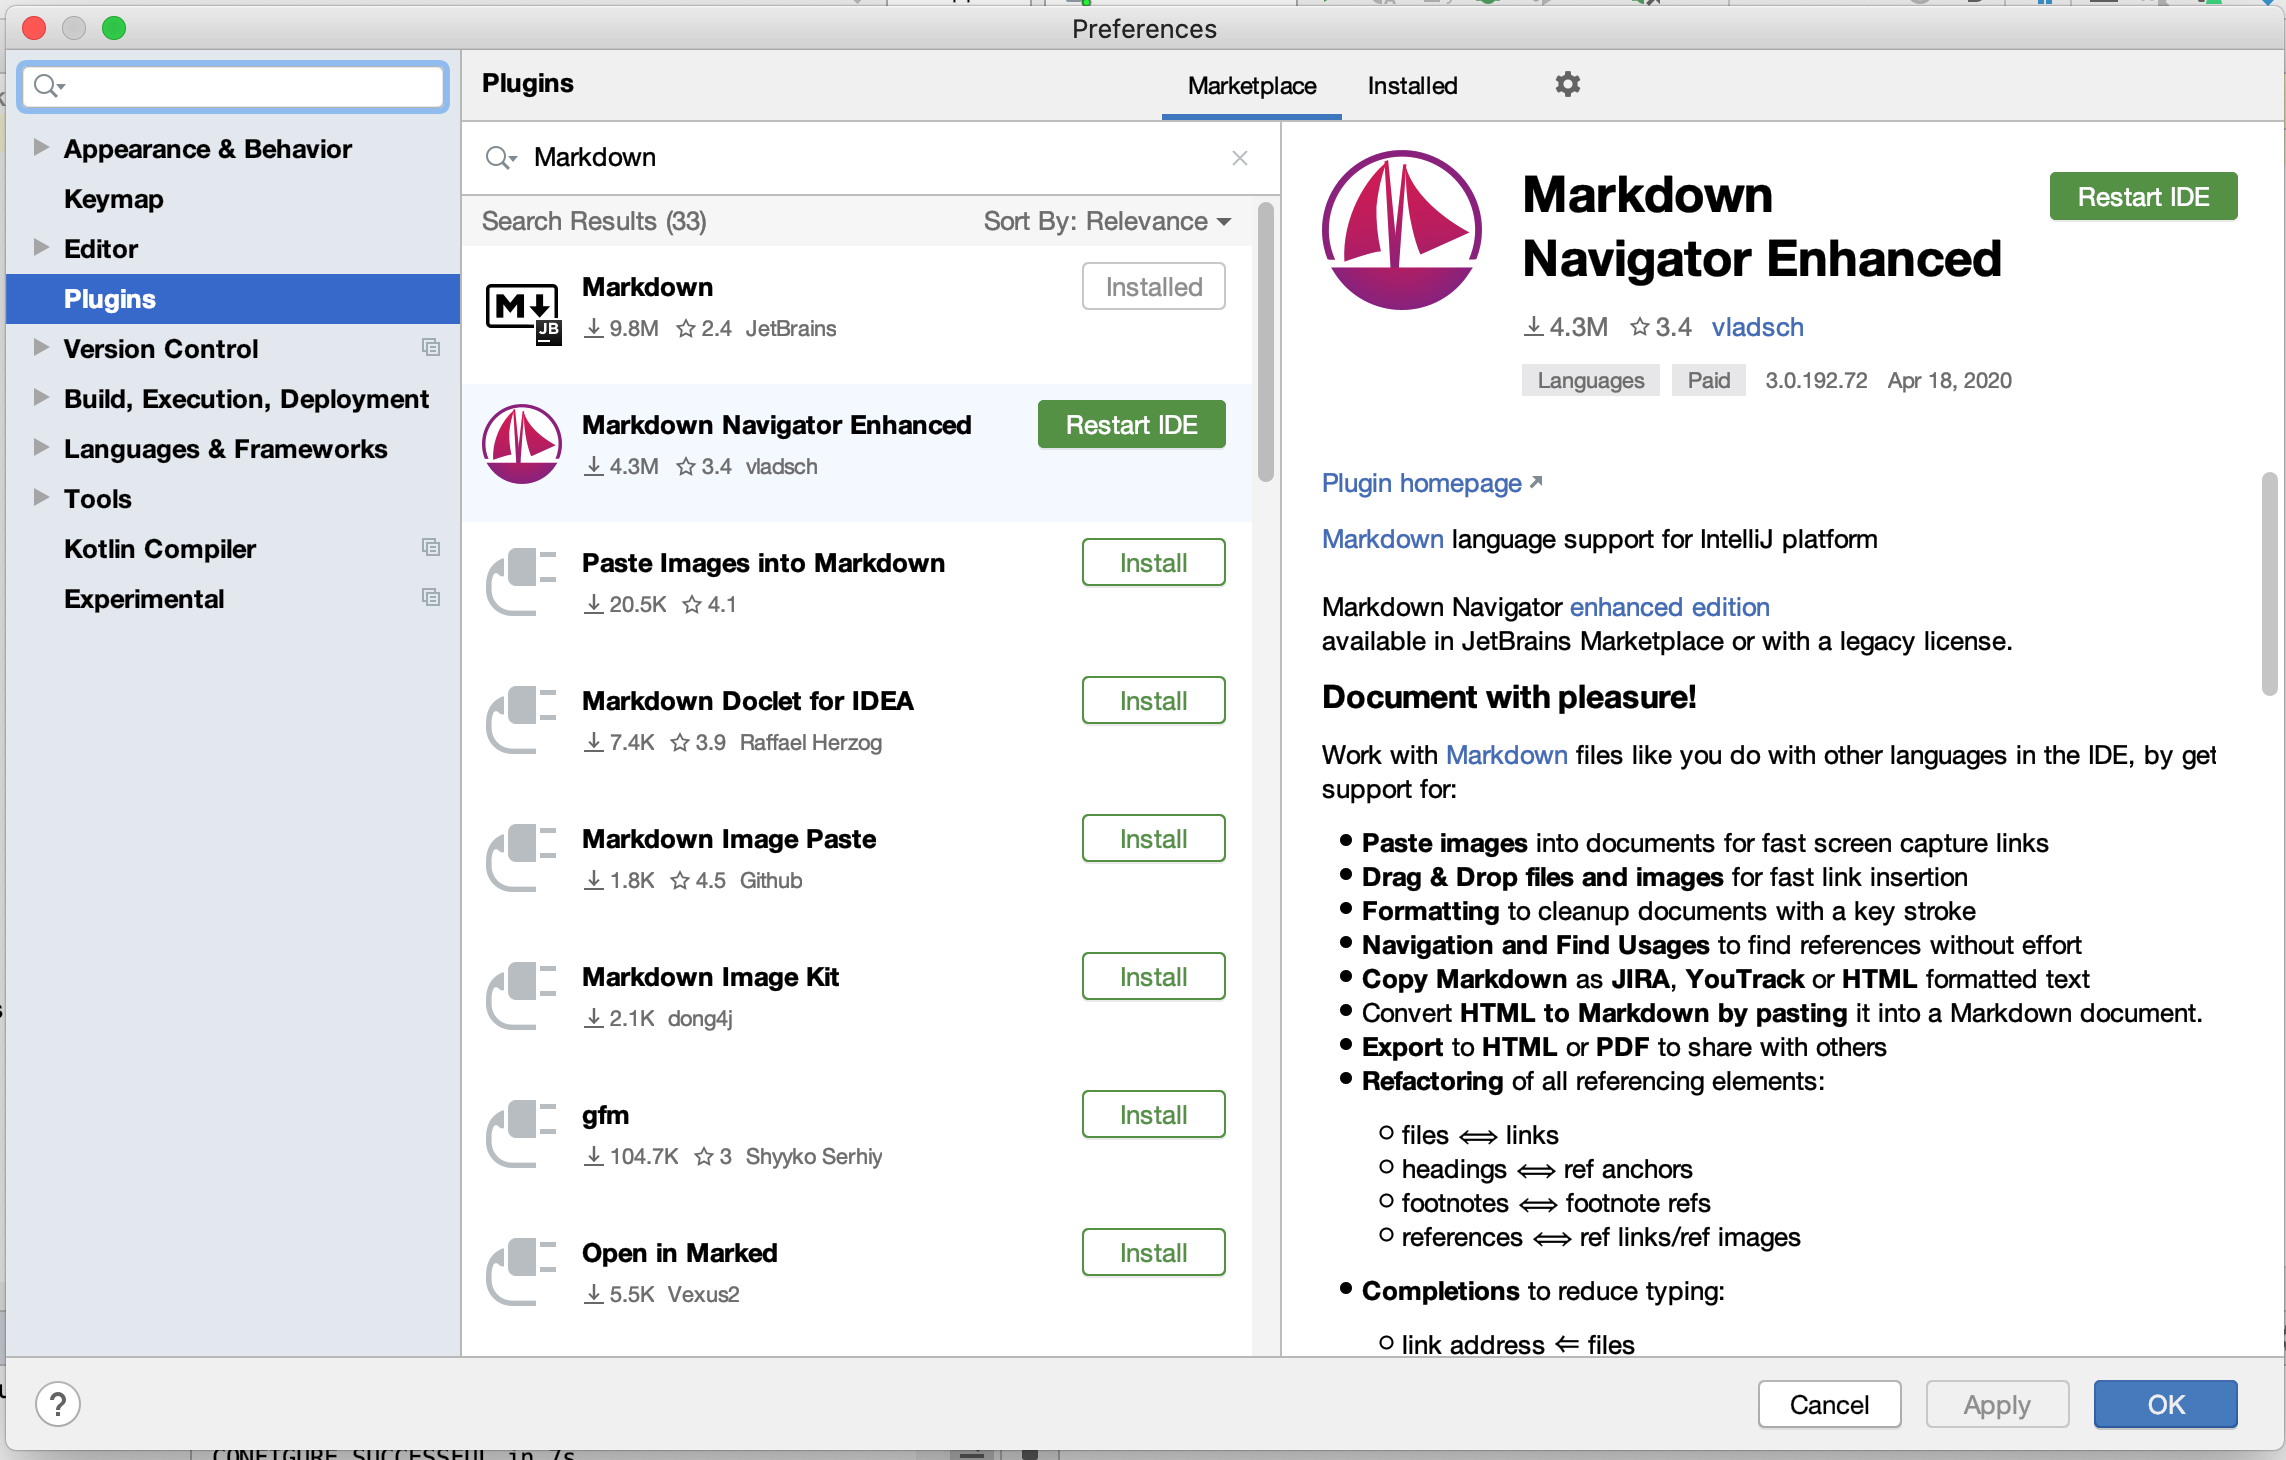
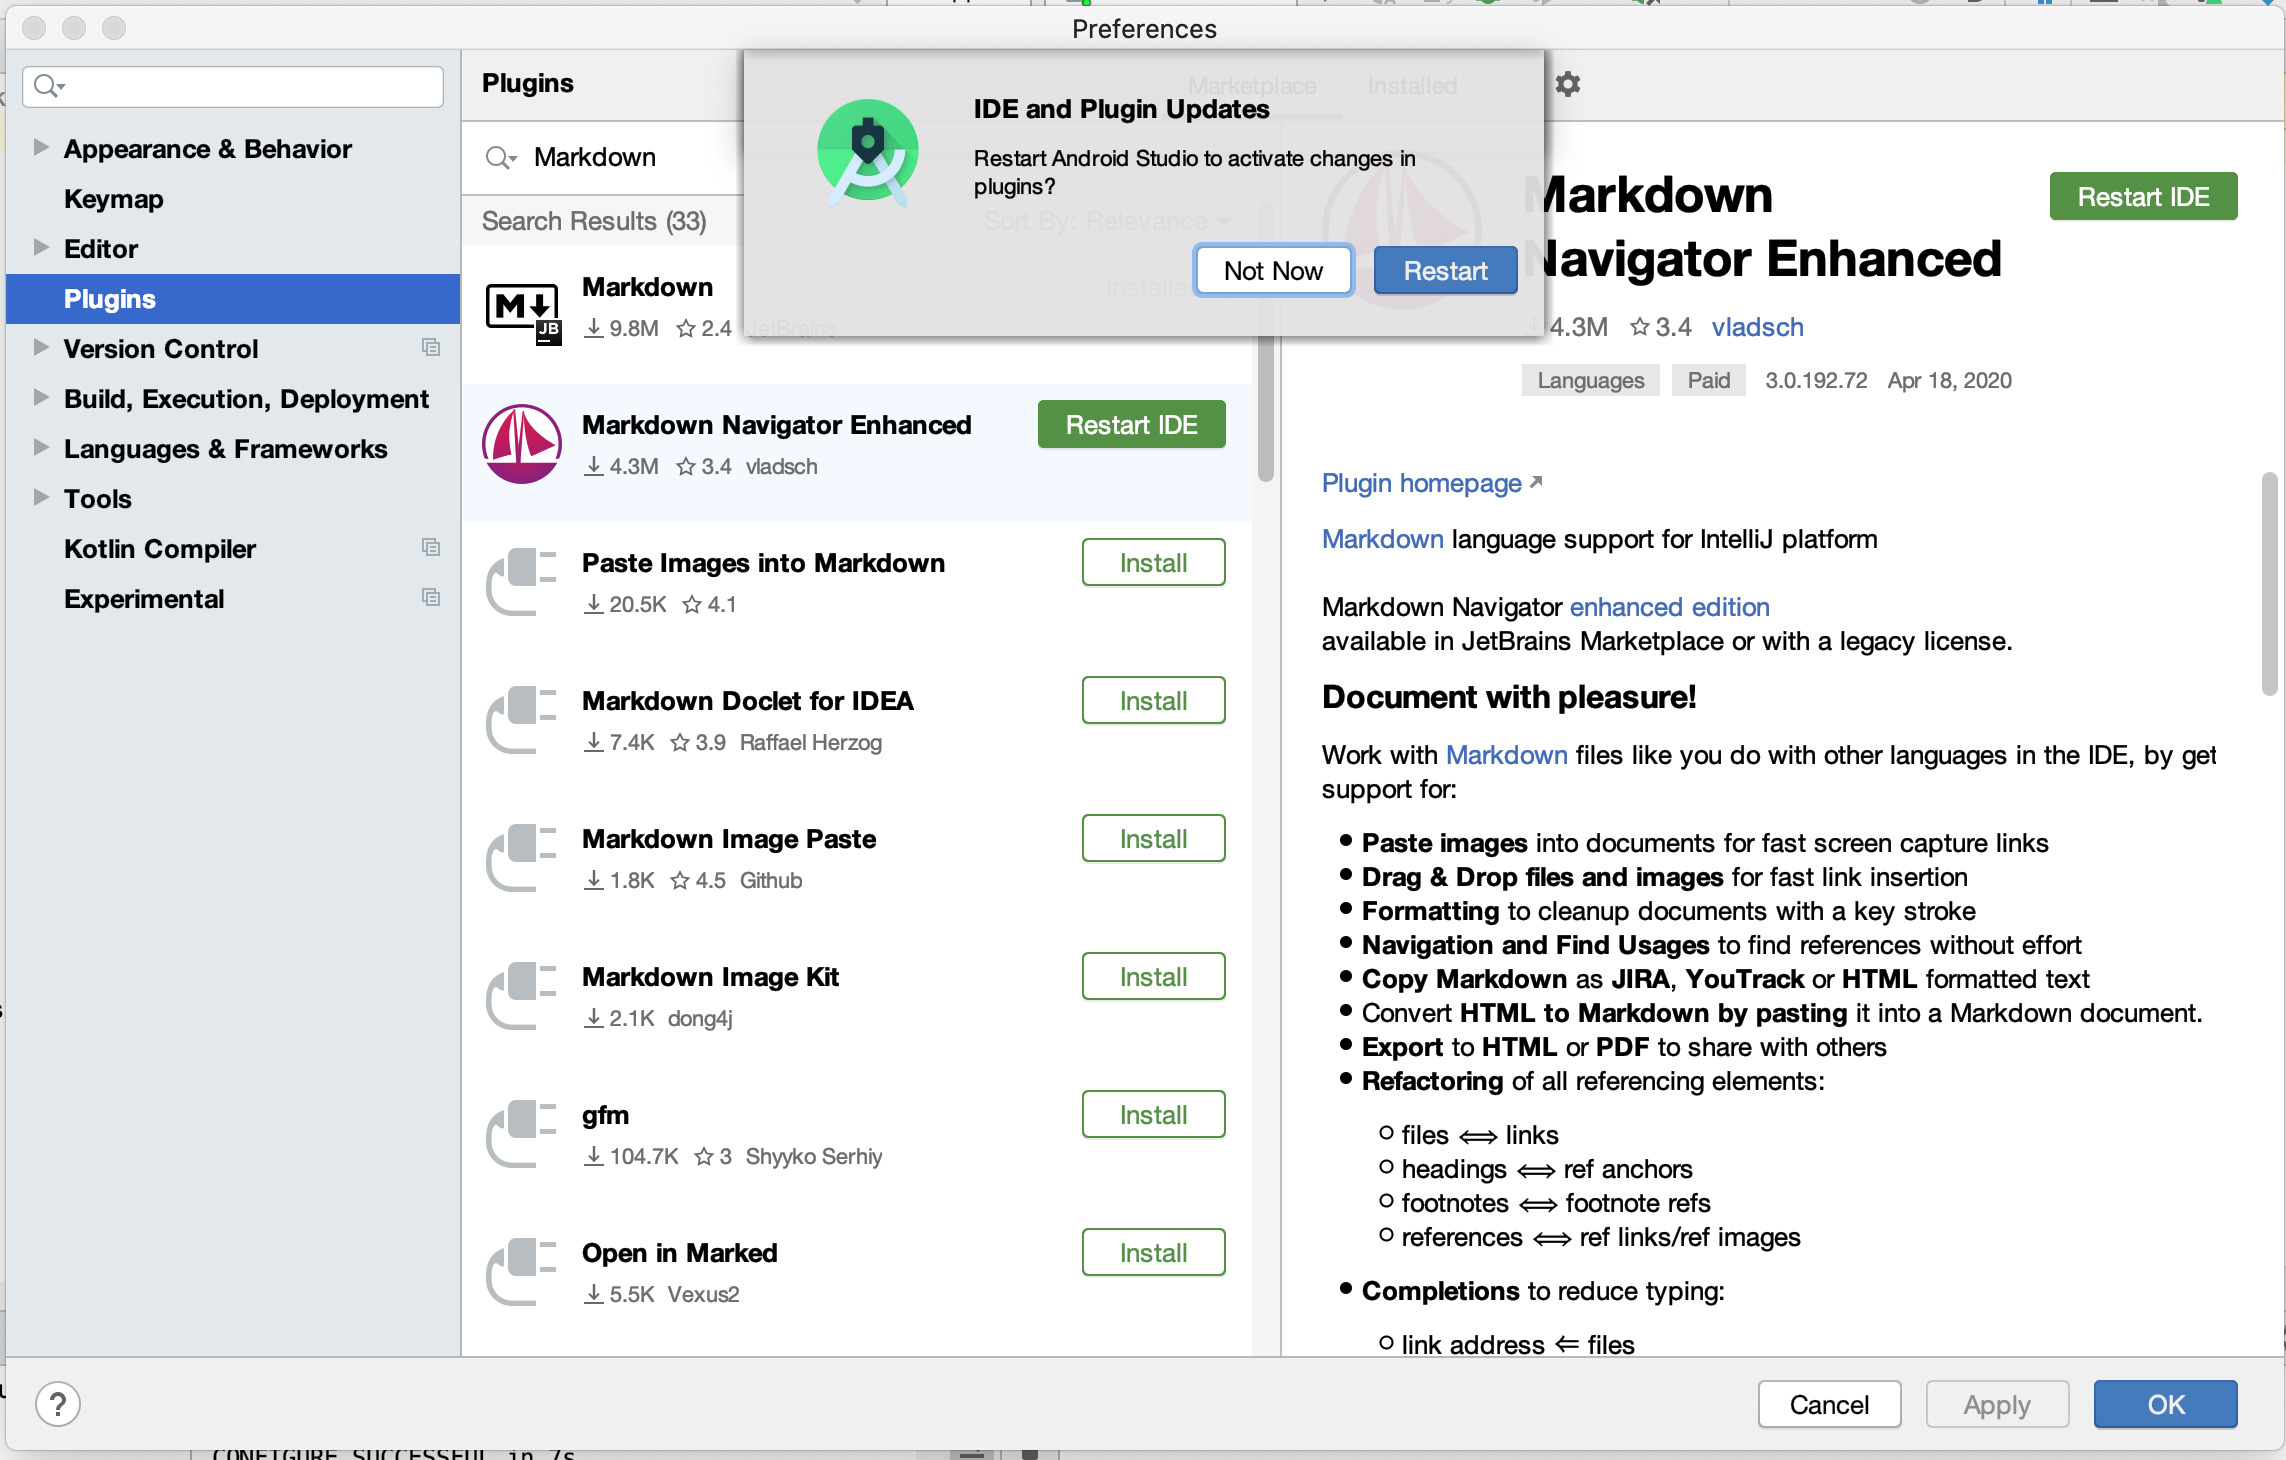
You can edit your markdown file in any text editor, including Android Studio. We recommend you install the Markdown Navigator to help you preview your edits. (Click on the pictures to see a larger version)
Once you have the Markdown Navigator installed, open up Part1.md and click the button pointed to
by the arrow in the following image to bring up the Markdown Preview pane.

Installing Accessibility Scanner
You must first install the Accessibility scanner on your Android Device or in your Emulator using the Google Play store. IMPORTANT: The Pixel 2 XL Emulator does NOT have the Google Play store on it, so you have to start by installing the Pixel 2 or other Emulator where you can also install the Play Store using the Tools->AVD Manager. The best way to determine if the Emulator has the Play Store is to look for the icon under the Play Store column in the AVD Manager.

To create another emulator, press the Create Virtual Device button, then find an emulator that has the Play Store icon in the Play Store column. Click Next and follow the instructions for the rest of the installation.
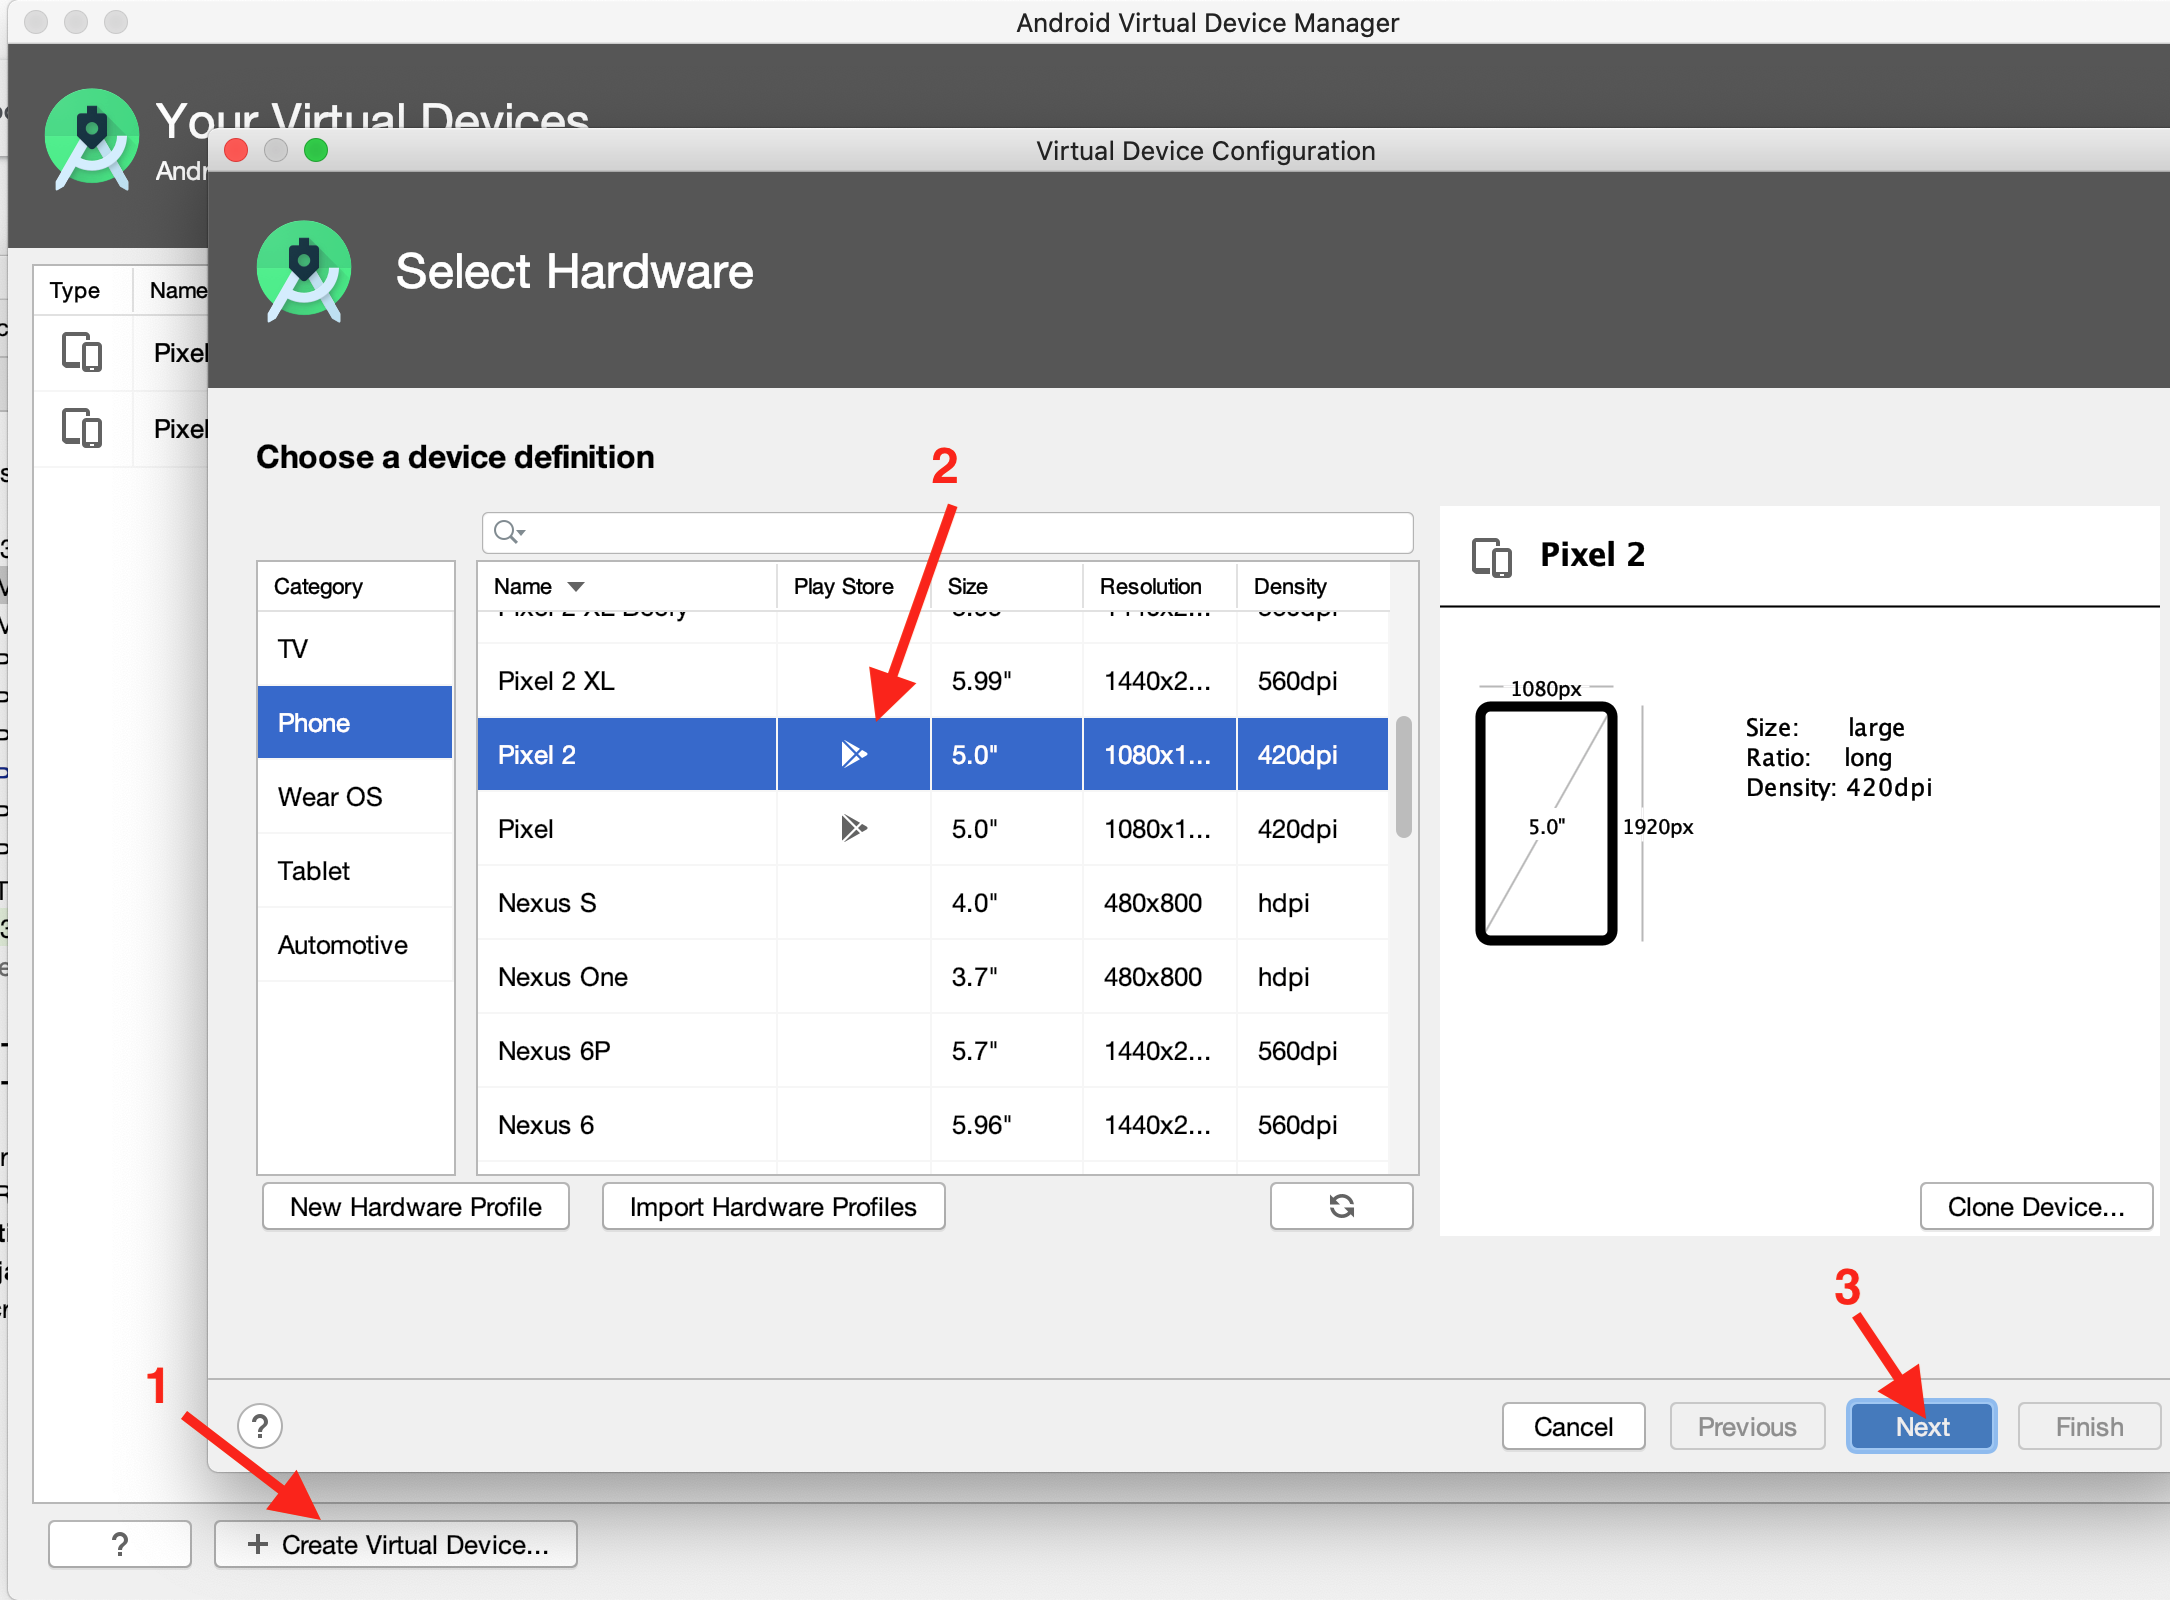
Note that you will have to specifically choose this new emulator (as opposed to the one you were using before) when you are running your application on the emulator through Android Studio.
To install the Accessibility Scanner, search for it in the Play Store and install it on your device or emulator. The installation process will be the same for a physical phone or the emulator equipt with the Play Store. Follow the instructions on the Getting started with Google Accessibility Scanner page to get the scanner working on your device.
Another option is to install the Android Accessibility Suite which contains both the Accessibility Scanner and TalkBack if it has not been installed before.
Installing TalkBack
You will need to have a good understanding of how to set up and use Talkback one of the assistive tools built-in to you Android. You may want to try using talk back on another application before you use it on the app you are given for this assignment.
Other Tools
Another built-in assistive tool is Switch Access, which you may choose to set up and use.
Writing the report.
Use the Accessibility Scanner, Talkback, and perhaps other tools to detect defects in our toy camera app. The Accessibility Scanner is decent with suggested fixes to problems it finds, however, some solutions are not obvious for each screen element type, so you will have to do some research to find all of the attributes that help to make an application more accessible. It may also help to use other tools (such as the Layout Inspector in Android) to help you track down the location of the issue the Accessibility tools find.
As you find issues in the app, write them up in your report. Your report structure will contain
two sections, an Overview in which you will describe your experience using assistive tools while testing the
accessibility of the app before and after fixing issues, and a “table” of issues you found
and how you fixed them. The outline of this report is given to you in Part1.md which remember is
in the root directory of your the repository you received when you accessed the
assignment. To open this file you can either use the File->Open menu item, or change the Android
drop down above the app folder to say Project and double click on Part1.md from there.
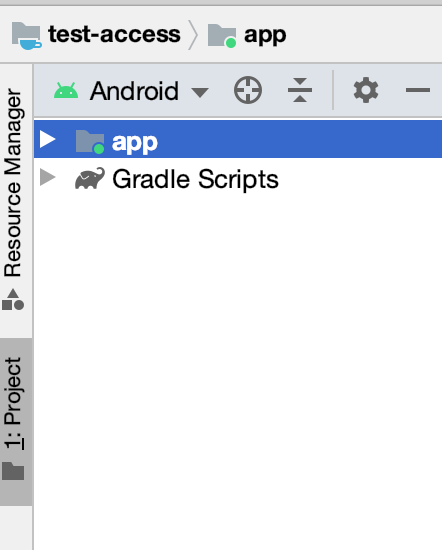
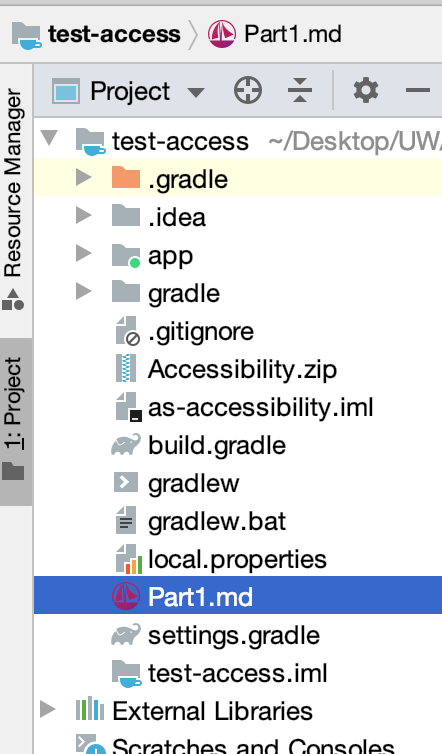
For each issue you identify within the app, document the following details:
- The XML id of the item that needs to be fixed. If there is no id you can describe it briefly (~3 words)
- The issue type as drawn from the list in ASSETS/Epidemiology paper.
- The fix should provide a brief description (1 sentence or so) of what you did. If the fix involves changing or adding alt text, you should include the alt text you added for each inaccessible UI element in your fix description.
- The file or files in which you fixed this issue
- The line number(s) where you fixed this issue
An example issue is shown in the Part1.md file. Please retain the two spaces at the end
of every line so the line breaks will be maintained
(examples). This will help the staff
in grading your assignment.
—— Sample Issue ——
Id: @+id/edit
Issue: Item Type Label contains unnecessary text
Fix: Remove the word “button” from the text description
File: string.xml
Line number: 11
Resources
Part 2
Tasks:
- Repair accessibility issues you identified in part 1, including the sample issue
For each issue that you identified in the app, please repair it by modifying code or XML layout file. You must also repair the sample issue that we have identified but not yet fixed in the code. For reference, in the sample solution we ran the app through the Accessibility Scanner and identified and fixed at least 12 issues (including the one we identified).
For any repairs involving strings, please add a new entry for the fix into the strings.xml file,
and then reference it (thereby retaining the old entry in the file). Recall that you can reference
a string by changing the contentDescription property in the
layout editor, or calling the equivalent method (imageView.setContentDescription(...))
All of these changes only require modifying existing XML attributes or adding new ones; or changing a line or two of code.
Turn-in
Submission Instructions
You will turn in both Part 1 and Part 2 via GitGrade. The files you will need to include are:
- Part1.md
- MainActivity.java
- app_bar_main.xml
- content_main.xml
- nav_header_main.xml
- strings.xml
- colors.xml
Grading (25pts)
- Part 1
- Description of the experience using assistive tools to test the app (Accessibility Scanner, TalkBack etc.): 3 pts
- Correctly documents all 10 or more accessibility issues including location of the fix: 10 pts
- Part 2
- Fixes the issues identified in part 1 by modifying / adding new attributes to the xml tags: 10 pts
- Updated content descriptions are correct per Webaim’s guidelines: 2 pts
