# Interaction Programming Lab (Spring 2019) ## Week 1: Git Tutorial --- # Quick Git Refresher - (Almost) linked list of "commits" which record files over time - Actually a tree - Git can exist locally on your computer or on a remote server - Common git remotes include: GitHub, GitLab, etc. - Android Studio provides a convenient visual git interface - More information [here](https://www.jetbrains.com/help/idea/using-git-integration.html) - You can use this for most of your git needs --- # Cloning - To clone a repo, find the cloning link on the repository page: - For GitLab, it is recommended to use SSH - 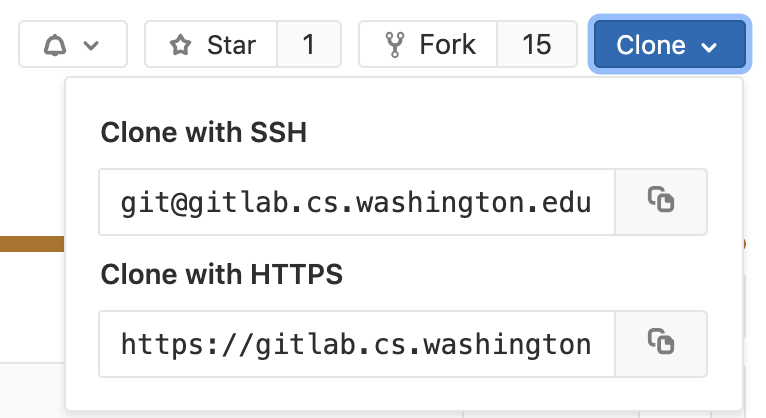 - For these assignments, you can use Android Studio to clone your repositories. - Using the git command line: ```bash git clone git@gitlab.cs.washington.edu:cse340-19sp/ex1-Doodle-HorribleMastiff.git ``` --- # Opening Projects - With the assignment repo cloned, open each assignment in Android studio as such  --- # Opening Projects - Once the dialog is open, navigate to the desired project folder and open. 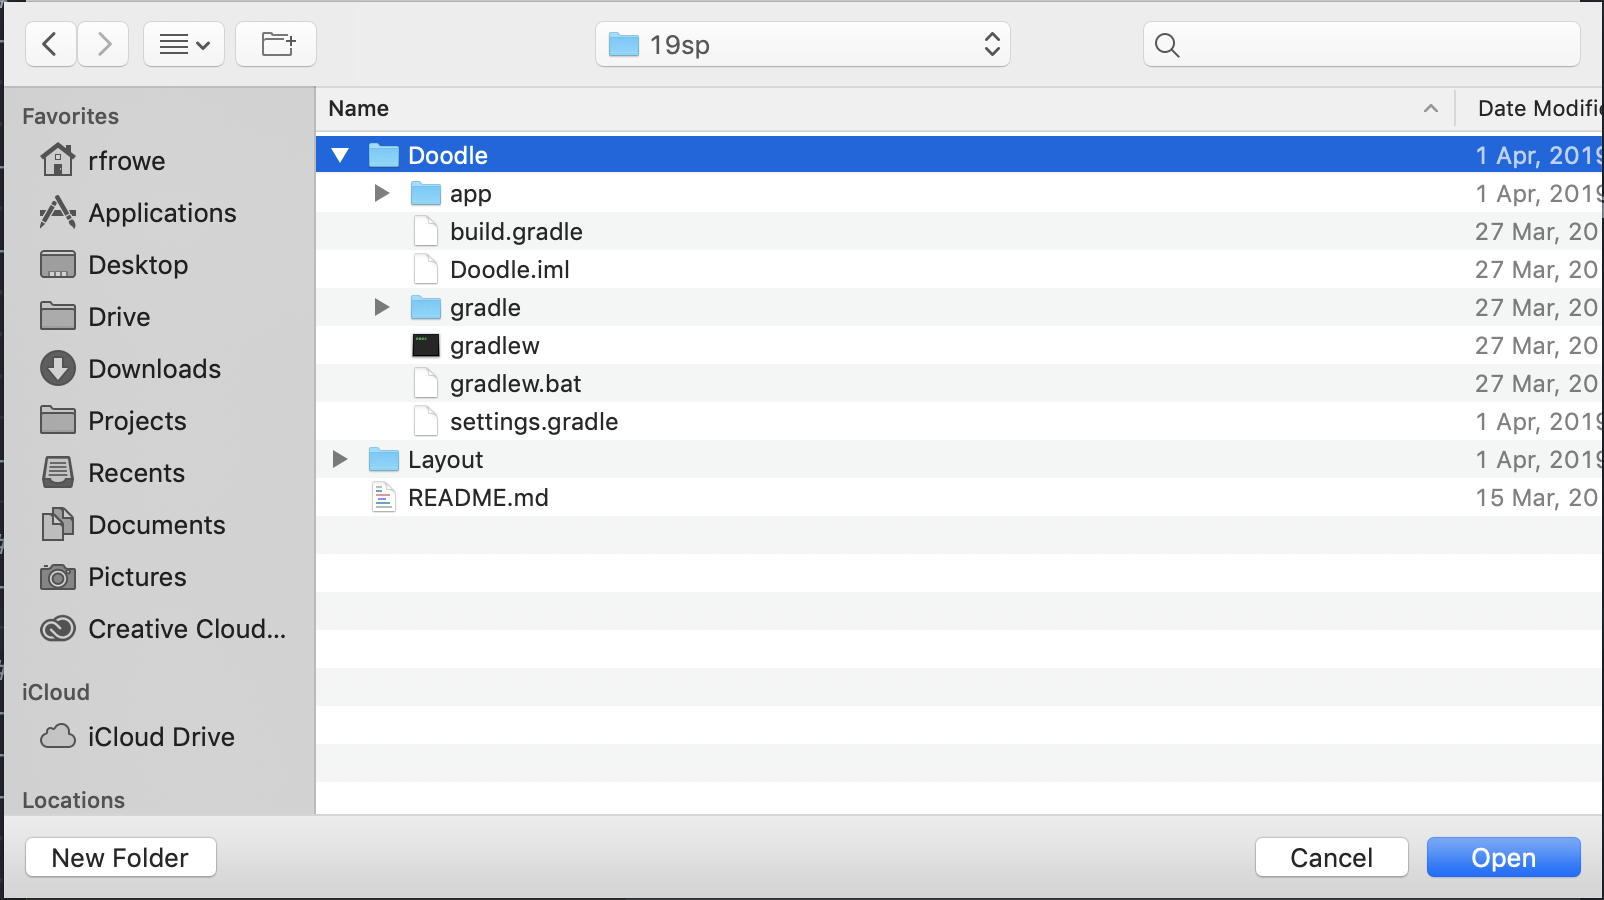 --- # Branching - Every leaf of the git tree is given a branch name to keep track of it - The default branch is master - Git command line ```bash # To list branches git branch # To list branches (including on remote) git branch -a # To create and checkout a new branch git branch -b new-branch # To fetch new branches. git fetch # To fetch new branches and automatically delete local branches deleted on remote. git fetch --prune # To delete branch locally git branch -d branch-name # To push deletion to remote. git push origin :branch-name ``` --- # Branching - Android Studio - Provides a convenient and intuitive interface for dealing with branches 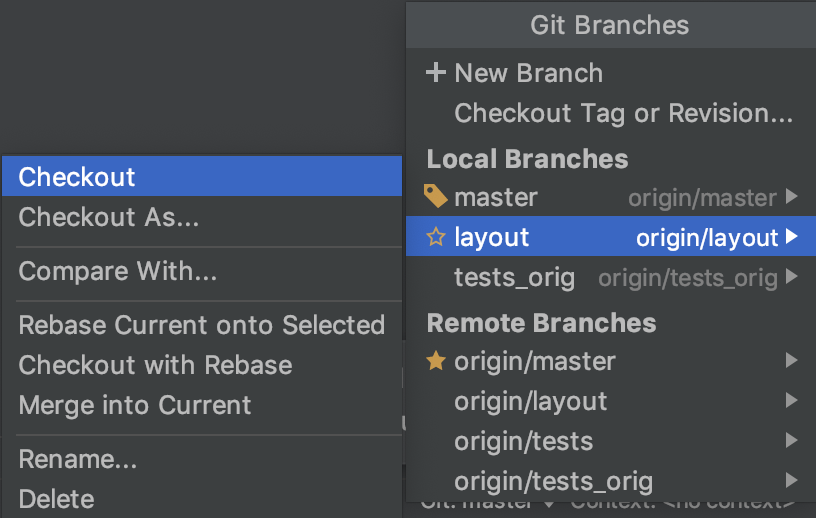 --- # Adding and Committing Files - New files will appear as red in Android Studio until they are tracked -  - Mupliple ways to track files: - Right click on file, git -> add - From commit dialog, check file in "Unversioned Files" - Alternatively: ```bash git add app/src/main/java/cse340/doodle/Part2Activity.java ``` --- # Adding and Committing Files - Add files to commit - Specifies which changes to include in commit - Android Studio - Open commit dialog (Command/Control-K) - Add files by checkbox - Can even select individual lines in files to include - Enter commit message --- # Adding and Committing Files  --- # Adding and Committing Files - Git command line: ```bash git add ... git commit -m "Add Part2Activity" # To commit changes on all currently tracked files git commit -am "Add a bunch of files" # To reword a commit or add new changes git commit --amend ``` --- # Pushing - Your git history is stored locally - For safety and ease of use, push regularly to a remote such as GitLab - If you cloned an existing GitLab repository, this remote is already setup - Git command line: ```bash # This pushes to the default remote, origin. git push # Push a new branch for the first time. git push -u origin branch-name # To push to a different branch. git push origin local-branch:remote-branch ``` --- # Pushing - In Android Studio: - Command/Control-Shift-K - 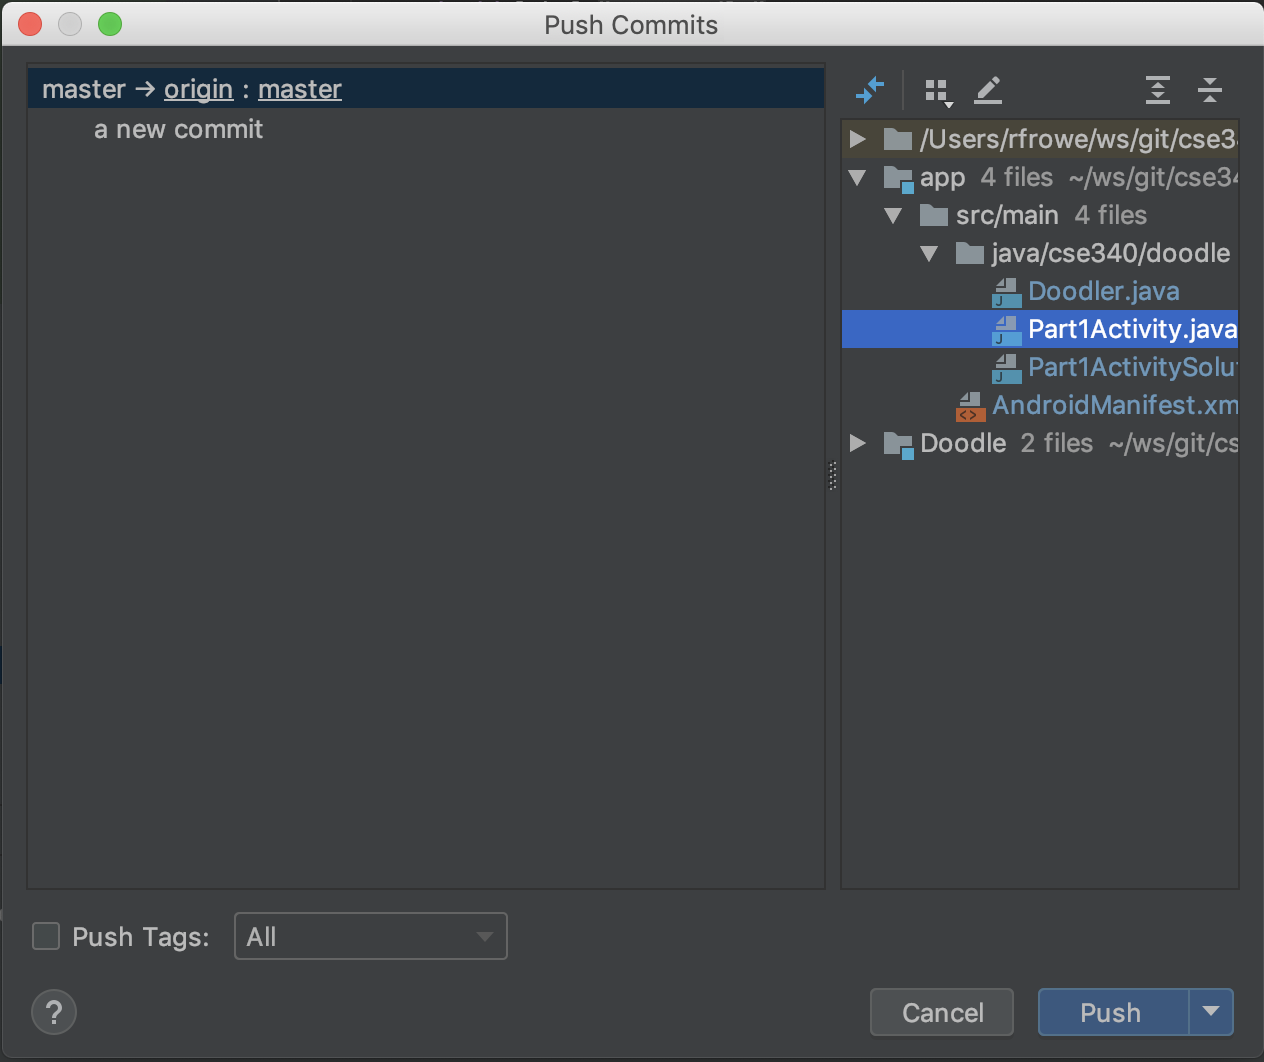 --- # Pulling - Pulls new commits from a remote such as GitLab - To types of pulls: rebase and merge (default) - In a merge pull, if there are conflicts you will be asked to resolve them and these changes will all be put in a new "merge commit" - In a rebase merge, git attemps to interleave conflicting commits and may ask you to resolve a change multiple times - In this case, you retain better commit history - Git command line: ```bash git pull # defaults to merge git pull --rebase ``` - Android Studio:  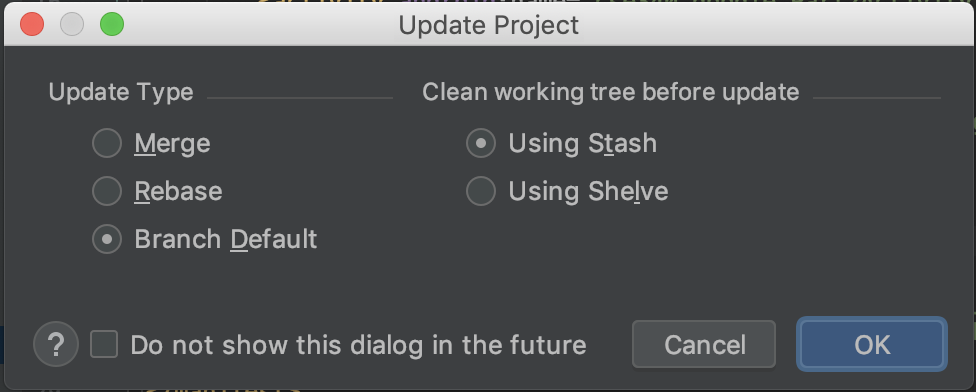 --- # Forks - Forking a repository allows you to start a new repository from someone else - What if you want to pull changes from the repository you forked? - You can add the original repository (often referred to as the upstream) as a remote - `git remote add upstream {url}` - where url is the one used for cloning, often ssh - To fetch changes to upstream branches: - `git fetch --all` or `git fetch upstream` - To pull changes from the upstream master branch into current branch: - `git merge upstream/master --ff-only` - `git rebase upstream/master` - Use the optional `-i` argument after `rebase` for interactive mode - This allows you to delete, reorder, combine, or drop commits. - See here for more info [here](https://git-scm.com/book/en/v2/Git-Tools-Rewriting-History) --- # Forks - Changes can be pulled from the upstream using the Android Studio git UI - However, it is possible that Android Studio may not keep upstream up-to-date - You can run `git fetch --all` or `git fetch upstream` to check this 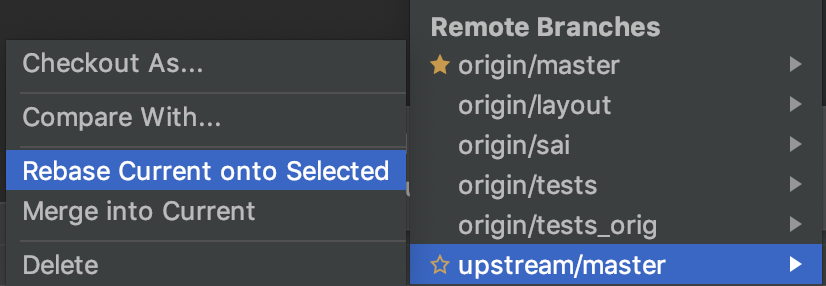
layout: true