Working at Home
(last updated Mar 28 2011)
You will need to install, at most, two pieces of software: The Java Development Kit (JDK), and the Eclipse editor. The directions differ based on your operating system.
Windows users:
1) Install Java Development Kit (JDK)
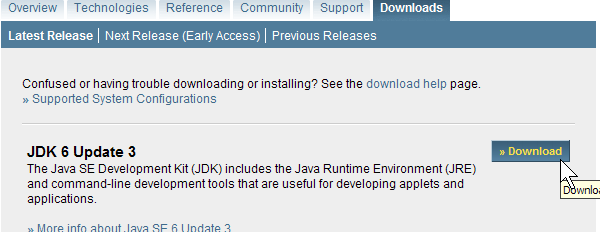
Follow the above link and click the button labeled, JDK 6 Update 23. (Not the "JRE" link). Please be careful to choose to download JDK and not JRE. JRE just allows you to run other people's Java programs, not compile and create your own programs. You must choose JDK instead.
Note: Sun updates JDK frequently; by the time you read these directions, it may be JDK 6 Update 24 or something like that. The directions should be the same otherwise. Our screenshot below is probably out of date by now as well, since we don't update it unless the page appearance changes.
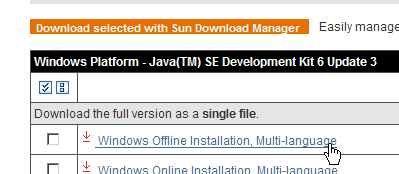
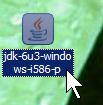
Accept the License Agreement and choose the "Windows" Platform, multi-language JDK file": jdk-6u23-windows-i586.exe (76.32 MB)
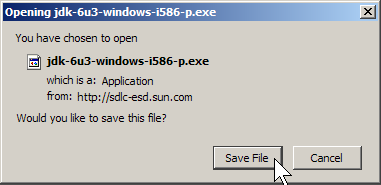
Once you have finished downloading this file to your Desktop, you must install JDK on your system. Do this by double-clicking the JDK installer file you saved on the Desktop.
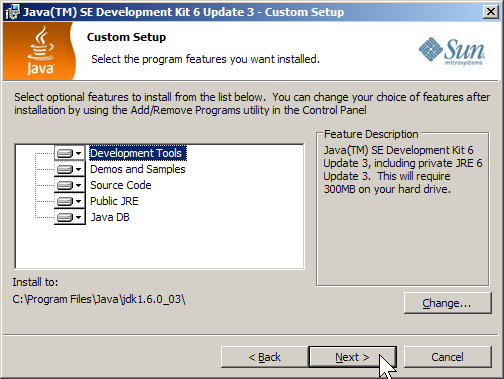
You can choose all the default options during installation.
2) Download Eclipse editor
Eclipse is our suggested primary editing software for this course. Short instructions for installing it are:
- Go to eclipse.org/downloads.
- Click the link titled "Eclipse IDE for Java Developers". (This is usually the first link in the list; you do NOT want the "IDE for Java EE developers".)
- Download the ZIP file, extract its contents, and then run
eclipse.exeto start the program.
TA Daniel Otero has written a comprehensive tutorial for installing and using Eclipse at the following address:
Mac:
1) Install Java Development Kit (JDK)
Macs with the OS X operating system will have Java available automatically, but you may need to install the latest Mac version of JDK, version 6.0. Some newer Macs (purchased within the last year or so) already have this software, but older ones do not. If you have a fairly new Mac, you may want to try to skip to Step 2 and see if Eclipse works, and if not, come back to this step.
If your Mac doesn't have Java installed already, you can go to this web page to download it:
http://developer.apple.com/java/download/
If you have Mac OS X v10.5 "Leopard" or newer, you want to choose the link that says Java for Mac OS X 10.5, Update 1. If you have the older v10.4 "Tiger" version of OS X, you should choose "Java for Mac OS X 10.4, Release 6". You can see your OS X version by clicking the Apple icon on the top-left of your screen and choosing "About this Mac."
Once you've downloaded the file, double-click it on your desktop to install it.
2) Download Eclipse editor
Eclipse is our suggested primary editing software for this course. Short instructions for installing it are:
- Go to eclipse.org/downloads.
- Click the link titled "Eclipse IDE for Java Developers". (This is usually the first link in the list; you do NOT want the "IDE for Java EE developers".)
- Download the ZIP file, extract its contents, and then run
eclipse.exeto start the program.
TA Daniel Otero has written a comprehensive tutorial for installing and using Eclipse at the following address:
Linux:
(These directions are a few months out of date, but the general idea can still be followed.)
It's tougher to give an installation guide for Linux because of the large variety of different distributions and architectures. Here is a rough guide that will work for many distributions such as Ubuntu.
1) Install Java Development Kit (JDK)
http://java.sun.com/javase/downloads/index.jsp
Follow the above link and click the "Download JDK" button next to the "JDK 6.0 Update 23". (NOT the "with NetBeans 5.0" link or the "with Java EE" link or others). Accept the License Agreement and choose the "Linux self-extracting file" file:
jdk-6u23-linux-i586.bin
(If you use a Linux distribution that supports RPM packages such as Fedora Core, you may wish to use the "Linux RPM in self-extracting file" package.)
Once you have finished downloading the JDK .bin file, open a terminal window and execute the file. You may have to give execution permissions to the file:
chmod +x jdk-6u23-linux-i586.bin
./jdk-6u23-linux-i586.bin
Running the .bin file extracts the JDK contents. Move these to a directory of your choice. (The rest of this tutorial assumes you have moved the JDK to /usr/lib/jdk/ .)
After installing Java, you will probably wish to add Java's directory to your PATH setting, so that you can run Java commands from your terminal. To do so, edit the file .bashrc in your home directory and add the following lines to the end of it:
export PATH=/usr/lib/jdk/bin:$PATH
export CLASSPATH=.
You should close your terminal and open a new one for the PATH changes to take effect.
2) Download Eclipse editor
Eclipse is our suggested primary editing software for this course. Short instructions for installing it are:
- Go to eclipse.org/downloads.
- Click the link titled "Eclipse IDE for Java Developers". (This is usually the first link in the list; you do NOT want the "IDE for Java EE developers".)
- Download the ZIP file, extract its contents, and then run
eclipse.exeto start the program.
TA Daniel Otero has written a comprehensive tutorial for installing and using Eclipse at the following address:
NOTE: Many distributions of Linux have the ability to install Eclipse and/or the Sun JDK using their built-in package managers. You may want to do that instead of following the above instructions.
Useful Options for Your Operating System
Enable File Extensions in Windows:
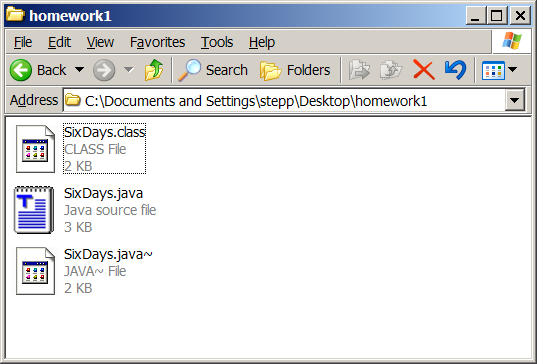
By default, Windows does not show extensions of certain types of files. This can lead to confusion because you may not know which file is your .java program and which is your .class compiled file.
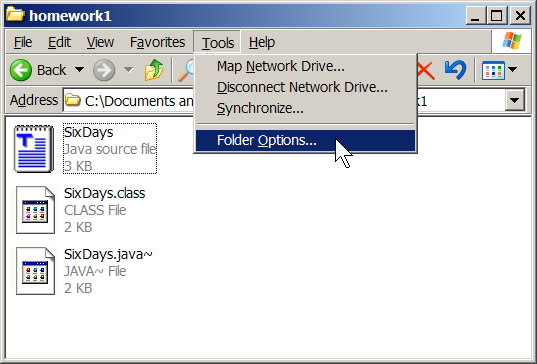
If you'd like to change this value, open My Computer. From the window's main menu, click the following:
Tools, Folder Options...
A Folder Options window will appear. Click the tab labeled View, then find the checkbox labeled Hide extensions for known file types. Uncheck it. Press OK.
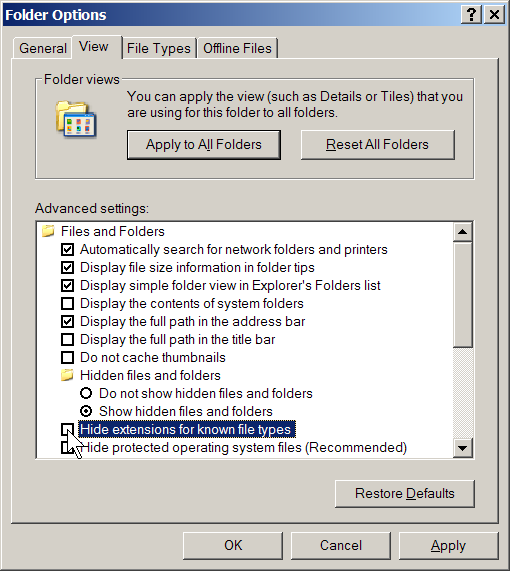
Now all files should show their extensions in Windows.
