
CSE 163 Software
This page outlines some new instructions for setting up software for CSE 163.
Preface: Getting a development environment set up is easily one of the most frustrating things about being a programmer, so it's okay if this process doesn't go smoothly! If you run into troubles along the way, please make sure to post on the message board, come to office hours, or just Google around to see if you can solve the problem on your own!
First, watch this video overviewing the purpose of Visual Studio Code Remote - Containers plugin. We will have detailed instructions for how to set up the enviornment below, but the video is a good overview of the tool.
Instructions for Initial Setup
Step 1 - Install Docker
Background
Docker is a tool that lets us "containerize" the development setup. The long-story-short is that installing all of the dependencies on your computer can be quite difficult to do; every person having a slightly different computer with a slightly different version of their operating system which makes installation on some systems quite challenging. Docker lets us virtualize this process in a well-controlled container that makes development easier to set up regardless of your operating system. You don't need to understand how Docker works, just that we use it as a tool to get a consistent computing environment regardless of what computer you have!
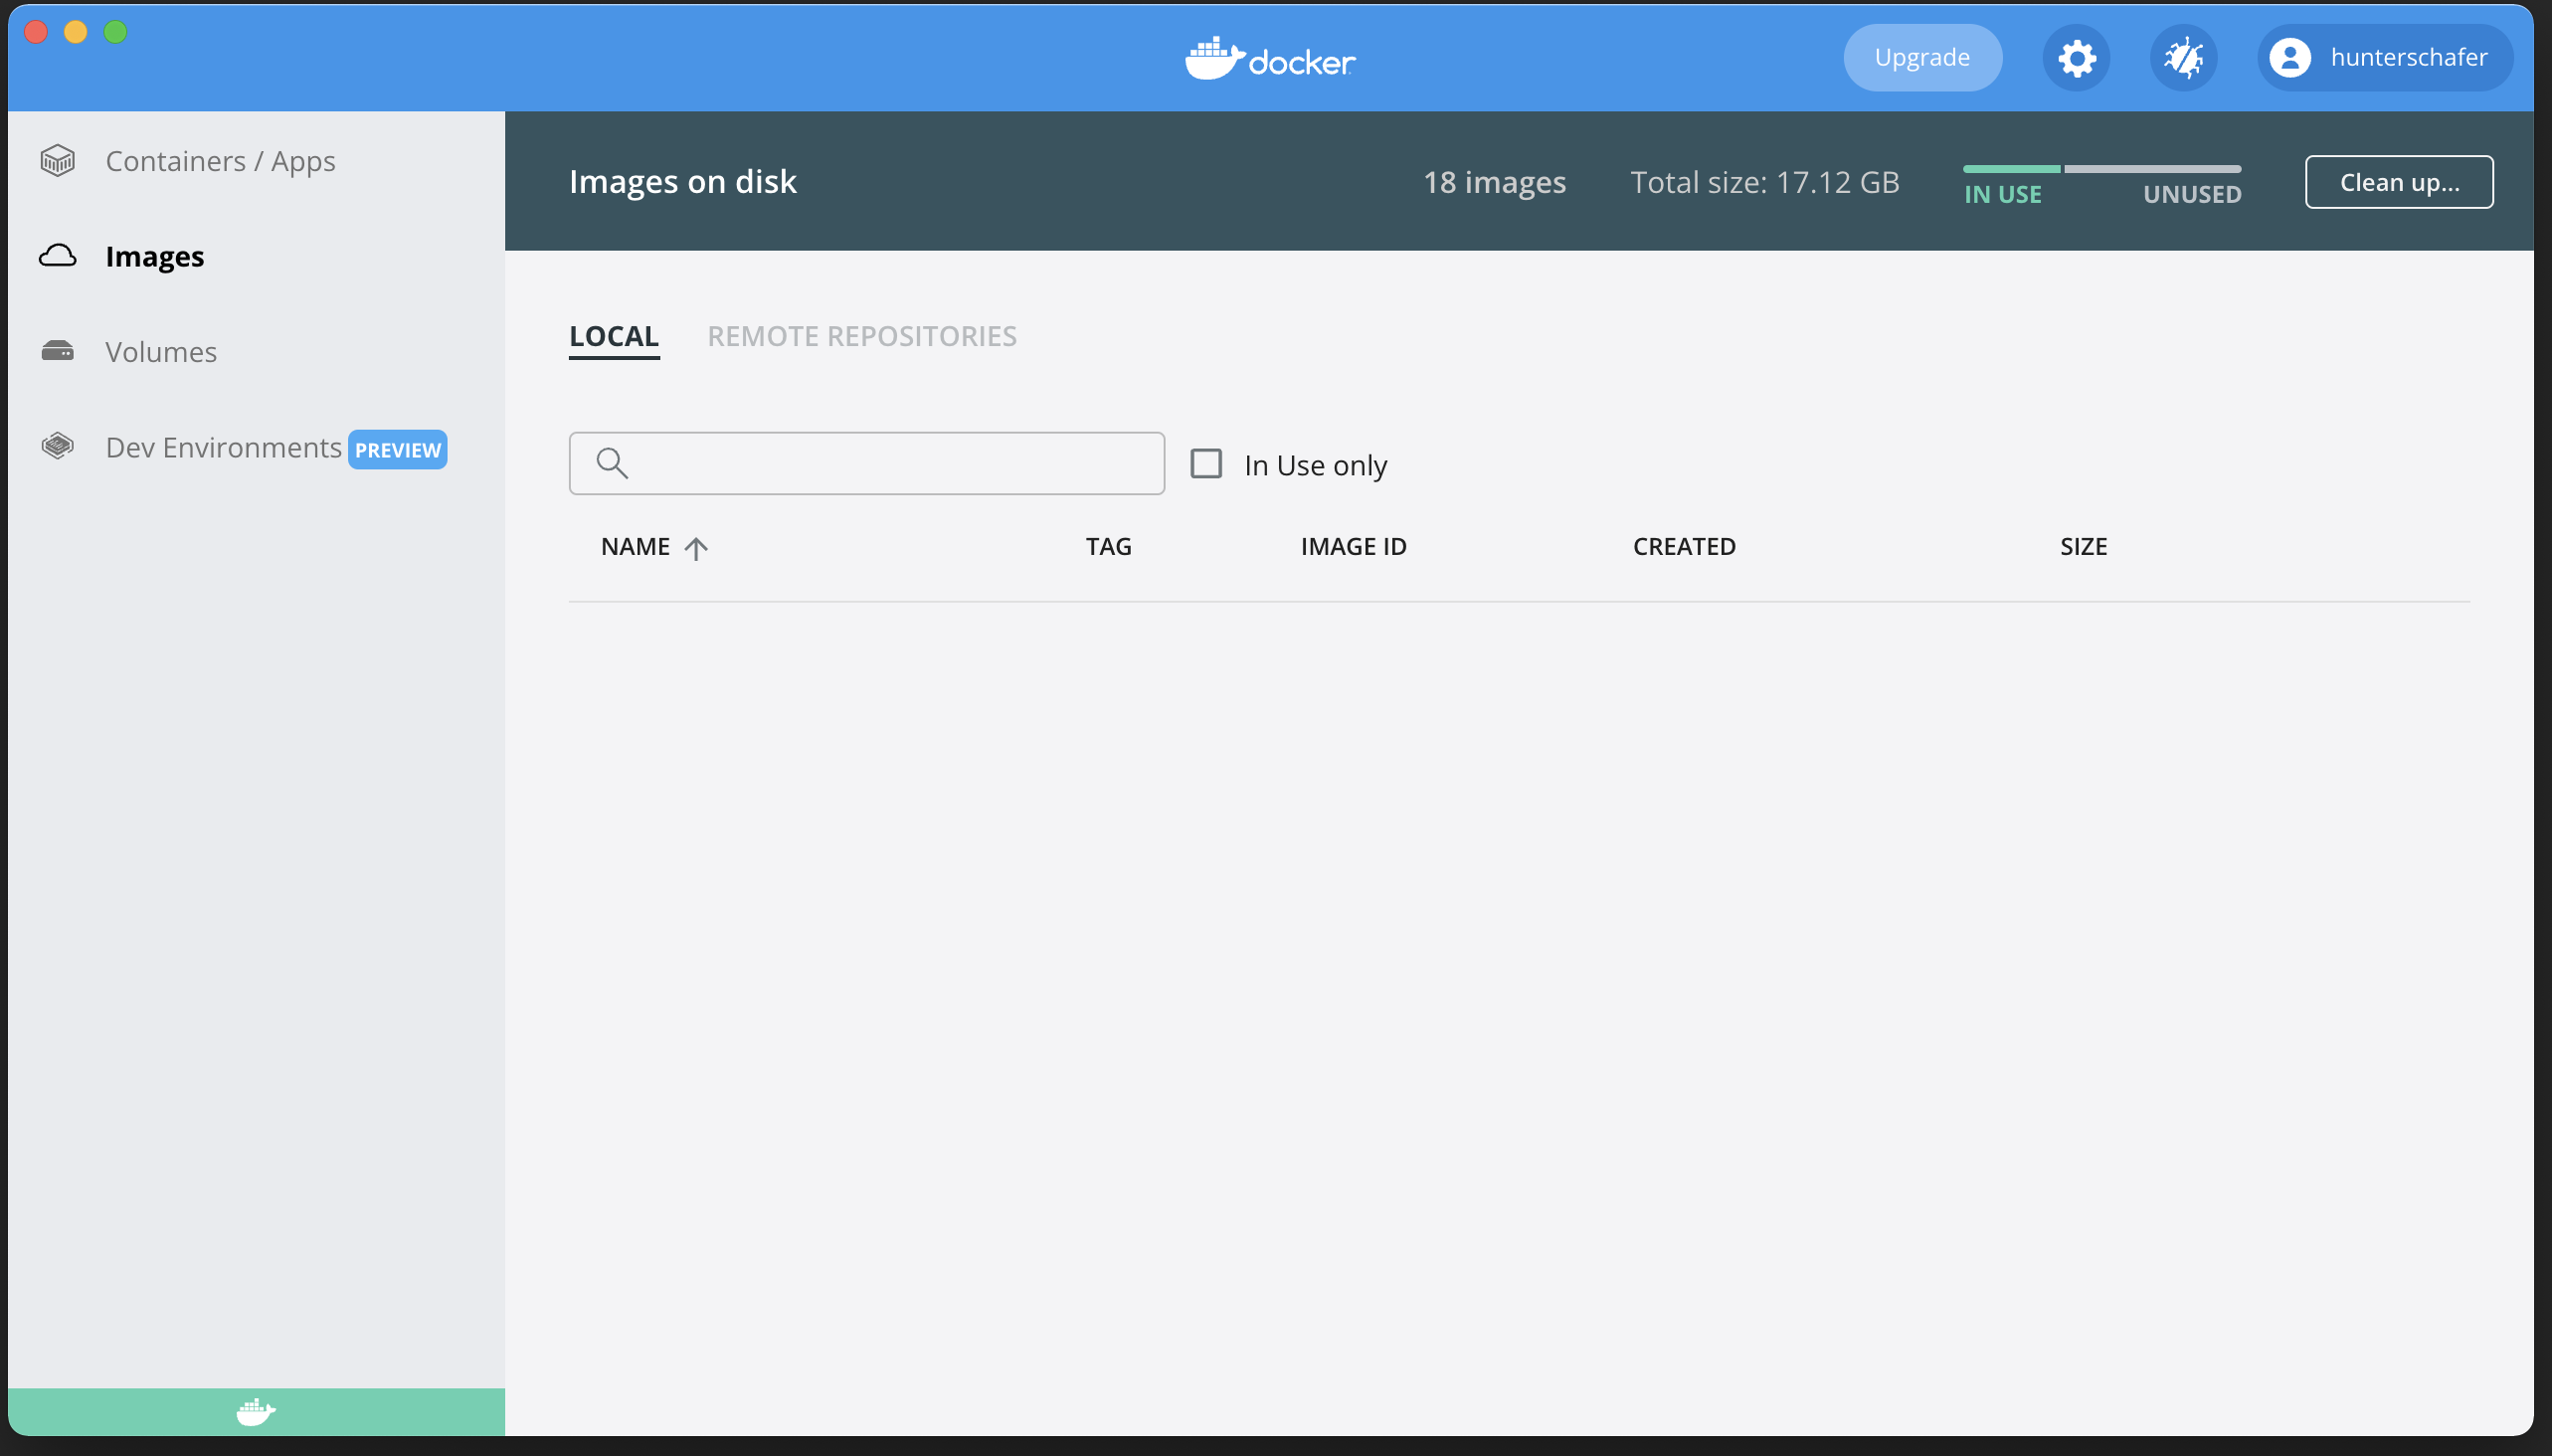
Navigate to the Docker website and install Docker Desktop for your computer. The installer prompt you for some setup questions and permission to run the application as an administrator on your computer. This is expected, and you should type in your administrator password to allow it to do so. When you open Docker, you will see a screen like this.
Notes
- If you have a Windows computer, you may need to install the Windows Subystem for Linux (WSL) as well. More information here.
-
If you have a new Mac computer with an M1 chip (not an Intel chip), you will need to open Docker Desktop settings (gear in top-right side) and add the following snippet to the Docker Engine settings. This is necessary for compatability for the new Macs. It should look like the picture below, note that the other configuration values shouldn't matter.
"features": {
    "buildkit":     false
}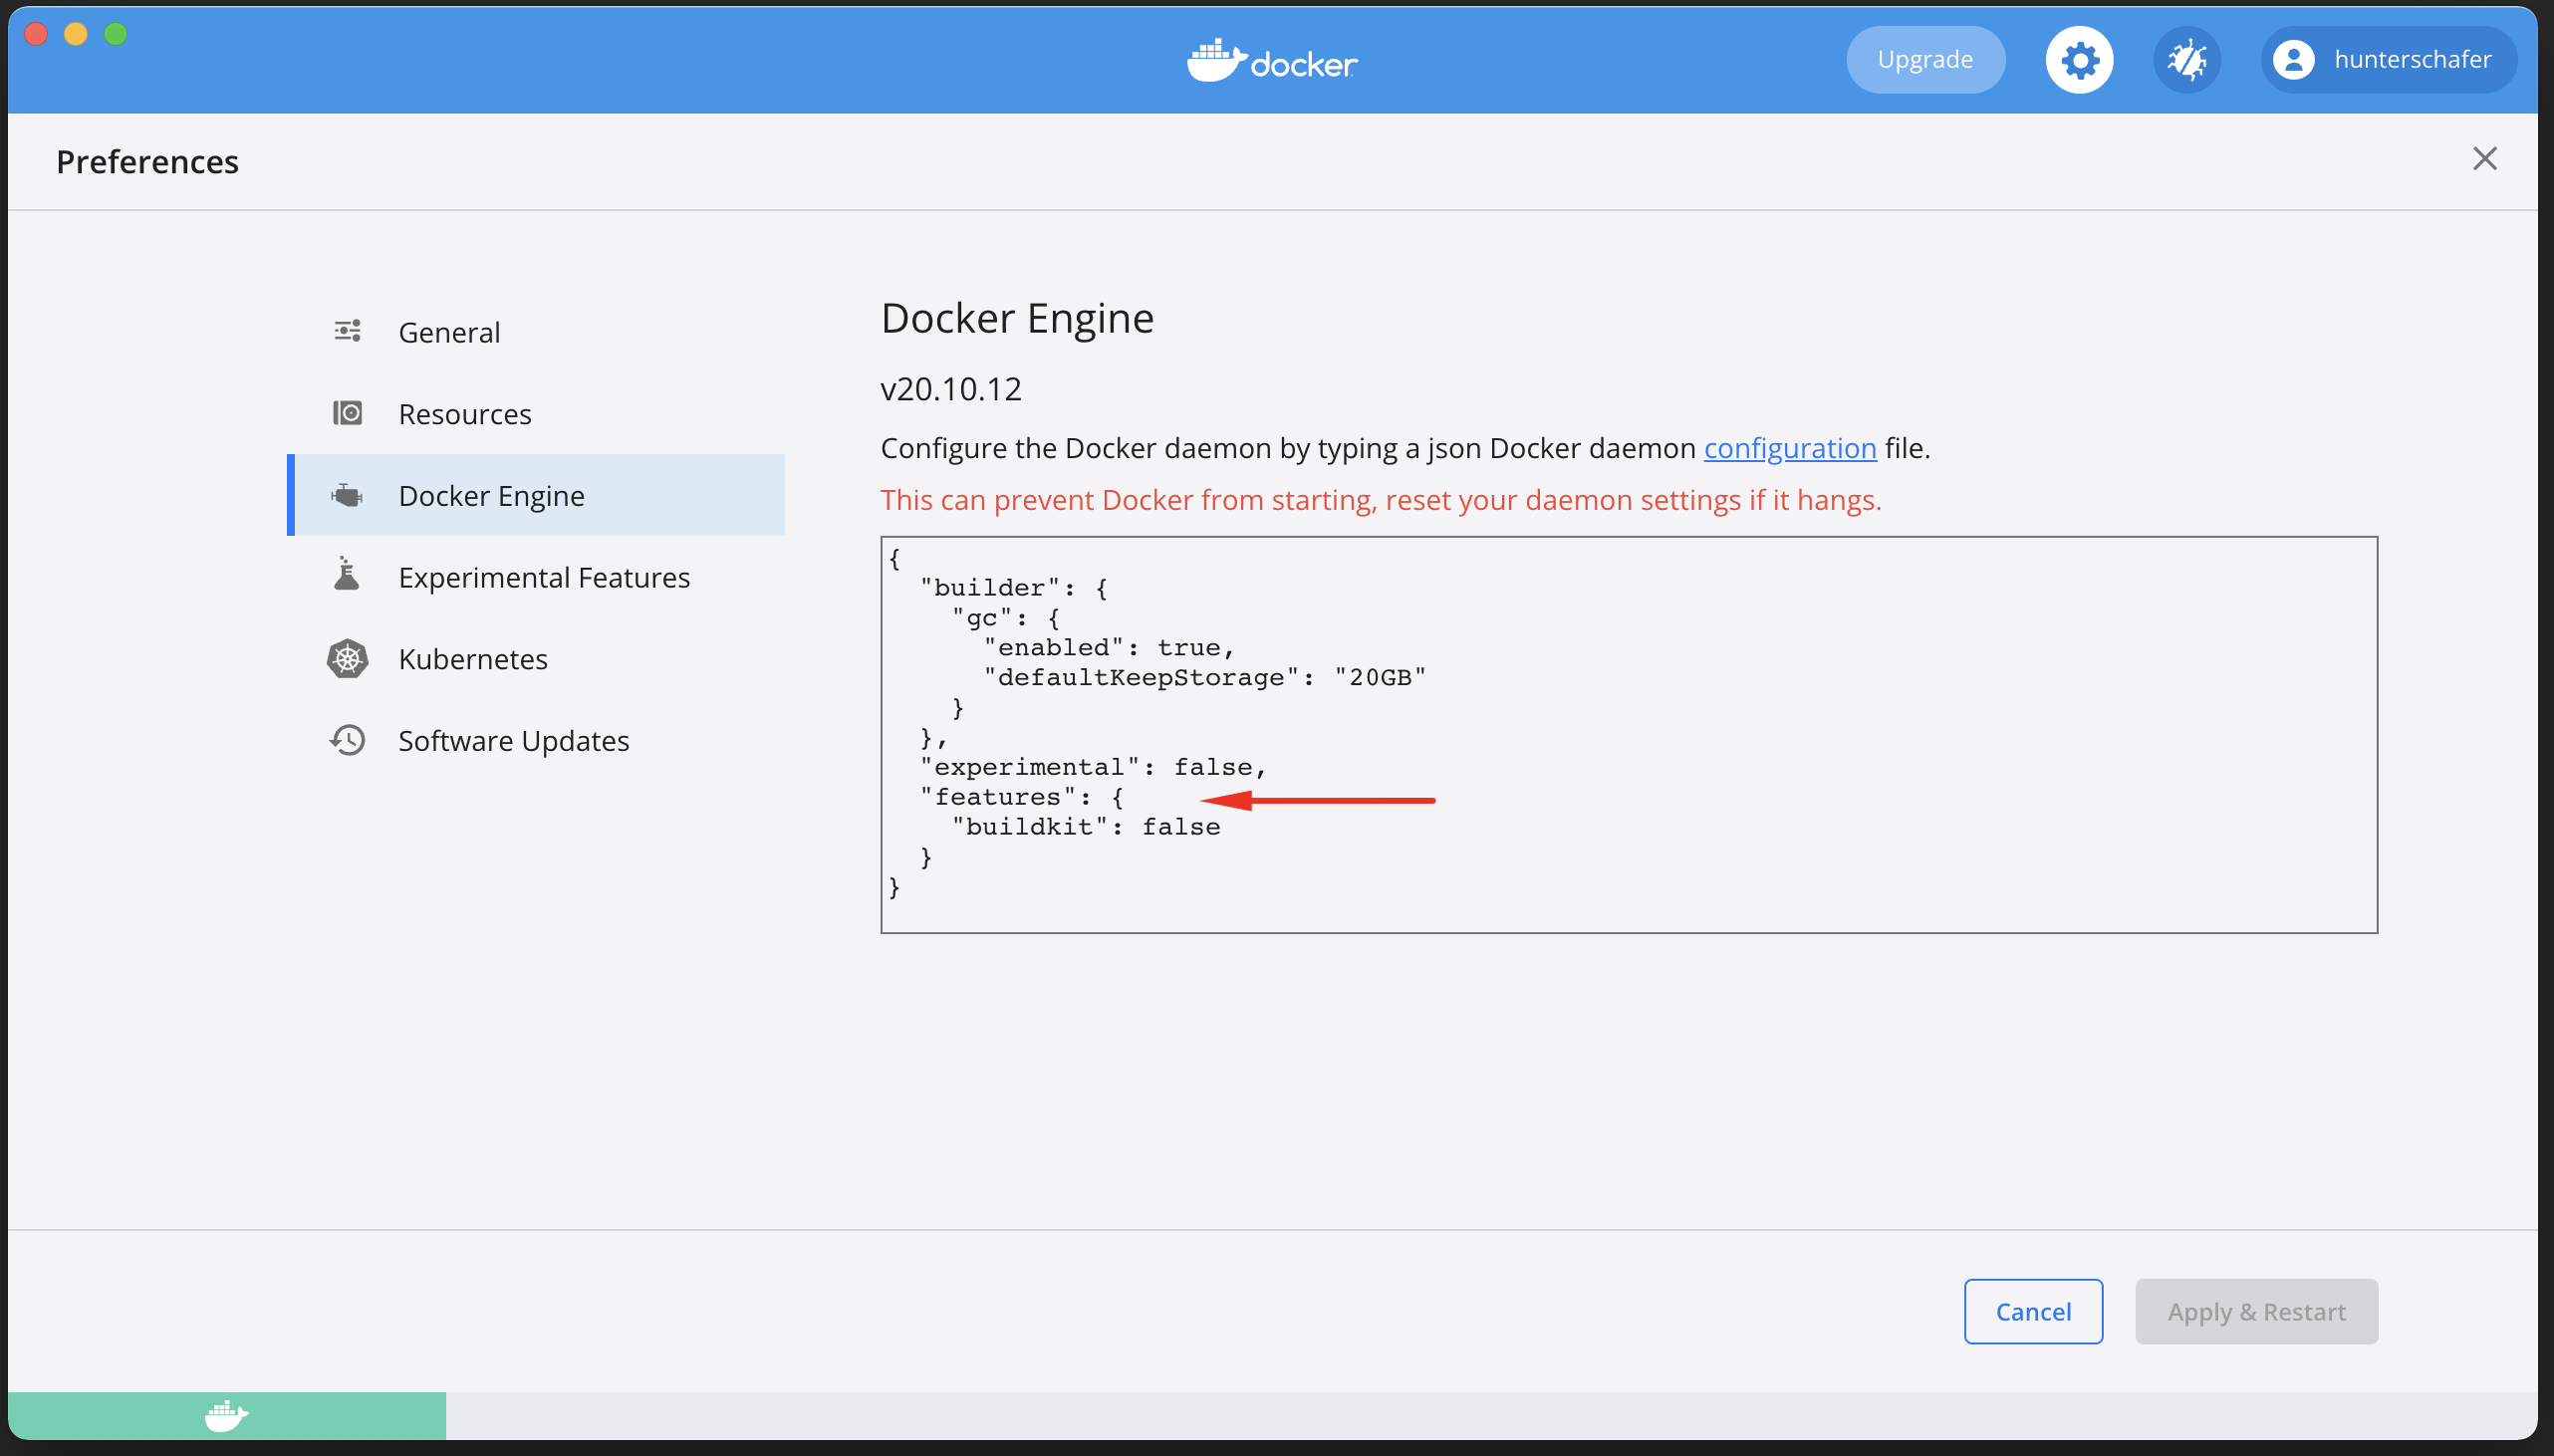
Step 2 - Set Up Visual Studio Code
Step 2a - Install Visual Studio Code
Go to Visual Studio Code's website and install the IDE for whichever operating system you own.
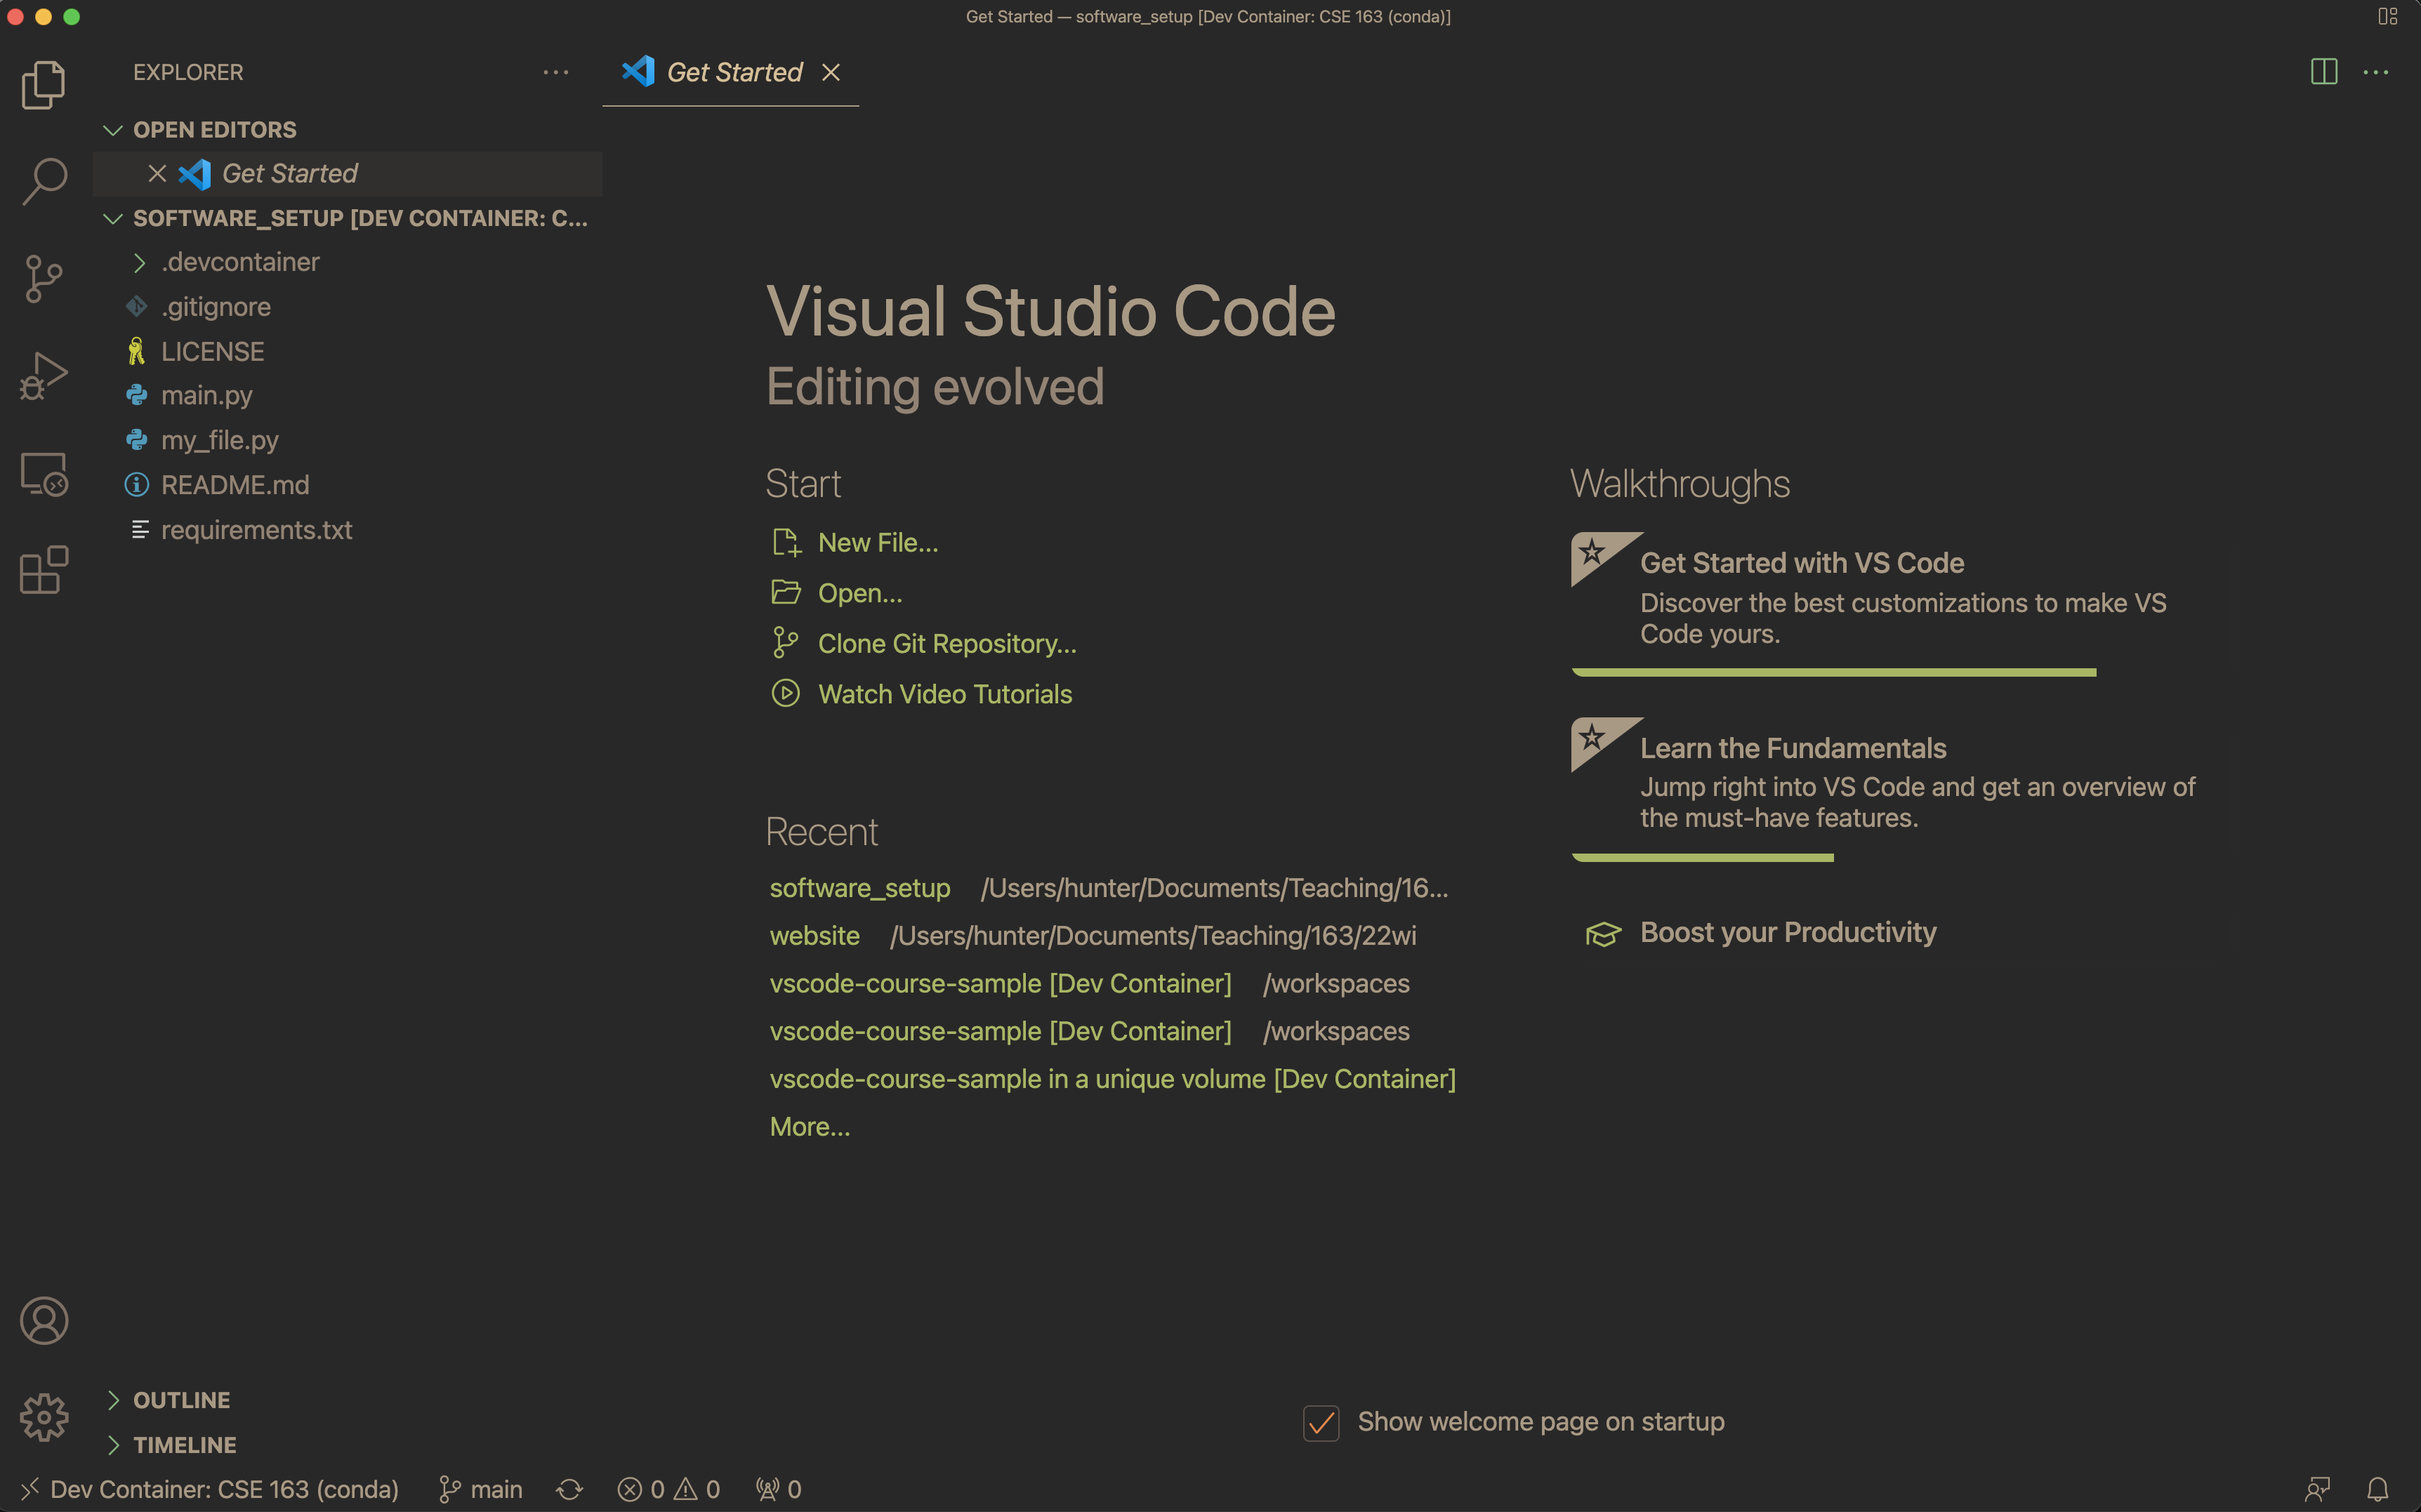
Once installed, you should open the Visual Studio Code application and should see a screen like below. You should click the Python link circled in red to install the VSCode Python plugins 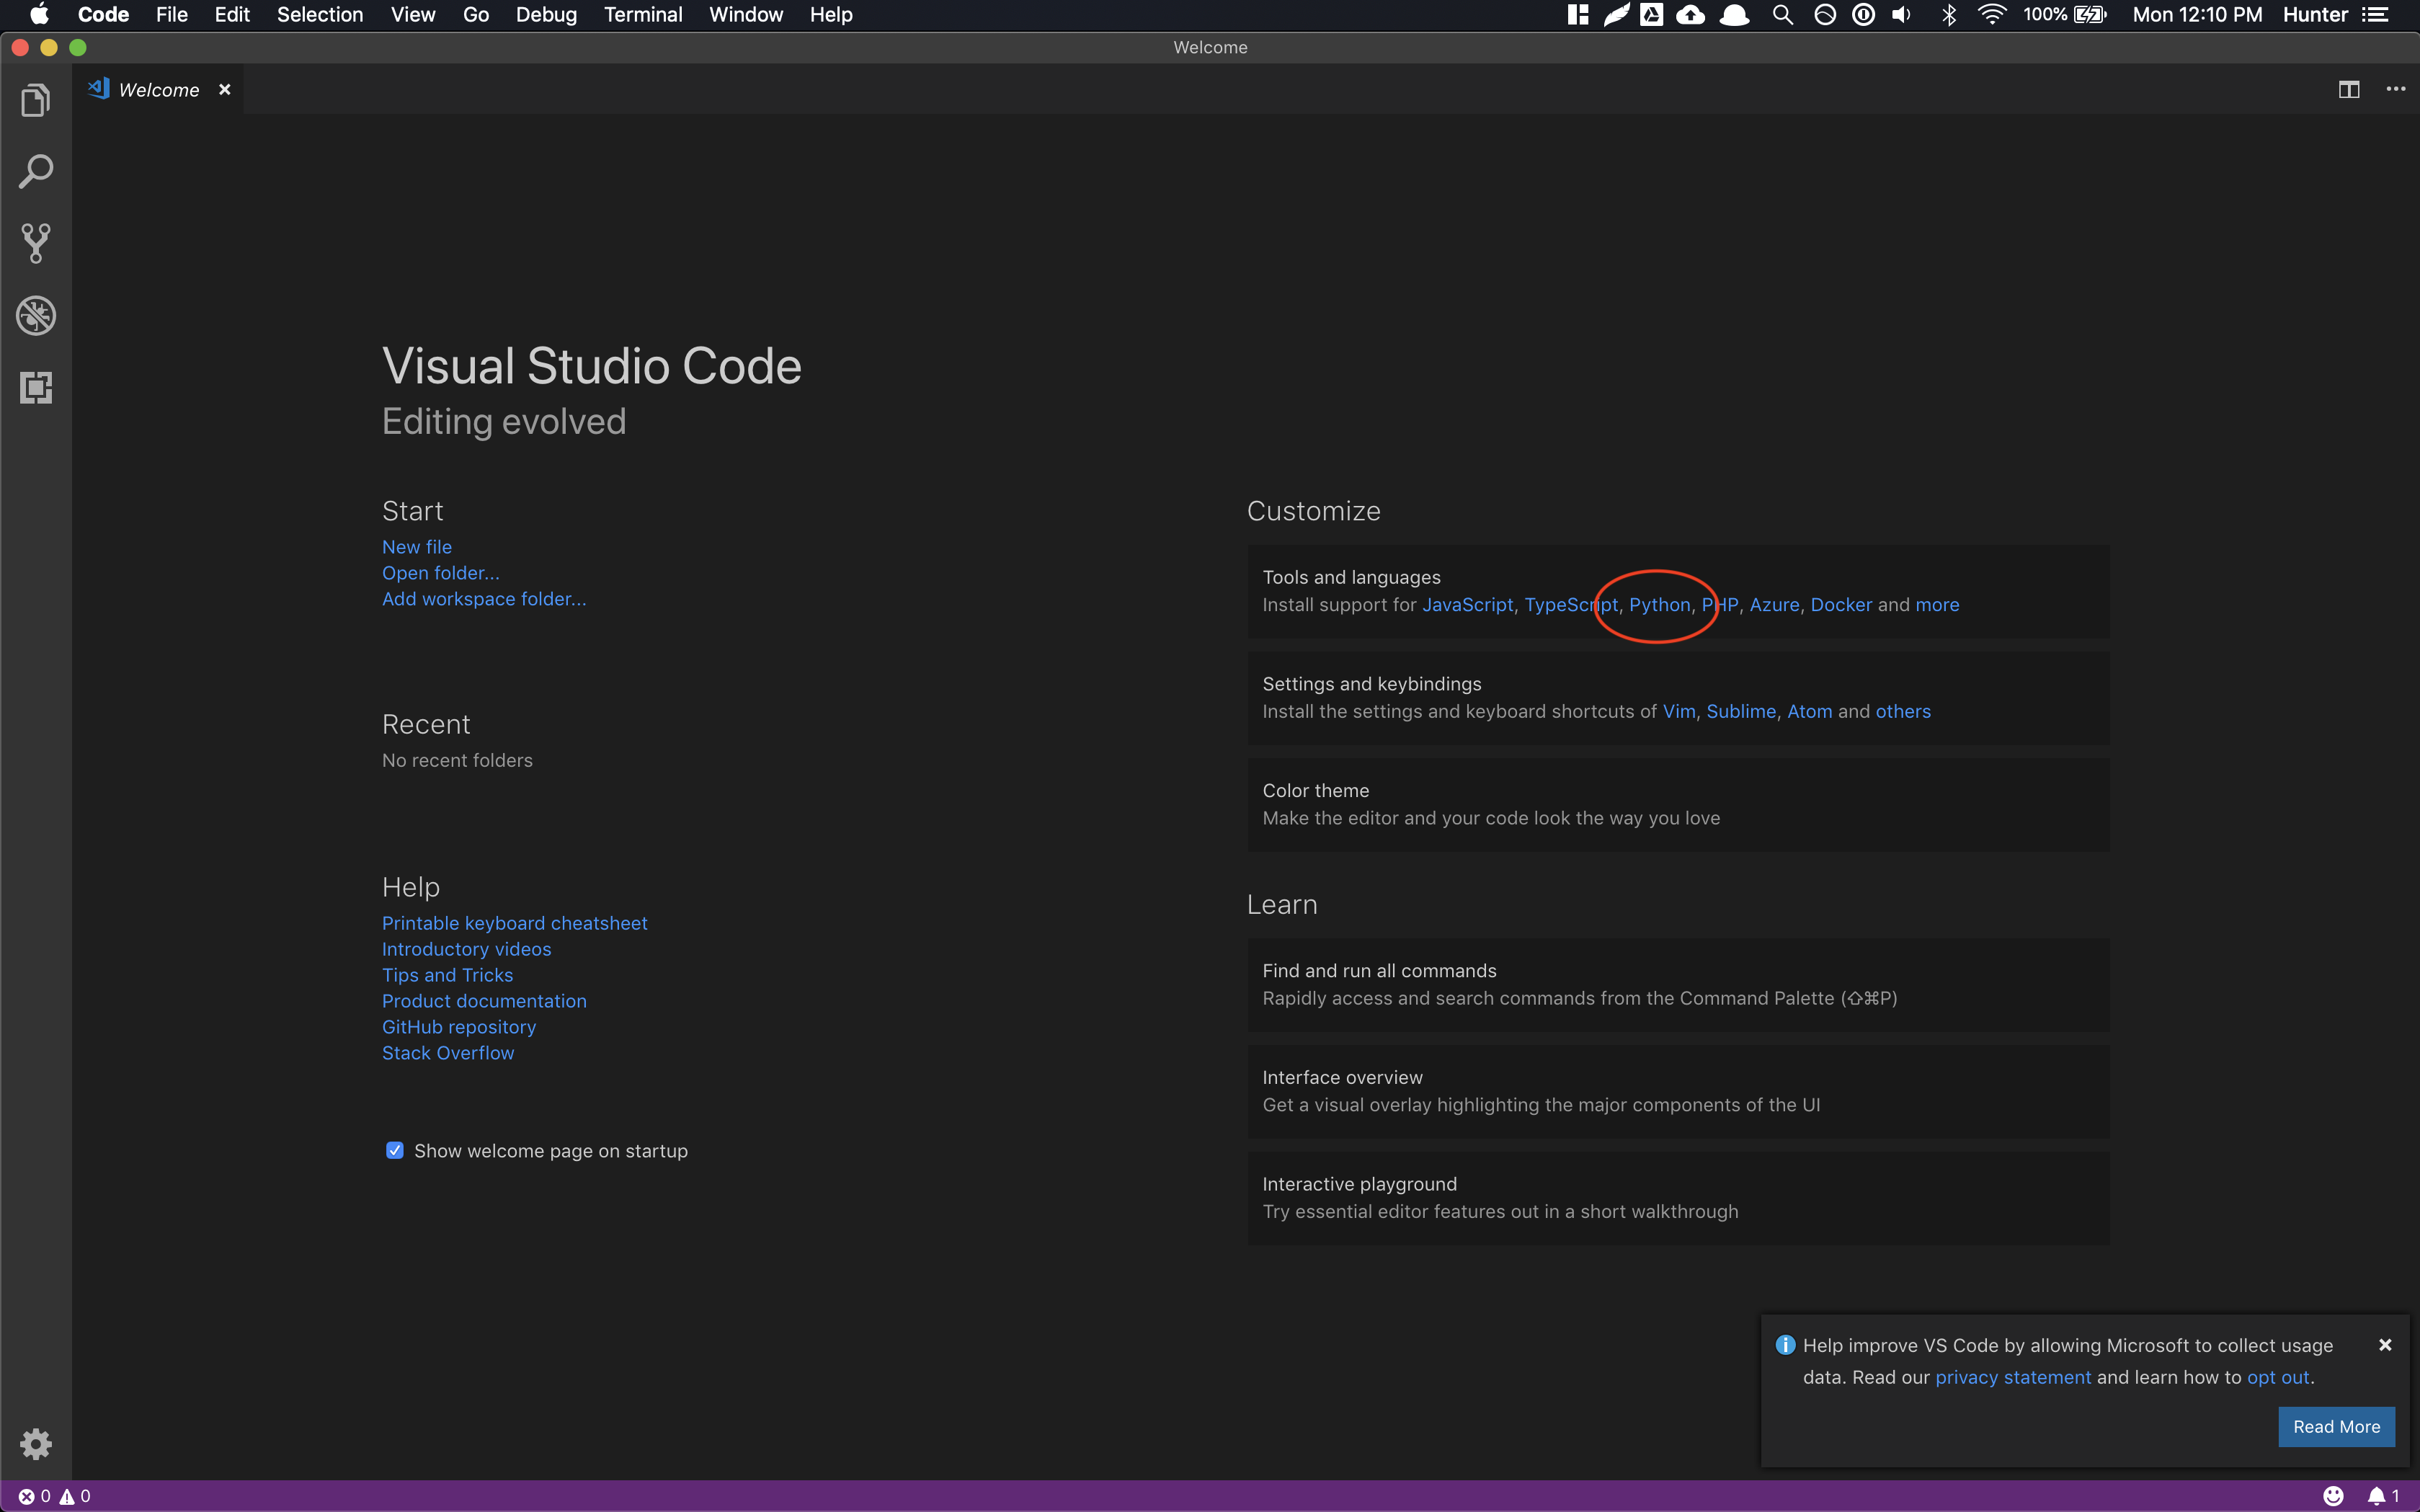
Step 2b - Install - Remote Containers
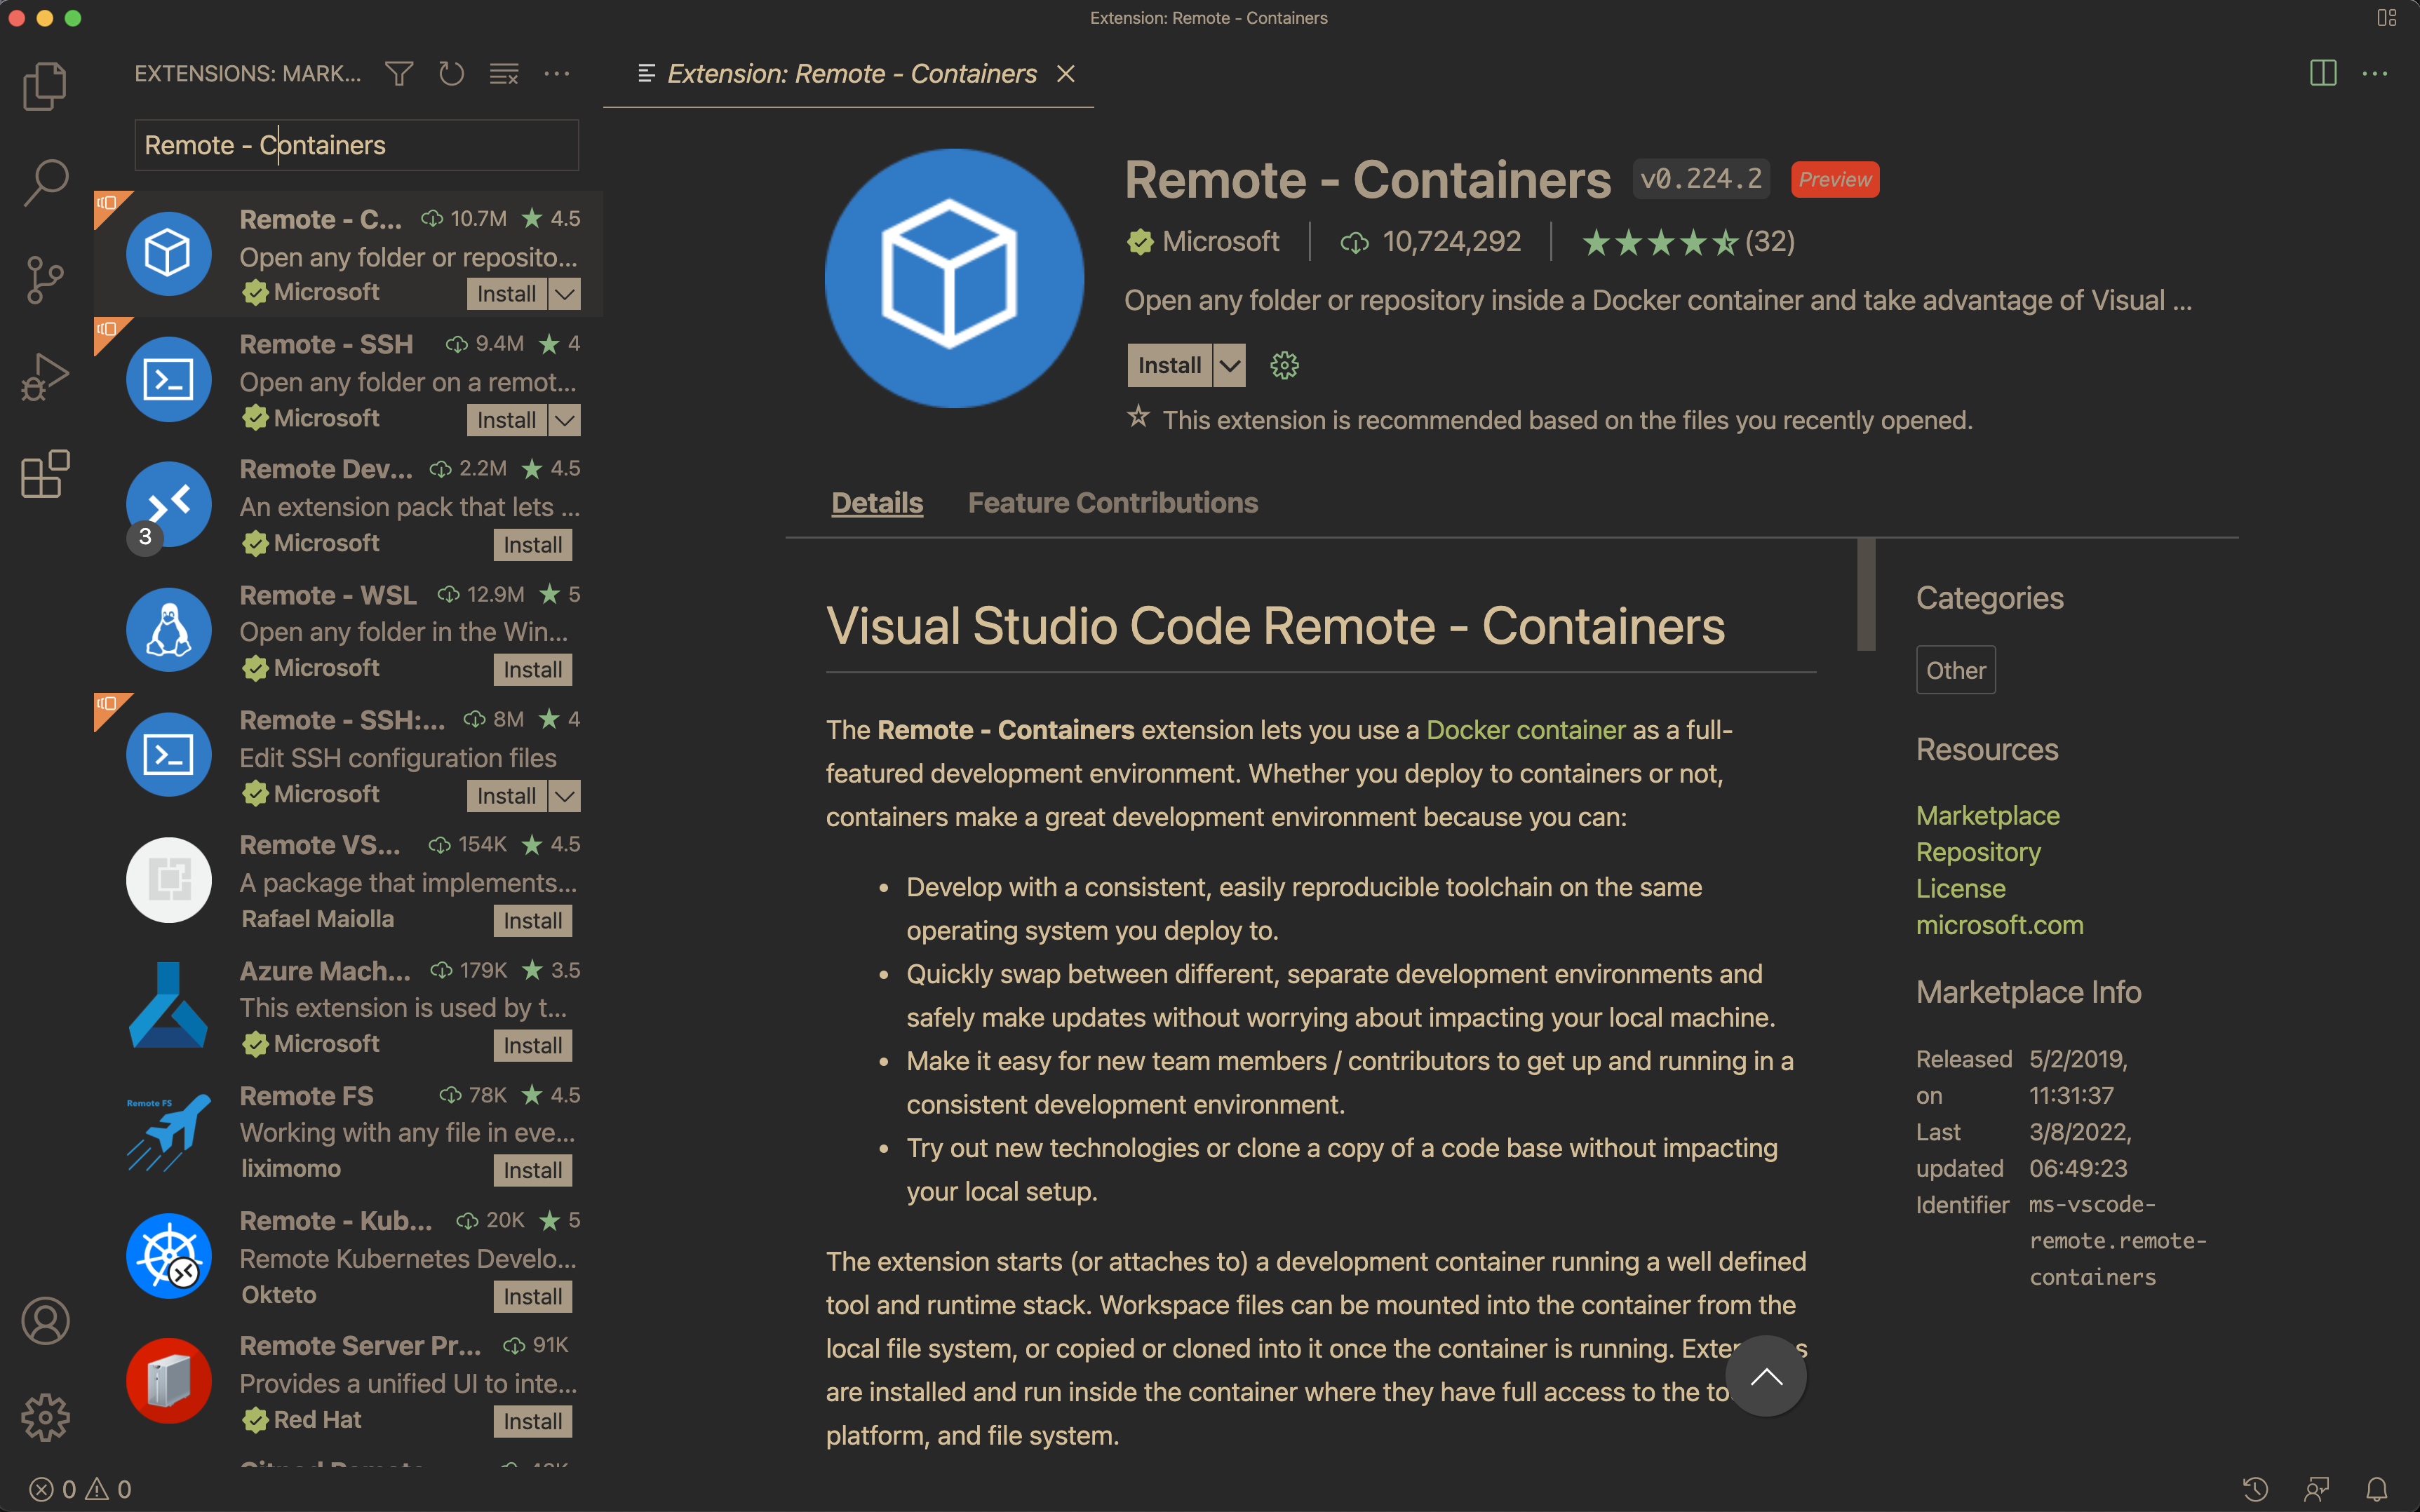
Click on the Plugins button (the 4 squares on the left), and search for "Remote - Containers" (see below). Install the plugin. VSCode might need to be reopened for the change to take effect.
Step 3 - Install CSE 163 Environment
Now that the Remote - Containers extension is installed, there should now be a new button on the bottom-left of your VS Code for the remote menu (see image below.)
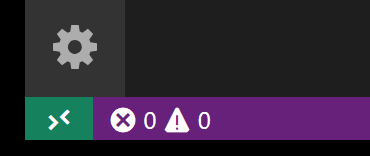
Click this remote menu button and a prompt will appear near the top of the screen. Type/Select "Clone Repository in Container Volume...". This will prompt you to type in the name of a source repository. Copy/paste the following URL into this prompt: https://github.com/cse163/software_setup. This will start the process of seting up the environment. This will take some time, but once it is done you should see some Python files on the left-hand side of the screen as well as the enviornment name "Dev Container: CSE 163 (conda)" in the bottom-left corner.
Step 4 - Run a Python Program
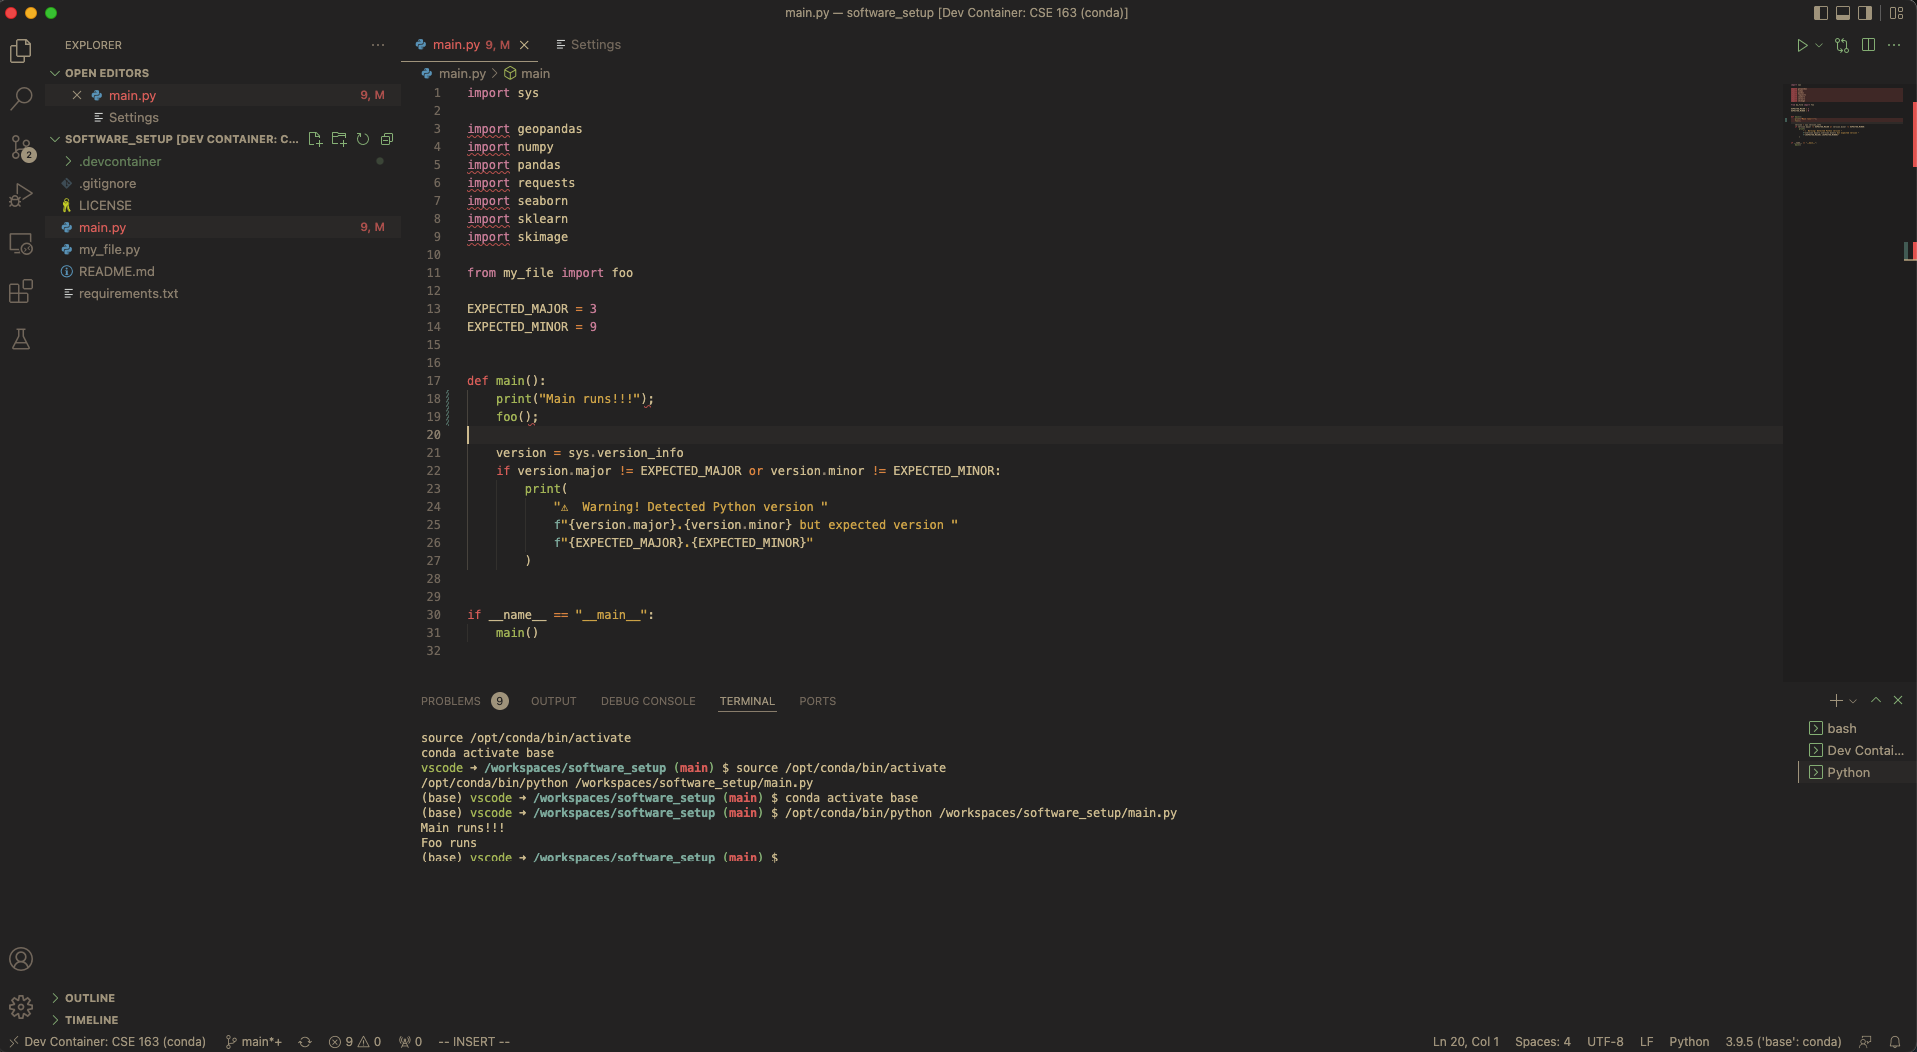
Open main.py, in VS Code and run it. To run the program, right click on the file contents in the editor and select "Run Python File in Terminal". The first time you run the program, it will take a long time to build the environment; it is expected for this process to take 10 or more minutes for the first time. Future times running the program will be much faster. If it runs successfully, you will will see the following output.
Main runs
Foo runs
Step 5 - Verify flake8 works
There should be multiple style warnings from flake8 (seen with the error count at the bottom, or the red squiggly lines in the editor) from the fact that we used semi-colons to end lines 18 and 19 and had imports that were unused. For this exercise, you should leave the unused imports in the code but you should delete those semi-colons and save the file to rerun flake8 and verify those errors should go away.
Set Up Your Own Project
Now that you have finished the setup from the last step, you now have the ability to work on your own projects on your computer! You likely won't use this specific workspace you setup, but in the next section, we will show you how to make your own project and use this Python setup.
Step 1 - Make a Folder for your Project
Somewhere on your computer, make a folder for your project wherever you normally store things like your homework (i.e., make project folder where you store any files for CSE 163). Use File Explorer for Windows or Finder or Mac to do so. Make note of where you made this folder since any files you will download should go here.
Step 2 - Download Dev Environment
Getting the CSE 163 Python Environment for your project is easy! Just download this .devcontainer zip file to the directory you just made and unzip it. This contains all of the configuration files for our environment, including the Python libraries to install and the configuration for VS Code Remote - Containers. When you unzip this file you should see a file called requirements.txt in the folder you made.
Some operating systems will make a subfolder for the unzipped contents when we wanted it to go into the folder you made. You can either drag the requirements.txt and .devcontainter folder to your project folder. Alternatively, you can open your project folder in VS Code and copy/paste the filenames and content for requirements.txt and all of the files in .devcontainer (inside a directory called .devcontainer) manually from here.
Step 3 - Open Folder in VS Code
- Open VS Code.
- In the top-menu, select
File > Open Folder...and open the folder your made for your project. If you had a previous VS Code workspace open, you might need to selectFile > New Windowfirst. - Click the Remote - Container icon in the bottom-left to open the prompt menu. Select
Reopen in Containerand the new container will build. As a reminder, the first time doing this in a session will take some time.
Step 4 - Work on your project!
At this point, you should have a functioning Python environment for your project! You can make new Python files in VS Code, download your data to your folder from your browser, and any other feature you want.
Do note that the "cost" of having an easier setup with Remote - Containers is the startup time for some commands will be slightly longer. If your VS Code gets into a state that it is not responding or you aren't able to run your Python file, you can always use the Remote - Container button at the bottom and select the opption for Rebuild Container.
Frequently Asked Questions (FAQ)
- Q: I can't run anything in the terminal in VSCode, what do I do?
A: It's likely that your program crashed due to an error interpreting your code. If you wrote the incorrect syntax, Python crashes but does not exit which will cause errors if you try clicking the "Run in Terminal" button again. To fix this, you must exit the Python interpreter by clicking on the terminal prompt and typing in
Ctrl-Dto exit. Once you do this, you should be able to re-run your program.Tip: I commonly only use "Run in Terminal" only once to generate the proper command, and then I will always just use the terminal to run by pressing the "up" key to get the previous command. This way, you won't forget to exit the Python shell since you actually have to work with that shell. This is not necessary, but something that has helped me avoid this bug.
If you are completely unable to get the environment setup, we have a set of alternate instructions that can be found here and if that doesn't work, another set of altenrate instructions here.