Instructions for setting up software for this class can be found here. You will need this for the take-home assessments!
Preface: Getting a development environment set up is easily one of the most frustrating things about being a programmer, so it’s okay if this process doesn’t go smoothly! If you run into troubles along the way, please make sure to post on the message board, come to office hours, or just Google around to see if you can solve the problem on your own!
Install Anaconda
If you already have Anaconda 3 installed with a version of Python before 3.13: You should open a terminal or command prompt and run the commands:
conda update condaconda install python=3.13You may then skip this step after you have updated Python to version 3.13.
- Go to Anaconda’s website. You will find a “Download Now” box with a green “Get Started” button. Click on this button.

If prompted to make an account, follow the steps to sign up for Anaconda. There is unfortunately no way around this, but signing up is free and you can always unsubscribe from marketing emails.
Once you have created an account, you will be taken to a “Choose Your Download” page:
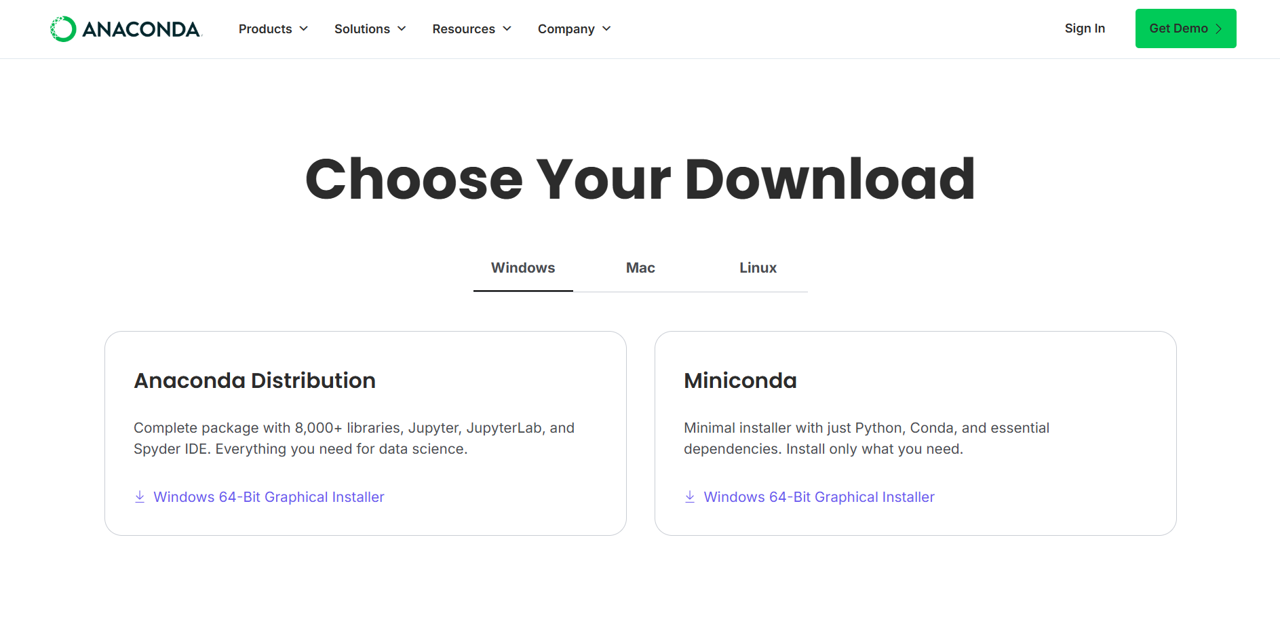
Find the Anaconda option for your operating system and click on the download icon. Note, if given the option, choose the Graphical Installer.
If you do not see the Anaconda option for your operating system, skip ahead to the Miniconda Installation Instructions. Otherwise, continue with step 2.
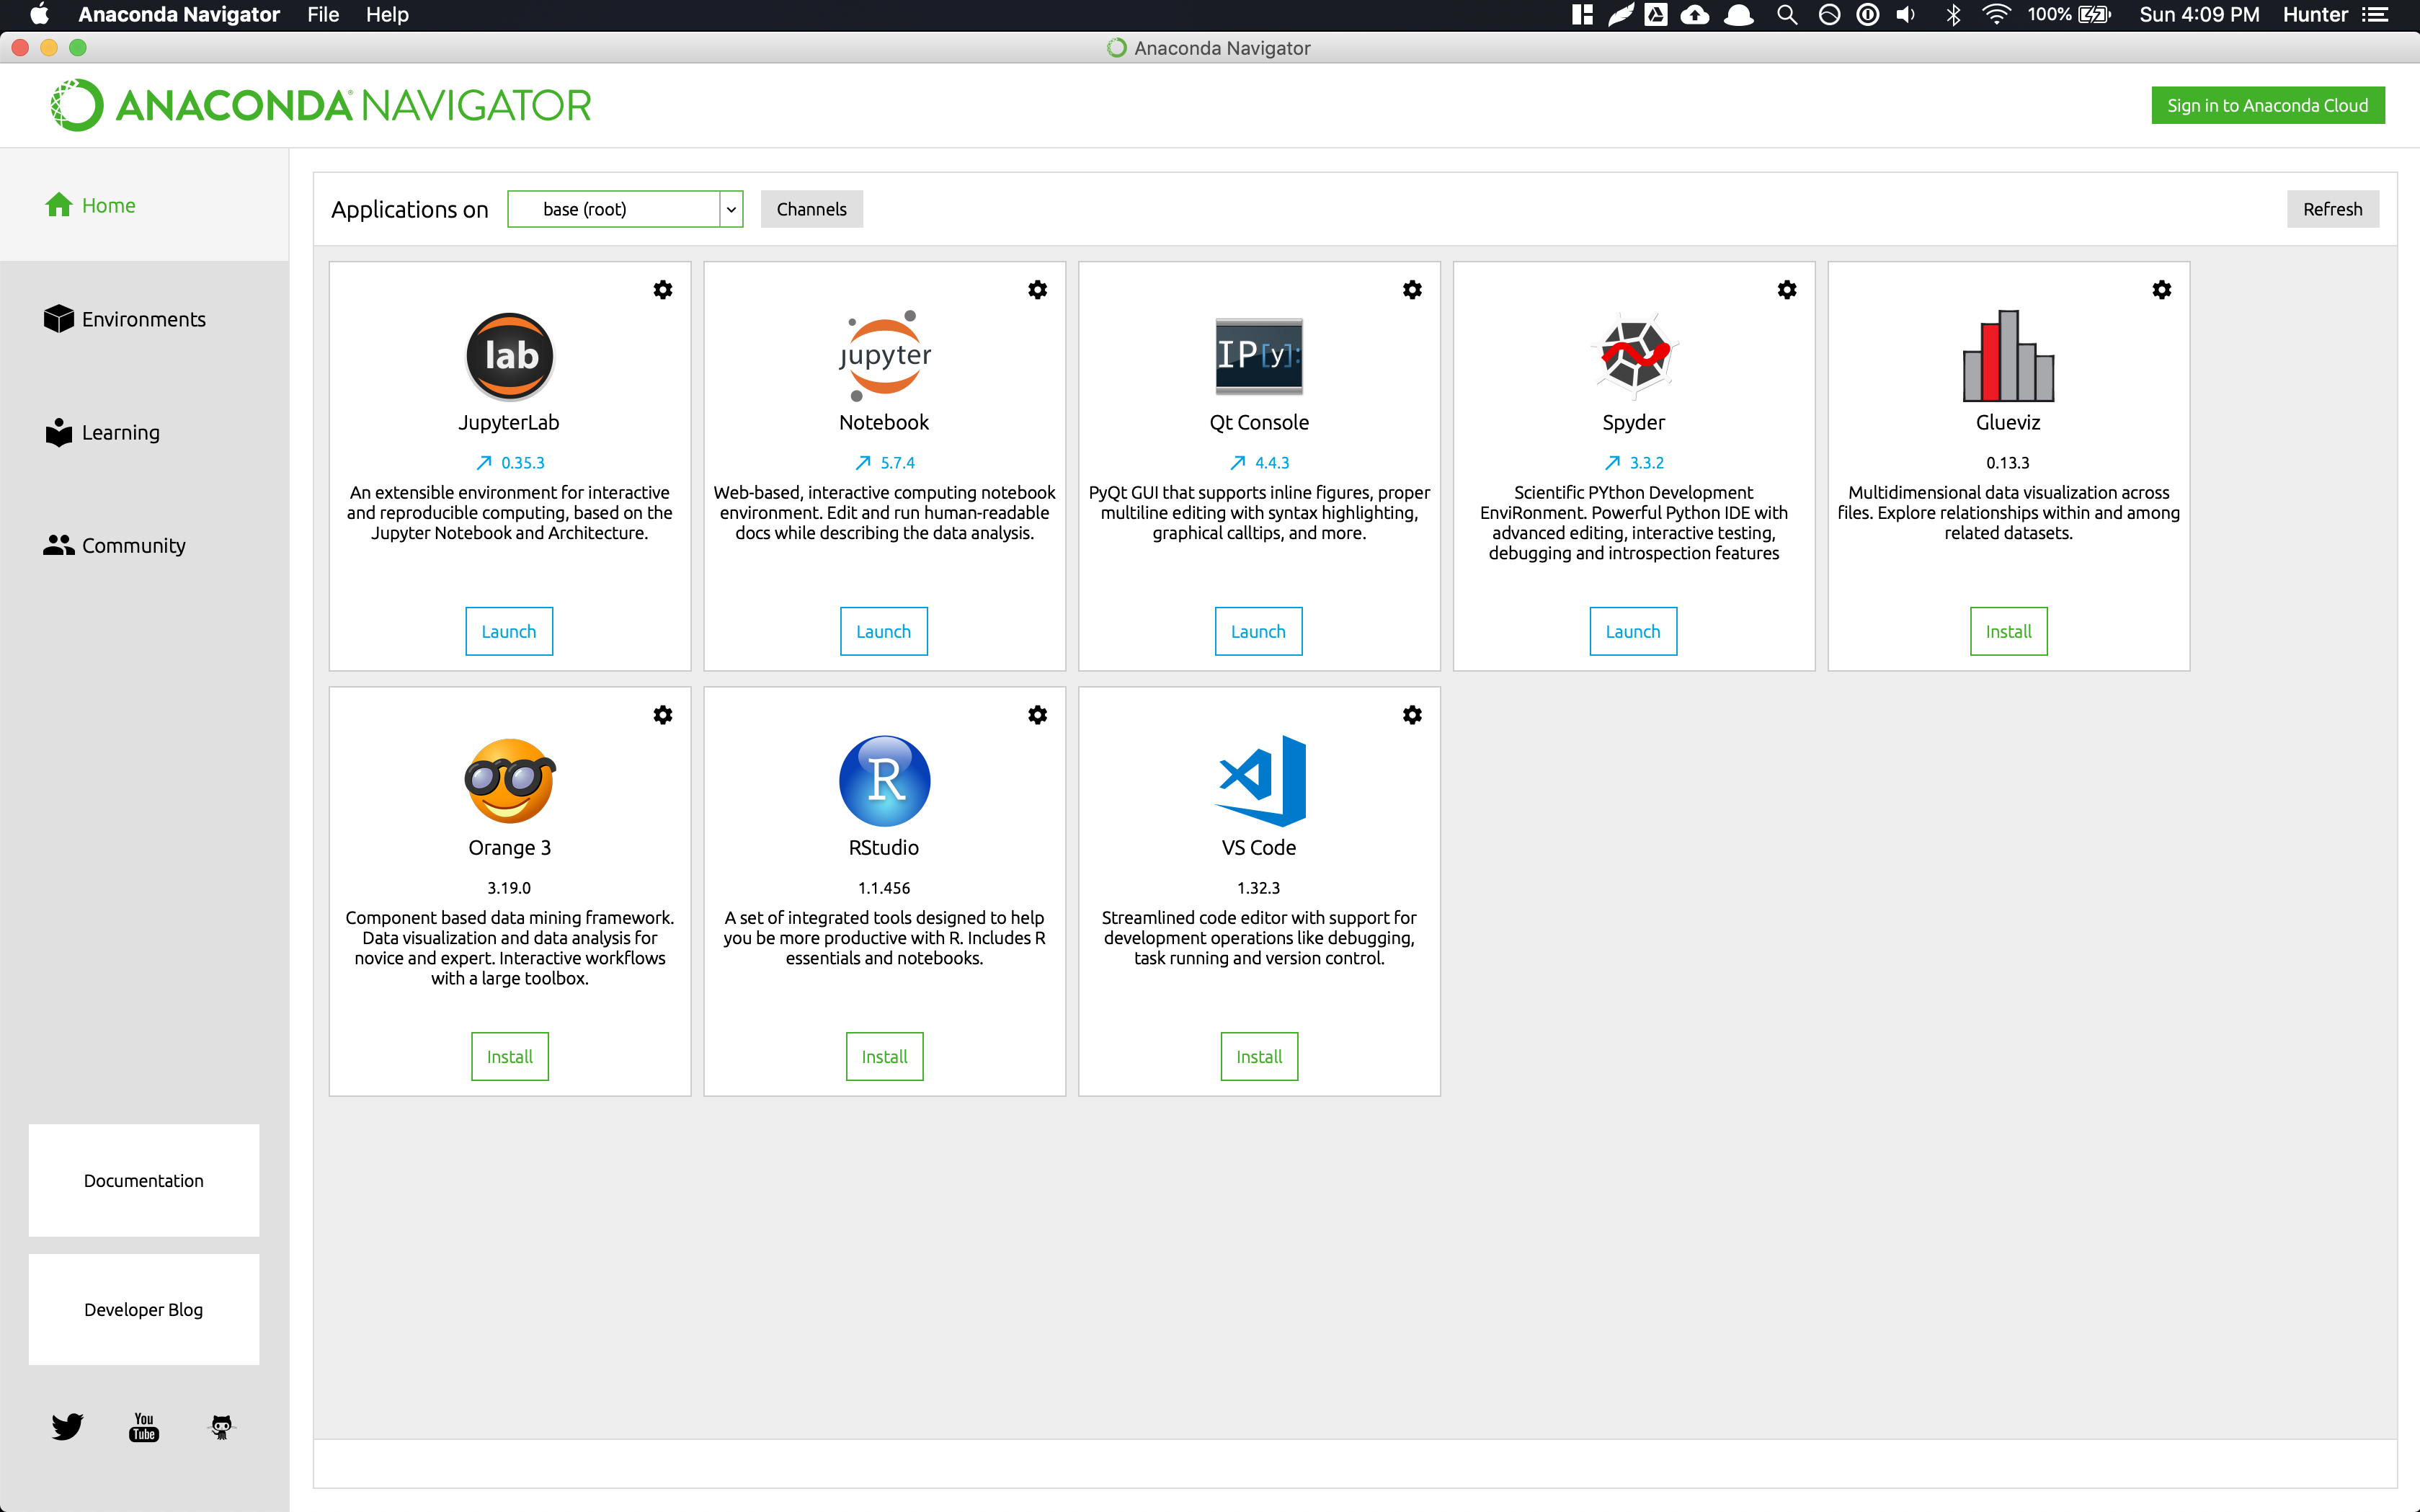
- Once installed, open the Anaconda navigator application. The home page will have several icons on it:
- Download the 163environment.yml file. This file specifies all of the requisite Python packages and their versions. The location of this file does not matter as long as you remember where you saved it.
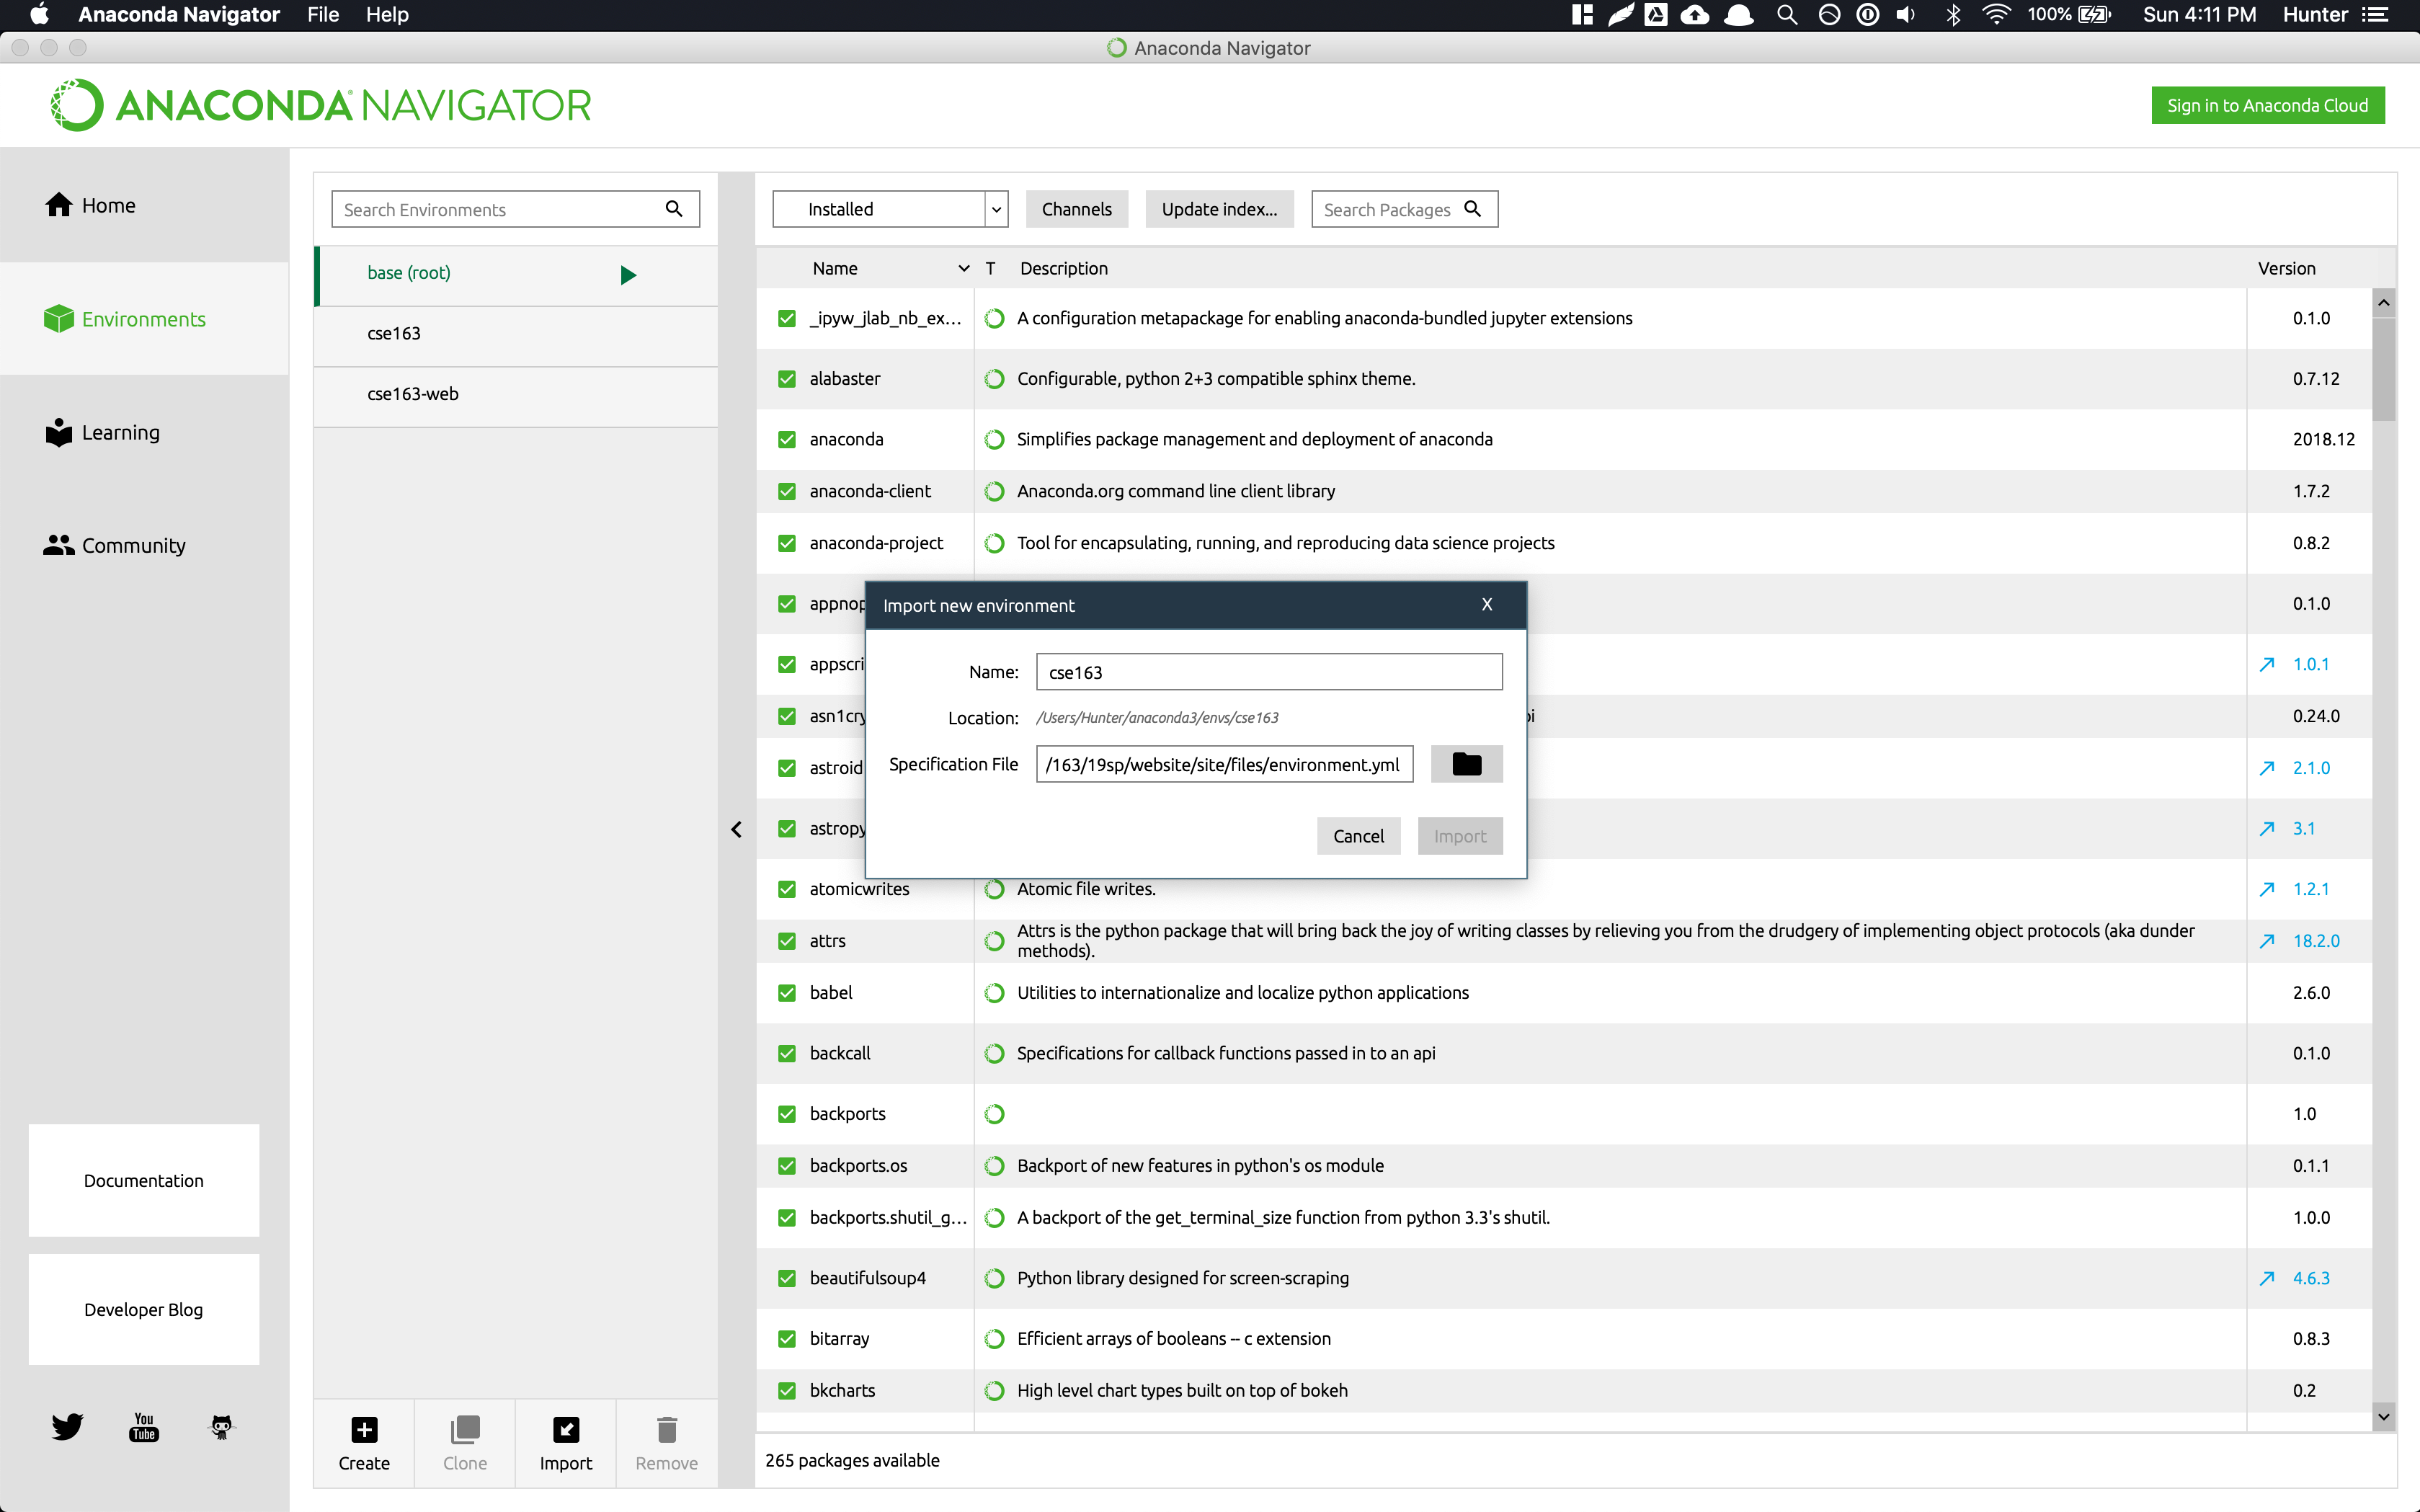
Navigate to the Environments section on the left-hand sidebar, and click the Import button at the bottom. Click on the folder icon, navigate to and select the 163environment.yaml file you downloaded earlier. In the prompt after selecting the environment specification, you should name the environment cse163. Once you have done this and created the environment, it will install all of the necessary packages.
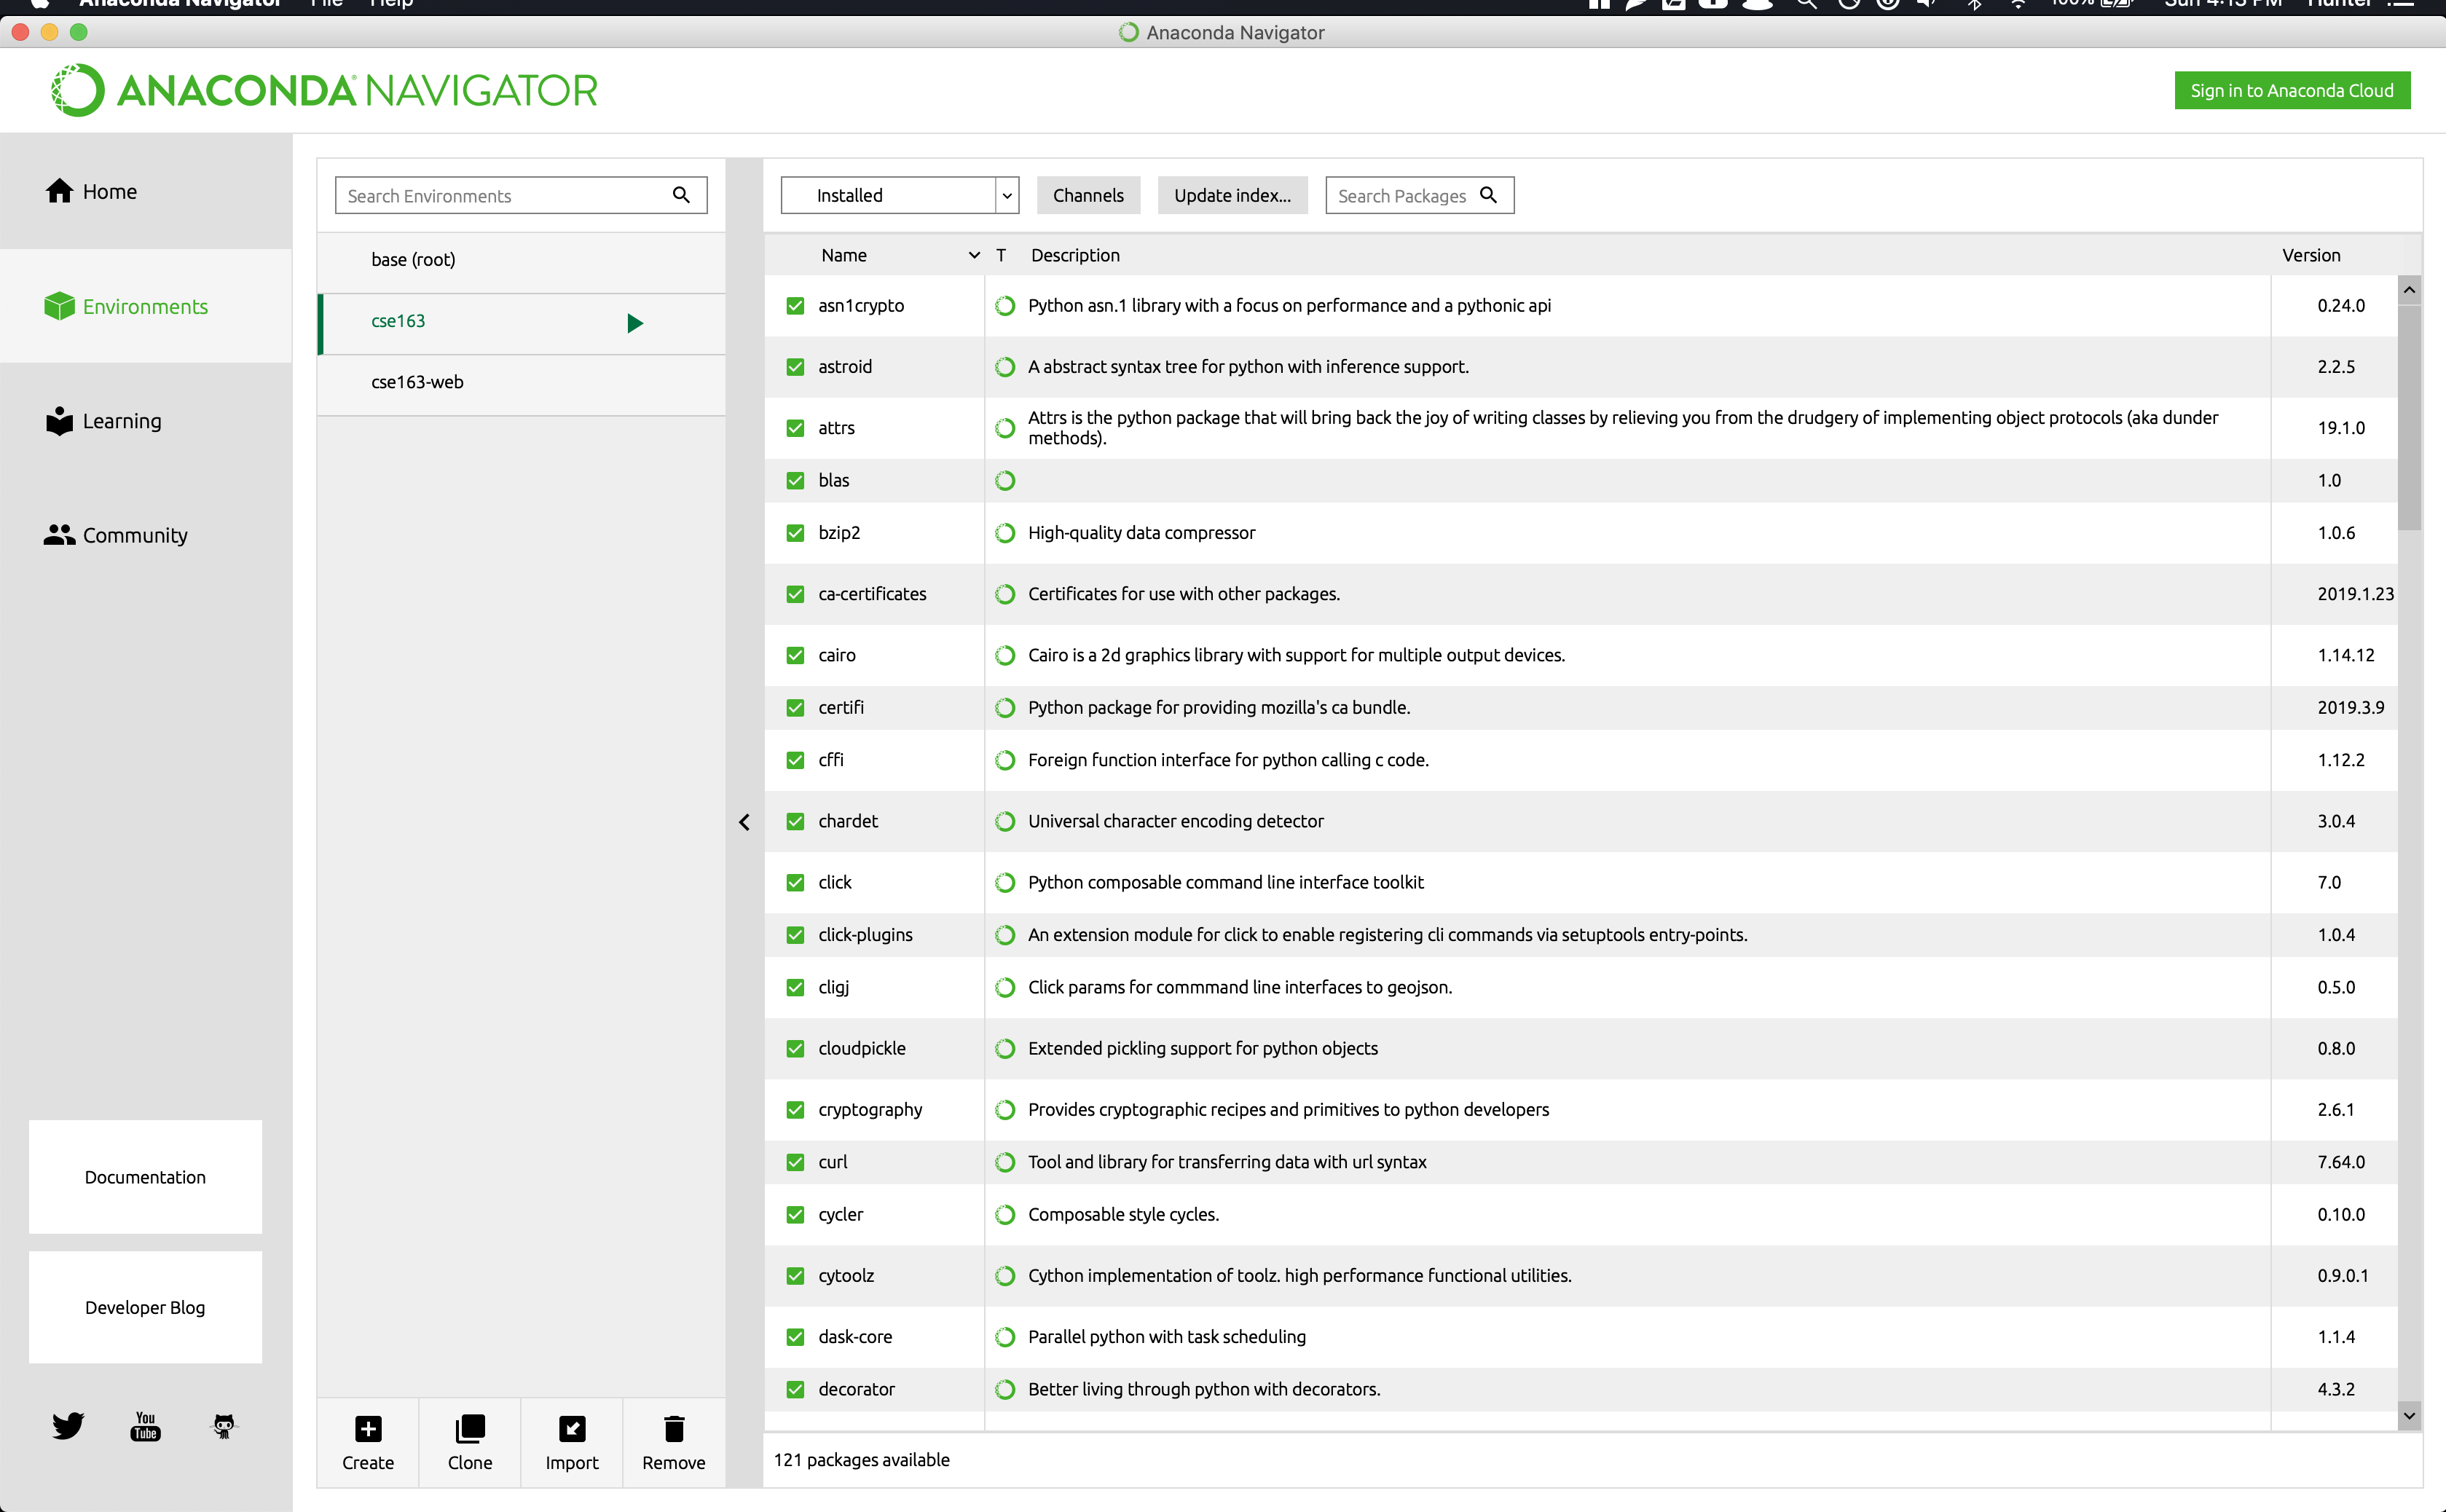
After all the packages have been installed, you will find an environment called cse163. If you select it, will have many packages installed. Clicking on the environment should show you something that looks like a list of Python packages:
Nice work! Skip ahead to Installing VS Code
Miniconda Installation Instructions
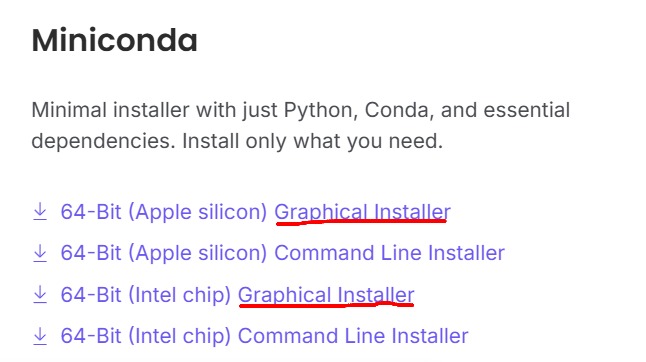
You may optionally install Miniconda if Anaconda is not supported for your operating system (currently, this is the only option for folks who have Macs with Intel chips). Instead of Anaconda, install the Graphical installer for Miniconda.
-
Download the 163environment.yml file.
-
Open a terminal. On a Mac, you can open a terminal through the Terminal app; on Windows, you can use the Command Prompt. Linux machines will use the same commands as a Mac.
-
Type this command into the terminal, and hit return:
conda env create --file=<path to 163environment.yml>
For example,

-
If prompted to accept or say yes at any step, do so with
[a]or[y], respectively. -
Activate the newly created cse163 environment by typing
conda activate <name of env>and hitting return/enter. The(base)at the left of your username should change to(<name of env>). For example:

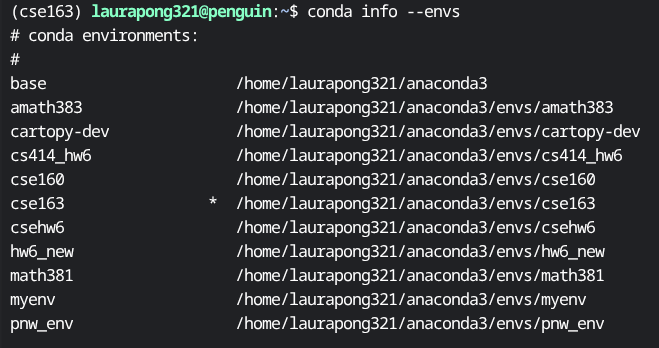
- Success! If you want to verify that you have created the environment, you can type
conda info --envsinto the terminal. Note that thecse163environment has an asterisk (*) next to it when it is activated.
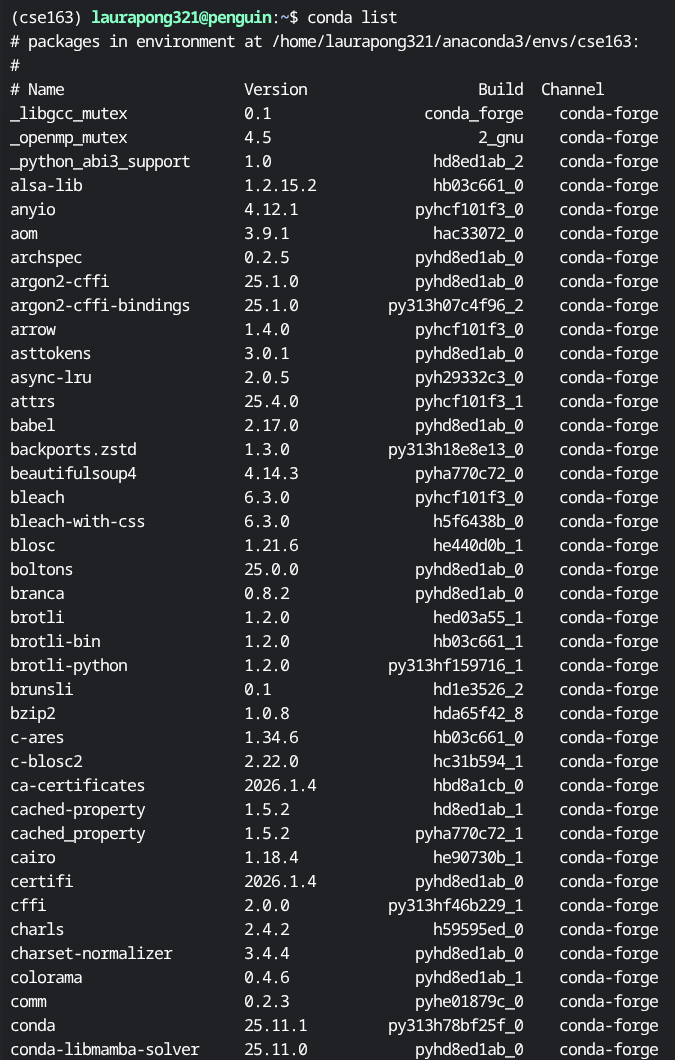
You can also type and enter conda list to verify that there are libraries in your environment:
Nice work! Onward to installing VS Code!
Install VS Code
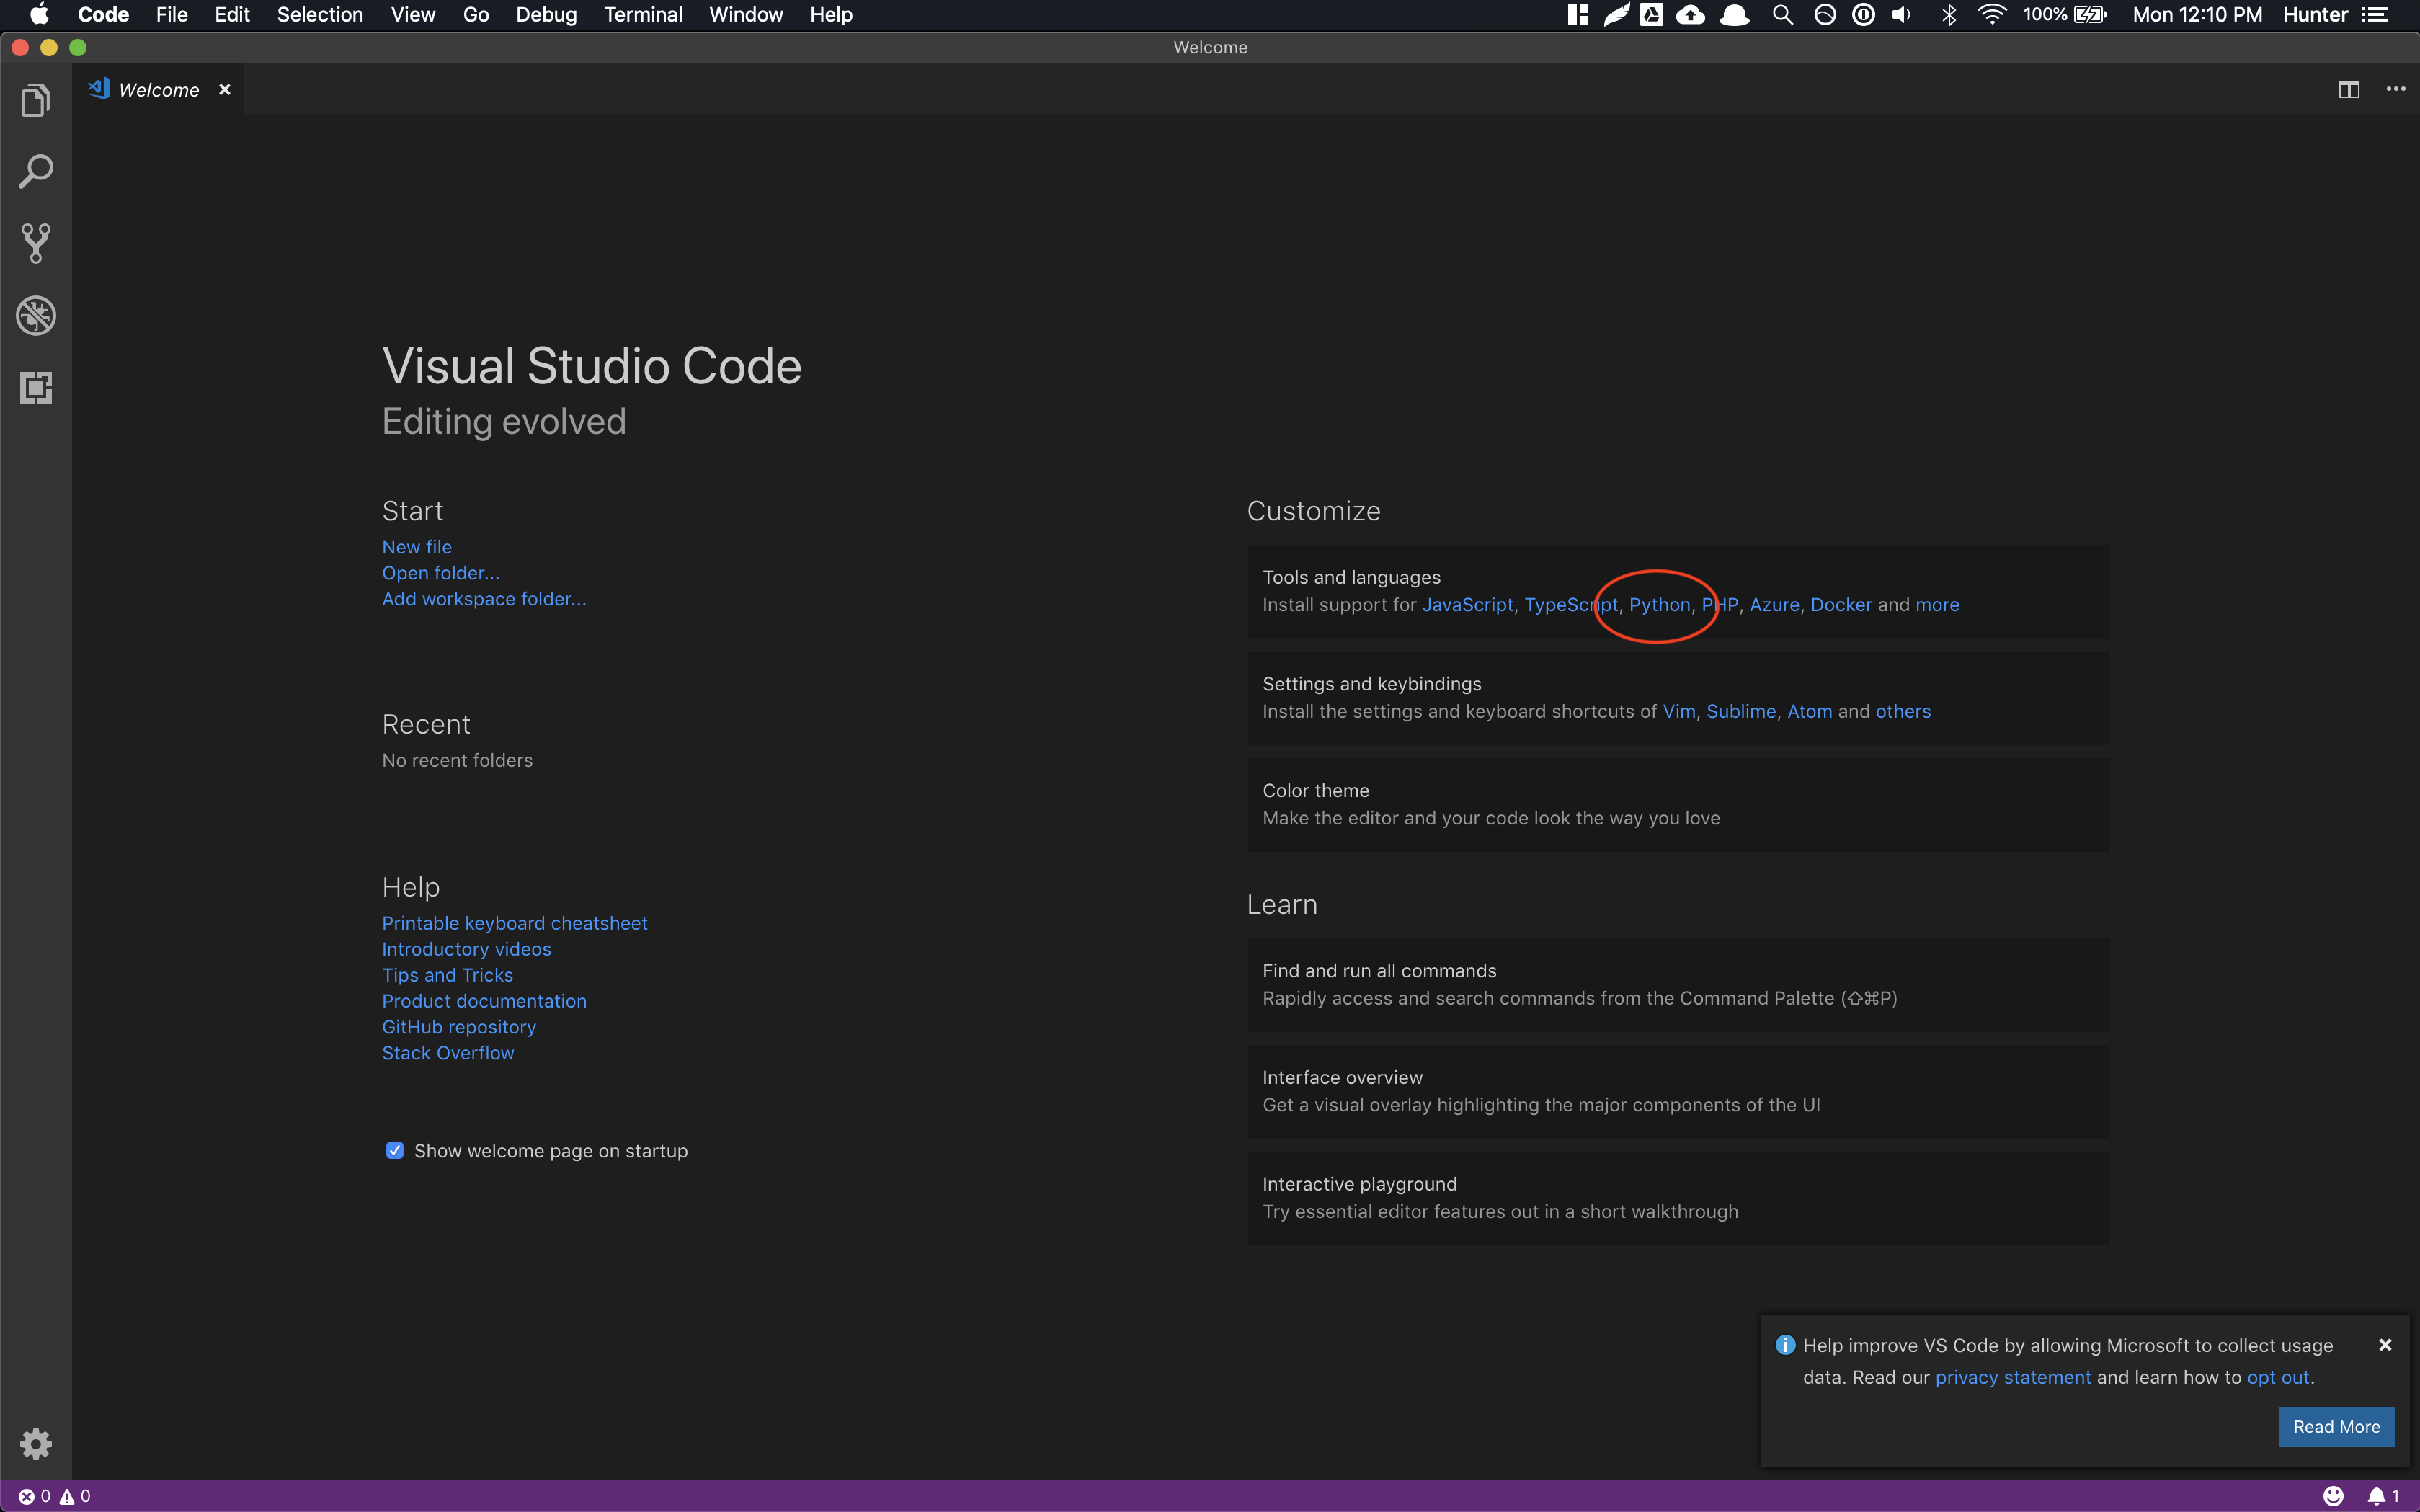
Go to Visual Studio Code’s website and install the IDE for whichever operating system you own. Once installed, you should open the Visual Studio Code application and should see a screen like below. Click the Python link circled in red to install the VSCode Python plugins.
If your landing page does not have an option to select Python as a language, navigate to the VS Code Extensions in the left-hand sidebar. (It’s an icon that resembles four blocks.) Search for “Python” and install/enable the Python extension from Microsoft.
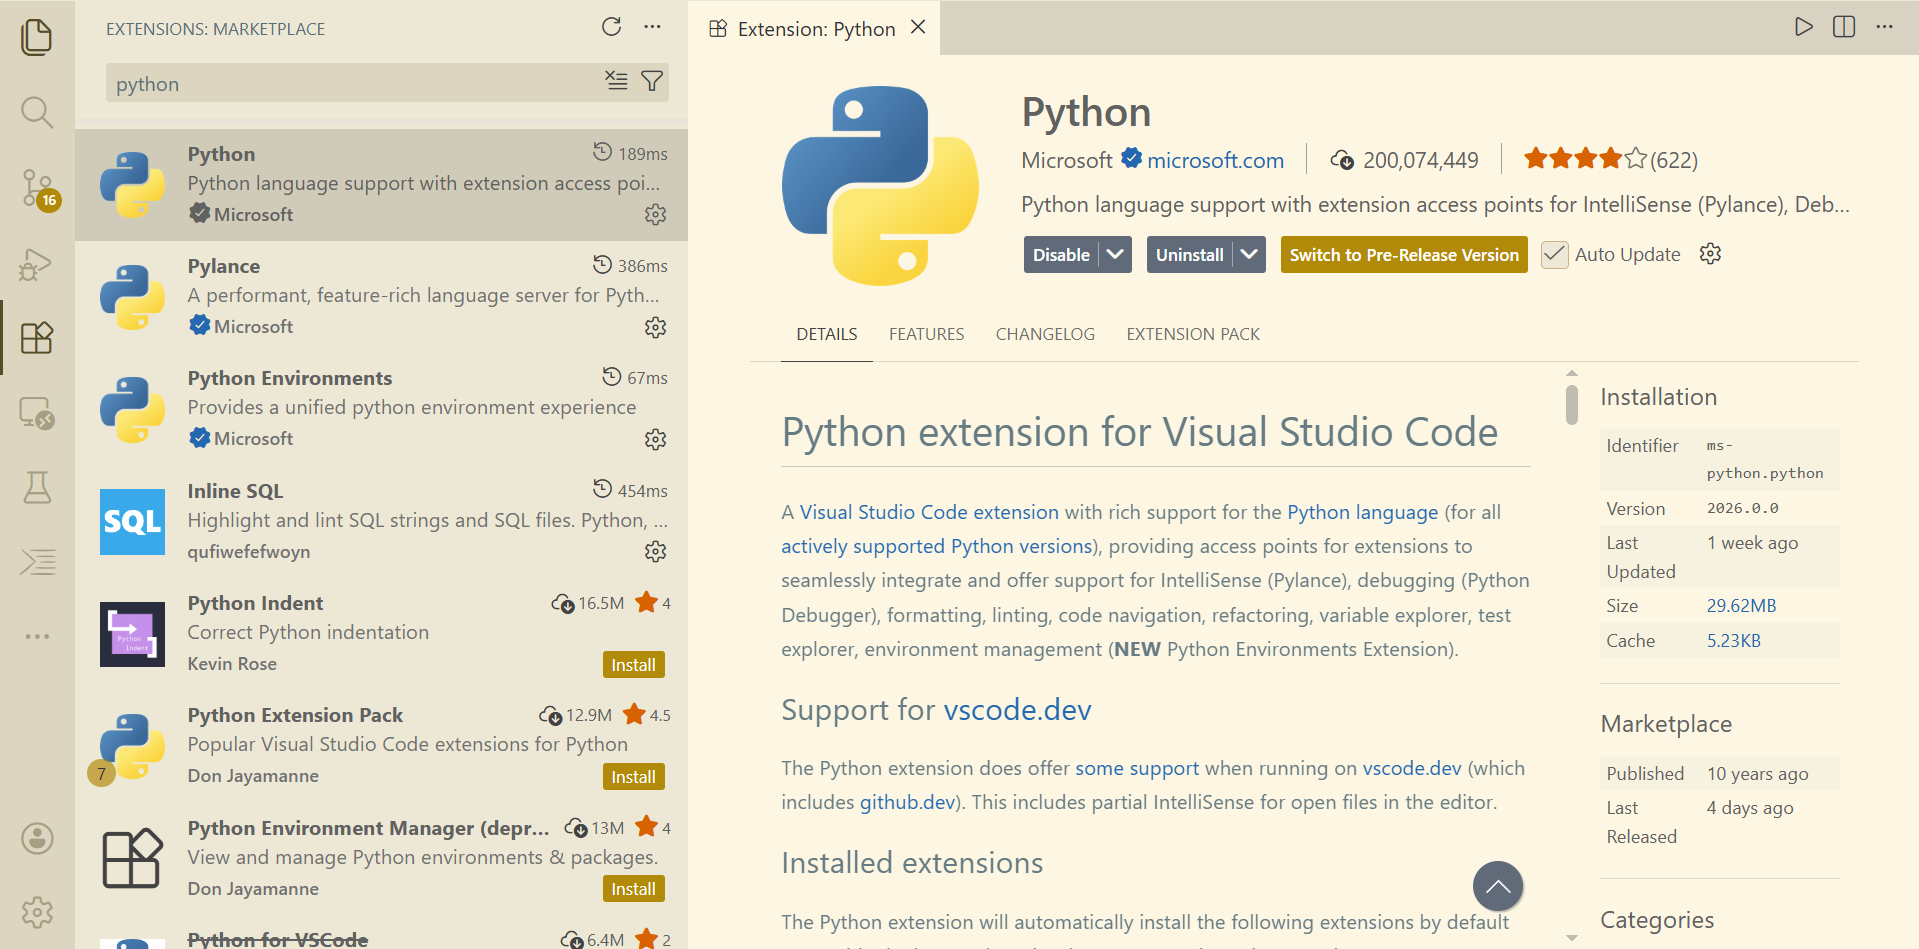
You may optionally install Pylance and Python Environments (also from Microsoft), but they are not needed for this class.
Installing flake8
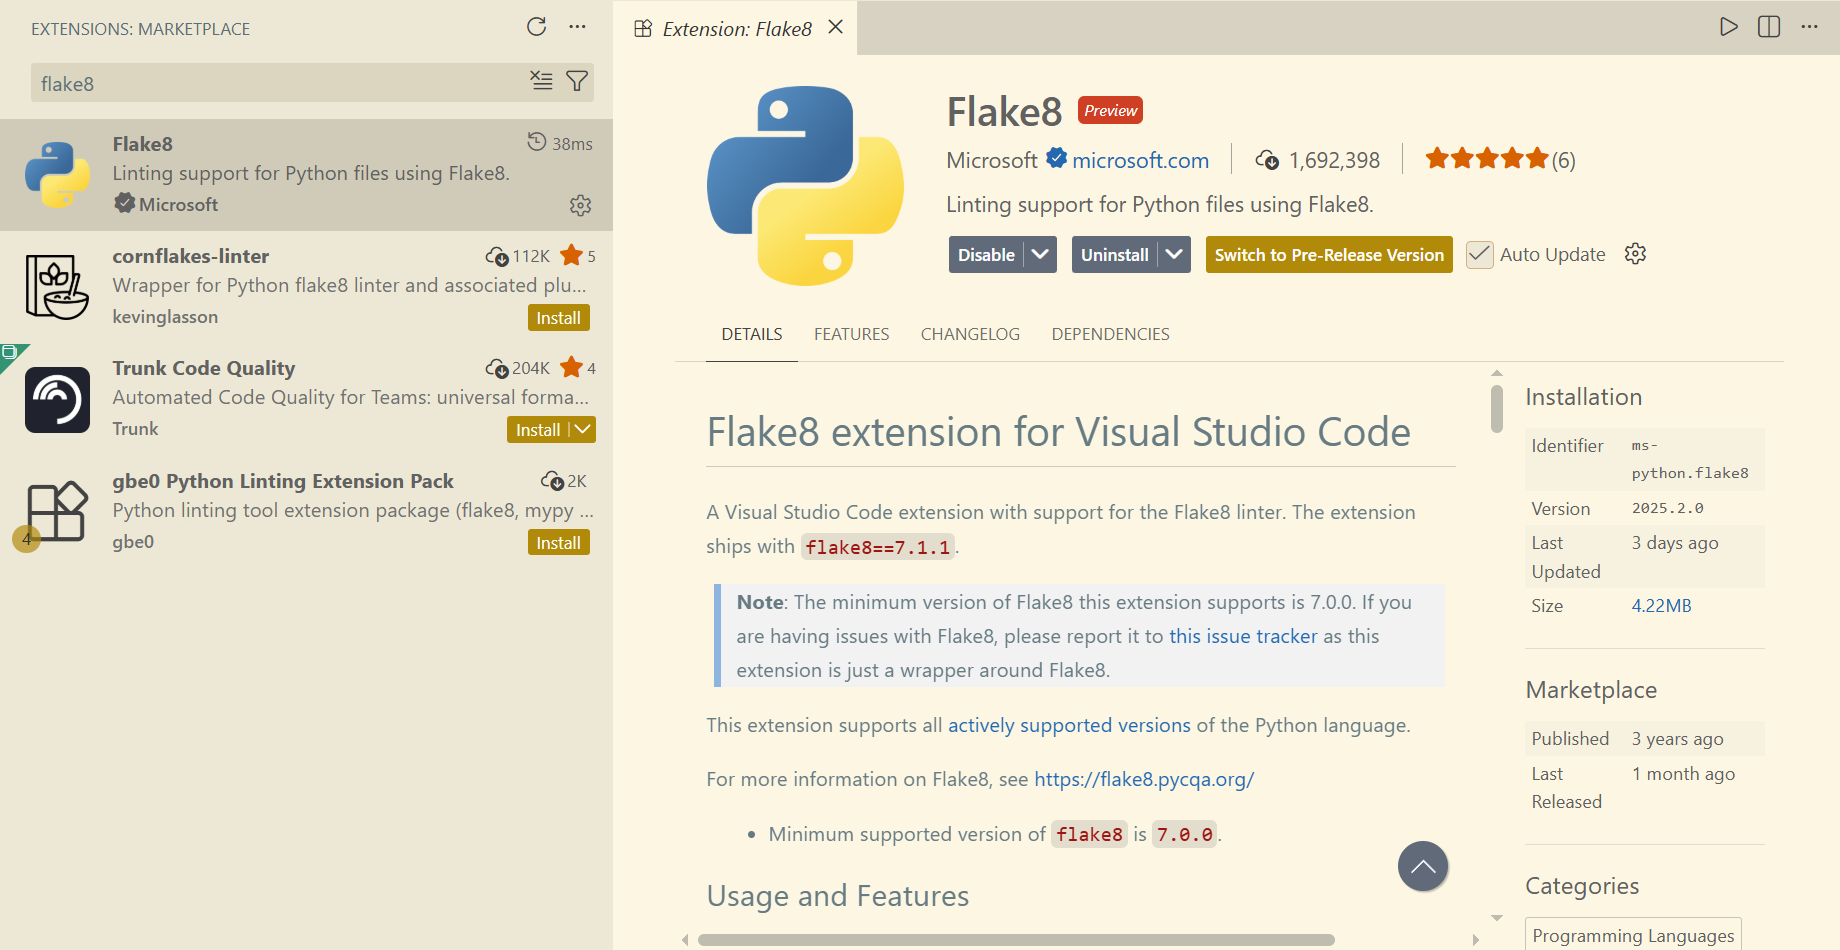
flake8 is the linter that we will be using in CSE 163 for quality checks. Navigate to the VS Code Extensions tab and search for “flake8”. Install and enable the flake8 extension from Microsoft.
Verify Setup
Download test.zip to whichever directory you plan to use to store homework assignments and unzip it so you have a test directory in your working directory. If you click the “Open Folder” button on the welcome page of the VSCode application and select the test directory, you should then see the following editor if you click on the main.py on the left. It is entirely expected that you might see some errors when you first open the file!
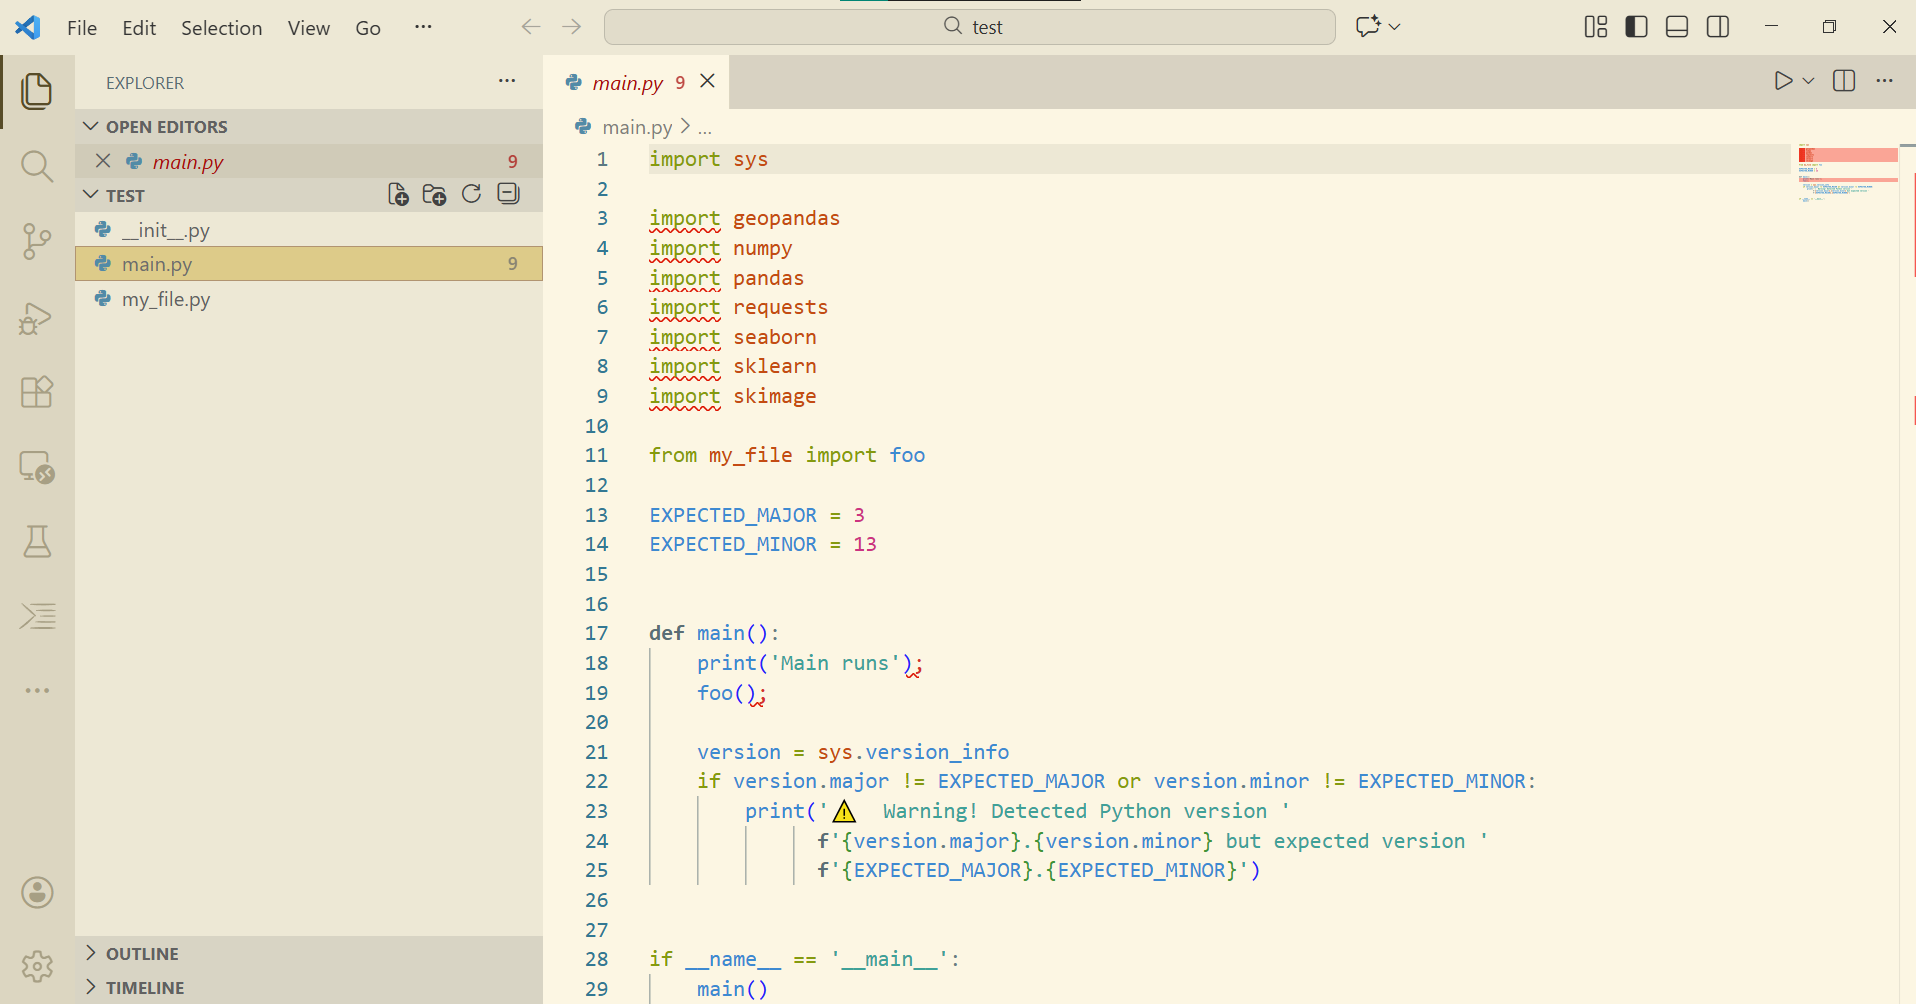
With main.py open, click on the triangle button (resembles a Play button) in the upper right hand-corner above the main editor window to run the file.This will open up a window at the bottom and after a second, should print out
Main runs
Foo runs
if you have set up the environment correctly. It might also print out a warning if it looks like you are using the wrong version of Python.
There should be multiple style warnings from flake8 (seen with the error count at the bottom, or the red squiggly lines in the editor) from the fact that we used semi-colons to end lines 18 and 19 and had imports that were unused. For this exercise, you should leave the unused imports in the code but you should delete those semi-colons and save the file to rerun flake8 and verify those errors should go away.
You can also run files in the terminal. You can open a terminal in VS Code by clicking on the “Terminal” tab and selecting “New Terminal”. Alternatively, you may use the shortcut Ctrl + Shift + `on Windows or `Command + Shift + `on Mac. Type the command python main.py in the terminal, then hit Enter or Return. You should see the same output!
Once you have done this, you now have a Python environment that runs the code we will need for this class as well as runs a linter to verify your solution follows good style. If either of these two steps above don’t work, please post on the message board, come to office hours, or try to Google around to see if you can get it working on your own!