Getting the Assignment
Important
Be sure to open the homework2 folder in VSCode and not any of the subfolders or parent folders.
Download the starter code for this assignment. Then, extract (unzip) the contents anywhere on your computer (we recommend having a folder dedicated to the course). In VSCode, navigate to File | Open Folder and select the homework2 folder.
If you expand the folders in the explorer window, you should see a file tree that looks like this:
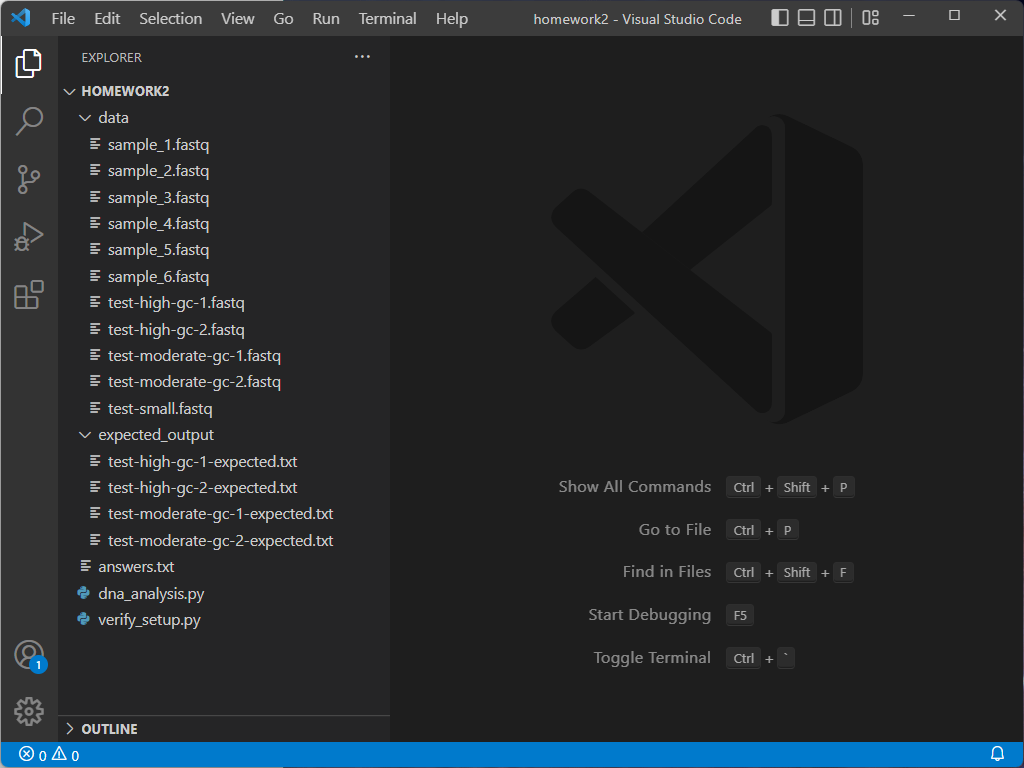
Inside the homework2 folder you’ll find a number of files:
dna_analysis.py: a partial Python program that you will complete.verify_setup.py: a Python program that verifies you have the setup correct.answers.txt: a file where you will answer textual questions.data: a directory which contains the data that you will process.*.fastqfiles: output from DNA sequencers; this is the data that the program analyzes.
expected_output: a directory containing example output of the final result of yourdna_analysis.pyprogram.
Each homework problem will ask you to make some changes to the program dna_analysis.py, write text in answers.txt, or both.
Verify Setup
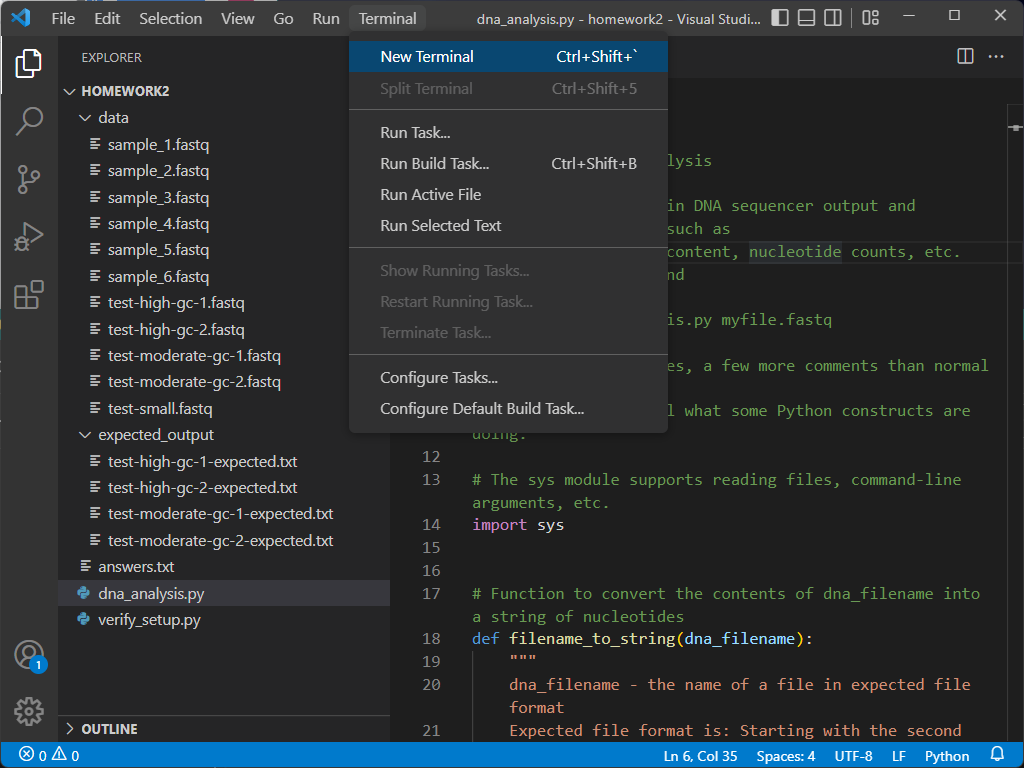
Open verify_setup.py and then open a new terminal window (if it is not already shown at the bottom of the screen) by navigating to Terminal | New Terminal or by using the keyboard shortcut Ctrl+Shift+`.
Warning
Make sure that you open a python file prior to launching the terminal, otherwise the environment won’t start.
When you open your terminal window, it will automatically run the commands to activate the python environment you have selected.
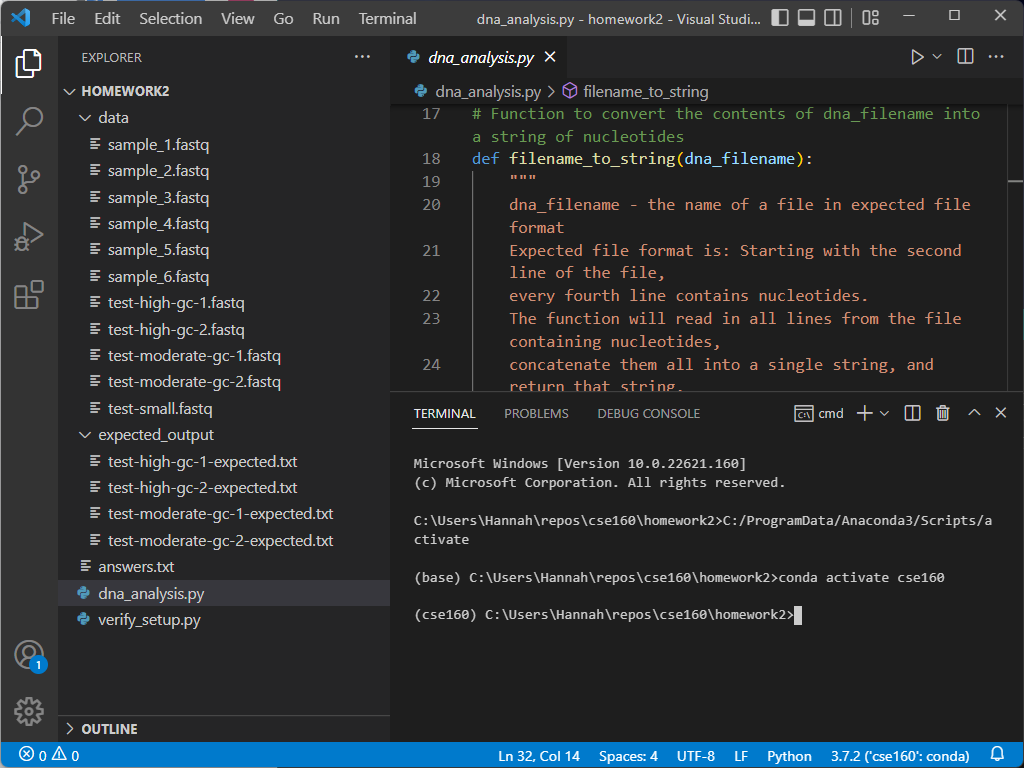
The blue line at the bottom of the screen tells you what version of Python you are using, along with the current environment for the file you are currently editing. Ensure that it is using the environment we set up in Homework 0:

Incorrect Environment?
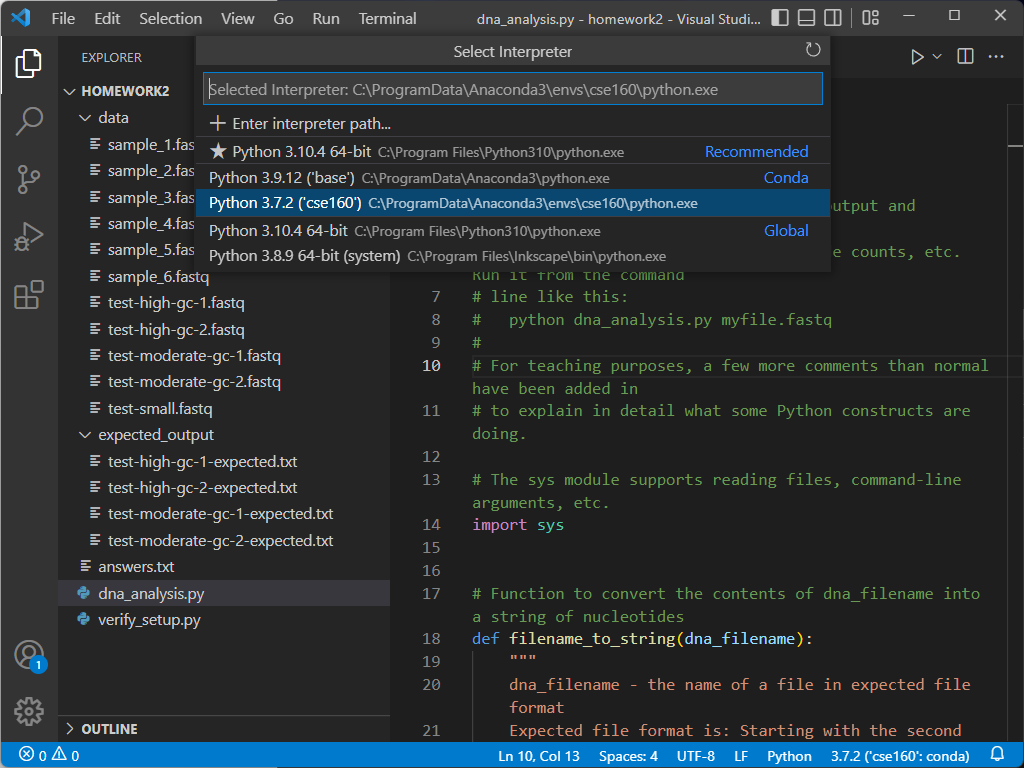
If your environment does not show up as cse160 at the bottom of the VSCode window, set your environment to cse160 by clicking on that location in the blue bar: a prompt should appear at the top of the screen telling you to select an environment, and you should find the one relating to the cse160 Anaconda environment (should be something like anaconda3/envs/cse160/bin/python.
If you select a new environment, you must restart your terminal by hitting the trash can icon and opening a new terminal.
Info
If you are on Mac, you may need to type in python3 instead of python to run the file correctly.
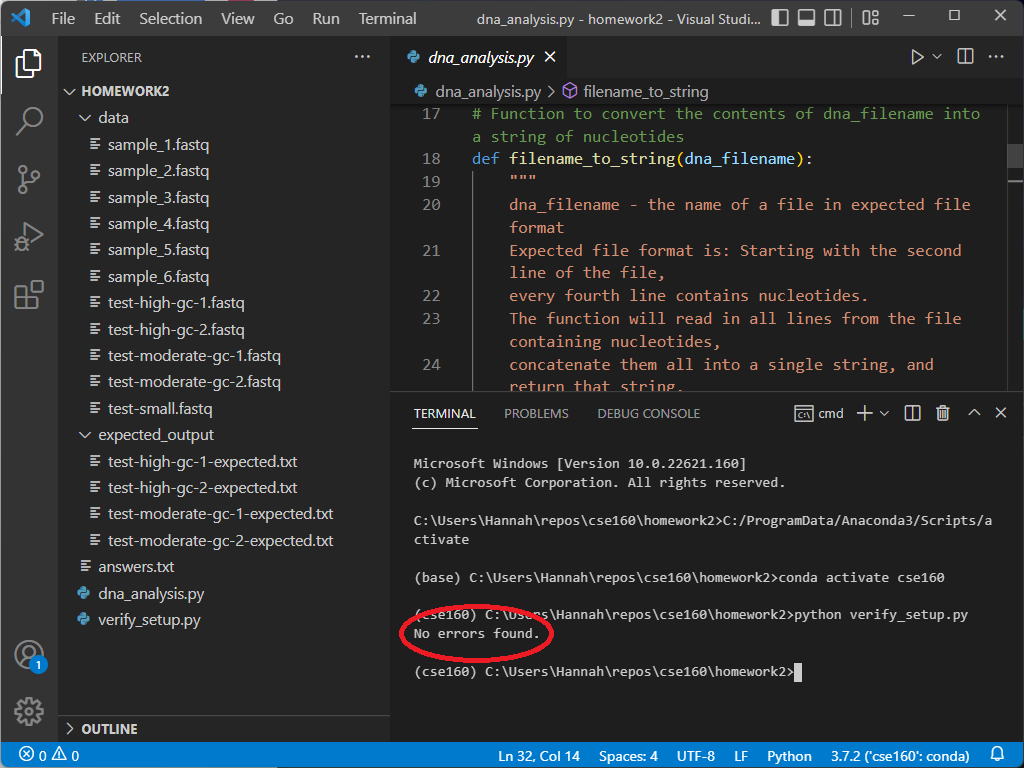
To verify everything else, type the following into the terminal window: python verify_setup.py If your setup is correct, the program will output “No errors found” on the next line.
If you encounter any errors, take a look at the troubleshooting section to see if your error appears. If not, feel free to post on Ed or come to Office Hours for support.
Problem 0: Running the Test Files
There are multiple ways to run a python file in VSCode. While in the past assignments, we used the play button, for this and future homeworks, we will be running files from the command line (also known as the terminal). When we run files from the command line, we can specify command line arguments. Command line arguments are essentially the inputs to our Python program.
For this assignment, we will need to provide the program with the name of the data file so it knows where to read data from. By providing this name as an argument, we can easily run our code on different data files. We have provided code for you in dna_analysis.py that reads in a data file name as an argument from the command line.
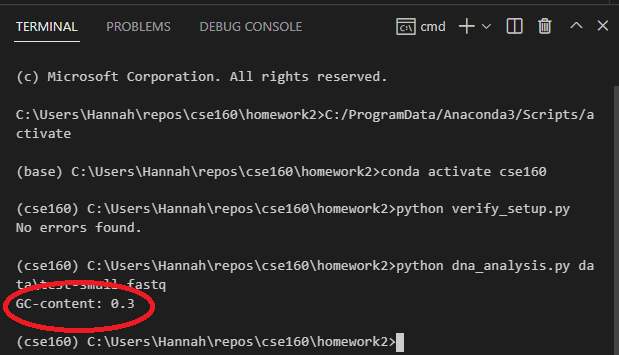
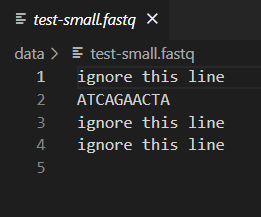
When writing code that analyzes data, it is important to test your program so that you can be confident the output is correct. One way to do this is by comparing the output of your code to output produced in some other way, such as by hand or by a different program. We have provided a small test file for this purpose: test-small.fastq. This file is small enough that you can easily read it and calculate the GC content by hand. Then, you can use this file as input to your program to verify that it provides the correct answer for this file. You can open test-small.fastq and other input and output files in VSCode by just clicking on it in the Explorer window.
You can run dna_analysis.py on sample data files by entering the following command in the terminal, similar to how you ran verify_setup.py:
- On Mac/Linux:
python3 dna_analysis.py data/test-small.fastq - On Windows:
python dna_analysis.py data\test-small.fastq
Note
The data files are in the data folder within the homework2 folder, so we need to include that folder name when giving the name of a data file as a command line argument. If you get a “can’t open file ‘dna_analysis.py’” error or a “No such file or directory” error, then perhaps you are not in your homework2 directory, or you mistyped the file name.
You should confirm that dna_analysis.py is outputting the correct GC content for test-small.fastq by looking at test-small.fastq in VSCode and calculating the GC content by hand. Remember that GC content is defined as the percentage of nucleotides that are either G or C.
After you have confirmed that dna_analysis.py is working on test-small.fastq, run it on each of the 6 real sample_N.fastq files provided, by executing 6 commands such as: python dna_analysis.py data\sample_1.fastq
Run your program on different data files by changing sample_1.fastq to a different file name in the commands above. Be patient — you are processing a lot of data, and it might take a minute or so to run. Many of these .fastq files are large enough that they are not easily opened in VSCode or another text editor.
Info
If you are interested, sample_3.fastq and sample_4.fastq are from Streptococcus pneumoniae TIGR4, and sample_5.fastq is from Human herpesvirus 5.
We have provided expected output files for the other test-*.fastq files in the expected_output directory:
Info
If your GC-content output does not match the expected output exactly, it is fine for now. You won’t get the exact answer until you finish problem 4 in the programming part.
Copy and paste the line of output produced by your program regarding GC-content when run on sample_1.fastq into your answer for Problem 0 in the answers.txt file.