Windows - Git with Atom GUI Tutorial

  1. Install Command Line
  2. Cloning the Repository
  3. Opening Up An Existing Local Repository
  4. Staging, Committing, Pushing

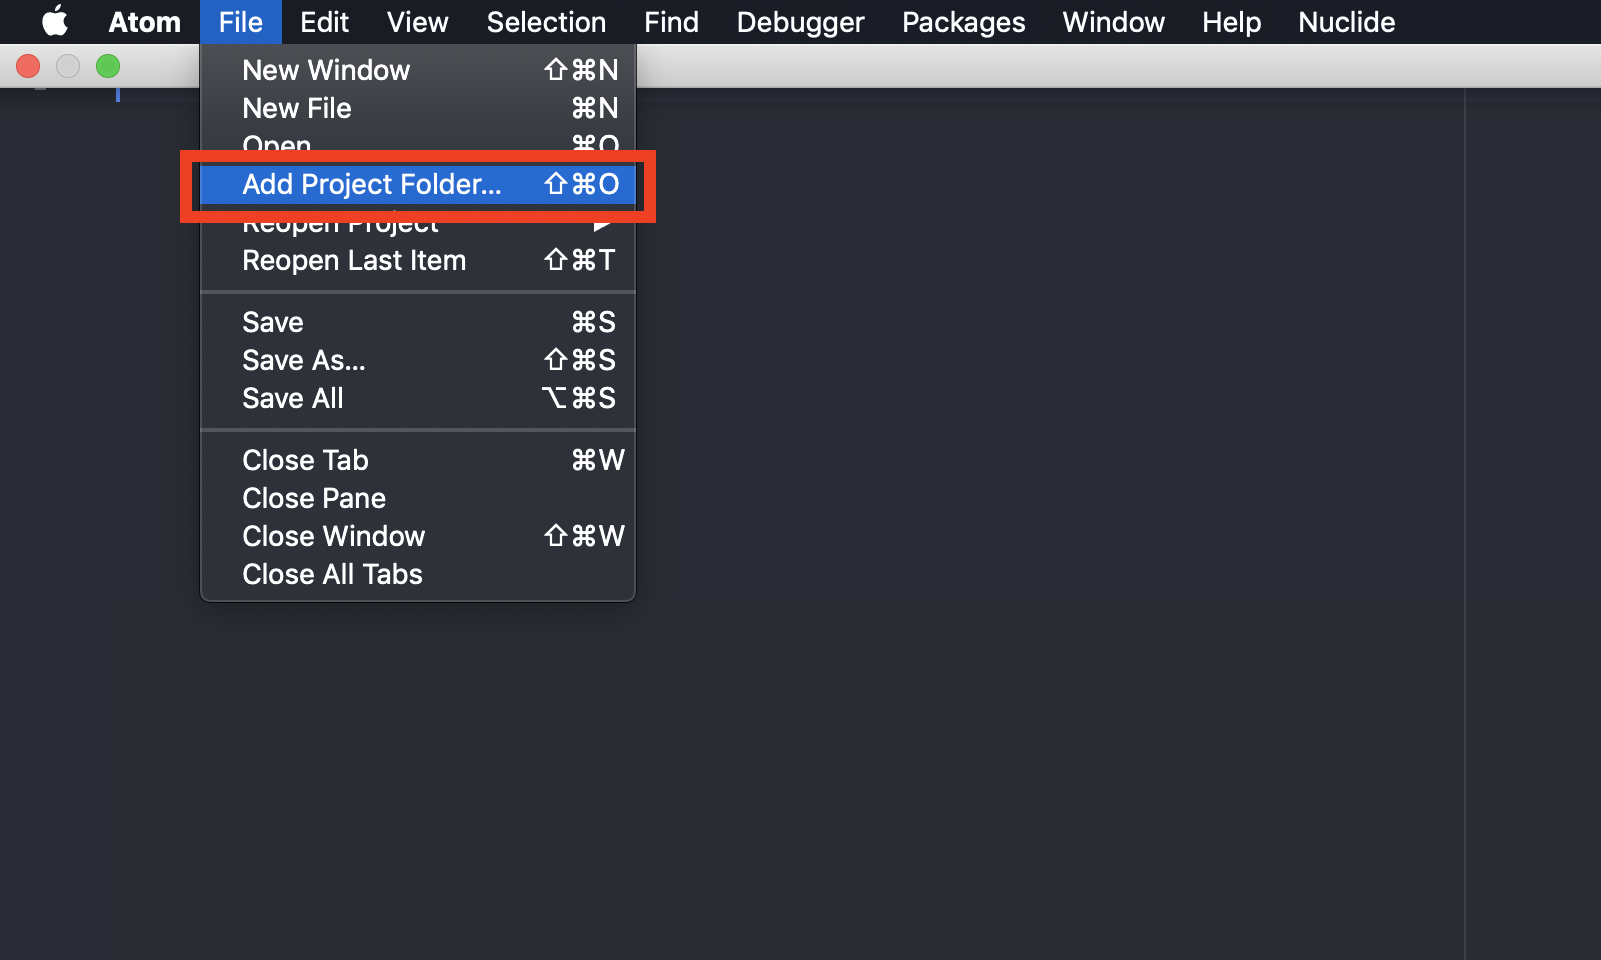
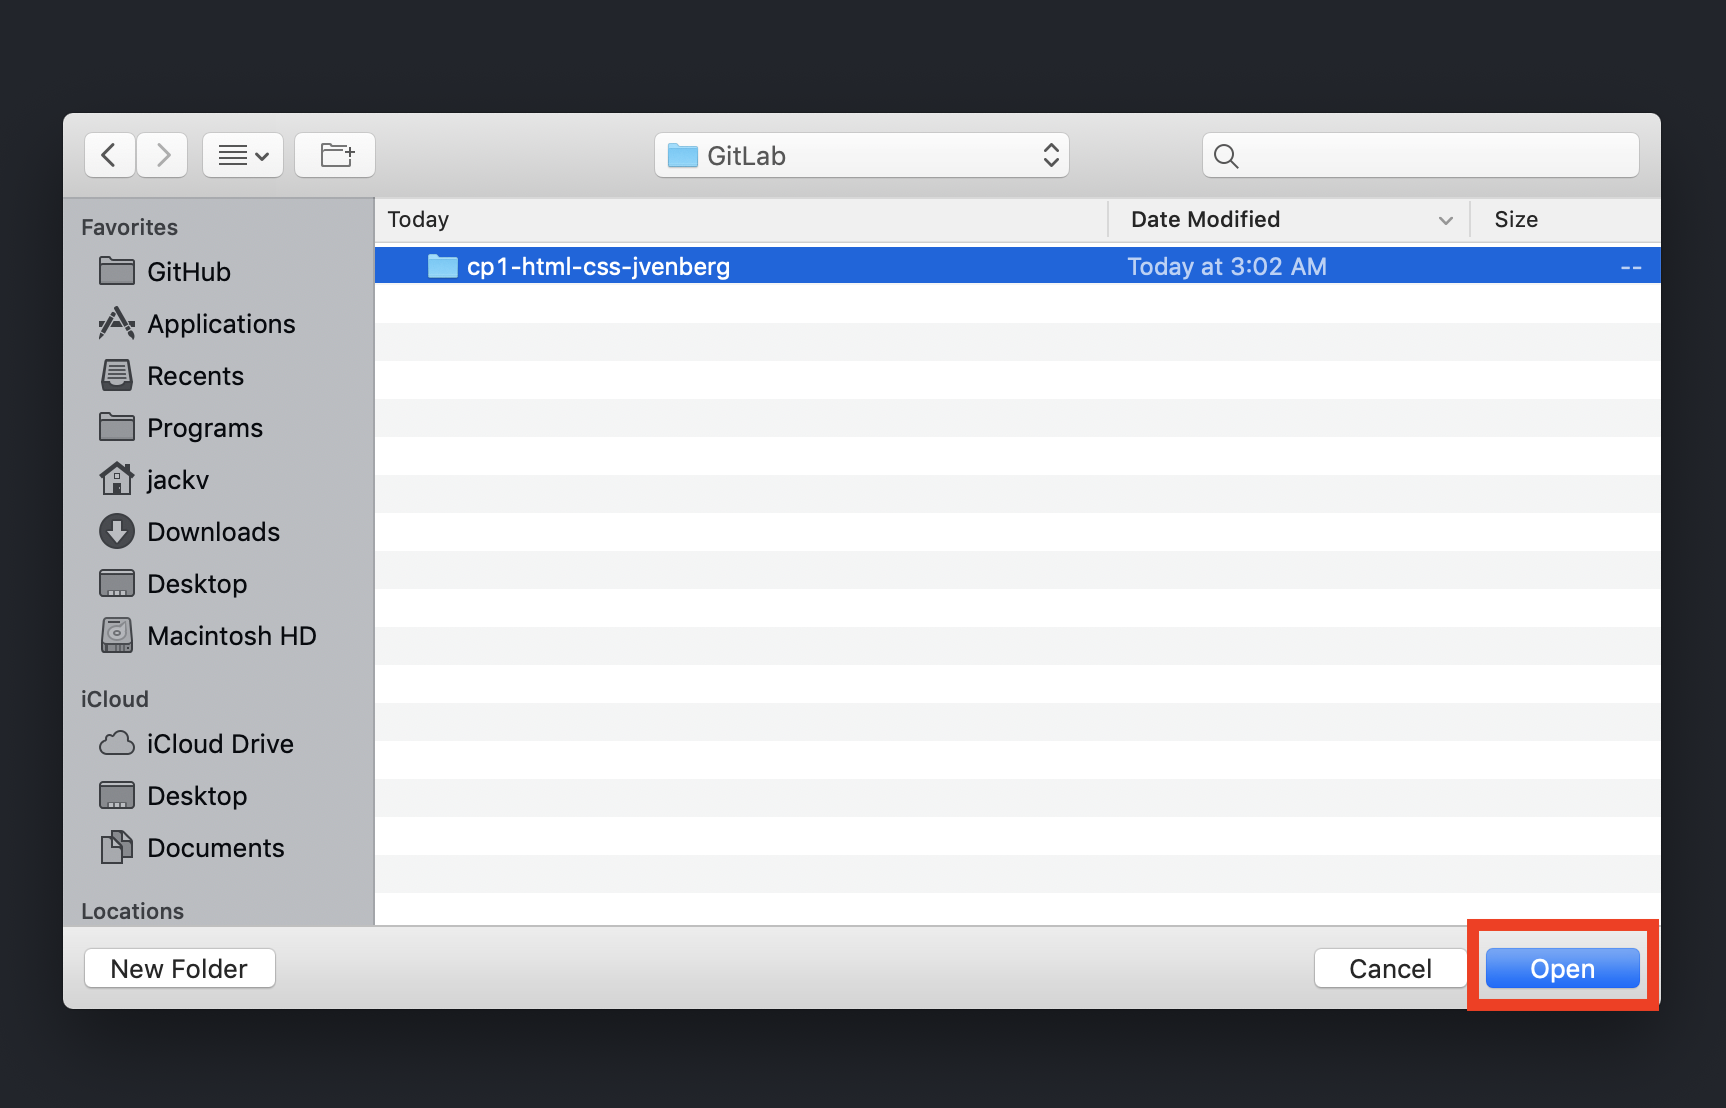
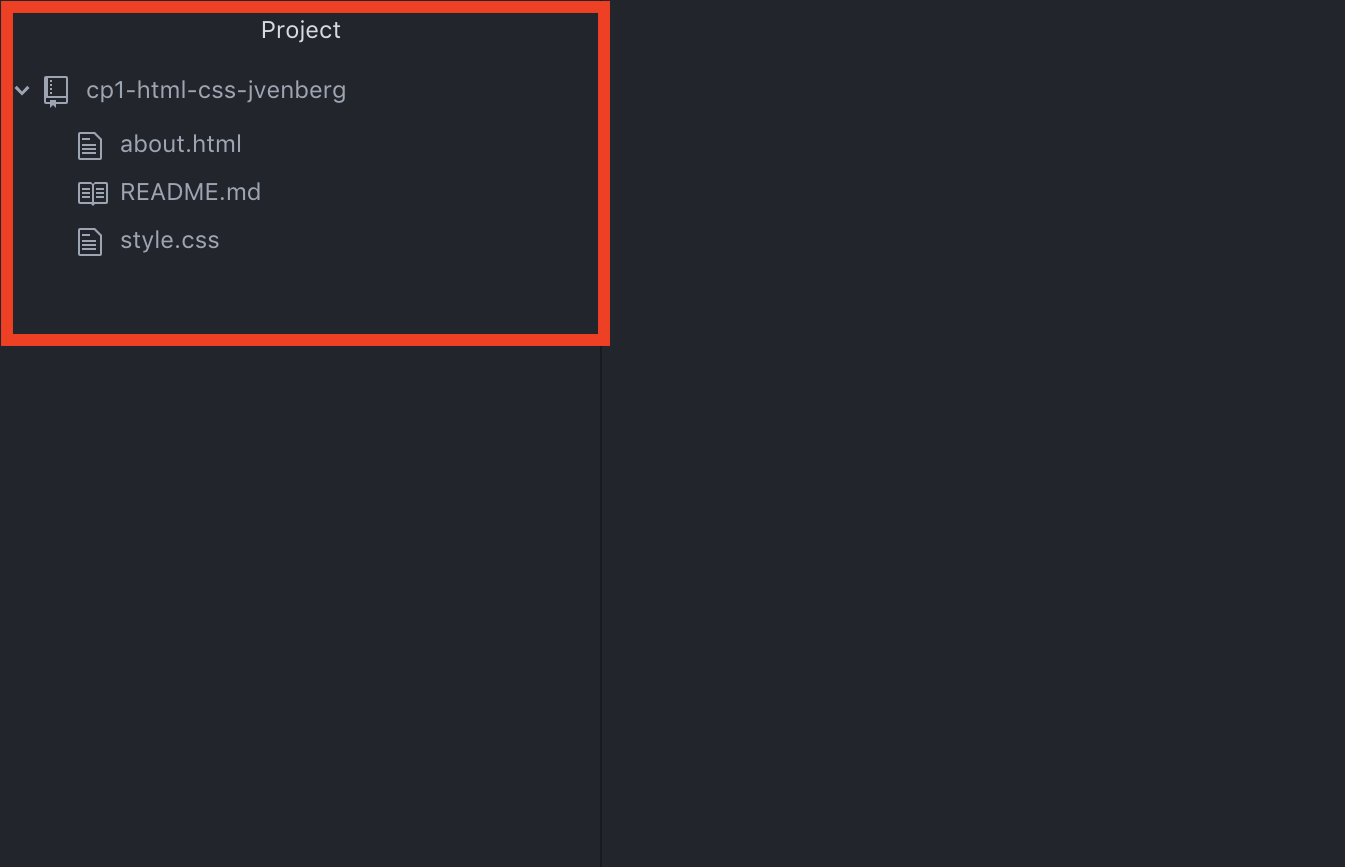
Installing Git Command Line

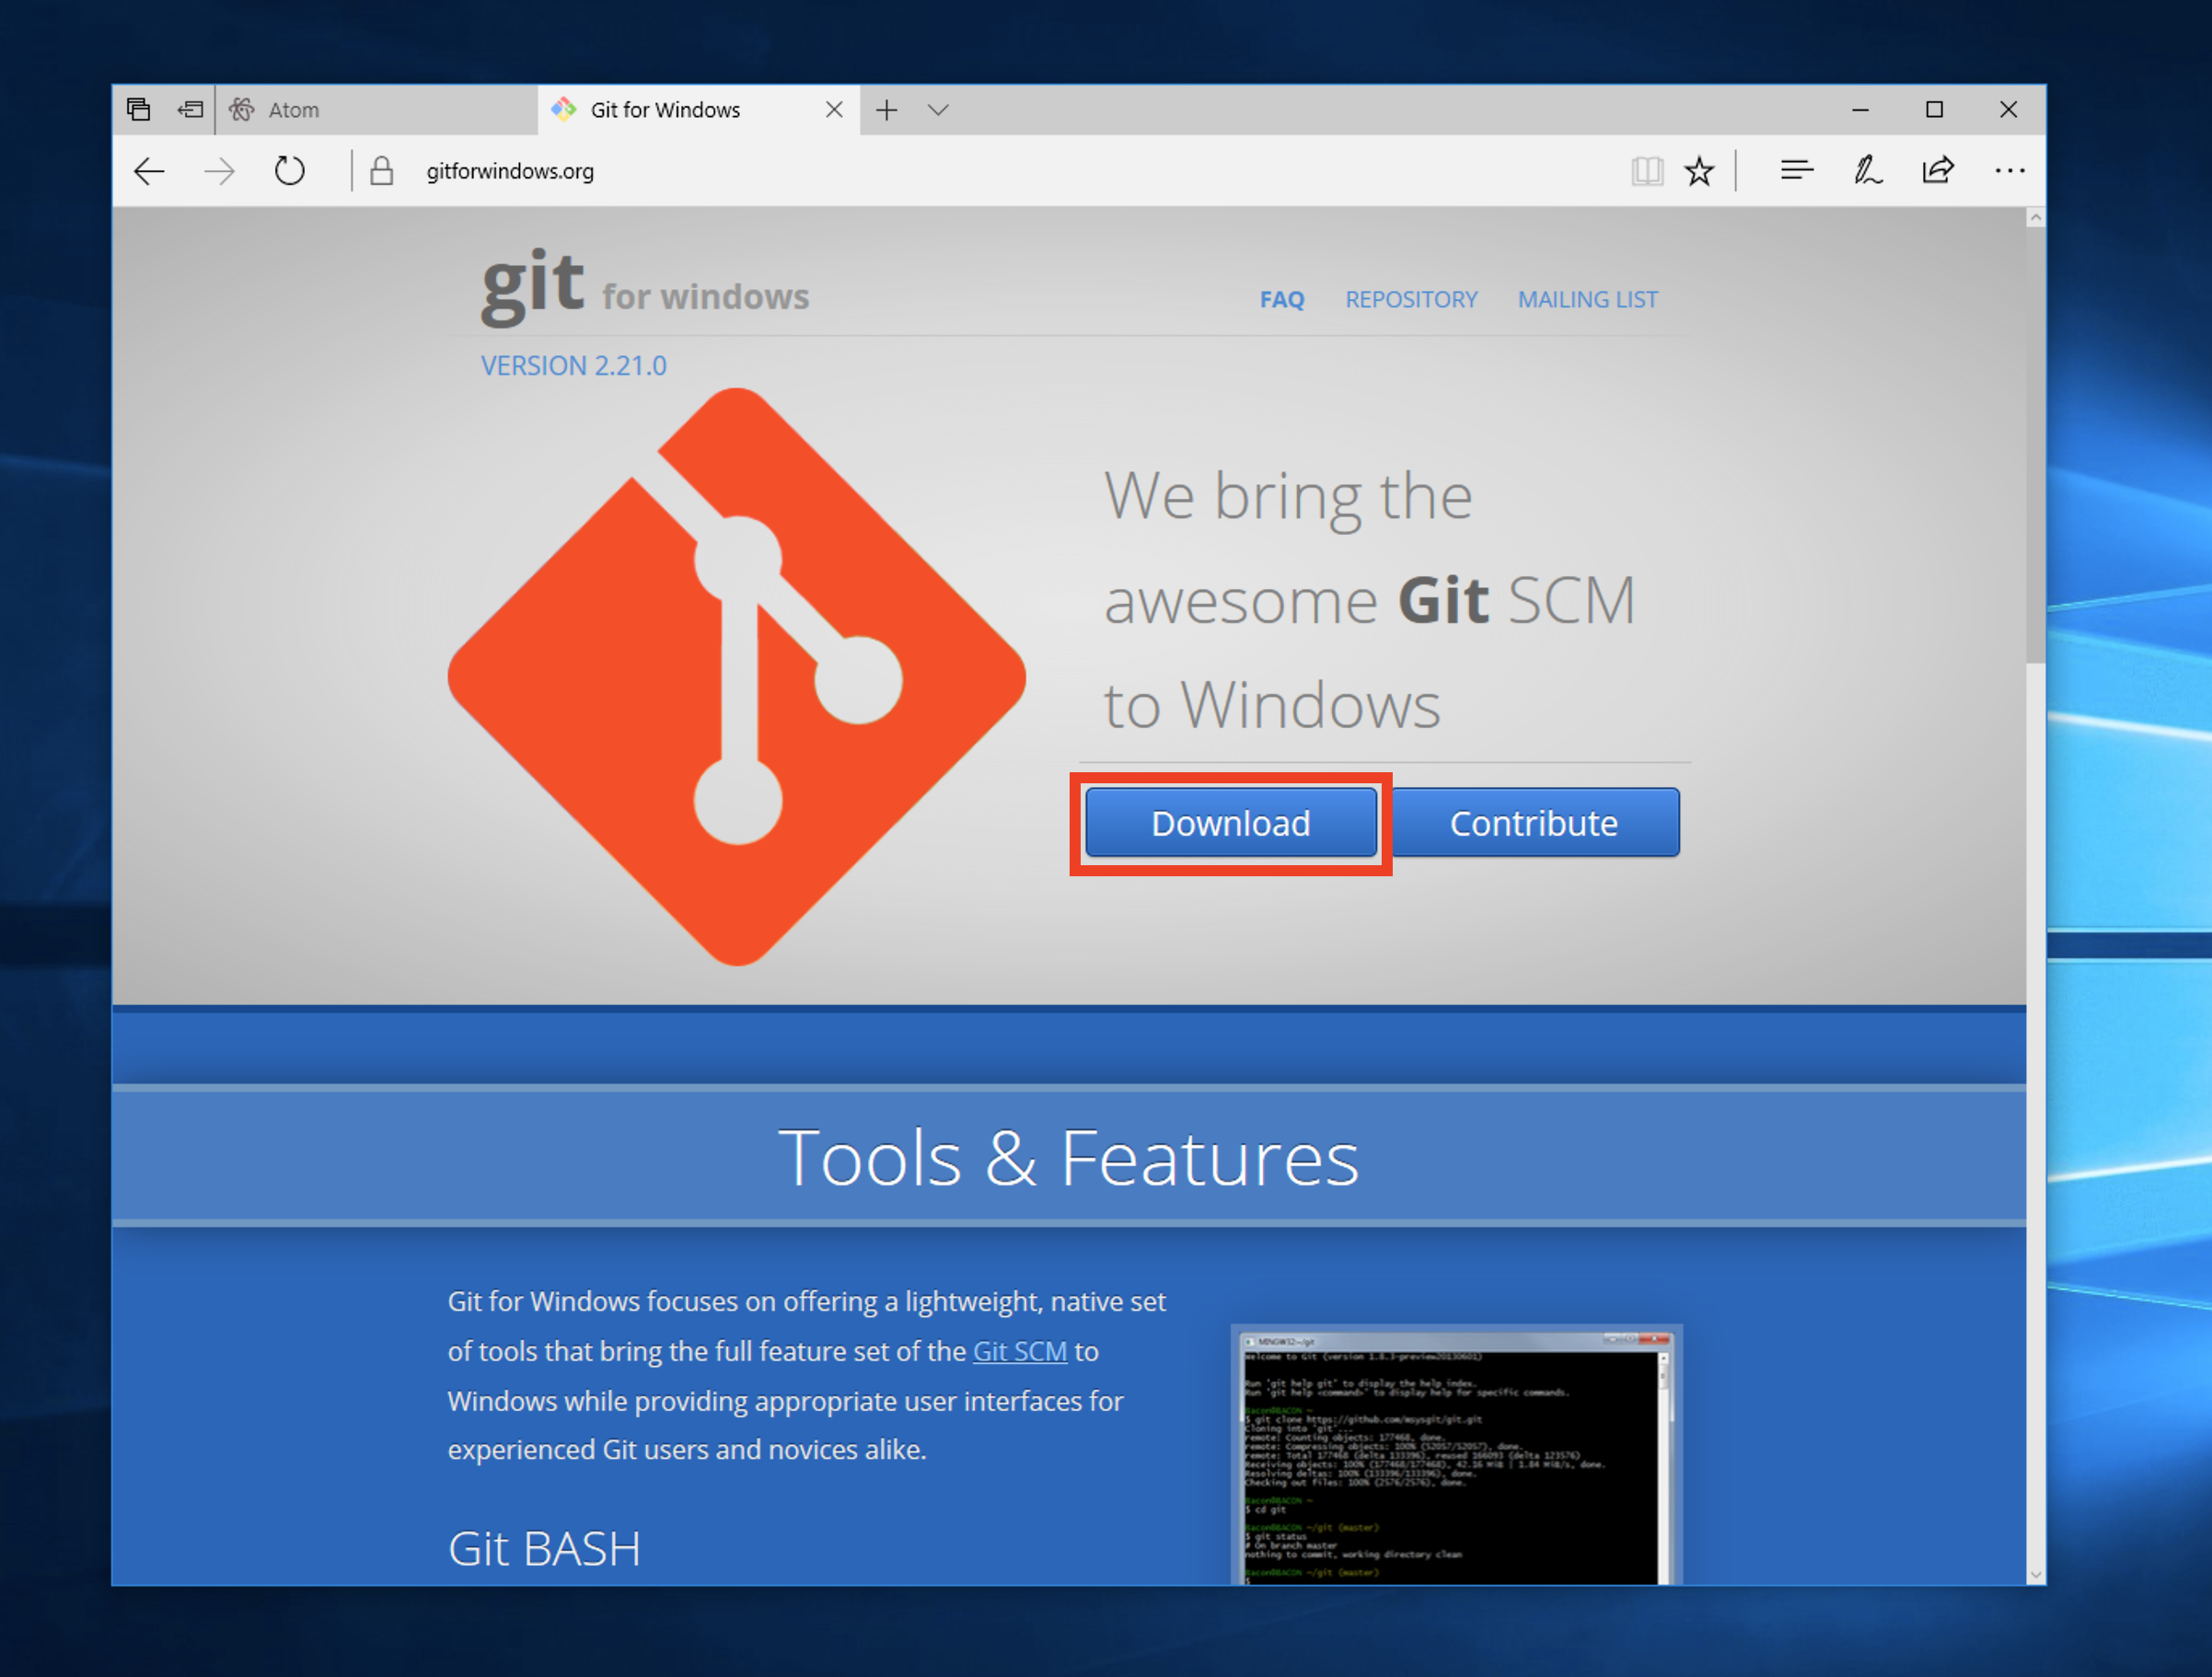
  1. For Windows, you must download GitBash in order to get Git on your machine. Go to https://gitforwindows.org/ and click "Download". Instructional Image
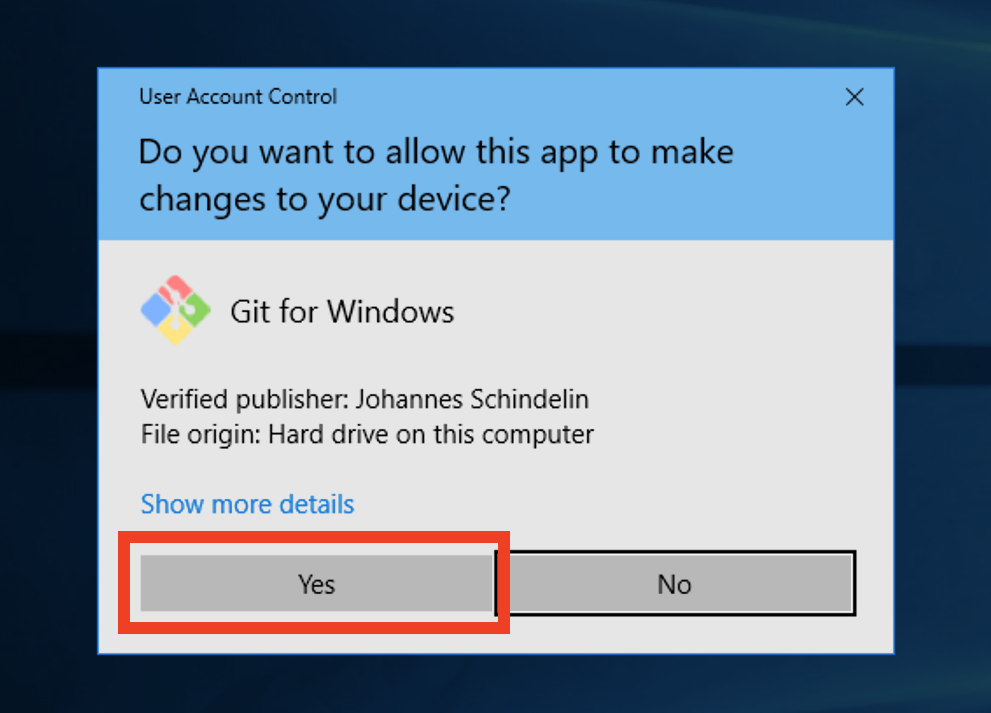
  2. After downloading and running the installation, hit "Yes" to allow for changes. Instructional Image
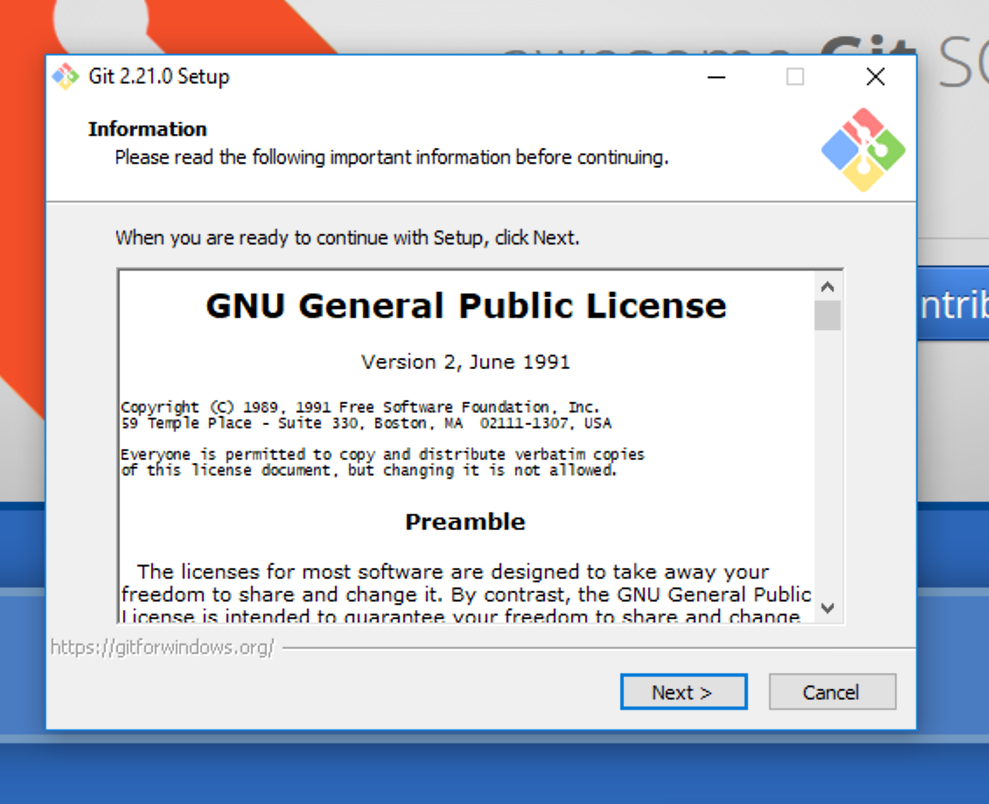
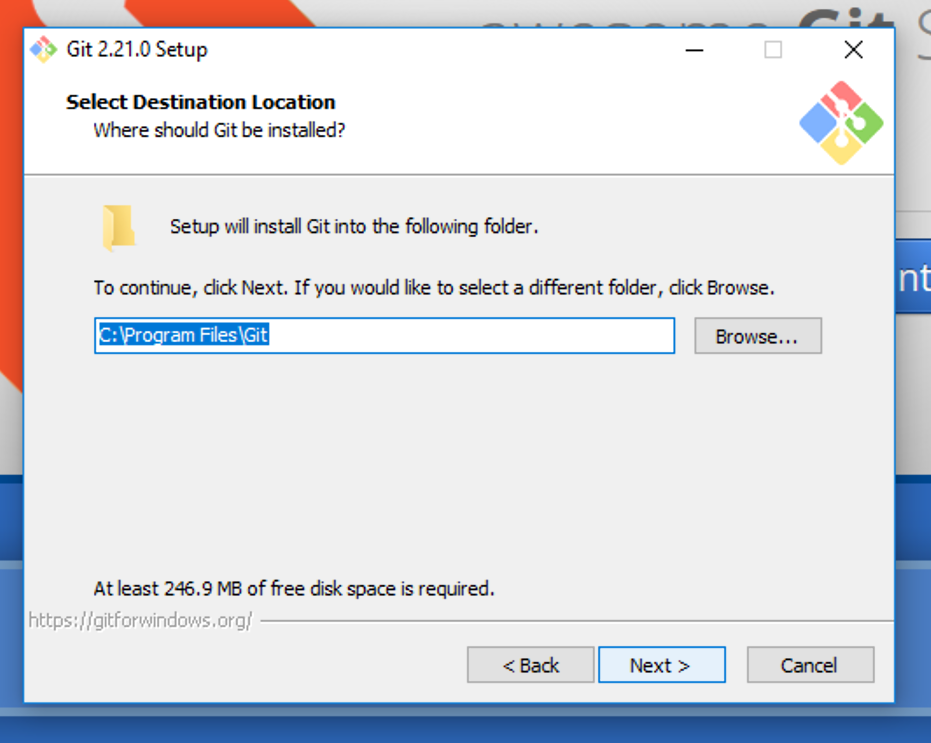
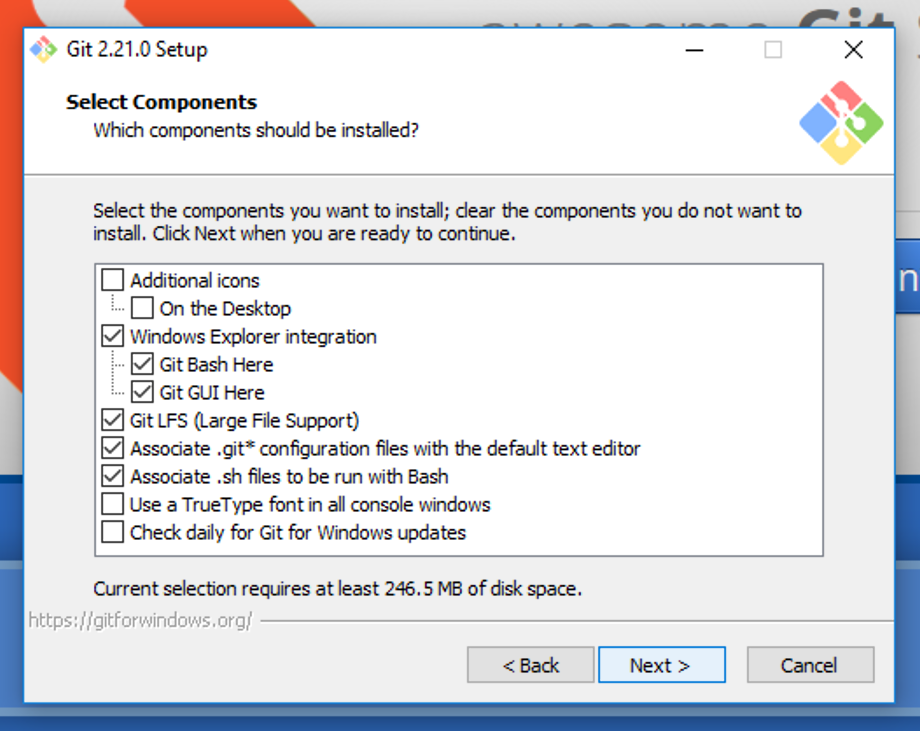
  3. Go through the prompts hitting "next" each time with the default options. You do not need to run the program after installation.
    Instructional Image Instructional Image Instructional Image Instructional Image Instructional Image Instructional Image Instructional Image Instructional Image Instructional Image Instructional Image
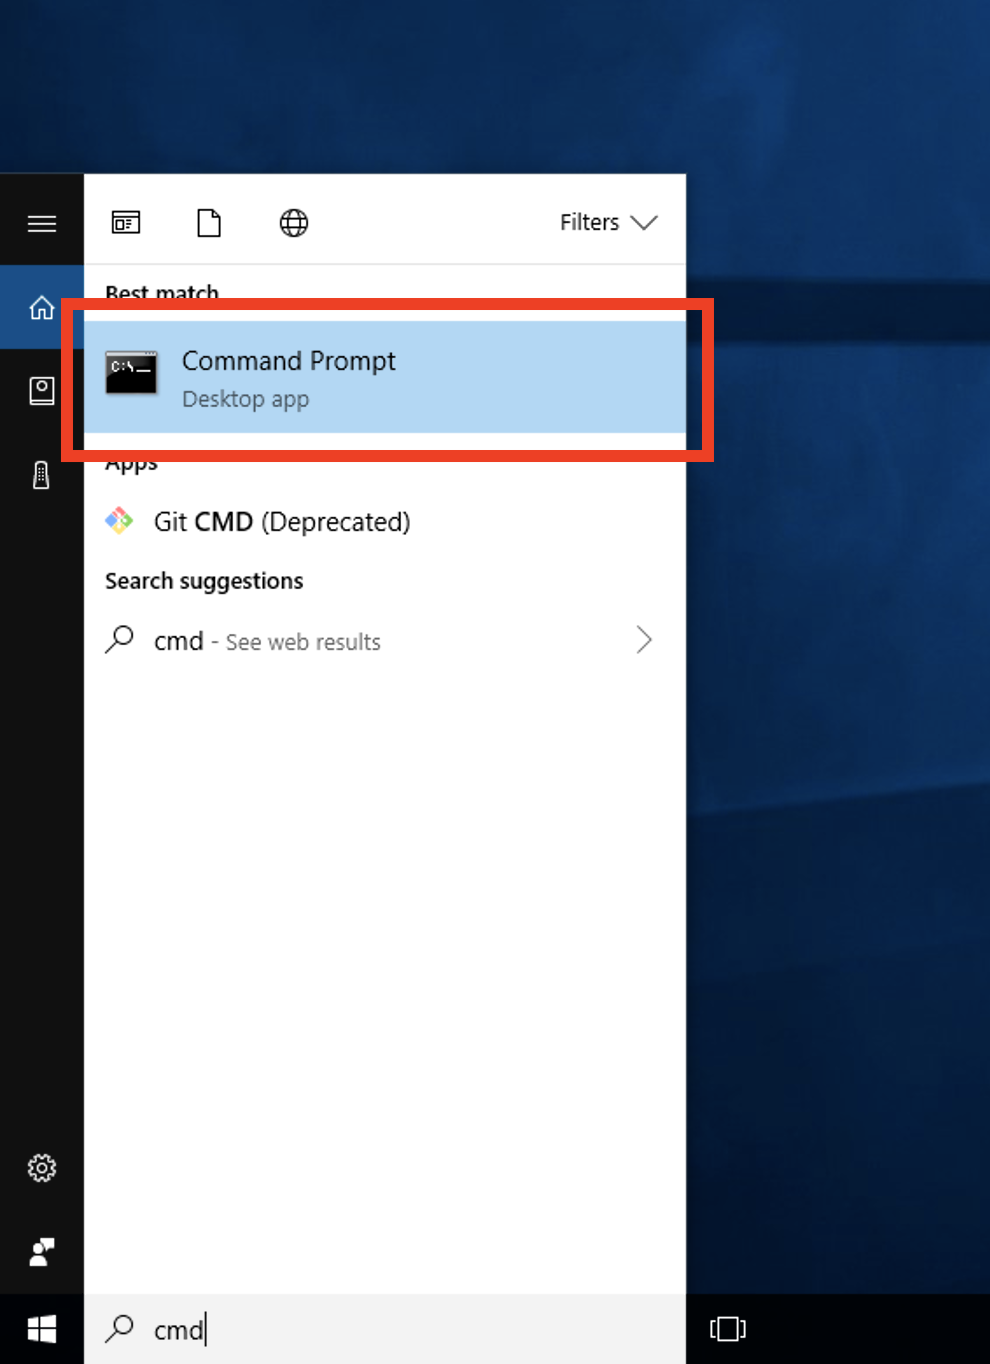
  4. Search for "cmd" and open up the Command Prompt. Instructional Image
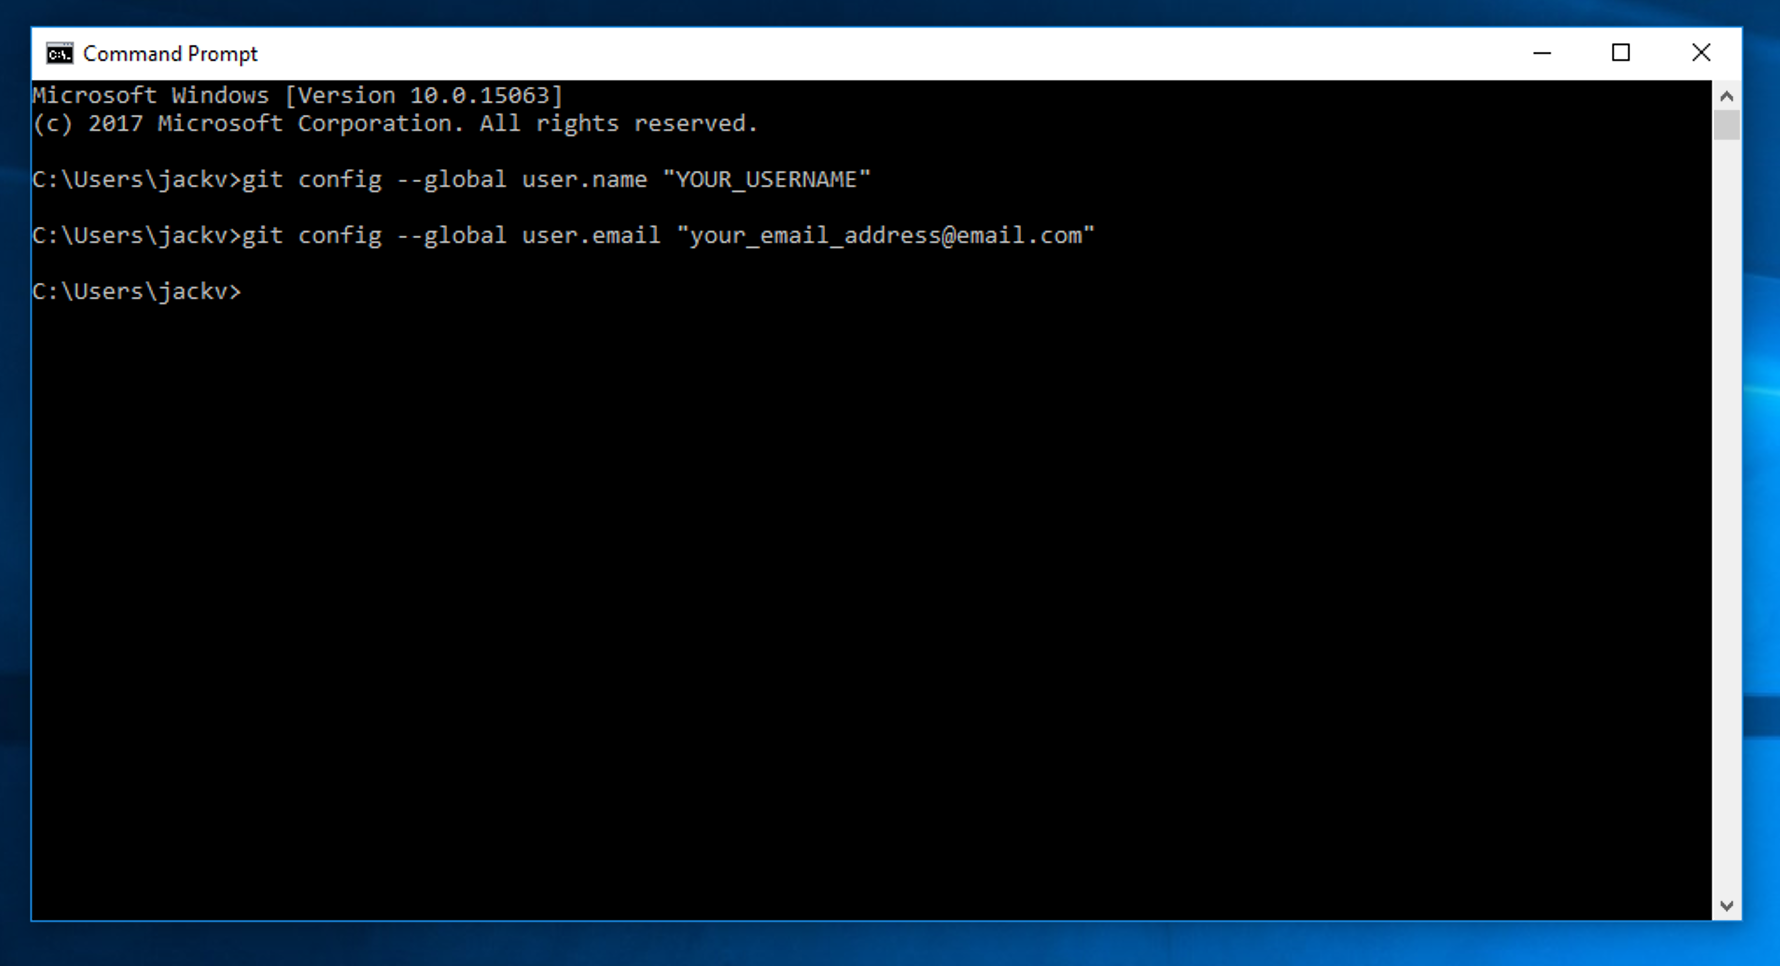
  5. Enter in the following commands followed by the enter key substituting your username and email you used to sign up for GitLab in order to let Git know what user you are.
    git config --global user.name "YOUR_USERNAME"
    git config --global user.email "your_email_address@example.com"
              
    Instructional Image

Cloning the Repository

Install Atom if you have not already from here: https://atom.io/

Instructional Image

Windows

  1. After opening Atom, open up the "Command Palette" by using the menu bar or hitting "Ctrl+Shift+P". Instructional Image
  2. Type in "Clone" and select "Github: Clone". Instructional Image
  3. Copy the clone URL from the GitLab repository you would like to clone. Instructional Image
  4. Paste in the URL to clone then type a location that you will be able to access easily later. Then hit the "Clone" button (It may take a couple of seconds to complete). Instructional Image
  5. Enter in your GitLab credentials that you used to create your GitLab account and hit "OK". Instructional Image
  6. Your repository should now show up in the Project Viewer on the left side. Instructional Image

Opening Up An Existing Local Repository

  1. With Atom Open, select "File > Add Project Folder" from the menu bar or press "Cmd+Shift+O" or "Ctrl+Shift+O". Instructional Image
  2. Navigate to the existing repository folder, selected it, and press "Open". Instructional Image
  3. Your repository should now show up in the Project Viewer on the left side. Instructional Image

Staging, Committing, Pushing

  1. Open up the Git GUI by clicking on the "Git" button in the bottom right. Instructional Image
  2. That will open up a Git View showing the "Unstaged" changed, the changes selected to be "Staged", and previous commits. Unstaged changes are any files that have been changed or new files added to the directory. By hitting "Stage All", you select all of the changed to be committed to the online repository. You can also select individual changes to stage. Instructional Image
  3. You can hit the "Fetch" button down at the bottom to pull any changes from the online repository to your local one. Instructional Image
  4. Once you have staged the changes you want to commit, you can type in a descriptive commit message and hit "Commit to master". Instructional Image
  5. Finally, you need to hit "Push" to send your local commit to the online repository. Instructional Image