CSE 154 Exploration Session
Developing with Vim
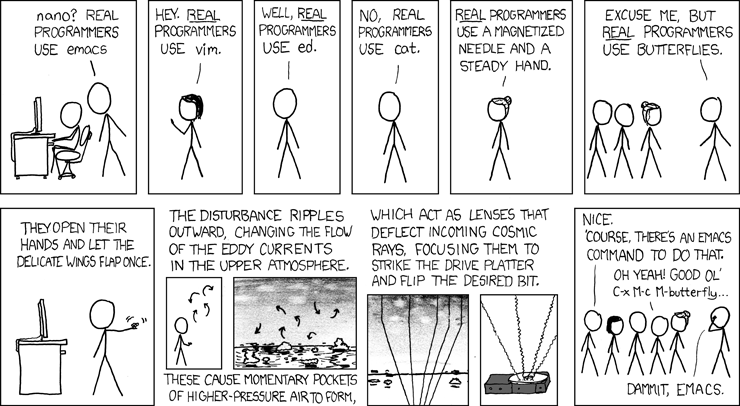
<- Moral of the story... there's no perfect code editor (except maybe Vim)
A Basic Web Development Toolbox
Computer (kinda important)
Operating System (Windows, Mac, Linux)
IDE/Text Editor (e.g. Cloud9, Sublime, Notepad++)
A way to run server-side code (e.g. PHP or SQL) on a server (e.g. Cloud9, Filezilla)
These are the basics. We support Cloud 9 for this course as a text editor and tool for running PHP and SQL, but there are many other options depending on the context and the person.
My Web Development Toolbox


Operating System: Linux/Ubuntu
Text Editor: Vim :D
A way to run server-side code: Bash
Note: When I took this class, I was on a Windows PC using Sublime (a text editor) and Filezilla (a really tedious way to push files to a server).
Vim - The Ultimate Development Tool
Pros and Cons of Vim
Pros:
- Speed and Efficiency
- One tool to rule them all (you can edit pretty much any file type with vim)
- Customization
- Tried and true - great tutorials and resources, supported on every operating system
- Very lightweight
Cons:
- Learning curve
- Autocomplete isn't built in
The Basics of Bash
Vim is used on a terminal, and to use the terminal, you'll have some command line interpreter which executes commands to do things like changing your current directory, listing all files in the current directory, copying a file, removing files, etc.
Each operating system now supports Bash. Linux and Mac OS X come with Bash already installed. To get Bash on Windows 10, follow these steps.
Note: If you'd like to follow these slides without using the command line on your own computer, you may find this site helpful (it has a built-in command line, as well as tutorials)
| Command | Description |
|---|---|
| ls | Show directory contents, lists names of files |
| cd | Change directory |
| mkdir | Make a new directory |
| rm | Remove a file |
| mv | Move a file to a new location |
| cat | Output file contents |
| pwd | Print working directory (where you are in your terminal) |
The Basics of Vim
Vim has the following modes:
- Normal Mode - Keys are used to move around the text.
- Insert Mode - Keys used to type/insert as normal.
- Visual Mode - Moving the cursor around highlights text (e.g. for cut/copy/paste).
- Command Mode - Giving commands to Vim to get things done, such as saving and quitting.
The Basics of Vim: Normal Mode - Motions
Motions allow you to move around the document
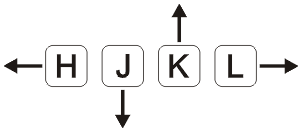
h, j, k, l map to left, down, up, and right respectively.
| Command | Description |
|---|---|
| w and b | Move one word forward/backward (respectively) |
| e | Move to end of word |
| gg and G | Move to first/last line in current file, respectively |
| #+G | Move to a specific line number in current file (replace # with desired line number) |
| 0 | Move to very beginning of current line |
| ^ and $ | Move to first/last character of current line (from regular expression syntax) |
Combine numbers with motions:
- 10j - move 10 lines down
- 4w - move 4 words forward
The Basics of Vim: Normal Mode - Advanced Motions
For the following commands, replace @ with the characters you want to apply the command for (ie. don't actually type @)
| Command | Description |
|---|---|
| f@ | Move cursor on top of first occurrence of @ in current line |
| F@ | Same as f@ but backwards |
| t@ | Move cursor behind first occurrence of @ in current line |
| T@ | Same as t@ but backwards |
| . | Repeat last command (very helpful, especially if prepended with the number
of times you want to repeat (e.g. 10. to repeat last dd (delete line) command from
current position) |
| /@ | Search for all occurrences of @ in file; enter n during search to navigate to next search match, and N to navigate to previous search match |
Note that the /@ command is really helpful for quickly finding something
in your file (e.g. a specific function name in a JavaScript or PHP file)
Normal Mode - Verbs
Verbs much (usually) be mixed with motions (nouns)
| Command | Description |
|---|---|
| x | Delete one character forward (no motion required) |
| dw | Delete one word forward (include whitespace) |
| de | Delete to end of word (don't include whitespace) |
| d$ | Delete from current cursor position to end of line |
| dd | Delete entire line |
| d#w | Delete # words forward (replace # with number of words you want to delete) |
For the above commands starting with 'd', change 'd' to:
- c to change instead of delete (same as delete but puts you in Insert Mode after)
- y to yank instead of delete (copies whatever you yank; e.g. yw copies next word)
Use u to undo last command (this is really helpful!)
Use R to redo last undo (this is really helpful!)
Normal Mode - Sentences
Combine everything for superpowers
i (inside) a (around)
Syntax: <verb><i/a><motion>
Examples:
- ci" - delete inside quotes
- ci{ - delete inside { ... }
- ciw - change inside current word
Insert Mode
Text editing as normal
ESC key or CTRL+[ exit Insert Mode back into Normal Mode (you can change to another key if ESC is too far for you (I use jj instead of ESC since it's faster, and have this configured in my .vimrc file, also included in the linked .vimrc file I've included for students to get started)
| Command | Description |
| i | Enter insert mode at current cursor position |
| I | Enter insert mode just before first character of line |
| a | Enter insert mode just after current cursor position |
| A | Enter insert mode just after last character in line |
| o | Enter isnert mode while adding a new line below current cursor position |
| O | Enter isnert mode while adding a new line above current cursor position |
Visual Mode
| Command | Description |
|---|---|
| v | Enter visual mode. All motions will now move the highlight. |
| V | Enter visual mode. Highlights entire lines. |
| CTRL+v | Enter visual mode, highlighting lines vertically (useful for selecting multiple linlines and executing the same Insert Command on all). |
All motions still work - w to jump words, $ to jump to end of line, etc.
All verbs still work - highlight text, press d to delete, c to change, etc.
Command Mode
Command mode lets you send commands to Vim
Typing a colon (:) from Normal Mode puts in you Command Mode
Example commands:
| Command | Description |
|---|---|
| :w | Save the current file |
| :e /path/to/file | Edit a file |
| :q | Quit Vim |
| :wq | Save and quit Vim |
| :q! | Quit Vim without saving (if Vim yells at you when you try to quit without saving, this force-quits) |
| :%s | Find and replace (more details on next slide) |
Command Mode - Find and Replace with :s and :%s
You may have found find/replace tools pretty helpful in other editors. Vim lets you do this very easily (and you can even do some fancy find/replace with regex)!
| Command | Description |
|---|---|
| :%s/old/new | Replace first occurrence of old with new |
| :%s/old/new/g | Replace all occurrences of 'old' with 'new' (the g stands for global, the % before s indicates to do find/replace for all lines) |
| :s/old/new/g | Replace each occurrence of 'old' (in the current line only) with 'new' |
| :%s/old/new/gc | Replace each 'old' with 'new', but ask for confirmation first |
| :%s/old/new/gci | Replace each 'old' with 'new' (case-insensitive due to i flag); ask for confirmation |
| :5,12s/old/new/g | Replace each 'old' with 'new' for all lines from line 5 to line 12 (inclusive) |
| :.,+2s/old/new/g | Replace each 'old' with 'new' for all lines from the current line (.) and the next two lines (+2) |
Note that when searching,
+,
?,
|,
&,
{,
(, and
) must be escaped to use their special function (similar to regex), and
\t is tab, \n is newline, and \s is whitespace
(space or tab)
How to Start Practicing
First make sure you have a terminal available on your computer to navigate, then practice the basic bash commands to move around directories, create new directories, etc.
Next use vim on the terminal to edit an existing file of your choice. Practice using the hjkl keys to move left, down, up, and right, respectively.
After you get the hang of the navigation (in Normal Mode), try your hand at Insert Mode (remember to enter i to enter Insert Mode). Get used to typing as you would normally at first. Once you get the hang of typing in Vim, you can start to practice with using the different noun/verb/sentences.
After you've gotten the hang of the basic commands introduced in these slides, focus on learning a new command per day for the first 2 weeks. There are plenty more really powerful ones!
Using Bash/Vim in CSE 154
To edit any file (txt, HTML, CSS, JS, PHP, SQL, etc.), just type vim
filename when you're in the directory for the file you want to edit.
Once you get the hang of typing and moving around in Vim, you can starting writing/editing code much faster.
In the slides below, I've included suggestions for how to most efficiently edit and run different file types using Vim/Bash
HTML/CSS/JS
You can open your HTML page with Chrome from the terminal as well! How to do this
depends on the operating system, but I use the google-chrome command on
bash to open a file on the browser (I have a .bashrc alias to chrome because it's even
quicker to type).
medskm@pikapi ~/explorations/vim/ $ chrome vim.html
Bash Terminal (in explorations/vim/ directory)
alias chrome='google-chrome'
Alias helper defined in .bashrc
PHP
In the terminal, you can use bash to run a local PHP server:
medskm@pikapi ~/explorations/vim/mowglis/ $ phpserv
Bash Terminal (in explorations/vim/mowglis/ directory)
I use the following alias helper to use this shorthand for php:
alias phpserv='php -S localhost:8000'
Alias helper defined in .bashrc
You can then view any of your files in the directory you executed
phpserv in, and any PHP code will run (e.g. if you wrote JavaScript for
your HTML which fetches data from a PHP web service you also wrote in the same
directory), using localhost:8000/file/path.
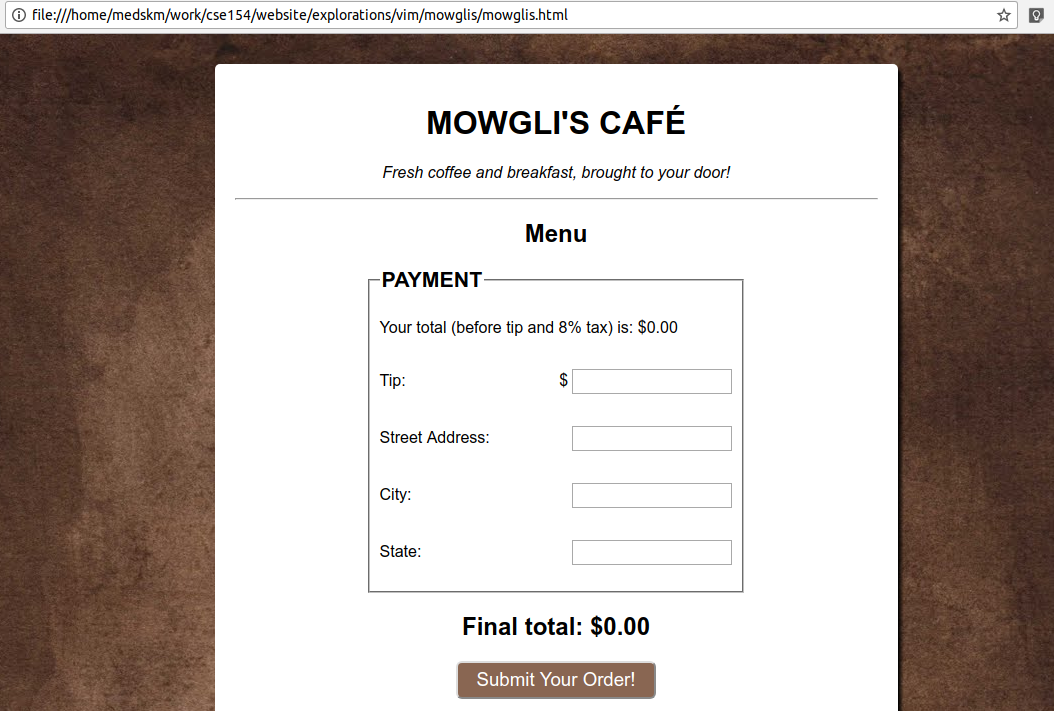
For example, assuming I have mowglis.html which uses mowglis.js/mowglis.php in the directory I ran
phpserv in, I
would open up the url localhost:8000/mowglis.html in my browser
(screenshots on slides below).
Opening mowglis.html locally before running a PHP server
medskm@pikapi ~/explorations/vim/mowglis/ $ chrome mowglis.html
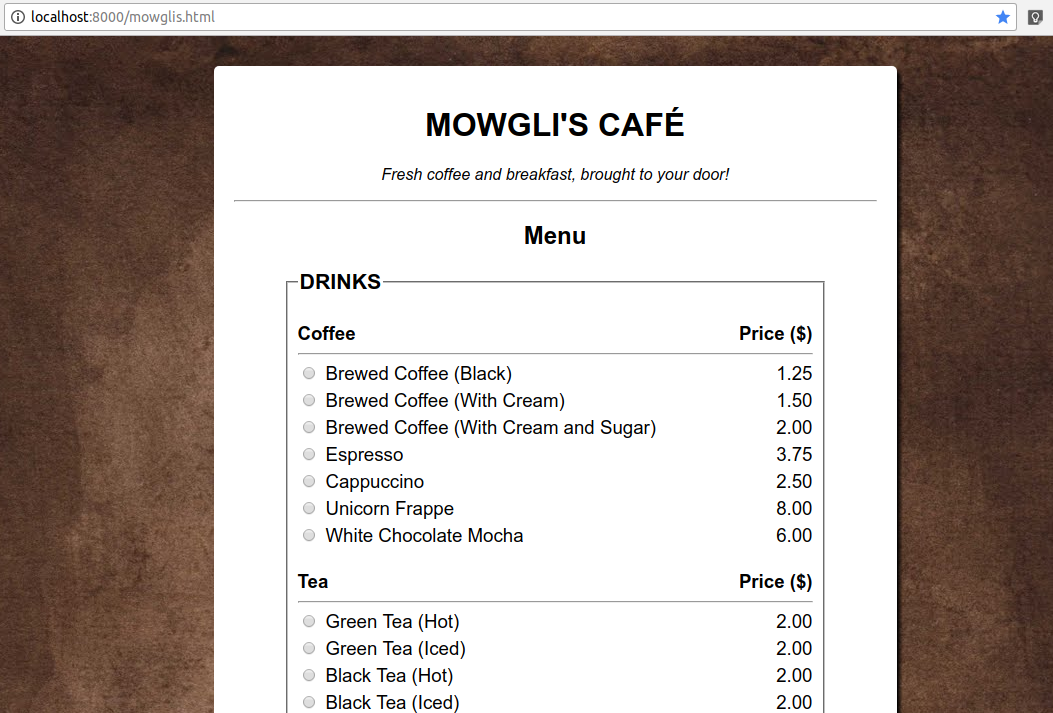
Opening mowglis.html locally after running a PHP server
medskm@pikapi ~/explorations/vim/mowglis/ $ phpserv
A Few Notes About Running a Local PHP Server
Note that you can't do anything in bash (including editing any files) when a server is running, but to edit your PHP/etc. files in real-time without shutting down the server, you can simply open up a new terminal and edit from there.
If you don't have PHP installed on your system, you'll have to install it first:
- On Linux or Windows 10 Bash (Ubuntu), type:
sudo apt-get install php7.0-cli - Mac installation tutorial (includes steps for installing mysql on Mac)
- Windows installation tutorial (without Bash)
Then you can run the server and access your running webpages on a browser!
MySQL
To use mysql on the terminal, you'll need to install it if you don't already have it on your computer. This tutorial includes steps for each operating system (the only steps you need to read is 3.1 for your corresponding operating system. Feel free to read the rest of the tutorial for advanced features).
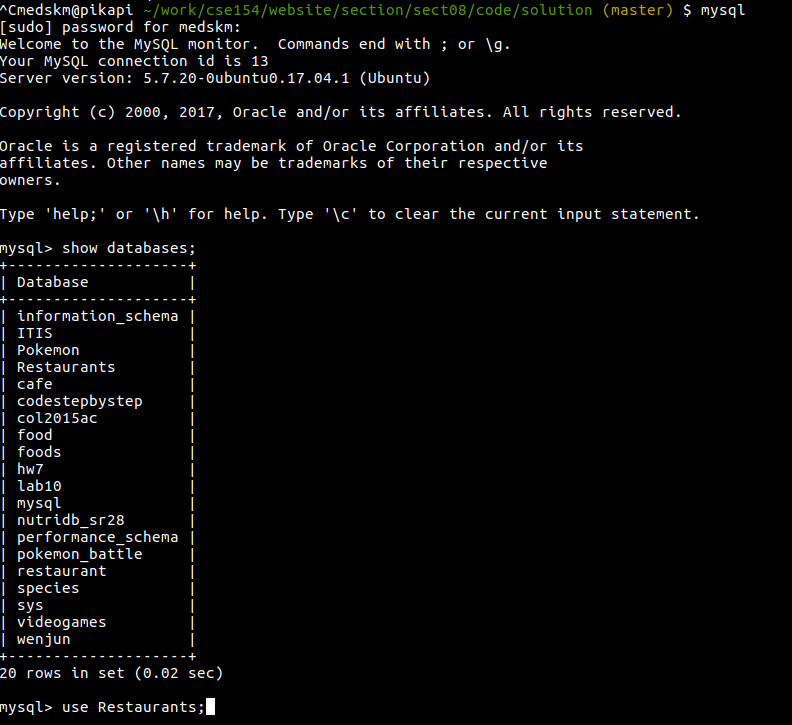
Then use the same commands you use in the Cloud9 terminal to list your databases, tables, and write queries (see slide below).
Using mysql On the Terminal
More Resources
Here are a few tutorials and resources I recommend when learning bash/Vim:
Vim Tutorials
vimtutor(type this command on your terminal, and it will bring you to a pretty great interactive walkthrough of Vim on the terminal)- Step-by-Step Guide on Starting with Vim (includes tips for getting started on different OS versions)
- Interactive Online Vim Tutorial
- Vim Adventures (a cute game to learn Vim, which I found pretty helpful in the first few days)
- Really neat Vim Plugins (I use a few for autocomplete in the different web programming languages we use [this is a favorite, here's a demo of me using it to create an HTML page with a table in ~10 seconds] as well as navigation through my directories while in Vim)
Vim Cheatsheets
- Vim Cheatsheet (the best I've found)
More Resources (Continued)
Bash/Command Line Tutorials
- Learning the Shell
- Introduction to the Command Line (good walkthrough with tips for each OS
- "Use the Command Line for Almost Anything" Guide
Bash/Command Line Cheatsheets
.bashrc and .vimrc files made for you!
- These have various syntax-highlighting features, auto-indent features, aliases for running a php server or mysql, etc. You can continue to customize your own with new bashrc/vimrc options you find online!
- Save both .bashrc and .vimrc to the
~/directory from the terminal -
You'll then need to run
source ~/.bashrcandsource ~/.vimrcto update them or close/reopen a terminal to see the changes.
Conclusion
Have fun learning Vim and the command line! Once you learn the basics, you can do quite a bit of configuration to make it the most effective tool in your "web development toolbox"
Feel free to reach out (medskm@cs.washington.edu) if you have any questions with setting up, etc.!