24sp ver.
Note: this is for the Spring 2024 iteration of CSE 121. Looking for a different quarter? Please visit https://courses.cs.washington.edu/courses/cse121/.
Most of this course will be run on EdStem. This includes readings and exercises for both class sessions and quiz sections; the discussion board; and where you can work and submit your assignments. All of the required lesson materials and access to Ed are free for students enrolled in CSE 121 this quarter. Direct links to Ed will be posted from this course website for each relevant activity in class. We recommend using this course website as your primary way of finding information and the right link to Ed. One of the benefits of using EdStem is that it comes fully featured with an online programming environment. This means it’s not strictly necessary to install any software as long as you can work online! However, you will need to complete some software setup on your computer if you want to work locally on your own device.
If you would like to set up your device to run Java locally, we recommend that you install a editor named VSCode (Visual Studio Code) as another option for working on your assignments. VSCode is a fully-featured Integrated Development Environment (IDE) that is used by many professional software developers. The instructions below will explain how to install and set up VSCode for our course.
Install Java
Following the instructions here to install Java on your computer.
Install VSCode
You can get Visual Studio Code (VSCode) from https://code.visualstudio.com/.
Set Up VSCode
We strongly recommend you start by installing our profile file to get the cse12x settings configured automatically. It will enable and disable a number of features and plugins to try and make it a better first IDE experience.
NOTE: Some of these menus look slightly different on macOS vs windows. If you are on macOS you may need to access the menus via clicking on the gear icon on the bottom left.
If you want to change settings later, you are welcome to do so.
Download the CSE123-Java settings
Found here: cse123-Java.code-profile
Start a new profile
In the VSCode menus: File->Preferences->Profiles->“Import Profile…” 
Open the file
Select the top option “Select File” (at the top of the screen). 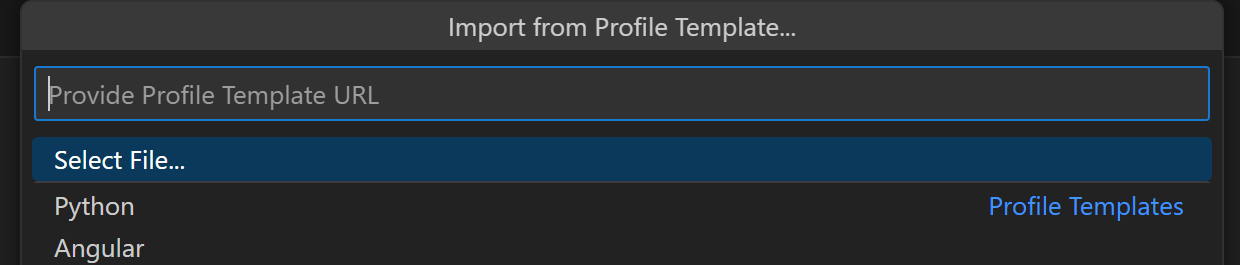
Select the file you just downloaded (cse123-Java.code-profile).
Create the profile
Hit the “Create Profile” button on the left. 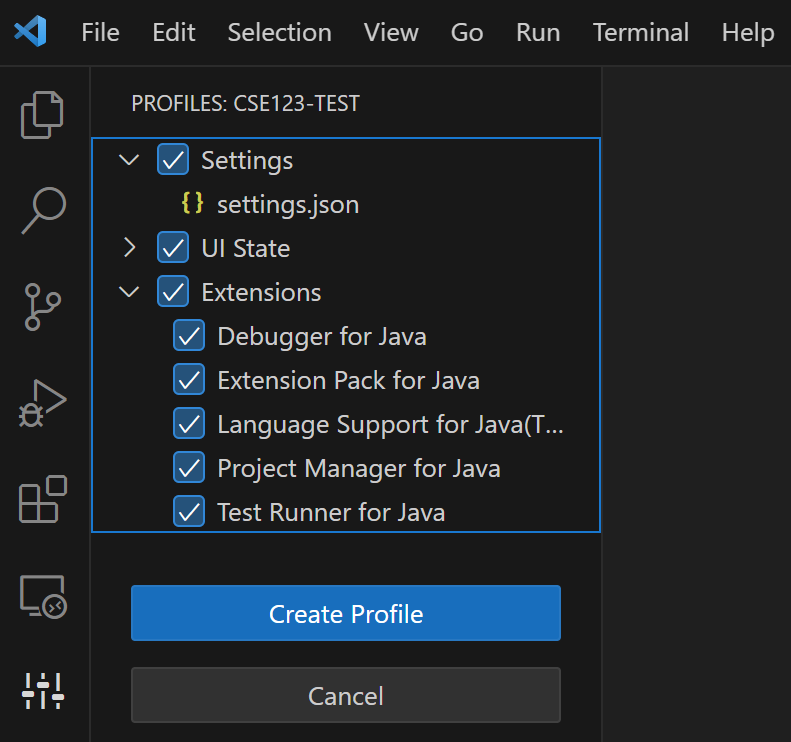
Name the profile “cse123-Java” and hit the “Create” button on the top. 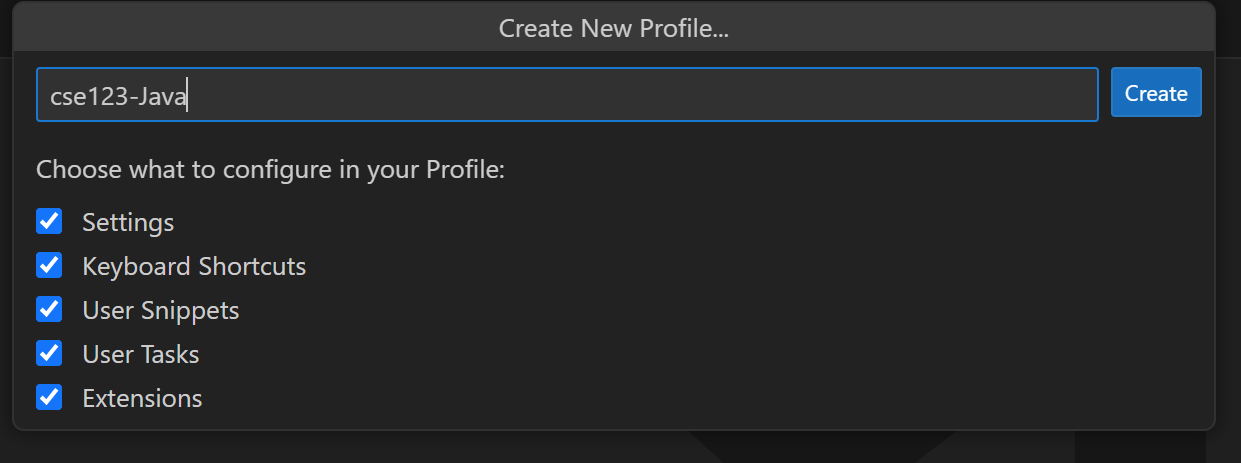
Done!
You can double check that it shows “cse123-Java” in the File->Preferences->Profiles menu now. 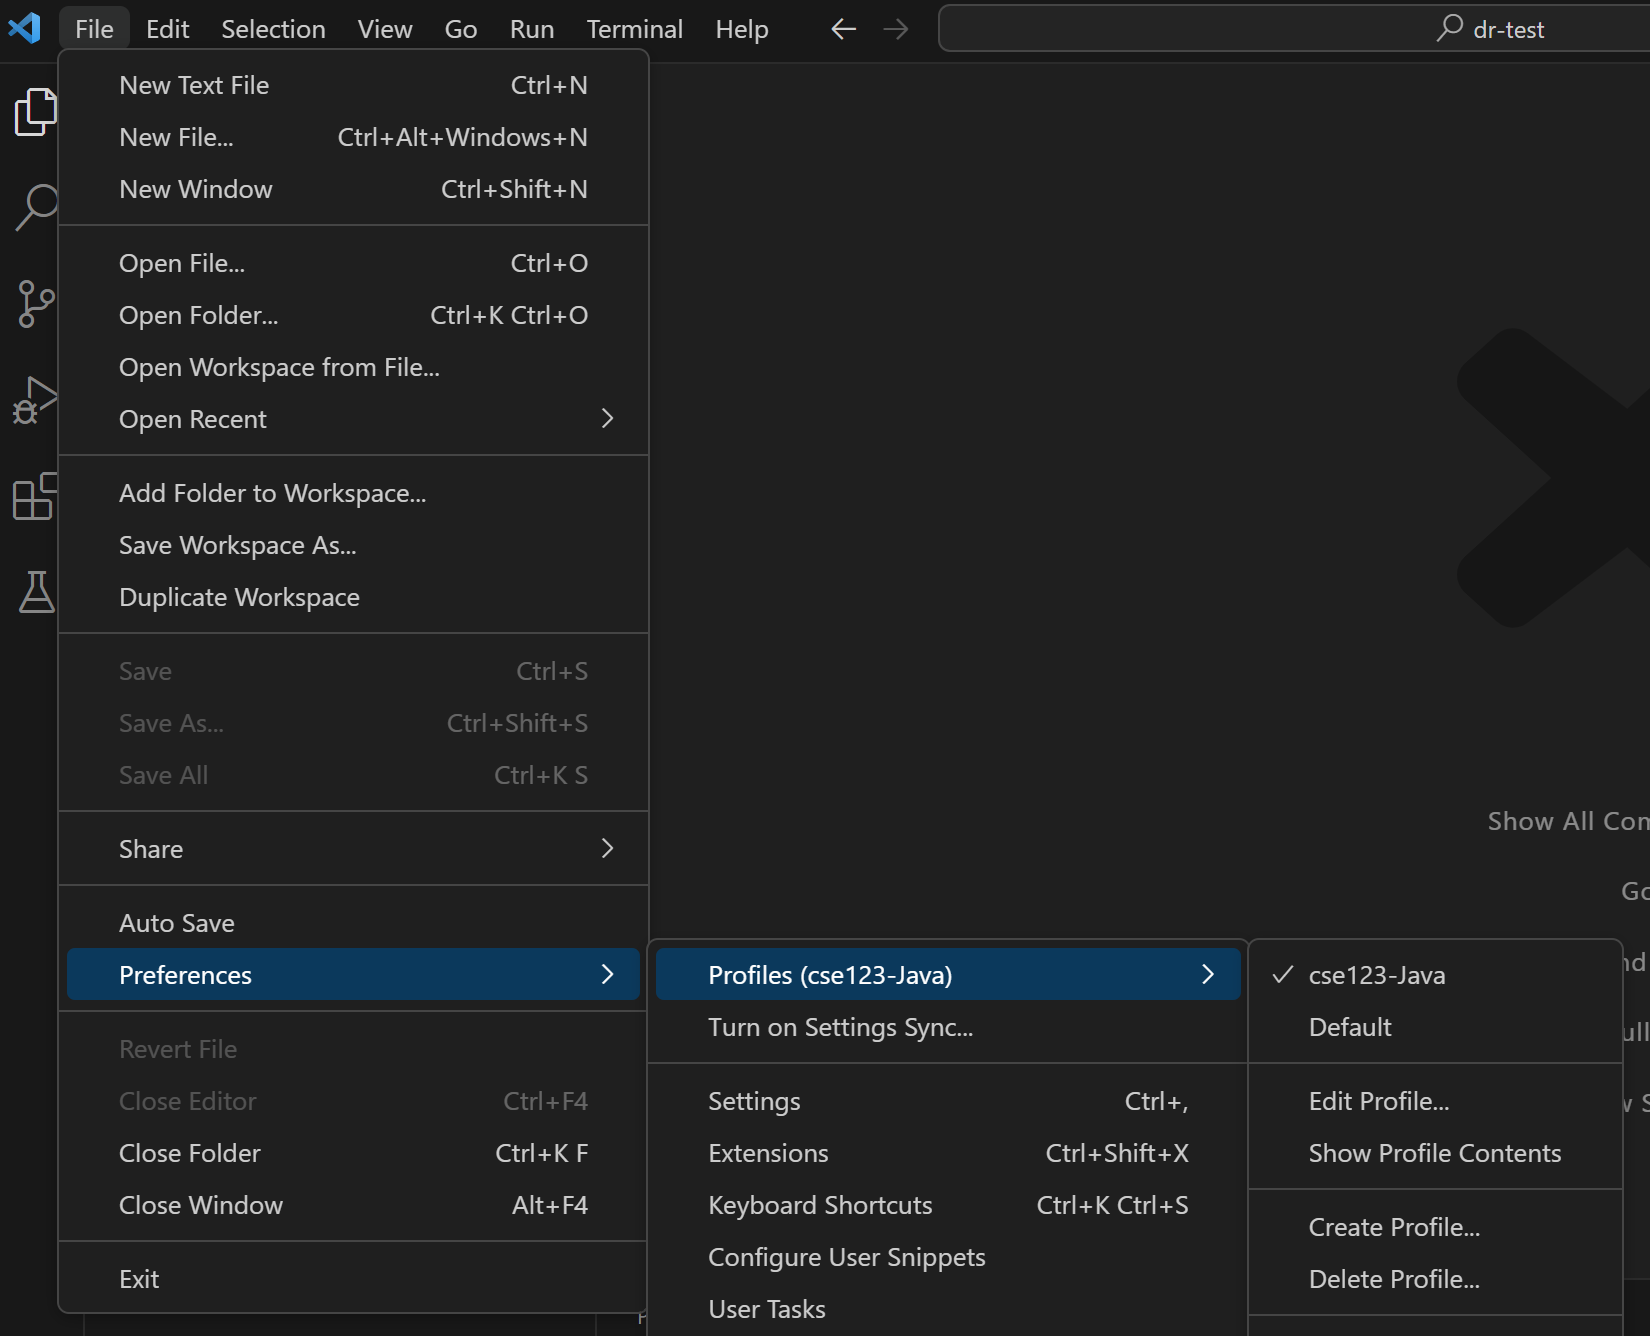
Running tests
Click on the flask icon on the left.
More instructions here forthcoming.
Accessing the debugger
More instructions here forthcoming.
Starting working on a project
Download the assignment and unzip it. You should now have a folder with “.java” files in it, and possibly a directory called “/libs”
In VSCode: “File->Open Folder” and select the folder containing the .java files.