Lab #3 Creating a basic HTML web page |
| (due Wednesday, 1/21, 11:59 PM) |
Add images, links to other pages and email links
Now you'll learn two more very important tags:
<a></a> the 'anchor' tag for creating links (including email links)
<img /> the 'image' tag for embedding pictures
1. Use the information below to add 3 things to your page:
a. a link to another page (e.g. to the Google search page)
b. an email link (e.g. to your own email address)
c. an image (click here for instructions on downloading an image to use)
The 'a' tag:
When you put text inside 'a' tags like this:
<a>go to Google</a>
the browser will know that this is a link, but it doesn't know where to go when you click on that link.
You provide that information by adding an attribute called "href", like this:
<a href="http://www.google.com">go to Google</a>
To create a link that will open up your email application to send a message, the "href" will start with "mailto:" followed by the email address, like this:
<a href="mailto:someone@u.washington.edu">Send Mail</a>
The 'img' tag:
With the image tag, you need to tell the tag the name of the image file that you want to embed. Like this:
<img src="hello.jpg" />
NOTE: for this to work, there must be a file called "hello.jpg" stored in the same folder as the html file.
You also need to tell it what text to use instead of an image if the image is missing or the viewer has chosen not to display images or if the viewer is blind. Like this:
<img src="hello.jpg" alt="hello"/ >
| previous page | next page |
|
|

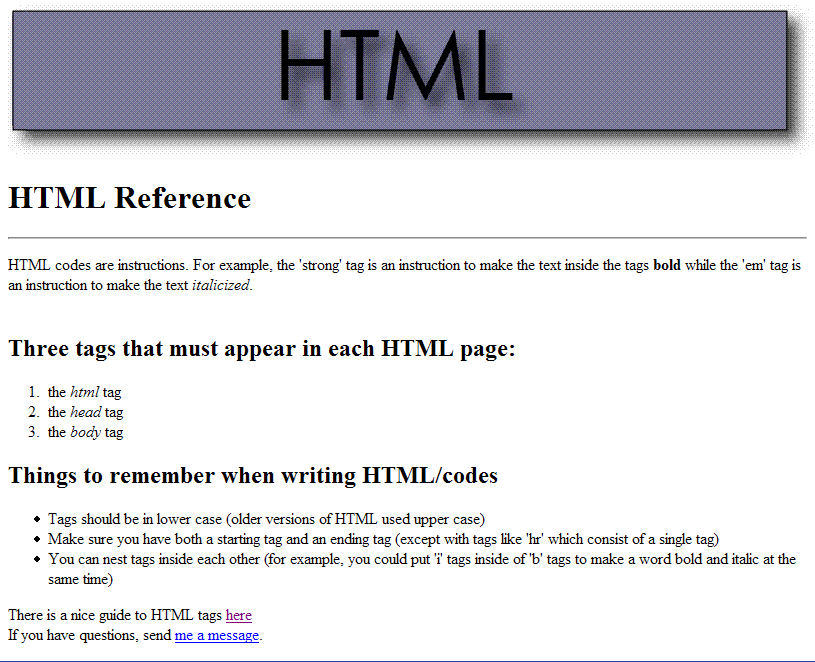
sample page which includes an image, a page link, and an email link