Hierarchical Modeling
In this part, you will create a basic humanoid model and add simple animations. The provided HierarchicalModel
scene, which is basically empty, is the place for you to compose the model.
The Model
Regarding your hierarchical model, there are 2 requirements:
-
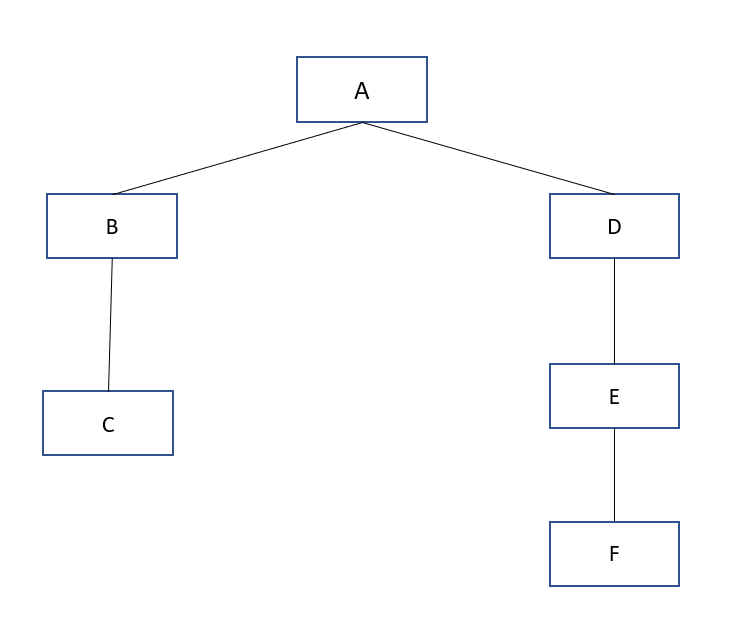
The model must be a humanoid whose hierarchy tree has a minimum depth of 3. Your model is created by a hierarchy of nodes, including empty nodes and Shape nodes (Cube, Sphere, Cylinder, etc). Below is a basic humanoid model which is created with Cube
GameObjects.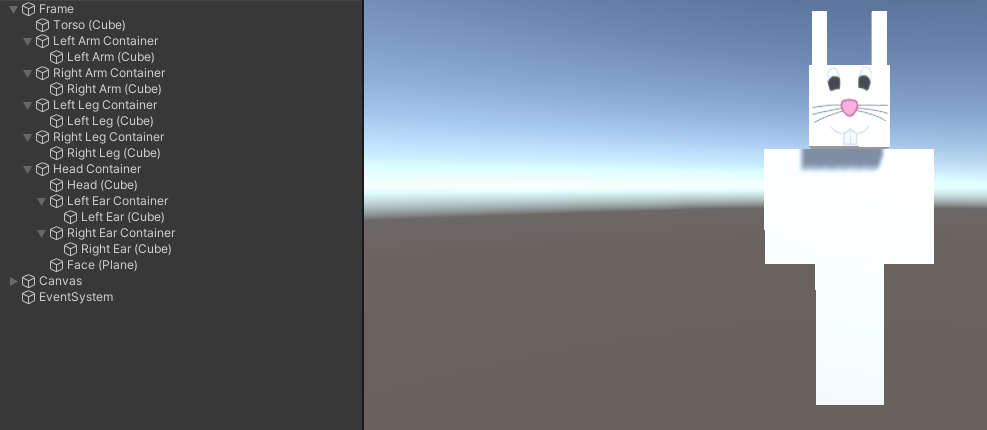
Here’s an example of a tree with the minimum depth of 3. Your hierarchical model, which consists of Empty Nodes and Shape (Cube, Sphere, Cylinder, etc.) nodes, should be at least as deep as this.
-
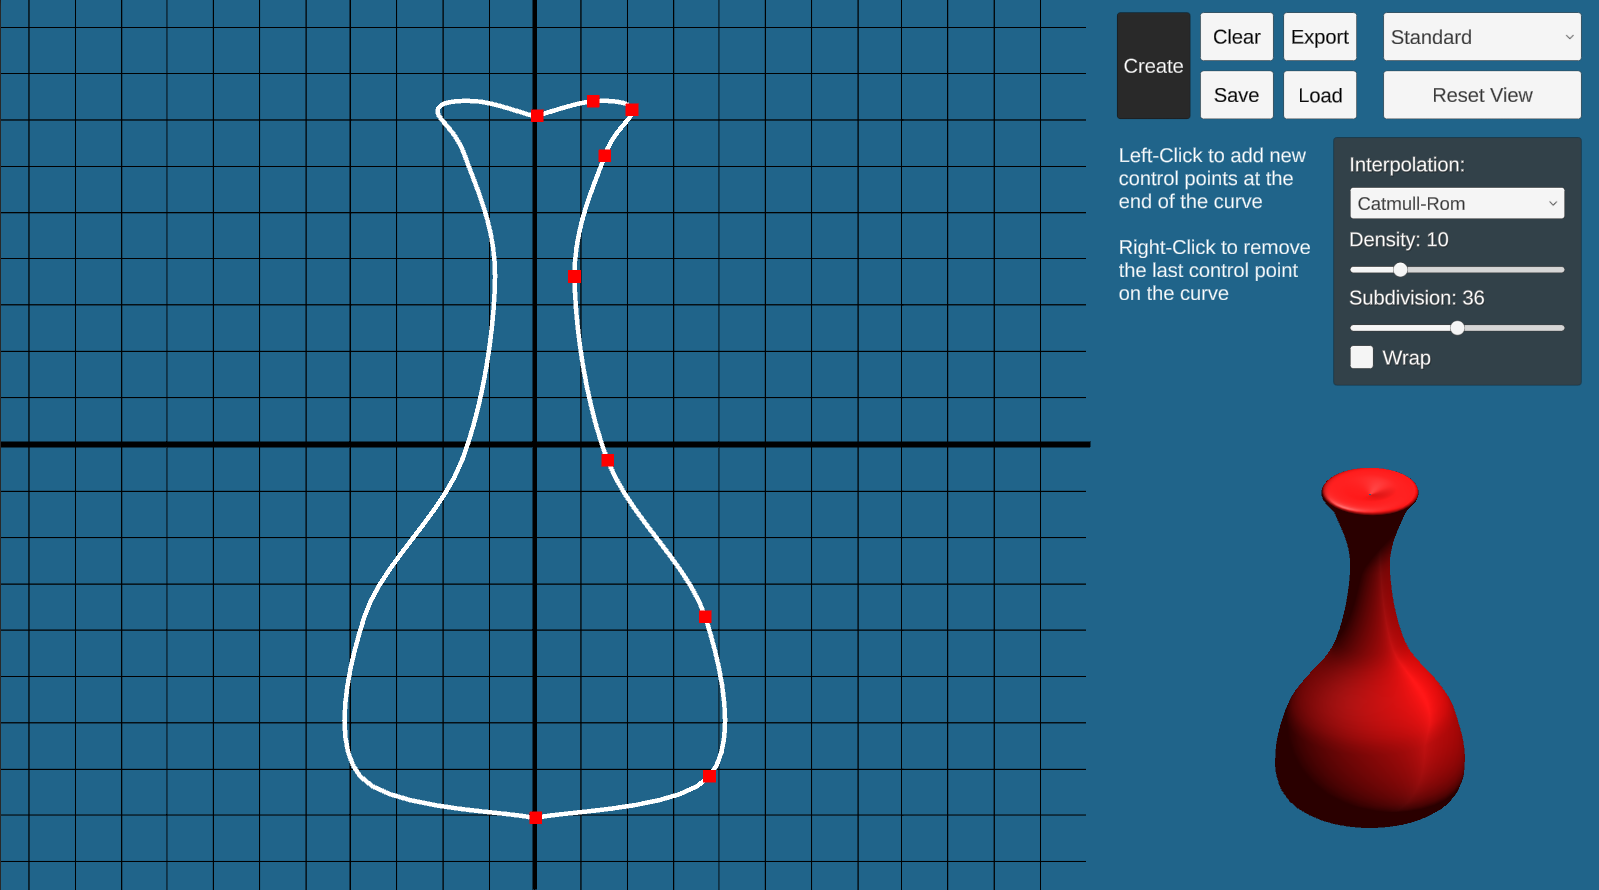
The model must have at least one component made of your created surface of revolution. After creating your surface of revolution,
click on the Export button to save your mesh in the
Assets/ExportedMeshfolder. Then, in theHierarchicalModelscene, right-click anywhere in the Assets tab and choose Import new asset and select the file that you just saved. The surface is imported, which can be dragged into your Scene or converted into a Prefab. As an example, your model’s arms or other body parts could be made of this surface.
We recommend you refer to class lectures and write down the tree diagram of your model to help you figure out what your model will be, and to practice thinking about empty nodes, centers of rotation, and so on. You do not need to turn in your diagram.
In addition to providing a little fun, the animations will help you learn more about hierarchy design – you will find that certain animations are easier if you plan your hierarchy together with the animations you want to perform.
The Animations
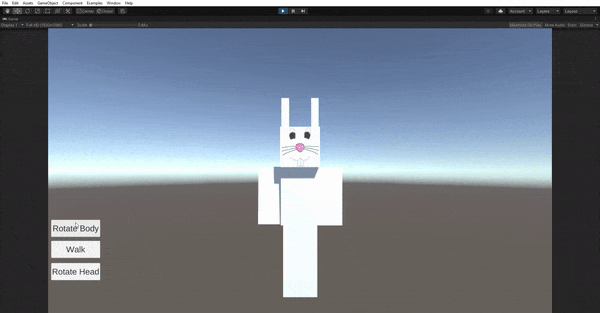
You are to create 3 buttons that execute basic animations for your model as follows:
- Button 1: Rotate the entire model in a circle
- Button 2: Implement a walking animation for your model.
- Button 3: Implement animation of your choice. Below is an example of what these buttons might do. Be creative :-)
You will need to create a new script and attach it to your model to manage animations and handle when the user
presses a button. Create a Canvas GameObject to create a UI (UI -> Canvas). Add buttons by
creating a Button GameObject (UI -> Button - Text Mesh Pro). Make sure your
buttons are child GameObjects of your Canvas.
Rotations are stored as a Quaternion. To convert between euler angles and
quaternions, use the
Quaternion.Euler() method to create quaternions, and the eulerAngles property of a
Quaternion instance to retrieve the euler angles of a quaternion. If you want to interpolate between
quaternions, use Quaternion.Slerp(), which perfoms spherical linear interpolation.
You may also use Vector3.Lerp() to linearly interpolate between euler angles and then convert
to a quaternion.
You will want your animations to be the same speed regardless of framerate, so you should make use of
Time.deltaTime (which gives the amount of time that has passed since the previous frame) to
normalize the animation speed. You may also place your animation code in FixedUpdate() which
has a fixed Time.deltaTime.