CSE 466 Lab 3: Switch Debouncing and Using Libraries with the LCD

Objectives

In this lab, you will install a push button, and you'll write a brief program to readit. You'll connect the color graphic Liquid Crystal Display and develop a sketch for it.

Suggested Reading and Resources

Helpful Hints

Suggested Steps

Part A- Switch Debouncing

  1. Check the momentary switch from your kit for the correct pinout, by using the voltmeter to check contuinity. Wire one pin of the switch to ground, and the other pin to Teensy pin 1.

  2. In Arduino, Load "File>>Examples>>02.Digital>>DigitalInputPullup". Read through the code and modify pin settings if needed to match your wiring. We'll use the on-board LED on Teensy. Compile and load the sketch and press your switch. The LED should light. Open the serial debug window. You should see the data changing when you press the button. If not, debug.(Note: the serial debug window may throw a jave memory exception and lock ip the Arduino IDE. Restart and substitute a delay(10) line for the Serial.println(sensorVal); line.

  3. Next connect an oscilloscope lead to Teensy pin 1, the switch pin. You should be able to see the voltage change as the switch is pushed.
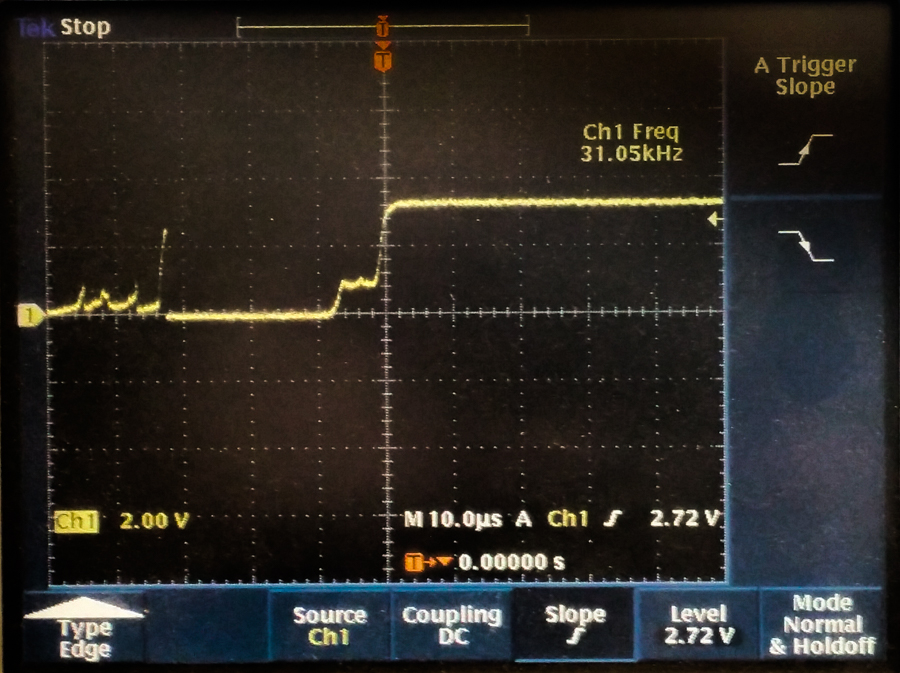
    Look for noisy transitions like these:
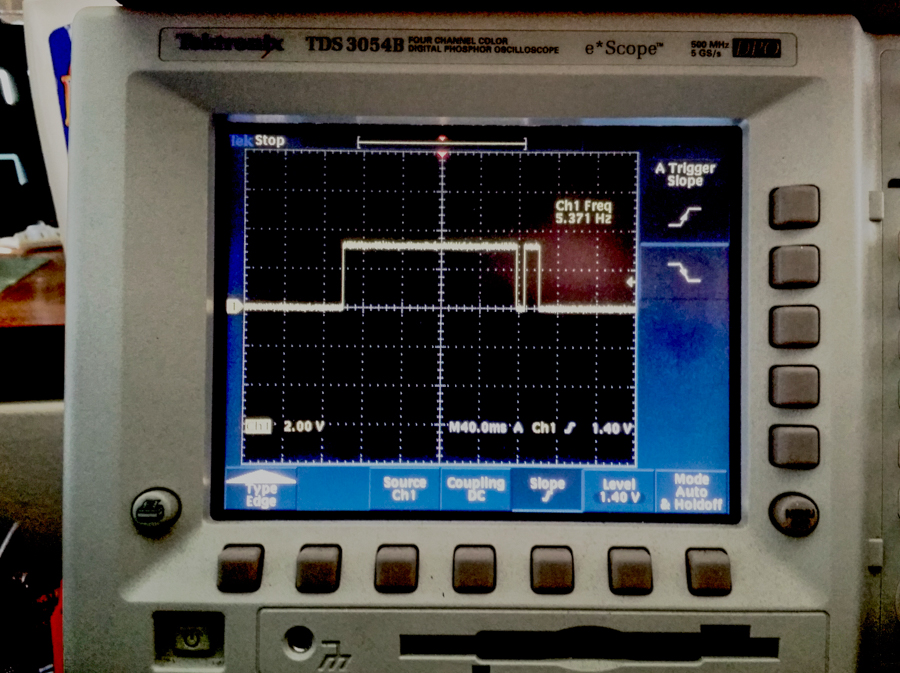
    bounce switch
    Another example:
    input

  4. Now, in your sketch comment out Serial.println(sensorVal); Compile and run. Connect your scope probe to Teensy pin 13, the LED pin. Look for transitions there, like this:
    LED output

    Question 1: Do any false transitions get through to the LED? Why? If so, why don't you see the LED flicker?

  5. Uncomment Serial.println(sensorVal); and run.

    Question 2: Do the transitions on pin 13 change? Why?
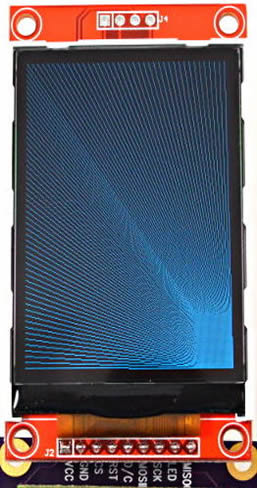
In Arduino, Load "File>>Examples>>02.Digital>>Debounce". Again, read through the code and modify pin settings if needed to match your wiring. In addition, you will need to turn on the input pull-up. Compile and run, and verify correct operation.

Question 3: Are the transitions on pin 13 any different? If so, please describe.

Archive your sketches. You may want the code later.

Part B-the LCD and Graphics Library

  1. Find the Liquid Crystal Display in your kit. Note that the pin labels are on the backside.

    Connect the display to your Teensy as follows:
    display
    ILI9341 Pin Teensy 3.1Pin Notes
    VCC VIN Power: ~5 volts, from USB
    GND GND  
    CS 10  
    RESET +3.3V  
    D/C 9  
    SDI (MOSI) 11 (DOUT)  
    SCK 13 (SCK)  
    LED VIN Use 100 ohm resistor
    SDO (MISO) 12 (DIN)  

    https://www.pjrc.com/store/display_ili9341.html


    Check your work carefully. An error in wiring could damage the display! Double-check that you have NOT reversed the pins.

  2. In Arduino, Load "File>>ILI9341_t3>>graphicstest". Compile, run, and open the serial debug window. This should demonstrate the display's capabilities.
    If nothing happens, unplug and check your wiring.
  3. Note the three lines at the beginning:

    #include "SPI.h"
    #include "Adafruit_GFX.h"
    #include "ILI9341_t3.h"

    These refer to external libraries. Here is more information on #include and on Arduino libraries. Understand how these work, as we'll be using them often.

  4. Now, using graphicstest as an example, write a sketch called OnOff that reads the switch and writes the word OFF or ON in large letters in the center of the display.

    Demonstrate your sketch to the TA.

  5. Download and run TFT_3DCube.ino. This sketch draws a cube in the center of the screen. Study the code, and then produce the following changes:

    Change the size of the cube with the potentiometer.

    Question 4: What are the limits to the size of the cube? How small can you still discern it to be a spinning cube? What is the largest size where it is still identifiable as a cube?

  6. Now, make a sketch called OnOffCube to use the button to start and stop the cubes rotation. Push for start, push for stop.
    Hint: use a state-variable that is toggled once for each button press.

  7. Next, make a sketch called HVCube to use the button to switch between horizontal and vertical rotation.

    Demonstrate your sketch to the TA.

Deliverables