Project 2: Head Modeling
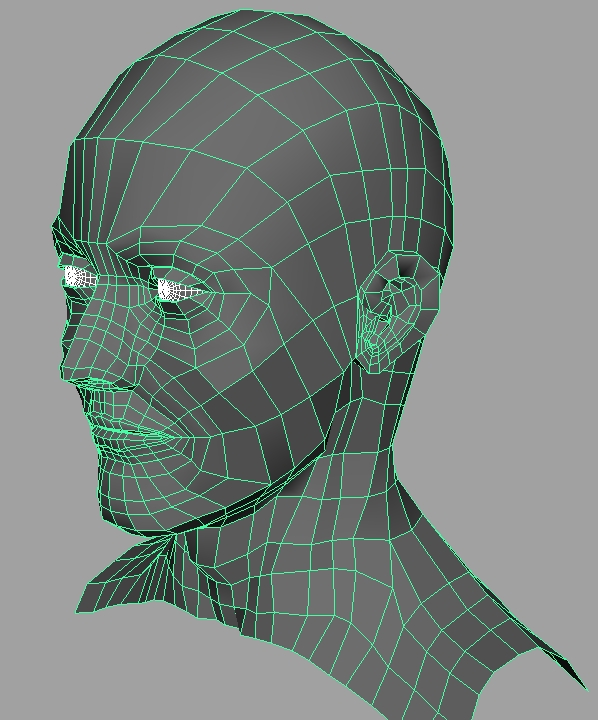
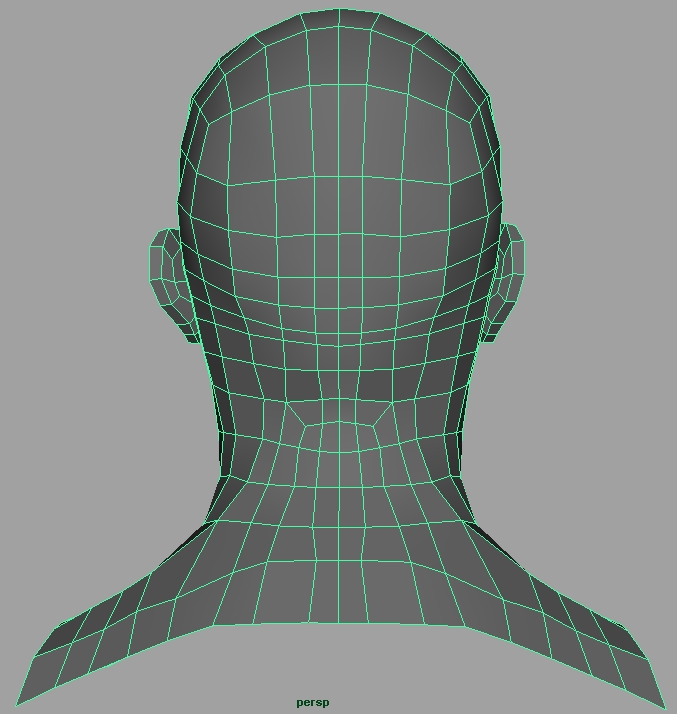
In this project we will create a subdivision surface head using polygon tools. You will be modeling a head from given reference photography or your own head (you will need to take your own reference in this case). For this project we will be working in the Polygons menu set. Create a new Maya file to begin.
You should be familiar with the polygon tools and so the instructions for this assignment will be less explicit than previous projects, however new concepts will be explained. The tutorial below gives you a general idea for how to model a human head such as edge loop placement, but your model will vary in the specifics. You will want to make your head match your reference as closely as possible. Be sure to review the Image Plane prerequisite exercise so you can properly set up your reference images in Maya. Also be sure to go through the Subdivision Modeling exercise as there are important concepts to understand.
Before diving into modeling your head, it is a good idea to get a sense of how a human face is put together. Since we are so naturally attuned to human faces, it can be both daunting and challenging to try to model something that our brains can interpret so flawlessly. We can immediately pick up on little changes that can make or break the believability of your model. Since there is plenty of history to go off of in the arts when it comes to recreating the human figure, it's a good idea to look back and pull from what has already been established. When taking away all the technical and computational aspects, modeling essentially becomes sculpture. And since sculpting is such an old practice, we shall look at what it teaches us.
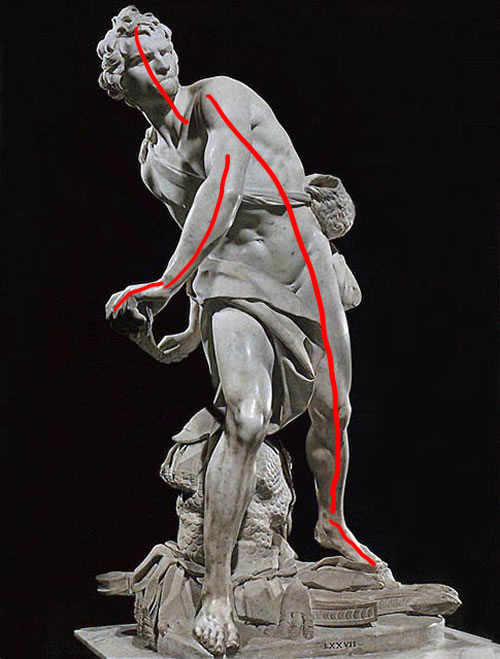
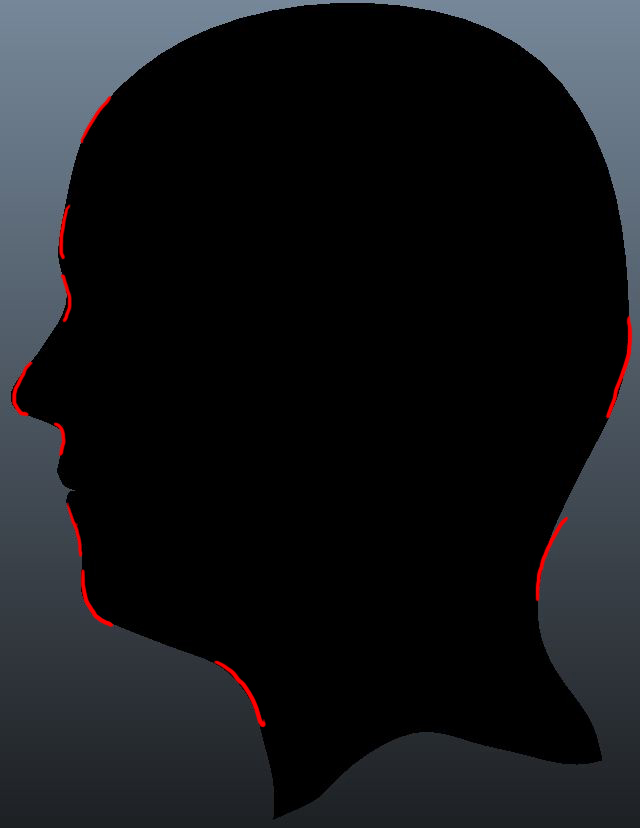
There are three key aspects to modeling/sculpture that should be taken into account. The first and most important is the notion of gesture. Gesture is defined by the overall arcs and curves that are built into your model as well as the gestural rhythm created by the peaks and valleys in the silhouette of a figure. The images below demonstrate both concepts. In the first image, we see Bernini's David and his impeccable use of gestural lines throughout his model. Notice how they are not straight, but nice curves that somewhat oppose each other. Since you are just modeling a head it may not seem directly relevant, but the next image shows a concept of gesture in the rhythms that are created in the silhouette of the figure. Always pay attention to these concepts in modeling as this is the first thing the eye sees. Our eyes and brains reads this quickly, and much of the character and emotive expression is born out of these concepts. Always check your silhouette as your work. You can do this by pressing 7 on your keyboard. This brings you to lit mode, but since there are no lights in the scene (besides the defaults) it will be black letting you concentrate on the rhythm of your model. Exit lit mode my switching to shaded mode by hitting 5.
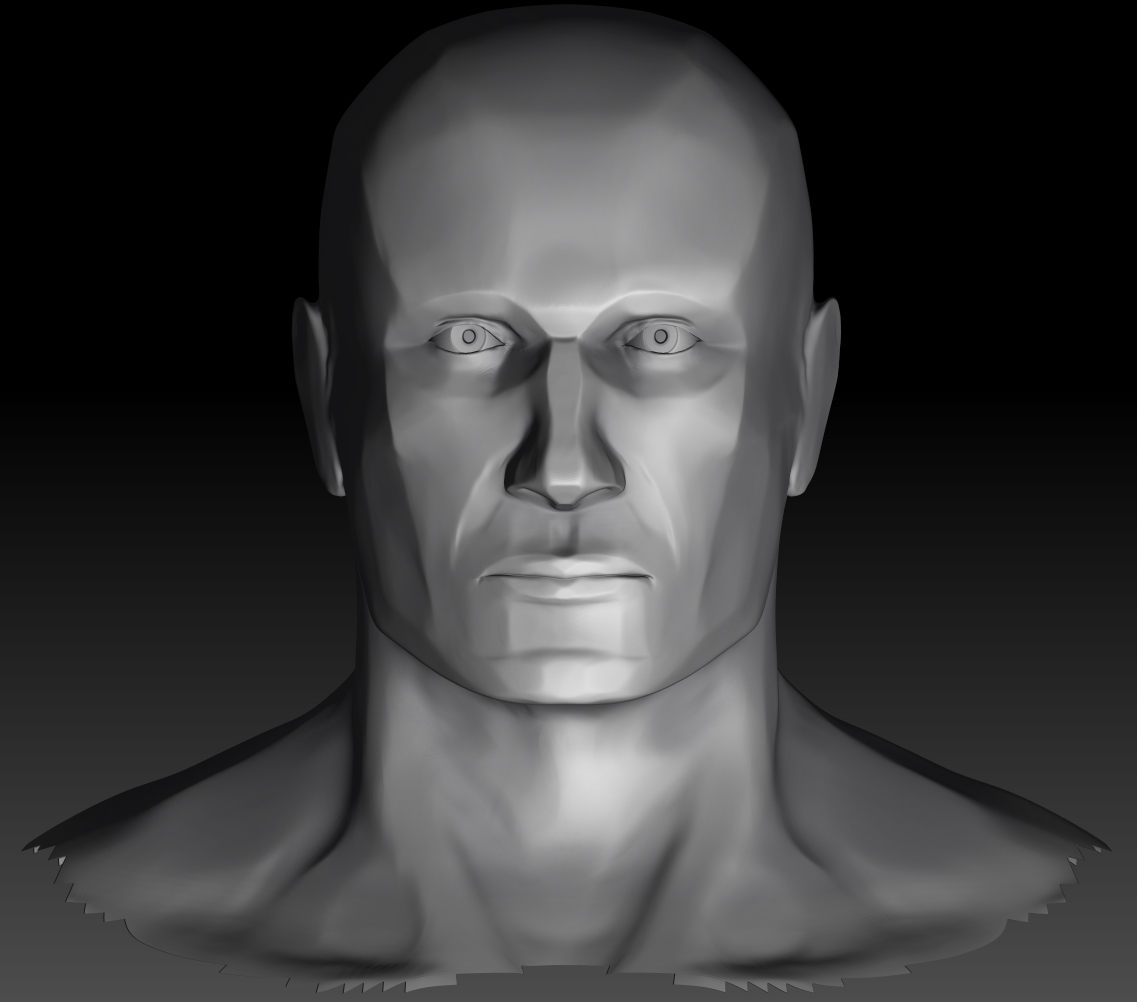
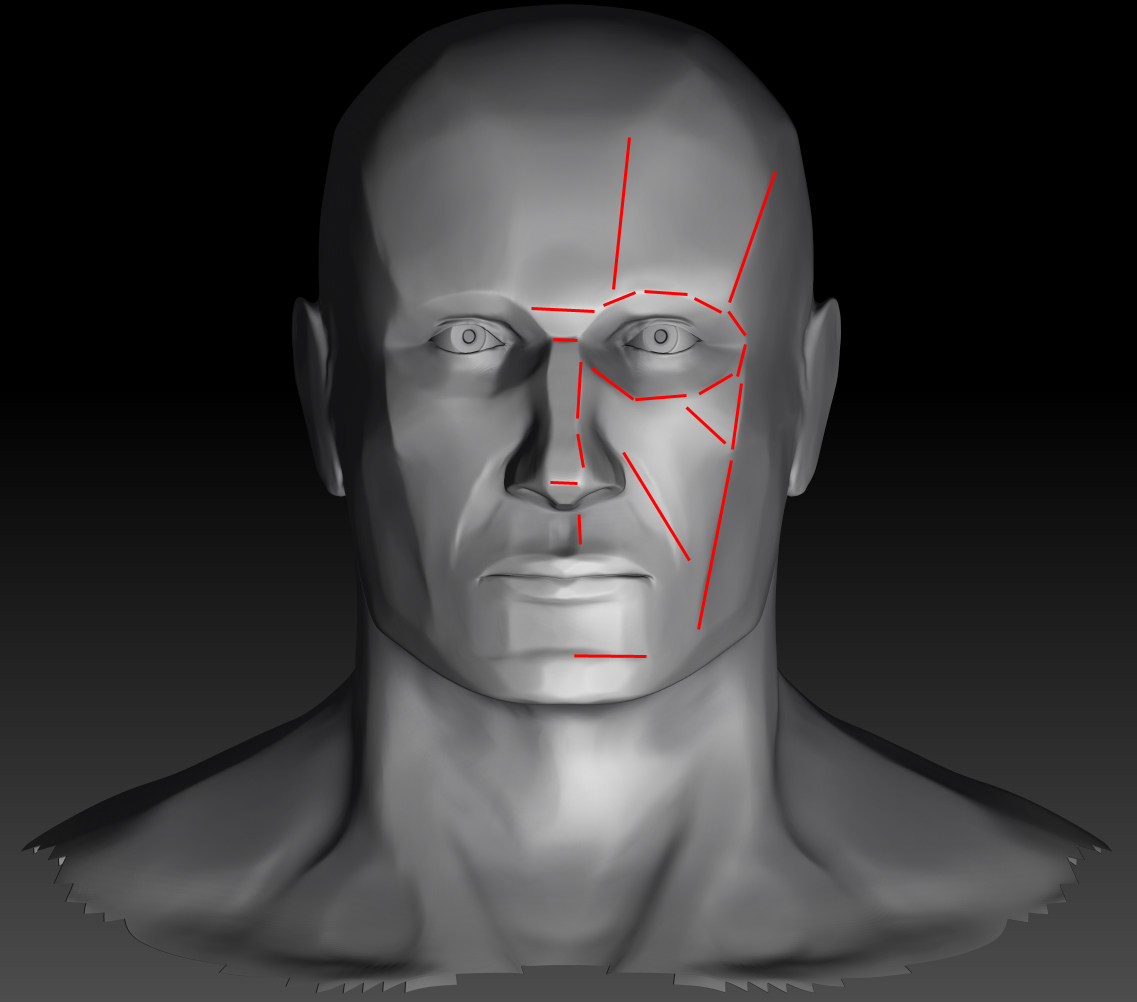
The second aspect is what we call form. Form is the inner detail and features of your model. We can see form because of how light plays on a model. A good way to see how this works is to think of a complex organic form like the human face in terms of planes and how plane breaks affect the light hitting the surface. Below are images of a human face broken down into its planar structures. Observe how the light changes where the planes break. Also, the second image points out major plane breaks in the human face that should be more or less universal. Although the image is that of an idealized male form, these highlighted breaks are usually always seen in the human face, but how they are shaped is unique to the face your are modeling. Always look at your reference to see how these apply to your face.
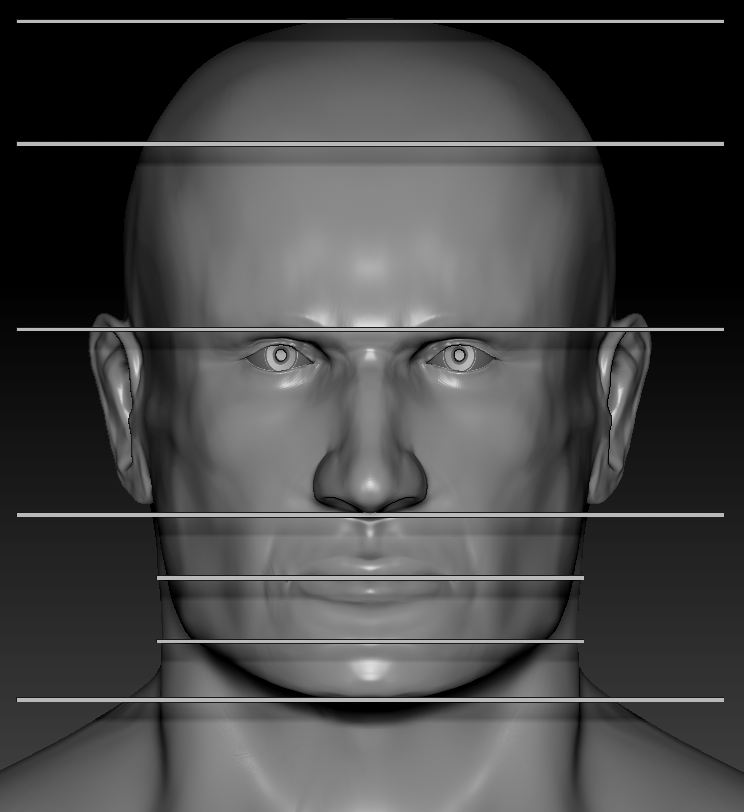
The final key concept of modeling is proportion. Proportion is the least important because it can be exaggerated and changed for stylization purposes. However, even when stylizing, proportions can drastically change the character presented within your model. Since you are trying to model a realistic face, you will want to adhere to realistic human proportions. Use your reference to guide you for attaining the appropriate proportions. In one idealized model for anatomically correct proportions, the face is said to start at the hair line. From there you can divide into even thirds to the bottom of the chin. The eyebrow ridge sits at about a third of the way down from the hairline, the end of the nose sits sits at around two thirds of the way down. Between the bottom of the nose and the bottom of the chin, you can once again divide into even thirds. Down from the first third rests the middle of the lips and down one more third, the chin begins its form. Again, these are for an idealized figure and are merely meant as guide. Use your reference to truly determine the right proportions for your model. The images below visualize the above concept.
NOTE: The above images do not reflect the expected output from following the tutorial. Some of the images were made outside of Maya, but were included to help you understand more about the modeling process. Below, the tutorial within Maya begins, but always keep the above concepts in mind while working. Look at the Hotkeys and Tools above to help you create your head. You can learn more about these tools by reading the Maya Documentation which can be found by hitting F1. Also, be sure you are using reference images of your own head when attempting the tutorial below.
- Using the Create Polygon Tool, draw a outline of your character in the Side camera view (Mesh → Create Polygon Tool). Use as many points as you think would be necessary to create the outline.
- Extrude the outer edge and then delete the extraneous polygons.
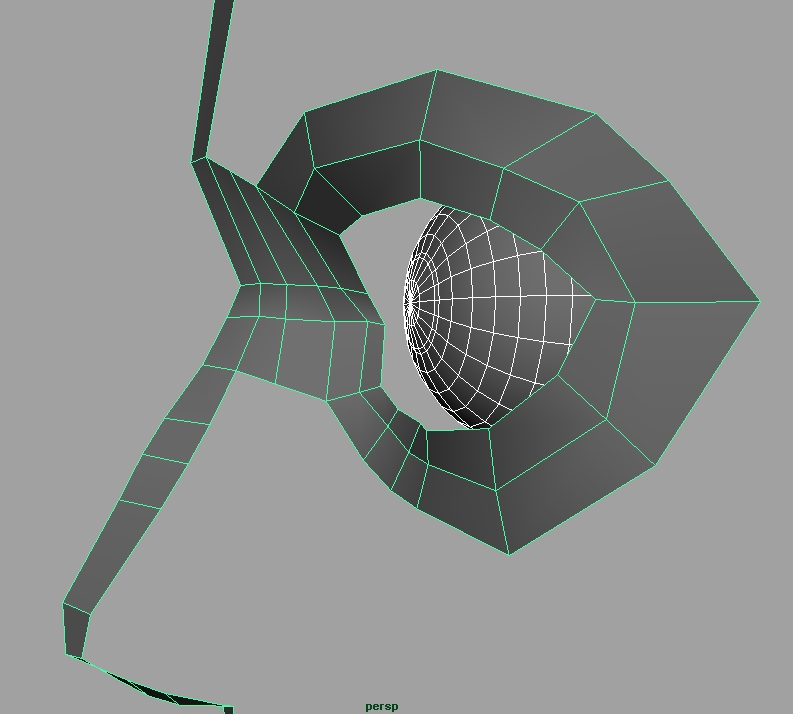
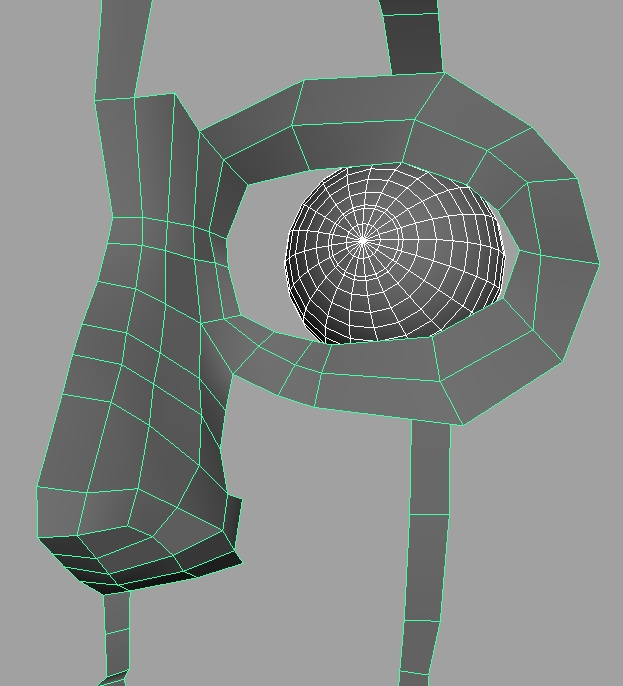
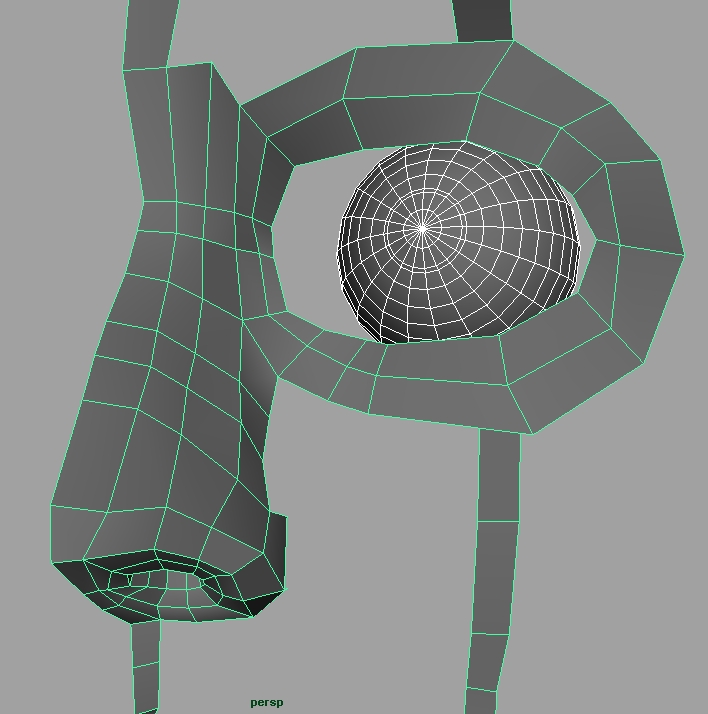
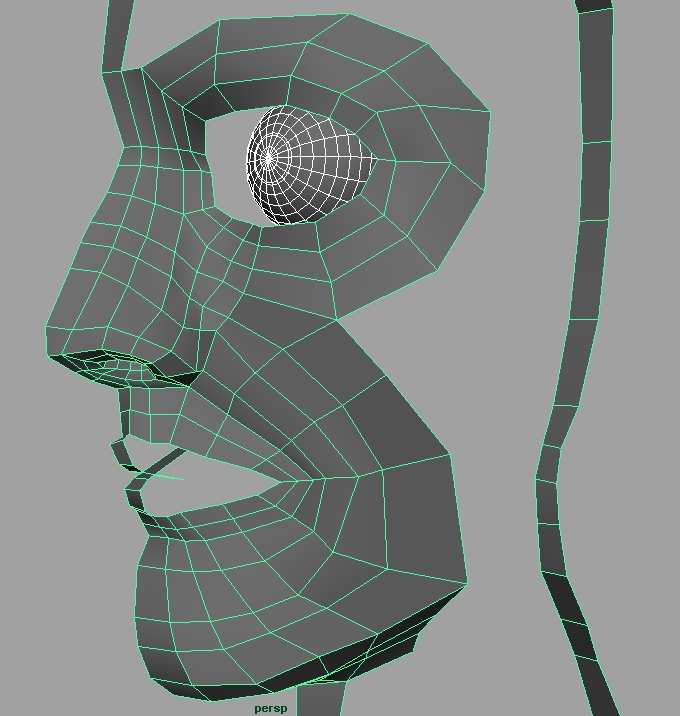
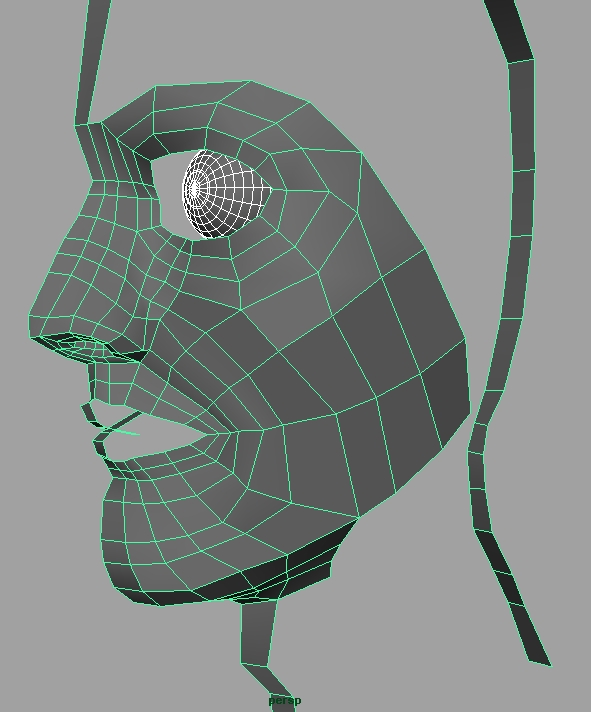
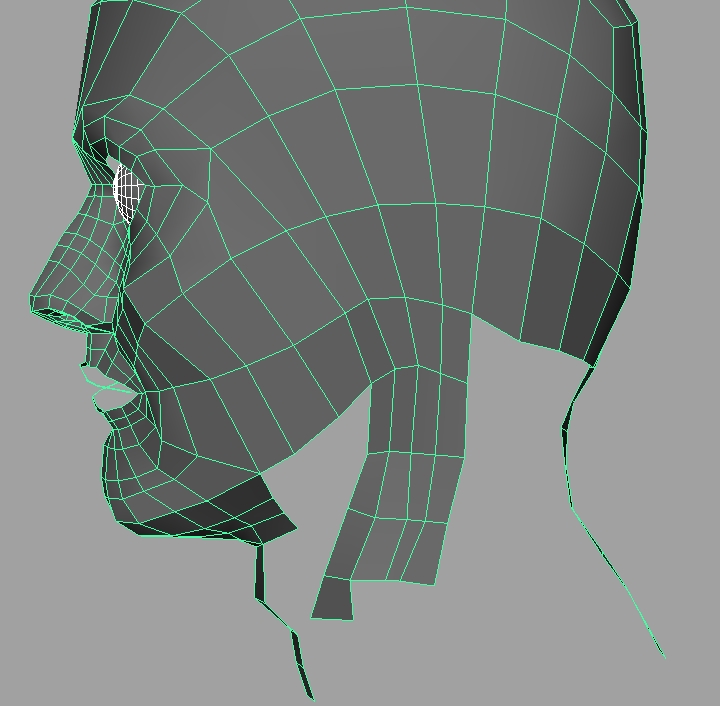
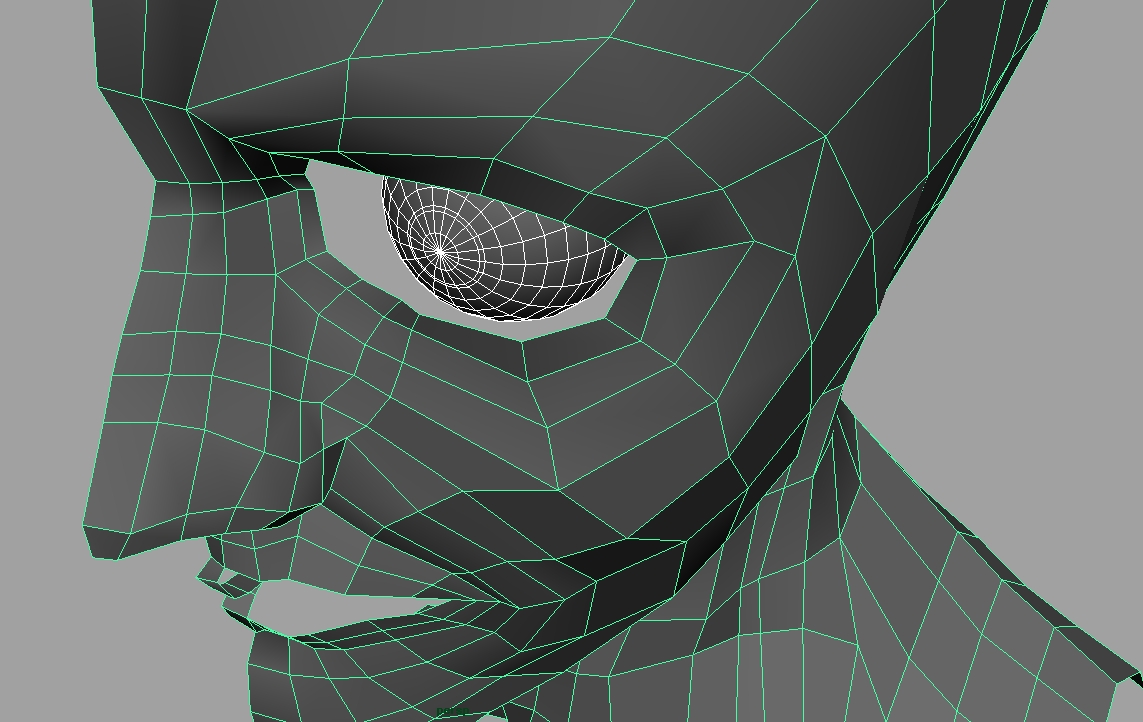
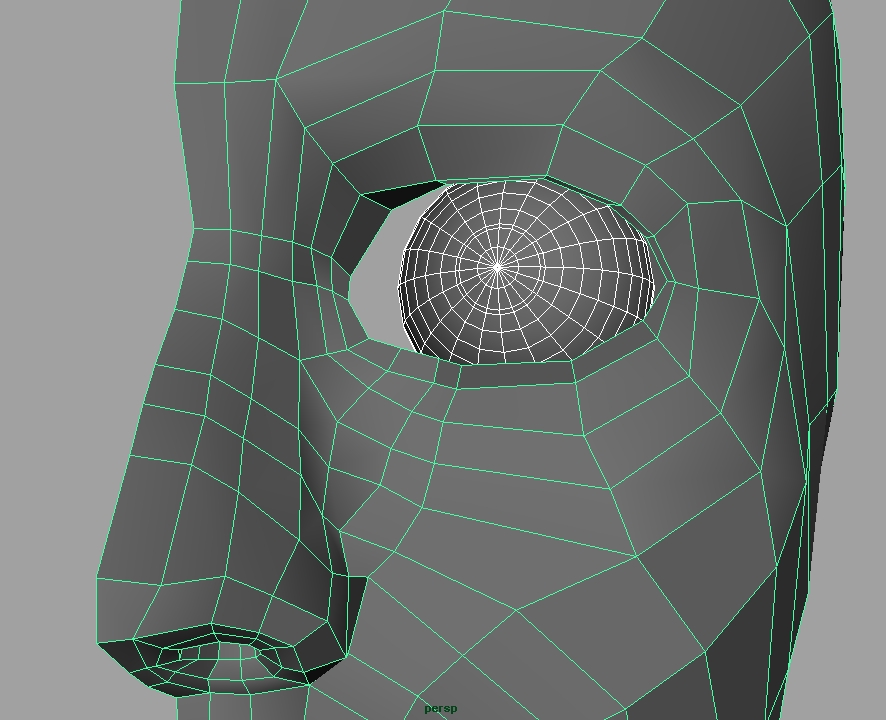
- Adjust the faces to follow the curves of the face. Start creating the polygons around the eye. You will want to create a sphere for the eye and then form your model around it. Note that edge loops should encircle the eye. One easier way to do this is to switch to the front perspective view, create the initial socket shape with the Create Mesh tool (as you did for the side profile of the head), combine this new mesh with the rest of the head, and then extrude outwards to form the geometry as in the picture below.
- Start filling in the nose.
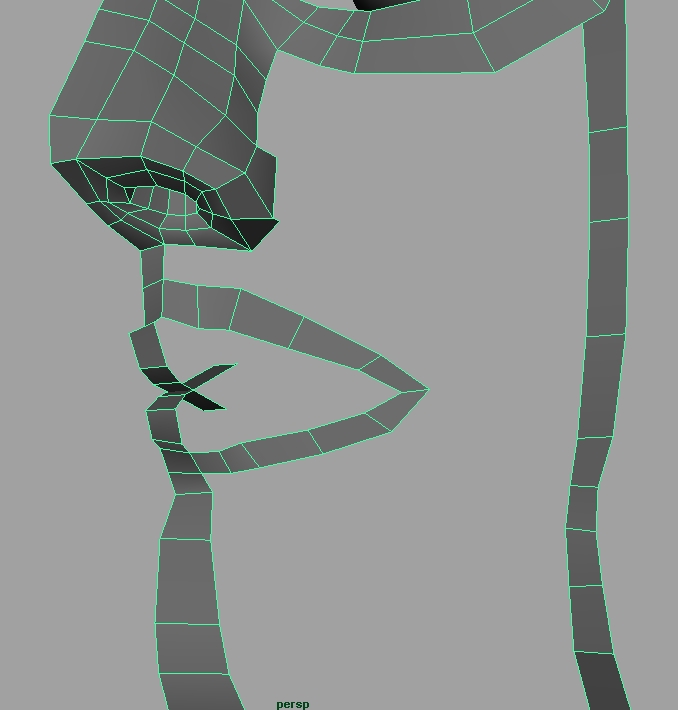
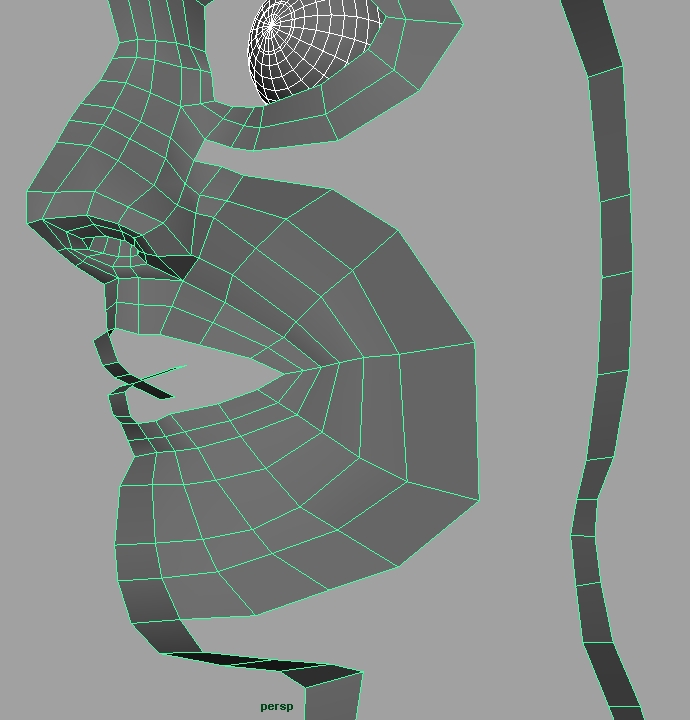
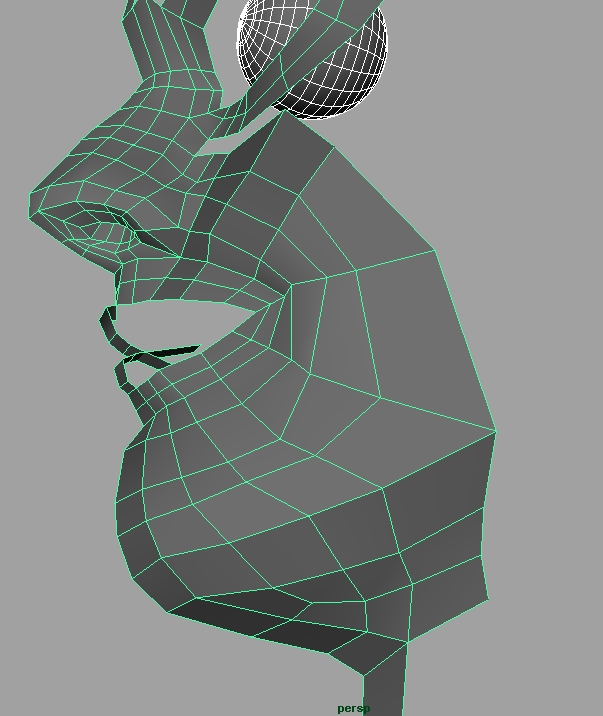
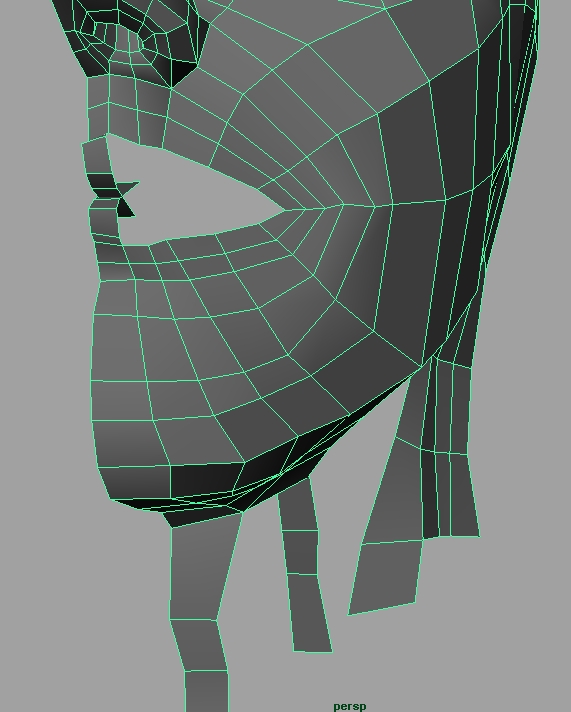
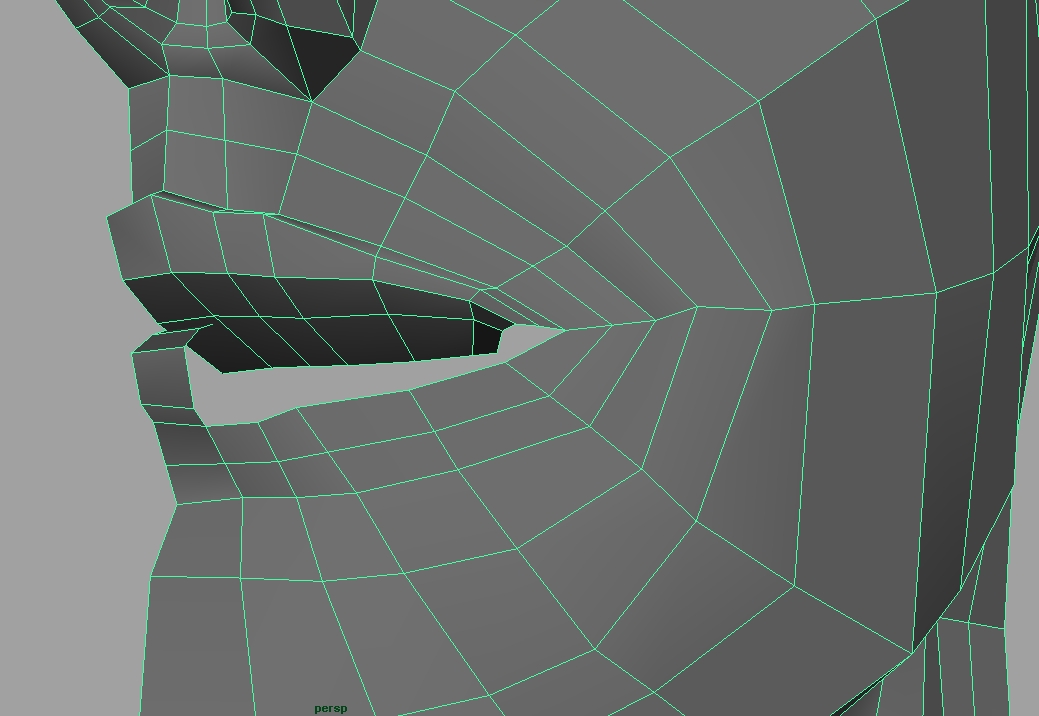
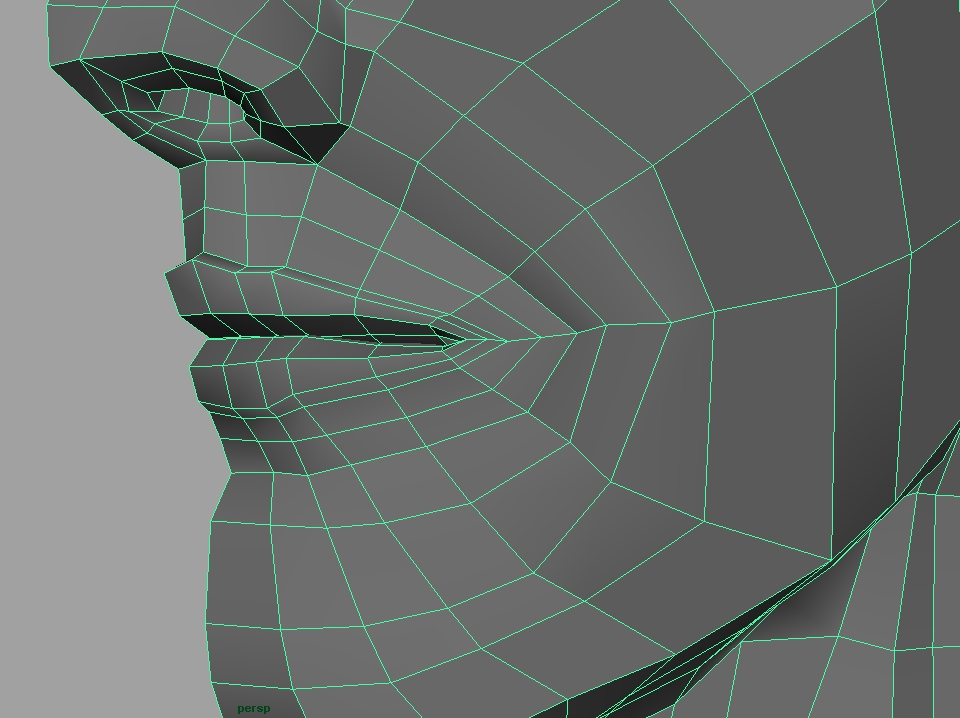
- Build the mouth as a series of loops. Notice that some of the edge loops from the corner of the mouth arch over the nose. This is an important feature and should be included.
- Fill in the chin.
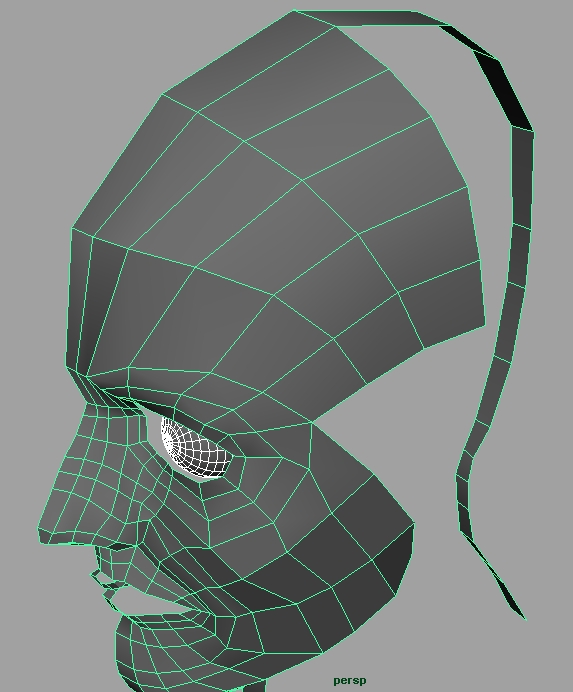
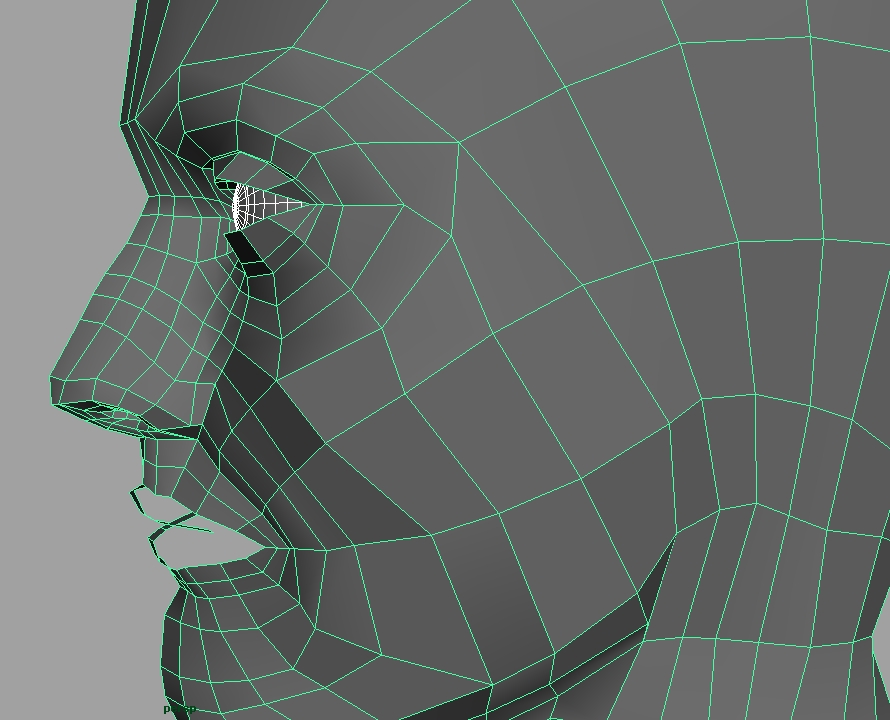
- Continue filling out the area around the eye. Be sure that the geometry curves around the side of the head.
- Fill in the cheek.
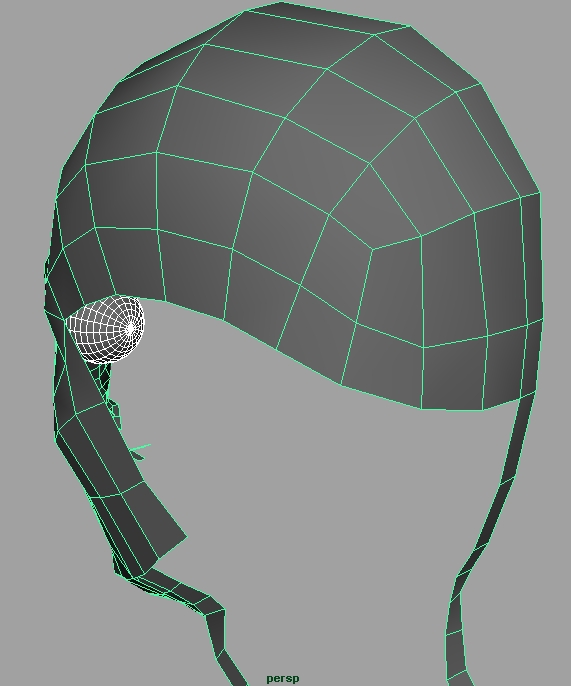
- Fill in the top of the head.
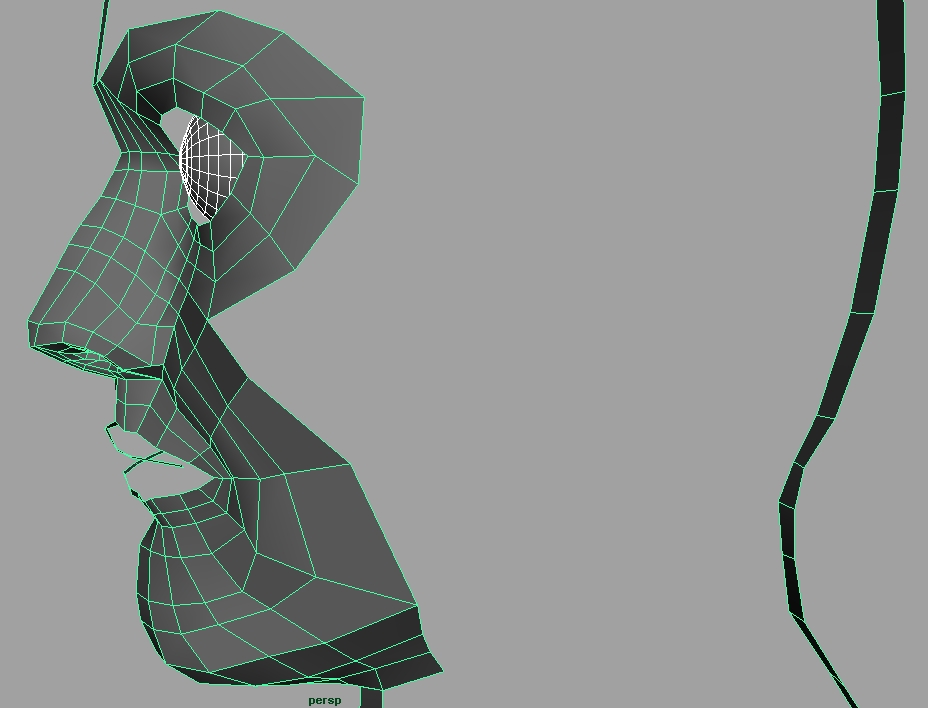
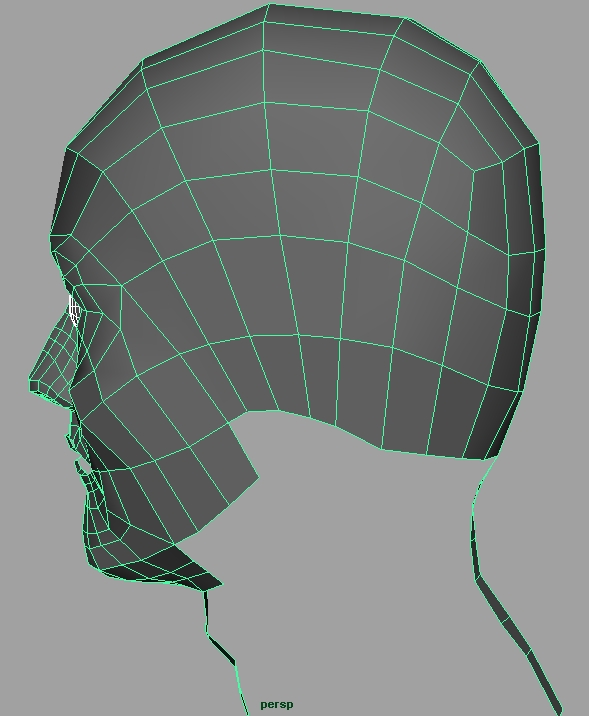
- Continue the geometry down the side of the head.
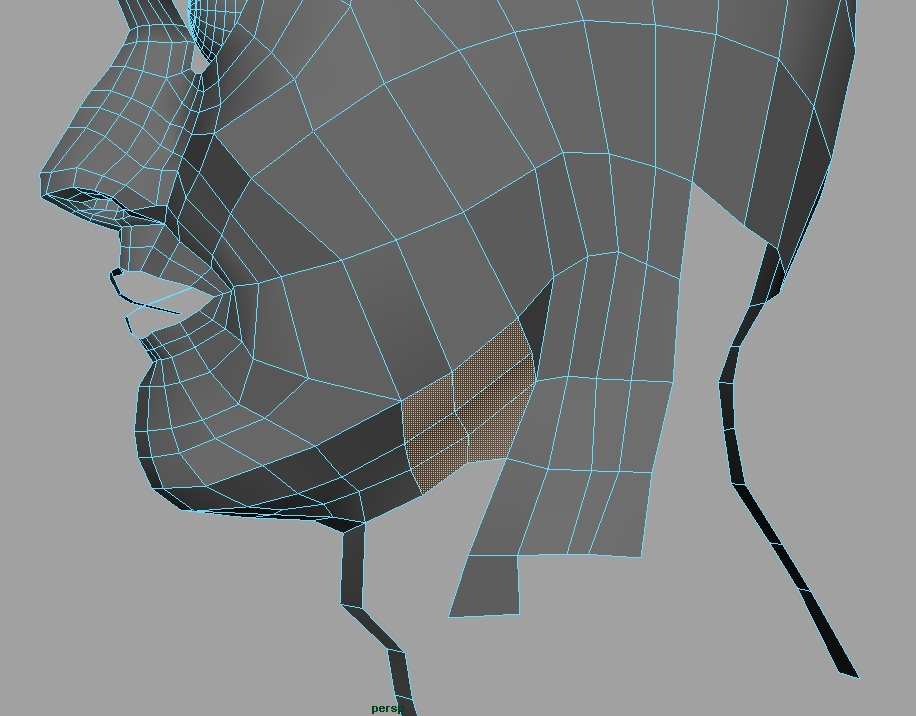
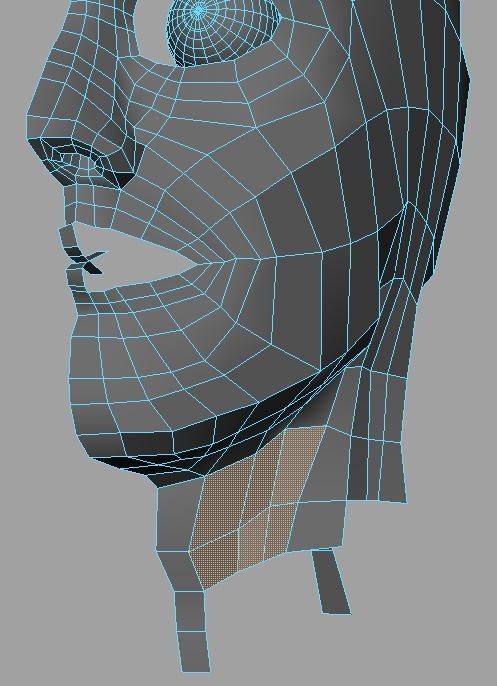
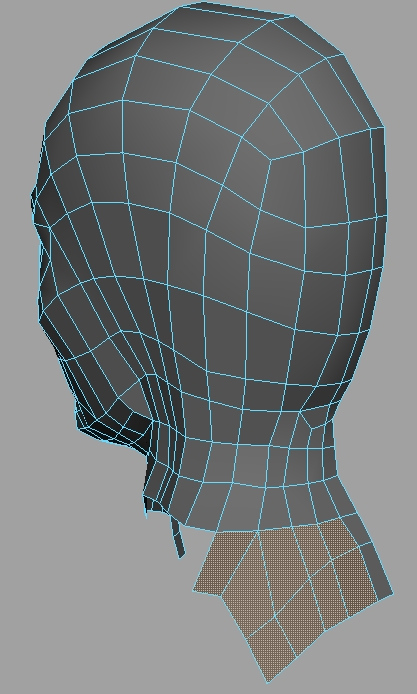
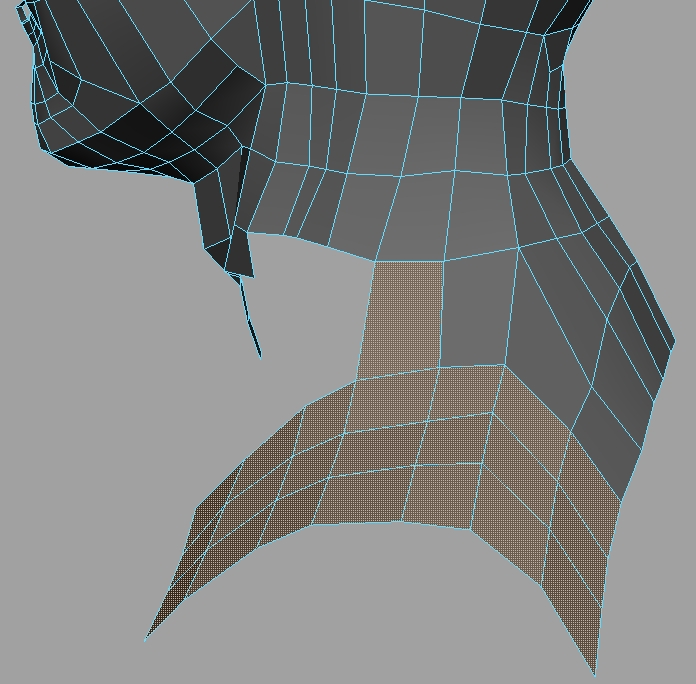
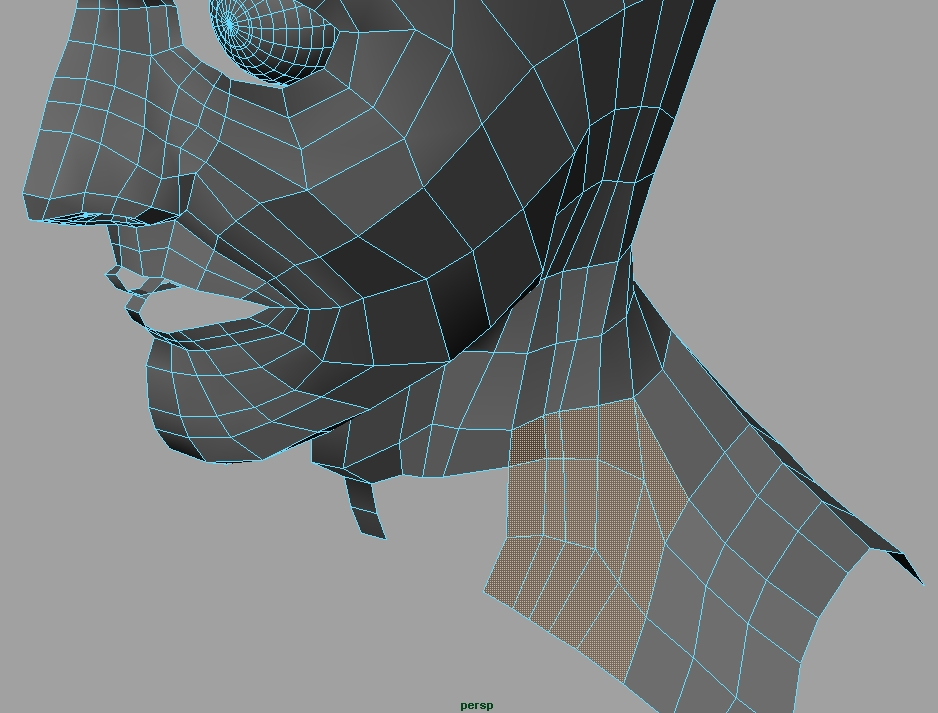
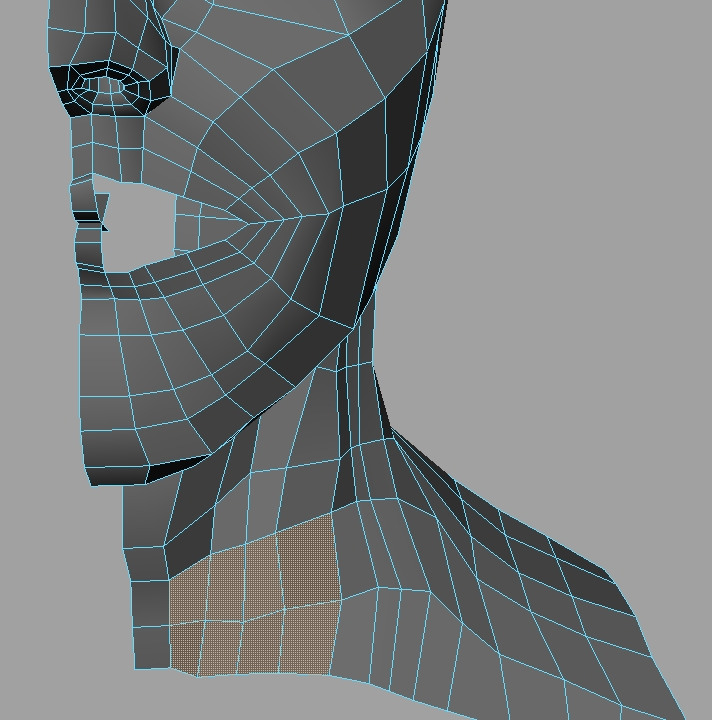
- Start creating the neck geometry.
- Fill in the chin.
- Fill in the back of neck and top of the shoulders. Your reference may not cover the shoulders, but you are not required to modeling anything below the bottom of the neck, so you may ignore this part.
- Optionally fill in the area below the neck.
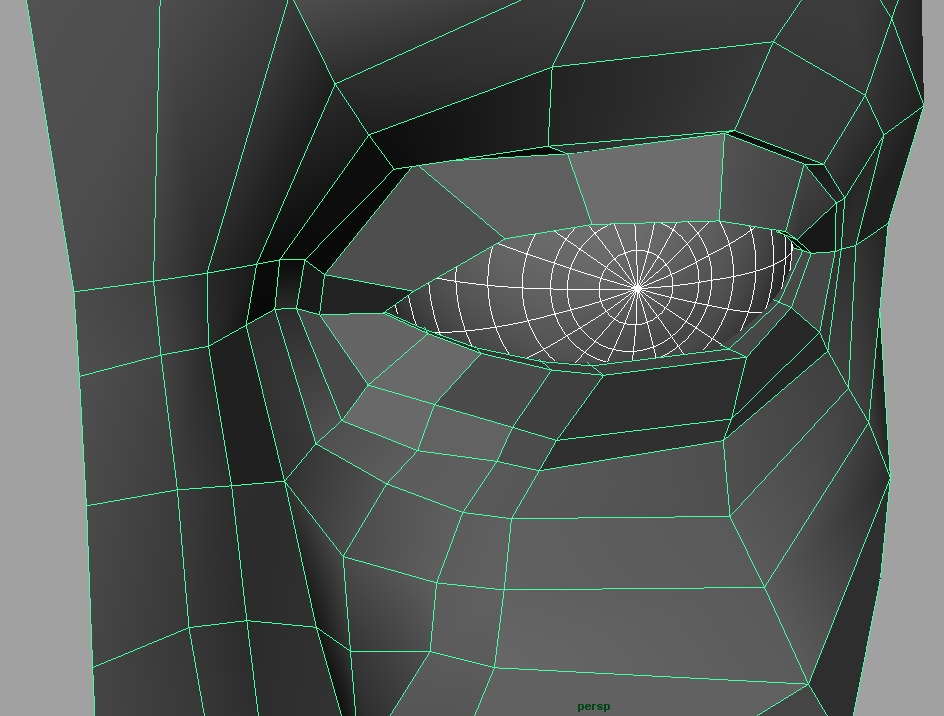
- Finish up the eyelids.
- And the lips. You do not have to model the inside of the mouth.
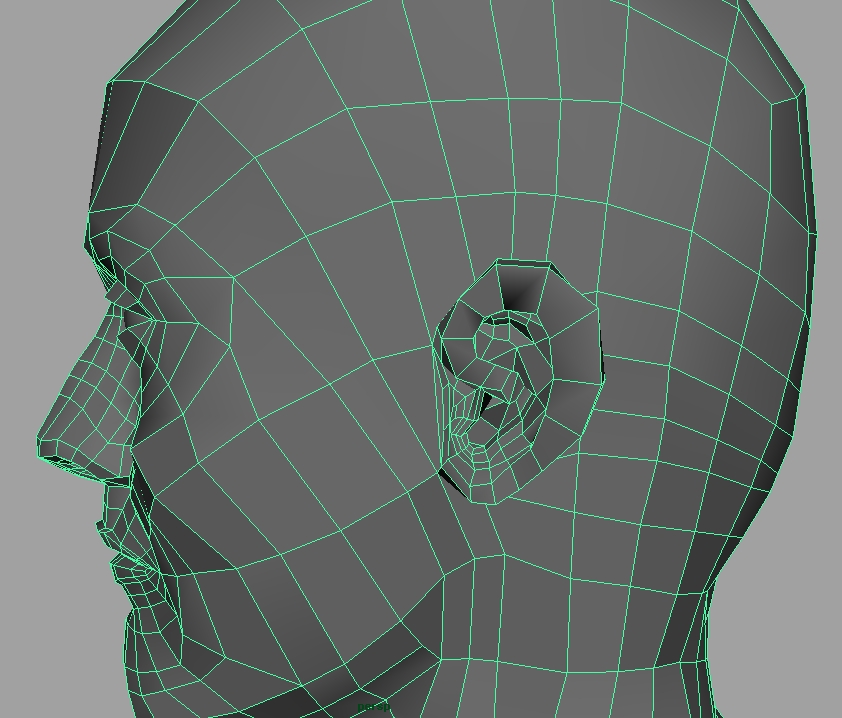
- You can add an ear for extra credit. An online tutorial on ear modeling can be found here. Model it separately then add it to the head. Note that this will most likely introduce a number of triangles into the mesh. Try to hide them behind the ear if possible.
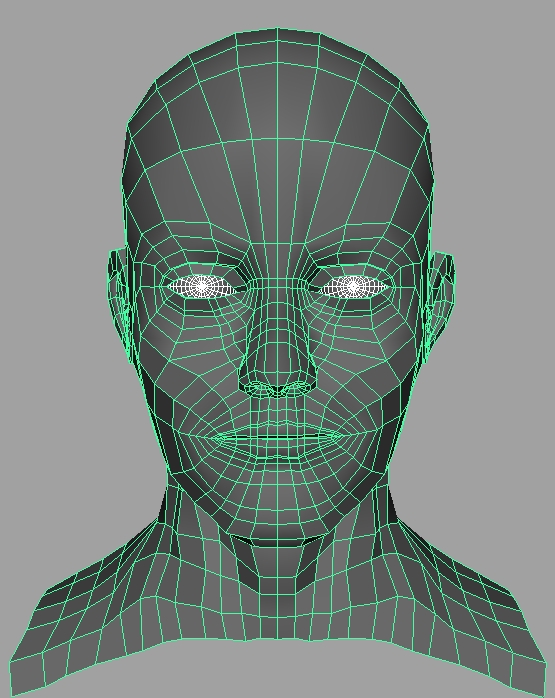
- If you have not done so previously, duplicate the head across. Use Duplicate Special with an X Scale of -1 to do this. If you want the duplicated side to mirror any further changes in the original side, set the "Geometry Type" option to Instance. Make sure your head's pivot is on the Y-axis before duplicating the head across. Now would be a good time to check the curvature of the skull. The head has very few places that are completely flat. You can use the Sculpt Geometry Tool to try to smooth out any problems. Also, make a duplicate of your first eye and position it in the empty socket.
- Combine the two halves into one piece of geometry. Select all the vertices down the center of the face and Merge them to remove the seam. Delete your History and clean up your Outliner. Smooth the model and render out a still of it, but do not turn in the Maya file with the model smoothed. Note that your model doesn't need hair.


