Goals
- Gain more experience working with images in Processing.
Color Filters
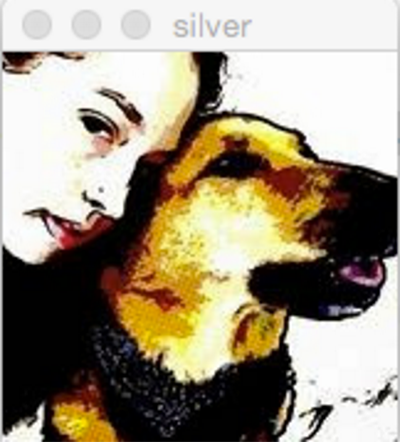
Find a color photo that you'd like to use for this assignment. We will write a program that will display only the particular color components of the image (red, green, blue, cyan, magenta, yellow) when the user presses specific keys on the keyboard.
Demo Video: https://vimeo.com/166745625
Step 0: Displaying the Image
 Write a Processing program to display your chosen color photo.
Recall the following points:
- Photos need to be located in the same folder as the
.pdefile;.jpg,.png, and.gifare OK. - A
PImagevariable must be declared at the top of the program. - It is much easier if the drawing canvas size exactly matches the size of the photo.
- Photos must be loaded into the program and assigned a name in
setup()using something likemyImage = loadImage("greatPic.jpg");. - The photo must be placed on the drawing canvas at a specific position, as in
image(myImage,0,0);. - To work with the actual pixels on the canvas, they need to be placed into the
pixels[]array with theloadPixels()command. - To update the screen with revised values in
pixels[], use theupdatePixels()command.
Step 1: Extract a Color
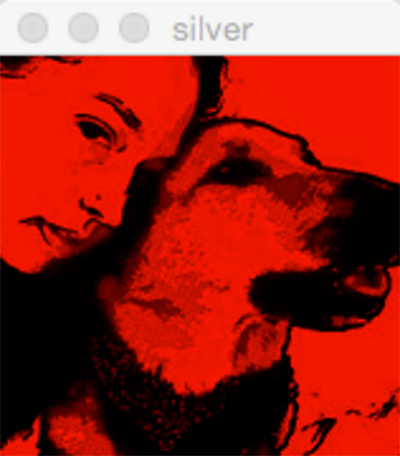
 Next we want to display only the red pixels when the user presses the 'r' key.
Create an if-statement in a
 keyPressed() function to accomplish this.
If the user clicks 'r', then refill pixels[] with only the red component of the pixels, as shown below:
pixels[i] = color( red(pixels[i]), 0, 0 );
This line of code must be inside of a for-loop to have an effect on every pixel in the image. Try it out to make sure it works as expected.
Step 2: Restoring the Image
Once the pixels have been modified/filtered, we'd like to restore them when a new key is pressed.
To do this, place calls to image() and loadPixels() at the top of keyPressed().
Note: you will want these calls in both setup() and keyPressed().
Step 3: Add Additional Filters
Make additions to keyPressed() to respond to the following additional key presses:
- 'g' displays only the green component of each pixel.
- 'b' displays only the blue component of each pixel.
- 'c' displays the green and blue components of each pixel ('c' for cyan).
- 'm' displays the red and blue components of each pixel ('m' for magenta).
- 'y' displays the red and green components of each pixel ('y' for yellow).

Notice that when you press any other key, it returns to the original image. Make sure to explain why this is the case in the comments of your program.
Submission
- Make sure that your name is included in your file.
- Make sure there is a comment in your code that explains why pressing any other key reverts to the original image.
- Submit your finished
.pdefile from Step 3 and image file used(with correct name) to the Canvas assignments page. - (optional) Talk to your TA if you want to add this program to your portfolio.